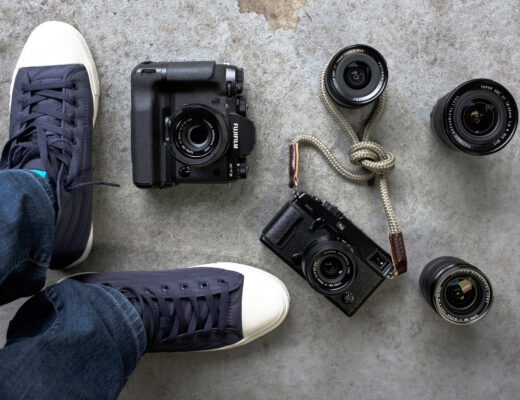
Fuji makes some incredibly sharp and fast lenses, both the fixed and zooms. My all time favorite lens is the 56 f 1.2, which I keep saying that Fuji designed this lens just for me! I also use both the 16-55mm f 2.8 and the 55-140mm 2.8 with great results, too. I do not have the 90mm f 2 yet, which I expect will turn into another all time favorite. The sharpness of these lenses is amazing, yet the X Trans sensor doesn’t add a lot of contrast, so portraits can be sharp with pleasing tones at the same time. All of these images were shot natural light, some with reflectors.
I am a people photographer, real people mostly, not too many models except when I’m teaching workshops. I love meeting and talking to people all over the world and trying to capture something about their personality. Sometimes that’s intense, sometimes fun, sometimes, soft and pretty, depending upon the situation. I LOVE Bokeh, the quality of the out of focus areas, that these fast Fuji lenses create. For a portrait, a really shallow depth of field helps keep the viewer totally involved with the subject’s eyes. Everything else in the photo is support and story.
There are some important things you need to pay attention to in order the get the look you want, and some downfalls, too. Shooting wide open means you really, truly need to pay attention to your point of focus. The general rule is to focus on the eyes and that’s fine when the subject is looking straight at you. But if they have a slight head turn, then which eye do you focus on? Well, that depends. (Remember my favorite phrase in photography “Everything depends upon everything!”) If the face is somewhat evenly lit, then focus on the eye closest to the camera. However, sometimes you want to focus on the eye that is more lit, as in the example below.
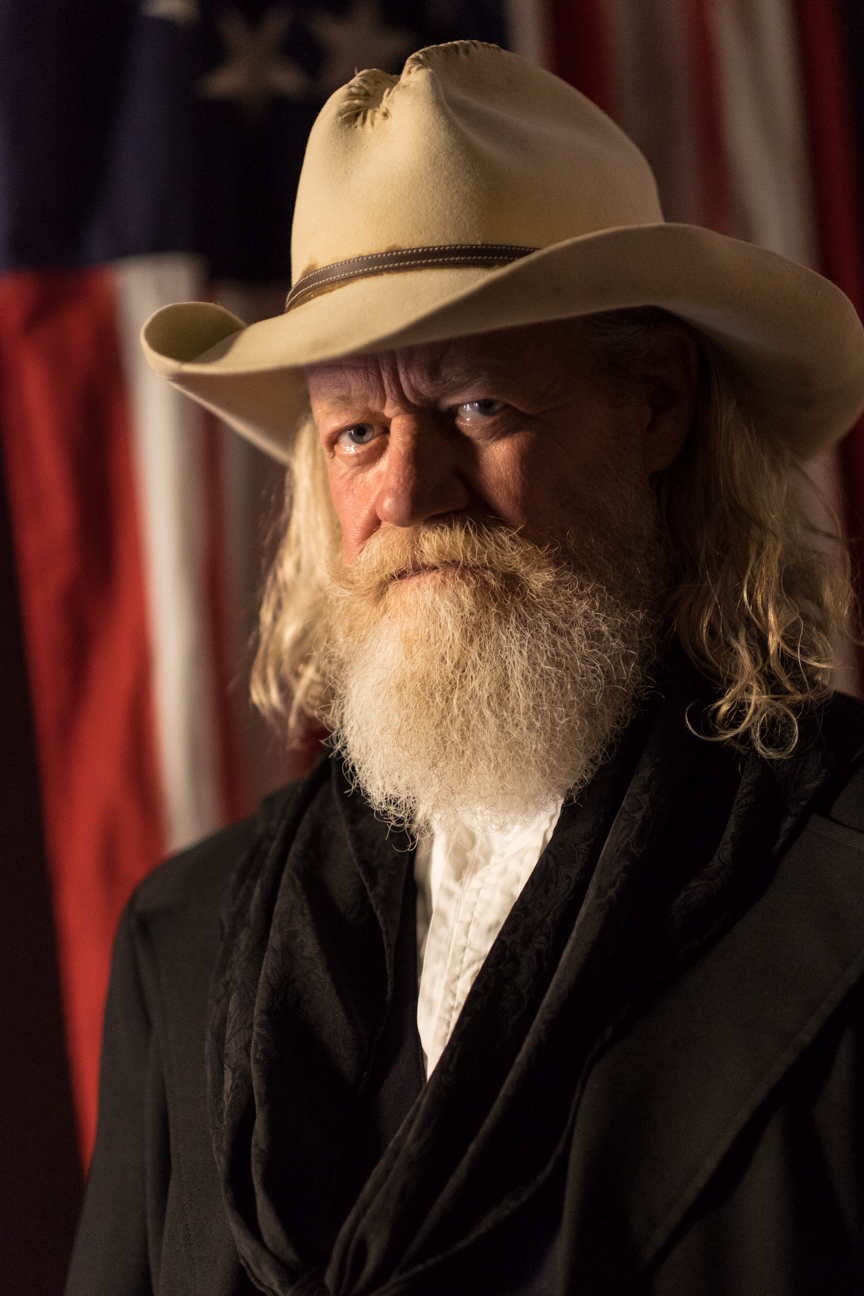

56mm shot at f 1.2 1/350 at ISO 3200 Window light
His right eye is sharp but his left eye is just a touch soft. Since the viewer’s eye goes to the lighter area, this works to have the more distant eye be the sharp one. Also notice that the shutter speed is fast to make sure there is no camera shake. The general rule is use a ss that is the equivalent of the focal length of the lens (example a 56mm lens requires a ss of 1/60 or faster), and some people double that. The closer you are, the more critical it is. Take a look at this.

56mm shot at f 2.8 1/80 ISO 200 camera shake
In my film shooting days, there would be no problem to hand hold this focal length at 1/80, but it’s far better to increase the ISO so you can shoot faster with a non stabilized lens. With the image stabilization, called OIS on the Fuji, you can shoot at least two stops faster than the hand held rule stated above. So if you were shooting with 100mm lens, with OIS you can shoot at 1/25.
This image was in a produce market in Dubai with some tents covering parts of the market. I stopped this young man because of his incredible eyes and asked if I could make his portrait. He didn’t speak English, but it’s pretty obvious when you are holding a camera in your hands and pointing at him and back at yourself what you are asking!

56mm shot at f 1.6 1/450 ISO400
Both eyes are on the same plane so both are sharp. Look at the wonderful bokeh! So much of the bokeh depends upon how far away from the background the subject is placed. The less distance between the two will mean the background is sharper and you lose this creamy spread of color and light.
With Bokeh, any light source or point will become a round circle. I’m more interested in what else happens, how the colors and tones are rendered and how they overlap or merge. It’s best to find backgrounds that aren’t too light because there’s not enough information to make anything interesting happen. Looking for matching colors like the little girl below makes for a soft pleasing mood. All the colors are in similar palettes.

56mm shot at f 1.8 1/680 ISO 200
For a completely different feeling, go for contrasting colors. This gentleman was perfect in his shop, wearing purple/pink with the green wall behind him. It’s almost like pistachio ice cream! The large window was lovely lighting, both on him and the wall behind him. I was very careful about my height and left/right position so that I would make a pleasing and not distracting composition behind him. I love the little bit of pink that complements his checked shirt, too. Notice the distance. I asked him to step far away from the back wall, about 15-18 feet so I would get enough focus fall off.

56mm f 2.0 1/340 ISO 200
Another interesting thing is how something graphic is rendered like these chairs. When you have this much contrast in light values, see how the more distant ones have the light spread into the dark lines, blurring them further.

56mm shot at f 2.2 1/500 ISO 200
There is a difference in how the bokeh creates hard lines vs the soft ones. I work with this gentleman who works as a model for sculptors and he has an amazing face and body. I was working with him at the Bethesda Fountain and Terrace in NYC Central Park. The terrace is a beautiful piece of architecture with design and colors that are reminiscent of Venice. With his bald head and the arches in the background, shooting at f 1.8 resulted in the arches framing his head, glowing like a Renaissance Painting. If the depth of field was greater, the effect would not be even close to this. If you look closely, his eye is perfectly sharp, thanks to great Fuji optics. This shot required very careful place of the model in relationship to the background so that the light under the big arch just rims his head. I did manage to hand hold this one steady at 1/60.

56 mm shot at f 1.8 1/60 ISO 200
Most people think of bokeh as only background, happening behind the subject. It’s also useful to have something out of focus in front of the subject, which gives you more depth and leads the eye into the subject.

56mm f 2.2 1/180 ISO 400
I also have the 56mm APD lens which makes even more velvety bokeh. The APD stands for apodization which is a permanently installed soft filter on the same plane as the aperture. Imaging a gradient diffuser that is clear in the middle and thicker at the edges. There are good and bad things about this lens. The nature of the bokeh shooting wide open f 1.2 – f 2 or so is softer and creamier. That’s because the filter is a soft gradient, not like the hard blades of a normal aperture. This, of course, results in a more diffused rendition of the out of focus areas, both in the foreground and background. However, because it is an actual filter, it does block out some light so even though it’s f 1.2, the real aperture is f 1.7. You are losing about 1/3 stop until you get to f 5.6 where it equals out. And at 5.6 and smaller, there is really no apparent difference in the quality of the bokeh. It’s kind of a mute point because you are shooting for bokeh, so you are probably not shooting at anything past f 4. In my case, it’s nothing smaller than f 2.8 for the kind of look I want. Also, in low light, the camera will have a harder time focusing because of the filter. And it’s about $500 more than the regular 56mm. Is it worth it? It depends upon your preference. I do use it, but not as often. But that background is truly impressionistic! Here’s an example, just gorgeous!

56mm APD shot at f 1.4 1/250 ISO 200
Everything I’ve showed so far has been with the 56mm. I use the 16-55 f 2.8 for street shooting a lot, because those focal lengths really work for me. I can go wide or tight enough for headshots. On a recent trip to Turkey I found this wonderful character in the market, great light on him and framed his with innocuous stuff behind him.

16-55mm shot at f 2.8 1/450 ISO 400. Zoomed to 54mm
As you can see, the quality of the bokeh is fantastic here, too. The lens is amazingly handy for walking around in street or travel situations. I find that even if I bring other lenses as I’m out and about, I may leave this lens on all day. Not quite the same bokeh as the 56mm but there is a 2 f stop difference. Still, it’s great.
One more image with the 50-140mm f 2.8. With a longer focal length and a fast aperture, you can also get great bokeh. Just remember to keep that distance from subject to background. Notice the beautiful shape and quality of the light glancing off the leaves. This is an OIS lens so it’s possible to hand hold at slower shutter speeds, allowing you easily to shoot wide open.

50-140mm shot at f 2.8 1/1000 ISO 320
I know some photographers who feel that with the long zoom and fast aperture, that they don’t need the 56 mm for the bokeh. I totally disagree. Even though the 50-140mm is about 40% lighter and smaller than the Canon or Nikon equivalent (oh my aching neck from the 70-200 f 2.8 Nikon!), it’s still a bulky lens and not as quick as the 56. It’s still all personal, so you need to test and find what works best for you.