Chances are, if you ask 100 photographers what they use to catalog and process their images, the Lightroom/Photoshop combo and Capture One will be the majority of people’s answers. However, there are plenty of other options out there if you’re not quite satisfied with the current status quo. Today, we’ll take a look at one of those options, Zoner Photo Studio X.
Full disclosure: Until Zoner reached out to me and offered a year-long license to test it out and share my thoughts (no strings attached), I’d never heard of Zoner Photo Studio X, despite it having been around for well over a decade. Also, as a former Lightroom, now Capture One (and occasionally Photoshop) user, I’ll be drawing some comparisons to that software here. This won’t be a comprehensive review due to the length of a blog, but I’ll try to touch on each of the elements of the software that I noticed while I have been using it.
What is Zoner Photo Studio X?
ZPSX is a raw developer, pixel editor, and basic design application all rolled into one. Put simply, it is trying to be a jack-of-all-trades replacement for Lightroom, and the basic functionality of Photoshop and InDesign. You can catalog, develop, liquify, and layout your images all within one application.
Interface
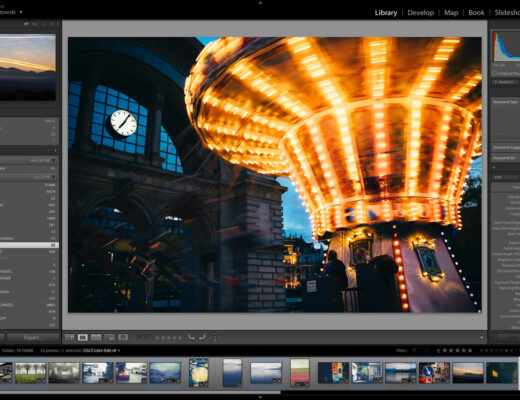
The moment you open ZPSX, you’ll be greeted with an interface that feels quite familiar. Those who have used Lightroom or any of the applications that have drawn their influence from its layout will be immediately at home. One thing I did notice about the interface is that it’s not quite as refined as the big players. The design language is a little inconsistent and tools can be hard to find until you get used to the way things work.
All of the familiar import and sorting options are available in ZPSX. However, one thing that stands out in comparison to Lightroom (and one thing I love about Capture One sessions) is that you don’t necessarily need to import images into a catalog. You can simply browse your disks and edit from the existing location of the files (or even make use of Zoner’s included cloud storage or your own OneDrive subscription). ZPSX uses sidecar files to ensure the edits are saved with your raw files.
The overall interface provides a similar “module” system to Lightroom and allows you to switch from managing your catalog or browsing folders to raw development, pixel editing, and design in much the same way as Lightroom. Let’s look at what each of those offers.

Black and White Image edited in Zoner Photo Studio X
Raw Development
ZPSX does not natively support Fujifilm X-Trans files. However, by installing Adobe’s DNG converter, the software can begin to load them for you to work with. This additional step is not something we have come to expect from paid software suites, but it is only a one-time operation that can be forgotten afterwards. Adobe also does a reasonable job of adding new cameras into their DNG converter, so you won’t have to worry about future support for new cameras. The use of the DNG converter does produce a VERY flat starting point for your files, however, and Fujifilm’s film simulations are not available as profiles in this software.
Once in the Develop section of ZPSX, everything is again familiar. There is a browser on the left, a set of tools on the right, a filmstrip at the bottom, and a large viewer for you to work on the current image. Images do take a couple of seconds to switch between as ZPSX doesn’t seem to make use of intelligent previews like Capture One or Lightroom do. This could be a potential issue for users who work with large numbers of images, such as wedding or event photographers.
After the image is loaded and ready for editing, the tools themselves are quite responsive (more so than Lightroom, but not quite on the level of Capture One). All the usual suspects are available, such as exposure, white point, black point, HSL, sharpening, key-stoning, graduated and radial filters, and even an HDR panel that acts as a more aggressive and complex highlights/shadows tool. The tools themselves feel a little more heavy-handed than I am used to (I use Capture One these days), so I definitely felt the need to back off my adjustments quite a bit more than I usually would.
The other thing that I noticed while making adjustments is that the preview of the image blurs. While this is okay for adjustments like contrast and exposure, it does make it difficult to judge the application of adjustments like clarity. You need to click, make the adjustment, and then release the mouse button before it is applied. I found myself constantly over- or under-estimating the strength of adjustments like these.
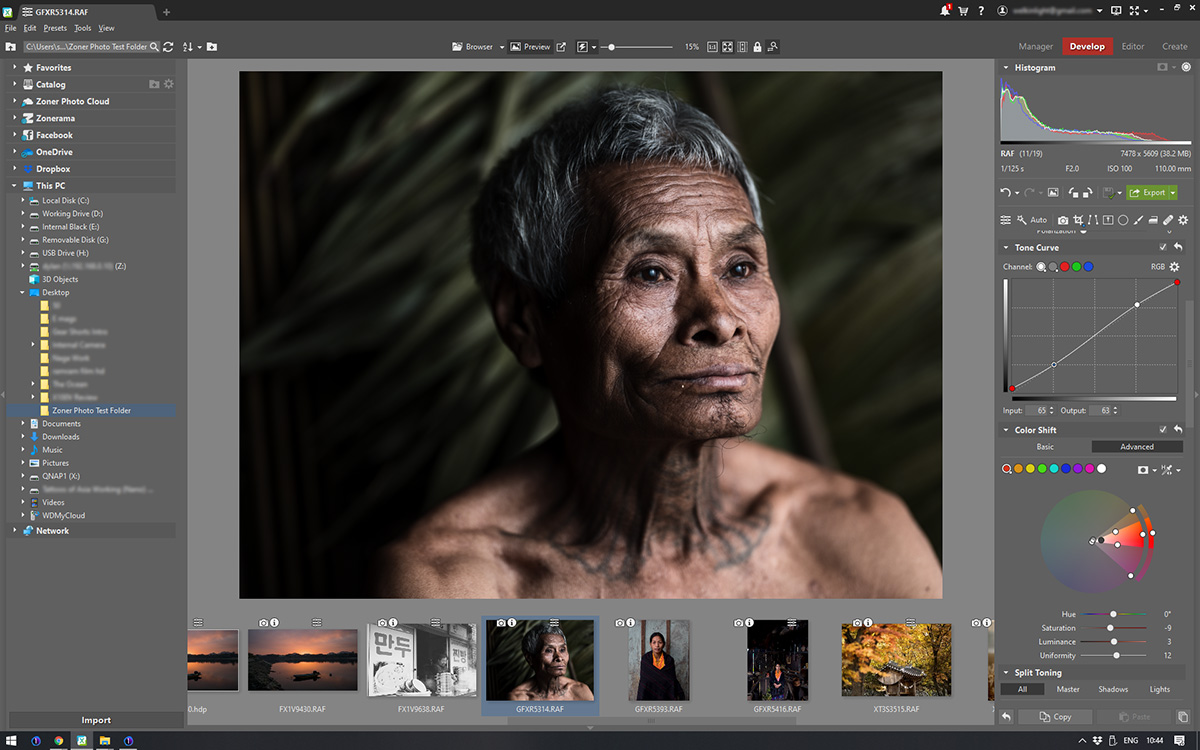
Powerful colour tools are available in ZPSX
Much like Capture One, ZPSX offers several different ways to approach colour changes so you can take a simple approach if you want to, or dig a lot deeper when the need arises. Having both options is great and can certainly help to get the exact colours you’re after.
One more thing that really stood out to me was the noise reduction tool allowing tonal/colour noise reduction as a standard feature. Rather than applying the same noise reduction across the entire image, you can actually specify that it should be applied more in the shadows and less in the highlights for example. This is a nice refined way of doing things for people who are particular about their noise reduction.
Another useful tool to be found in ZPSX is a luma setting in the curves tool. This can be great for refining your contrast a little without affecting saturation. We also find different sharpening methods that can be selected to refine the type of sharpening to be applied. Personally, I don’t ever go this deep into settings like this, but for those who like the detailed control this offers, it could be a handy tool.
When it comes to Lens Correction, ZPSX makes use of the common Adobe LCP files. You can load these in manually if you have them available. However, as we know, Fujifilm includes this data in their raw files and Adobe doesn’t provide profiles for all lenses. ZPSX doesn’t take the Fujifilm data into account, so most lens corrections actually need to be made manually.
Pixel-level Editing
The Editor in ZPSX allows for basic Photoshop-style pixel-level work to be done. It has tools such as clone, heal, liquify, layers with masks, and adding text. While these tools are not as advanced as those available in Adobe’s industry-leading Photoshop, they are certainly plenty for the average user to create interesting work within ZPSX.
I found that the clone tools were the most useful in my case. Oftentimes that’s the only reason I’ll leave Capture One for Photoshop, so it’s nice to be able to do the cloning work in the same application. Perhaps the only downside to this integration is that cloning still needs to be the final step. The data from the Editor is not saved alongside the raw development data, so you cannot flip back and forth between adjusting the raw file and having the cloning applied to your adjusted file. They become two separate instances within the program. I hope that tighter integration like this might be possible for ZPSX in the future.
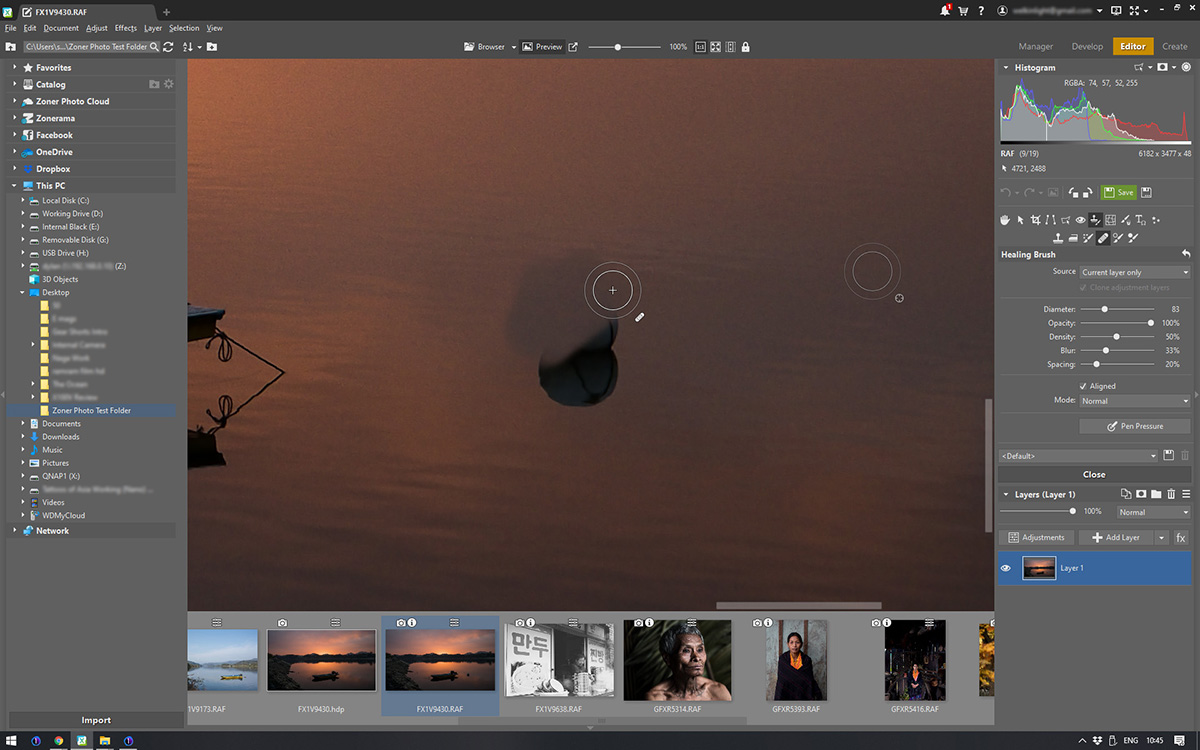
Cloning in the ZPSX Editor
Physical Product Creation
The final tab of ZPSX is the Create tab. Here, quite a few different physical products can be created and sent off for print using your catalog. Things like calendars or postcards can be created simply by dragging and dropping images from your filmstrip. For applications like a family album or a small book from a trip, this tab could be a quick and easy way to produce these. Your created products can then be sent off to Zoner for printing from within the software itself.
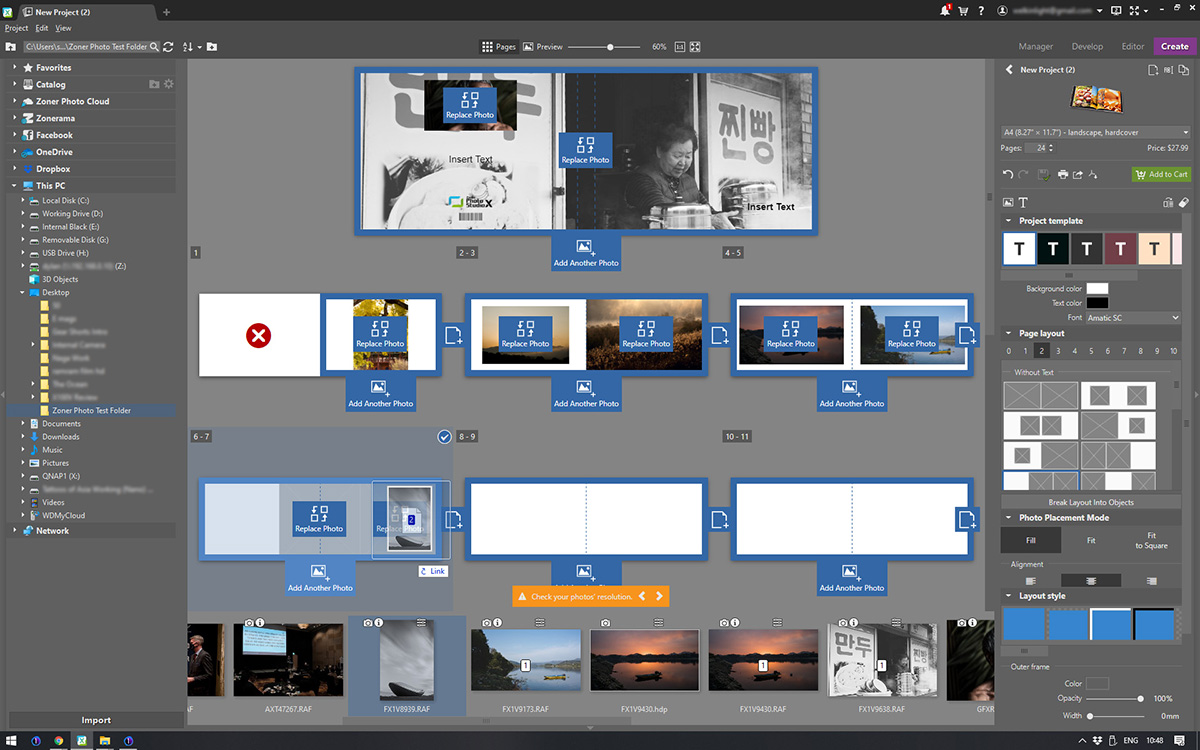
Book Creation in ZPSX
The Bottom Line
ZPSX is a piece of software that certainly has a lot to offer. Almost all the common tools found in industry-leading software packages are here and, on occasion, there are even more tools. The combination of a raw development suite with pixel-level editing is quite interesting and that might be exactly what some users are looking for. Since we don’t have space in a short blog like this to take a deep dive into each and every tool, you can check out a 30-day trial here.
For me, ZPSX is not the sort of application that will become a part of my workflow. I personally enjoy the refinement of the more focussed tools I use such as Capture One and Photoshop. However, I can see certain use cases where it would be beneficial. For those who perhaps don’t shoot a lot of images and want a simple way to catalog, backup, make simple adjustments, and then print a final product, ZPSX could be a good option to look at. As I mentioned, there is a free trial and I definitely recommend giving ZPSX a run if you’re looking to shake up your software use.
Pros
- A single piece of software that does everything from raw development to print
- Interesting set of tools included, especially when it comes to making physical products
- Good selection of presets for raw development
- Colour tools are more robust than, for example, Lightroom
- Included cloud storage
- Support for any camera that Adobe DNG converter can support
Cons
- A bit too slow for volume work
- Default raw settings too flat for my taste
- Interface and tools could use some refinement
- No Fujifilm colour profiles
- No Fujifilm lens profiles