Sometimes to trigger creativity one has to add a new toy (did I say toy? I meant tool!) to the basket. This time of the year I tend to do it a lot, probably because I have a little more time to spend on thinking what toys (ehm, tools) I could add and how I could play with (use!) them. Two months ago, it was the time of the new colored background, then the wind machine came, but the last addiction (gosh, addition!) was the smoke machine.
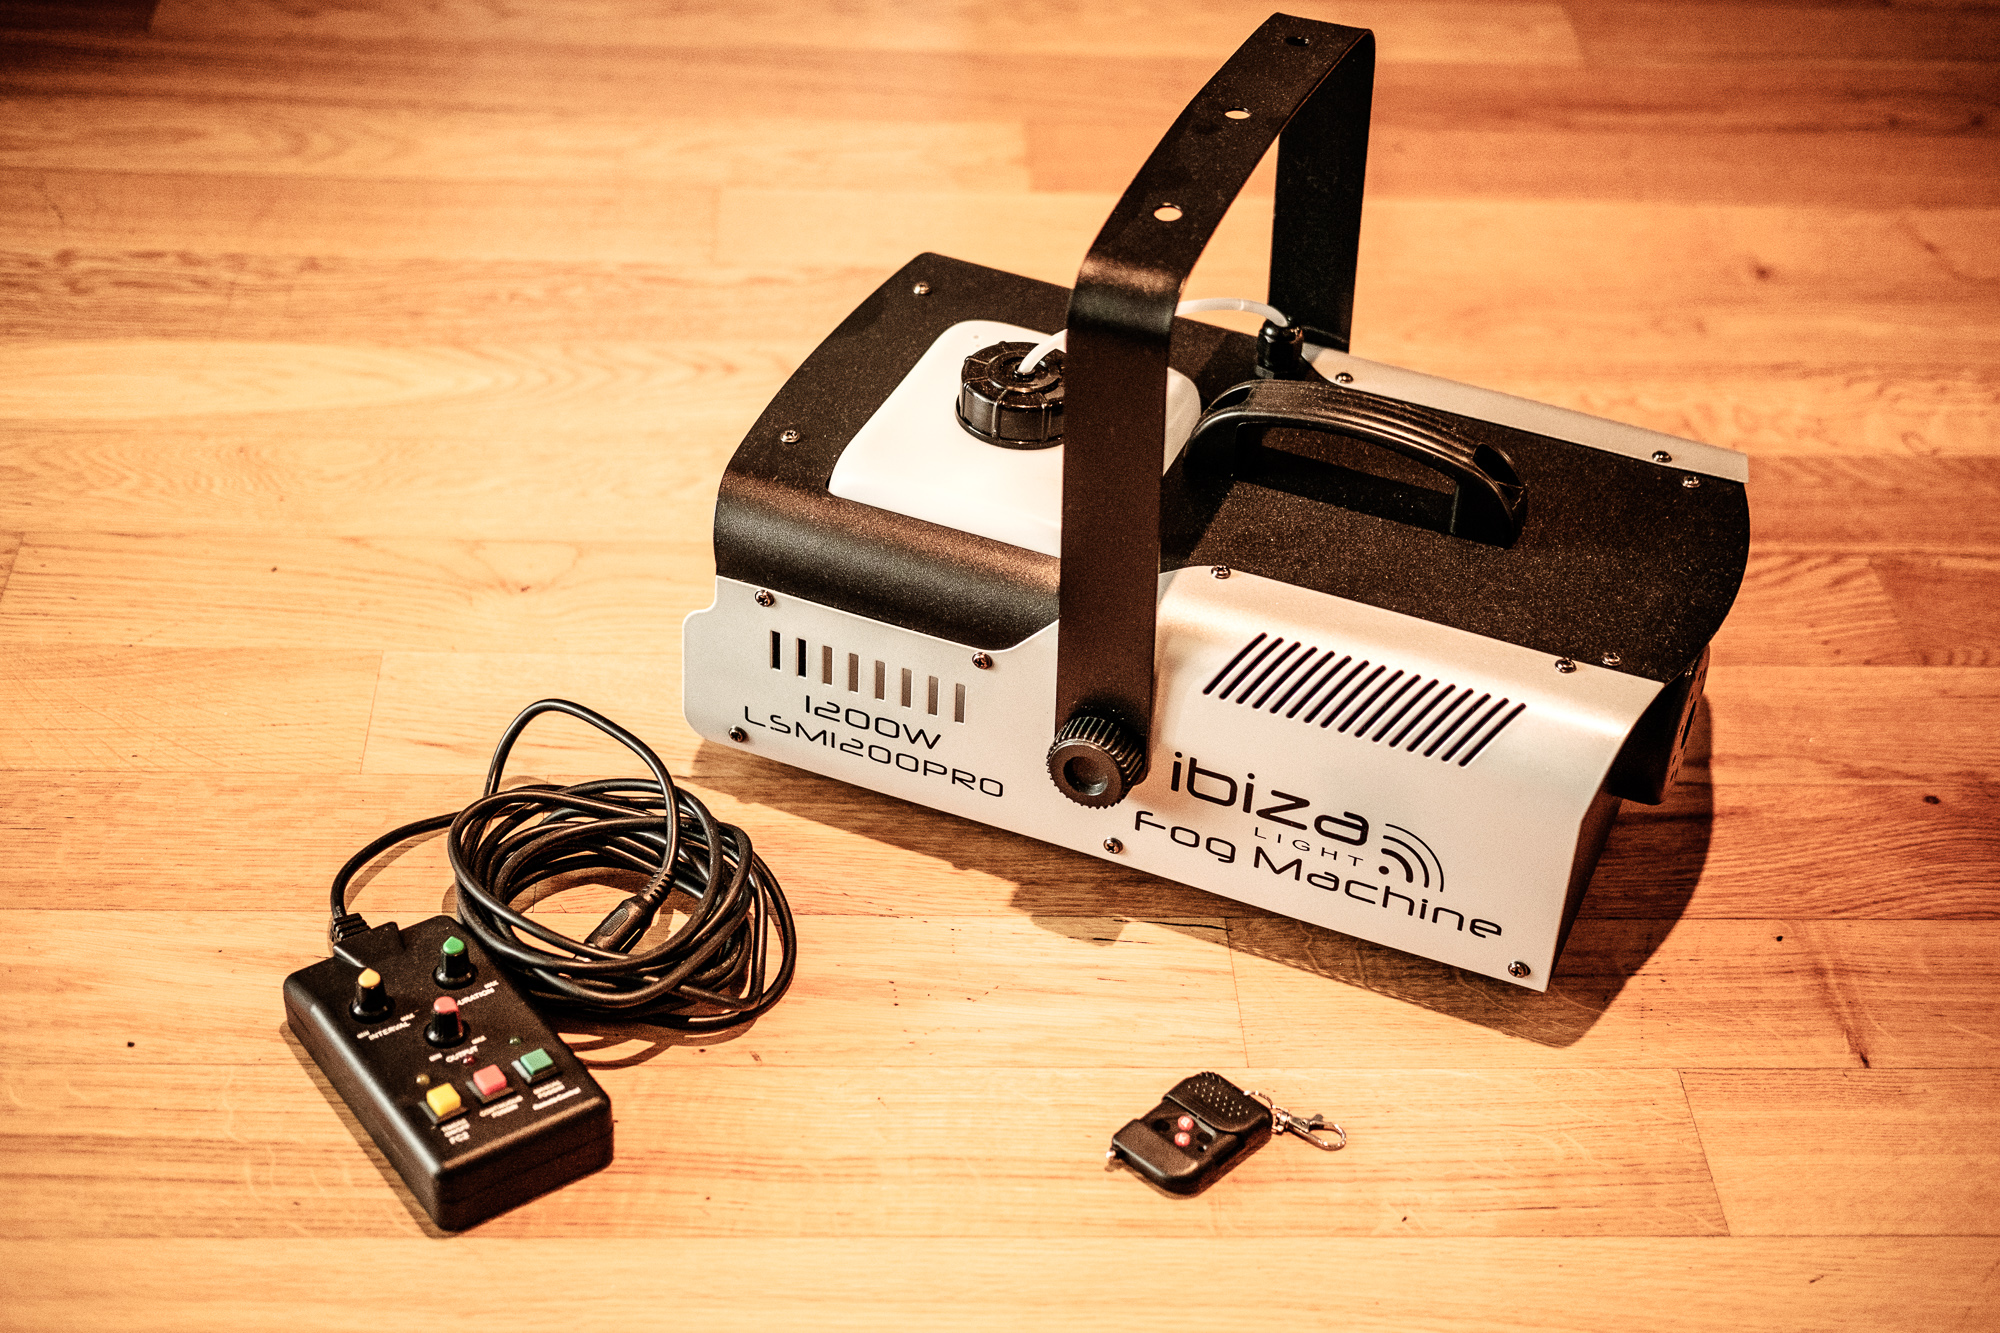
The smoke machine, it has a tank to be filled with smoke liquid, a tethered controller to set all the parameters, and a small remote controller.
What’s a smoke machine? Have you ever been to a disco? While there, have you ever been sprayed with smoke? Well, that’s it. I got the Ibiza LSM1200PRO; it came out recommended on Amazon, but I know nothing about smoke machines, so don’t take my word on it as the best smoke machine around. Mine came with a remote controller, and is small like a garage remote, which I can clip to my camera strap so I can control smoke sprays directly while shooting. Very convenient. Besides that, it works. It has a tethered controller which set the “features” of the smoke, with the only one interesting me being the “output”, that is, how dense the smoke comes out (the denser the better).

I love how I can clip the remote to my Fuji strap, that way I can control the smoke without even leaving my eye from the viewfinder.
Why would it be nice to add smoke to photos? The first and most obvious reason is because smoke is cool. It can look like fog, like fire smoke, mysterious smoke, etc. For that, you just have to spray out a lot of it. But smoke can be nice also if used in small quantities, because it changes the way light travels and diffracts, and, by doing it, it adds textures and light effects. All of this becomes especially obvious when using colored flashes, which is exactly what I tested at first.
X-T20, Fujinon XF35mmF2, ISO200, 1/180th, f/13. Shot from above using the tilting screen to frame.
Two beautiful young ladies helped me out with the testing, Alice Del Re and Irene Pellegrini, who modelled with several different outfits on a black background for a good whole afternoon. What I was interested in testing with them was:
- What happens to light and background when I use just a little bit of smoke, mostly in the background.
- What happens to light and background when I also add the wind.
- What happens to light and the overall scene when I spray a lot of smoke directly at the models.

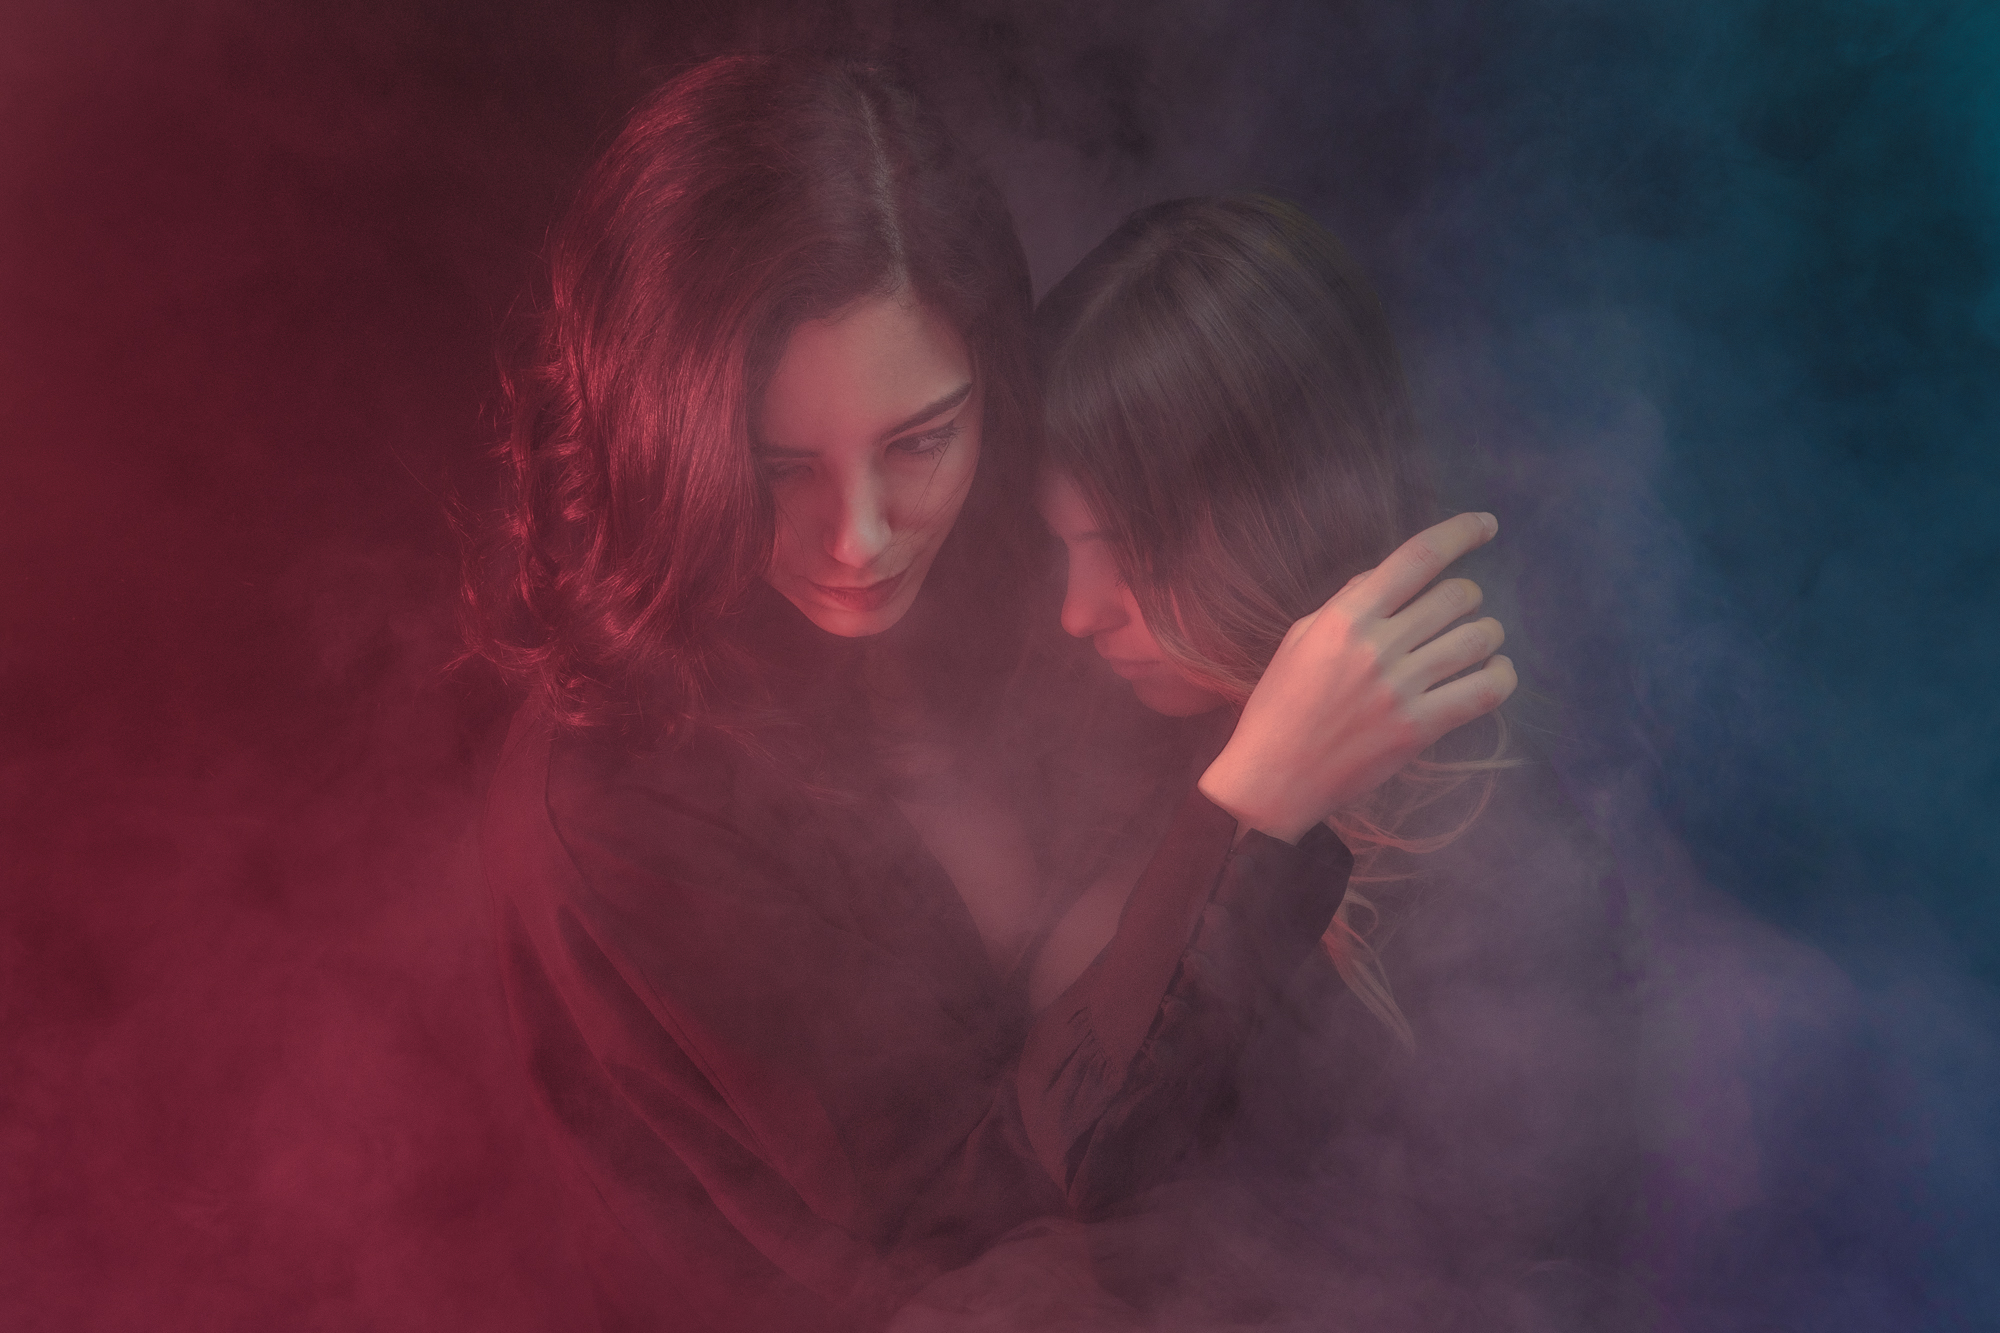
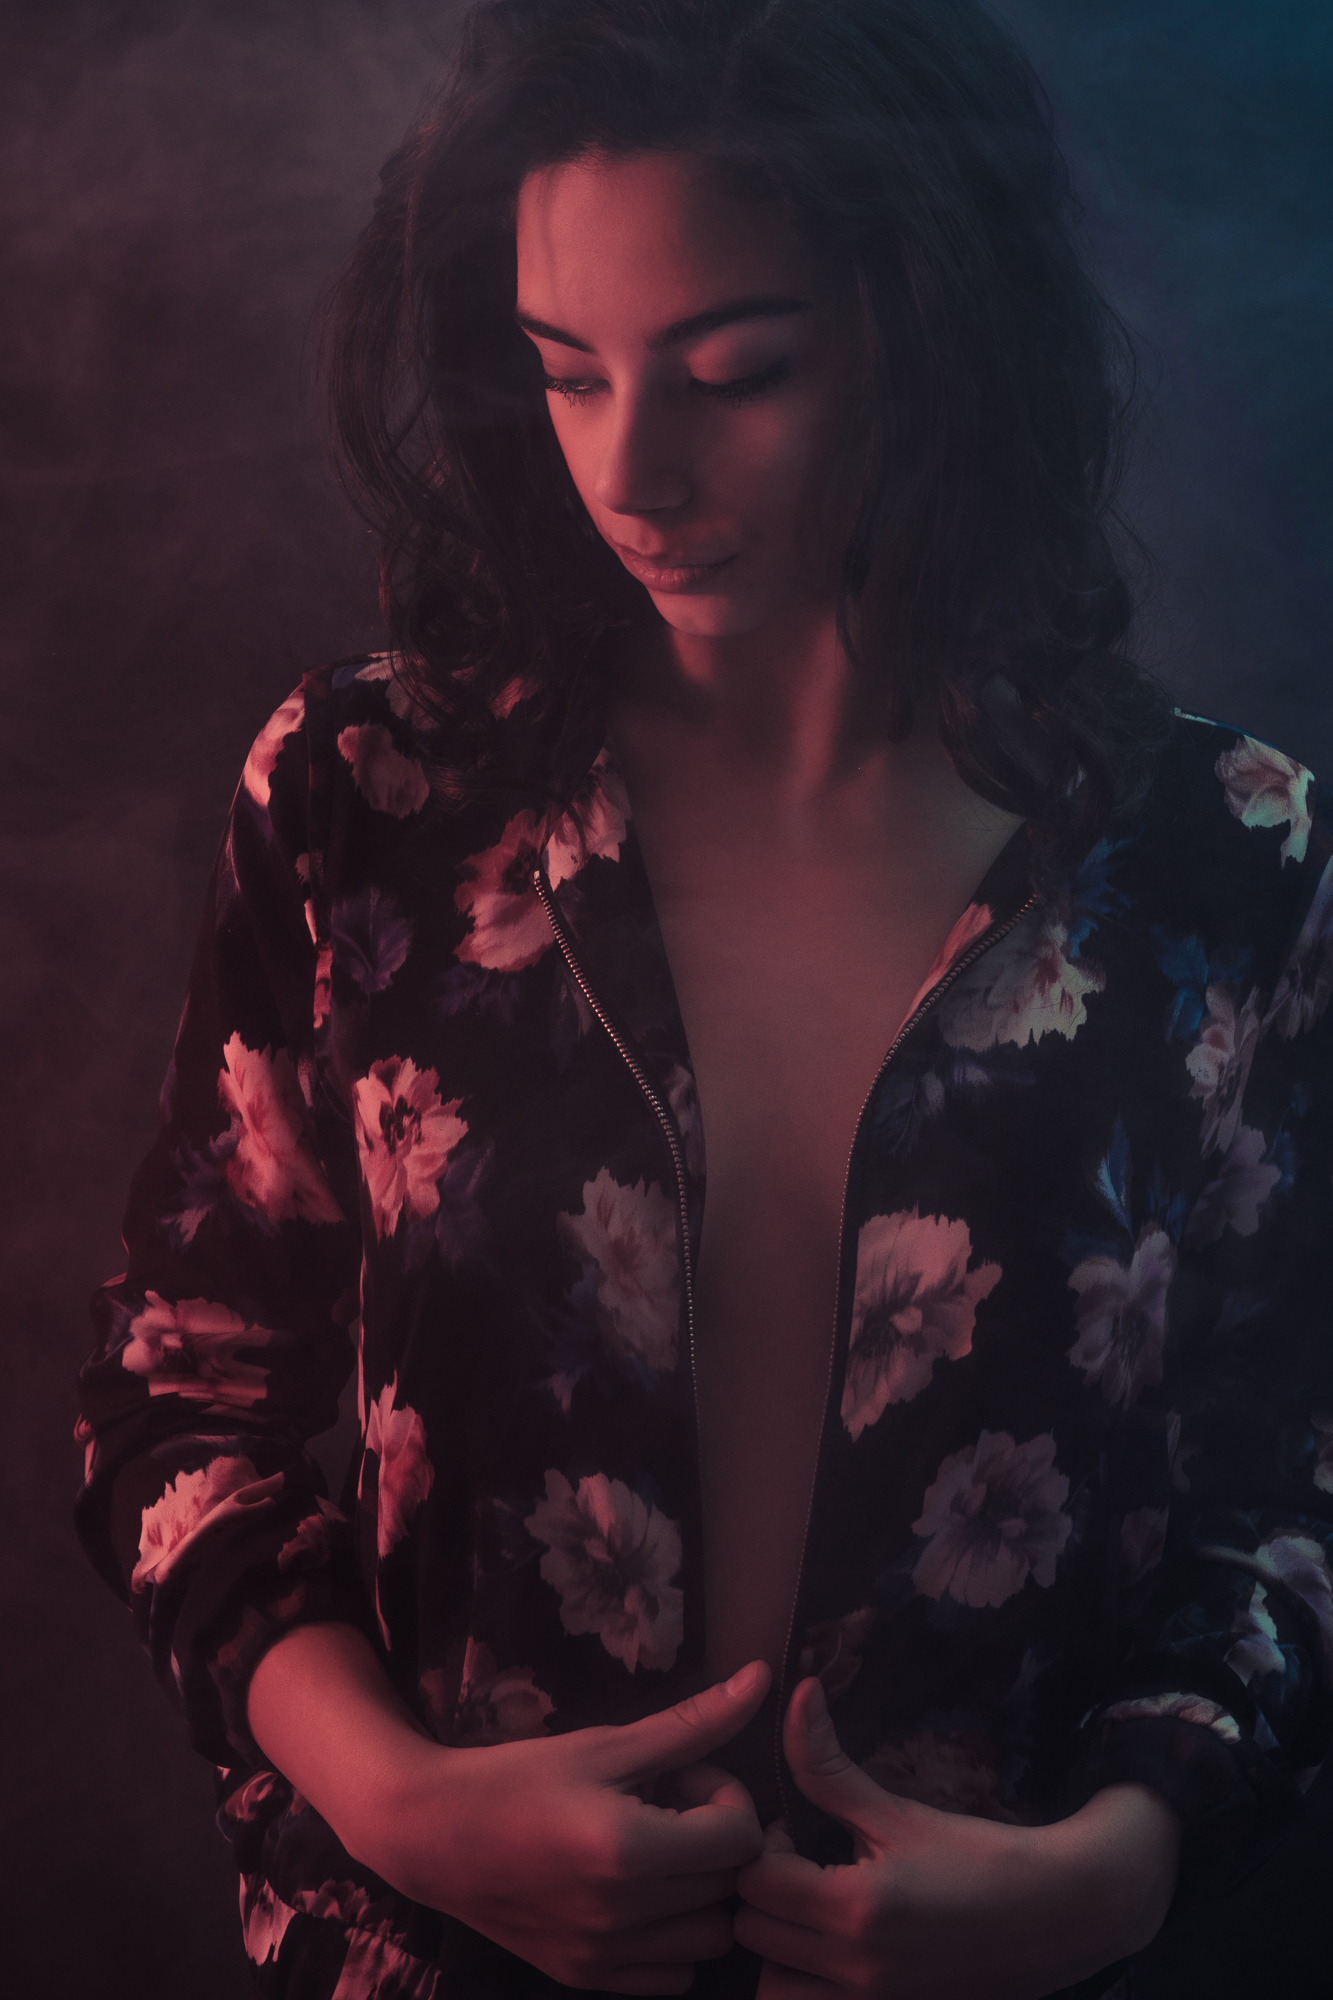
X-T20, Fujinon XF56mmF1.2, ISO 200, 1/180th, f/14. I used just a little bit of smoke here, you can see it because it casts colors on the black background. It also softens up the lights a bit more.

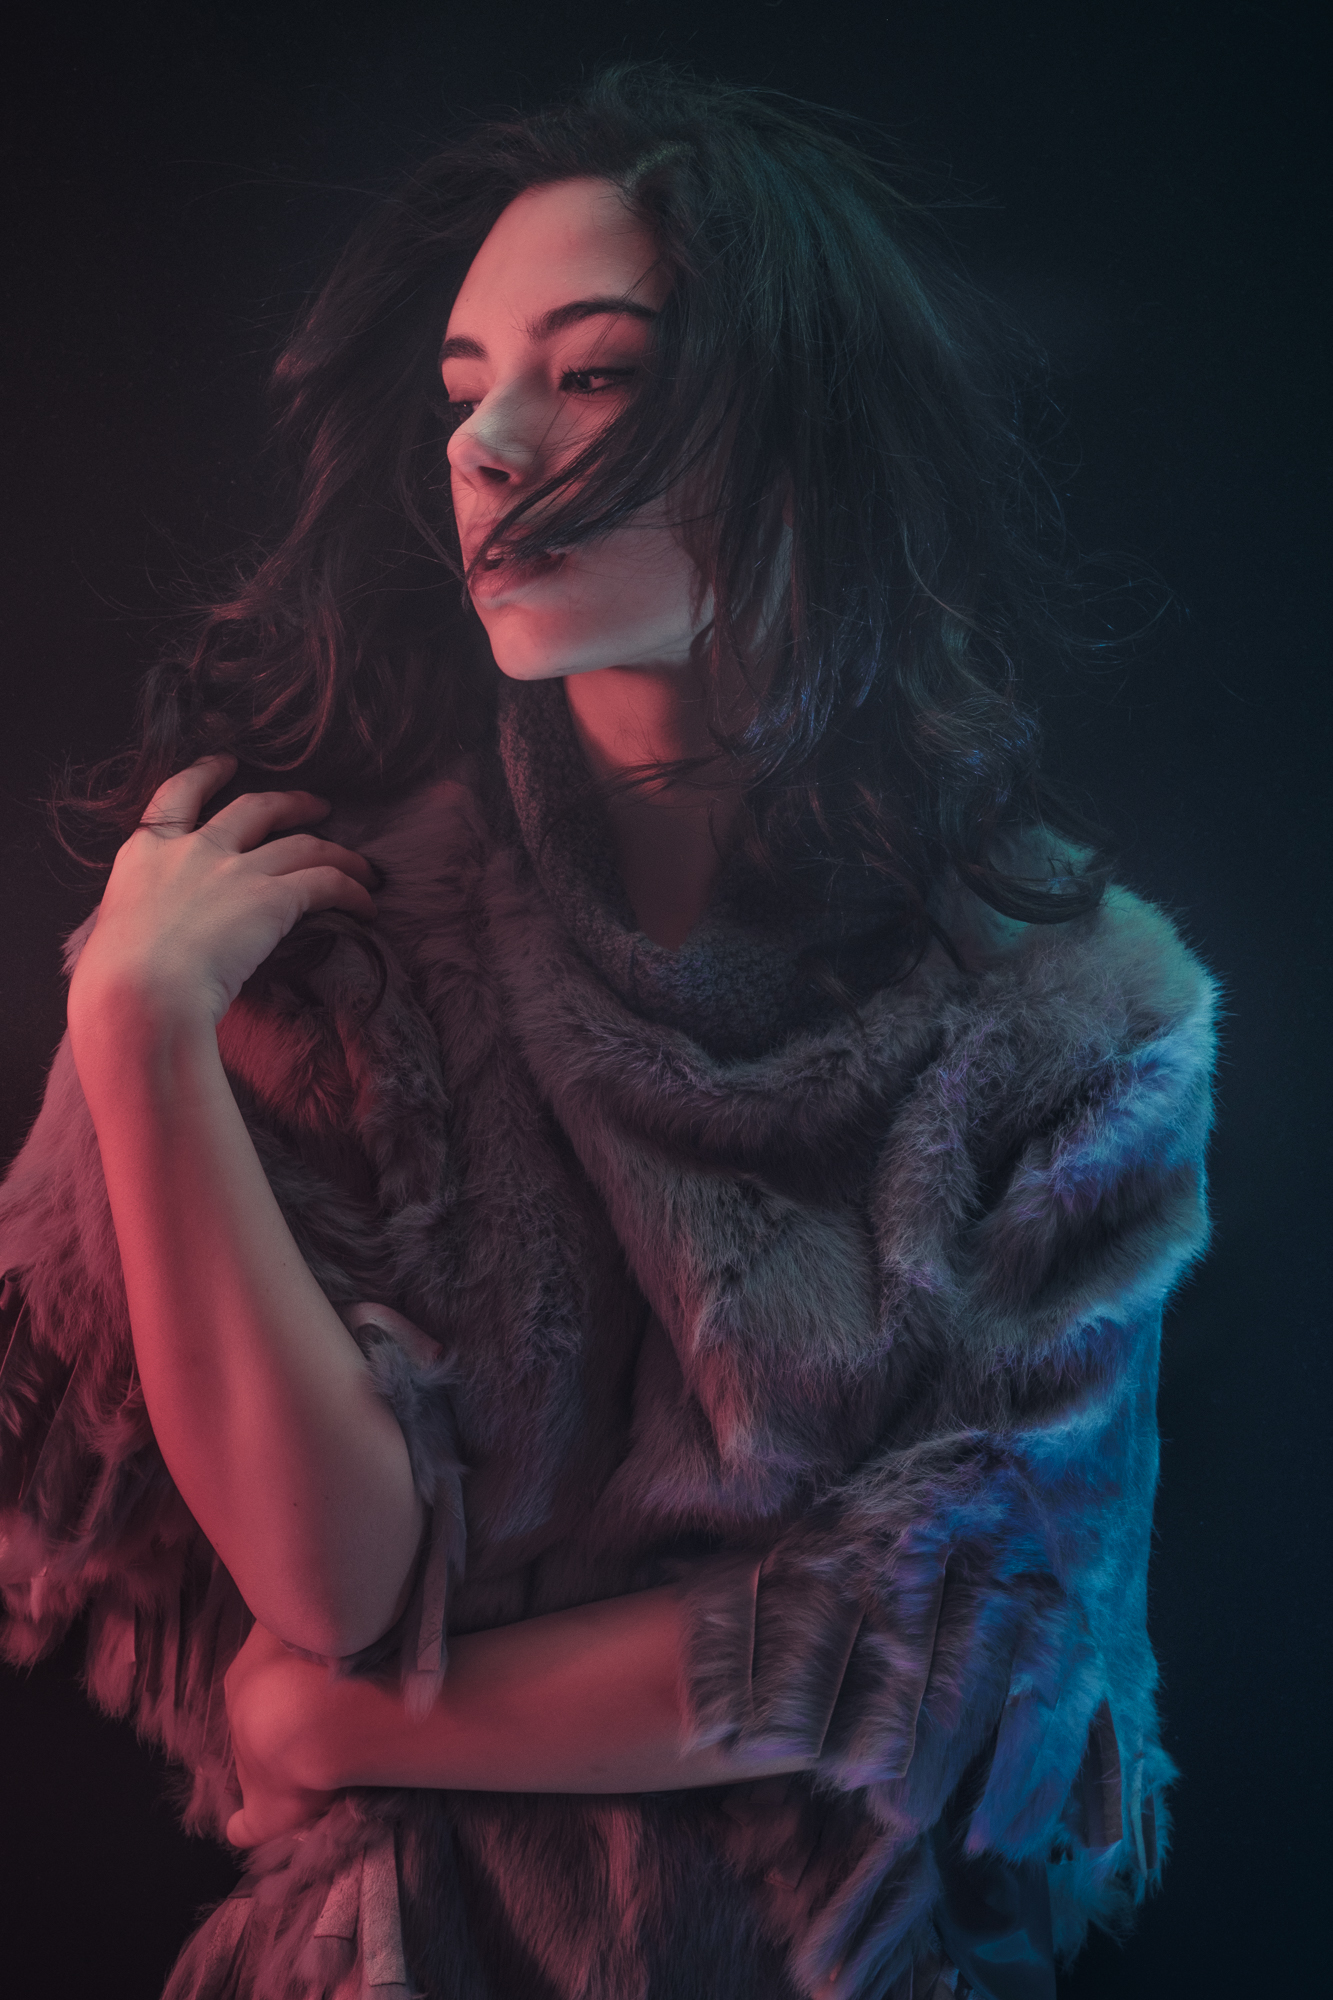
X-T20, Fujinon XF56mmF1.2, ISO 200, 1/180th, f/13. Same as before, but I switched one the wind machine.
The main thing to consider when using smoke and flash lights is that smoke is white (usually), and that some of the light will bounce on it and hit the lens, while some will start bouncing around and eventually hit the model. This creates two distinctive effects:
- You’ll see the smoke in the picture (because it is bouncing back light at you, hence it “appears”). How much smoke you’ll see depends on how much smoke you sprayed (ugh!), but also on what angle the flash is hitting the smoke. Try using a side one for the best effect (from under, from above, from left, or from right).
- The smoke will act as a diffuser on the light hitting the model, hence it will soften the light. Beautifully, I might add. The more smoke you add between the flash and the model, the softer the light. Of course, some of the light will be lost, absorbed by the smoke or simply bounced somewhere else, so the more the smoke the more the light you’ll need. There’s no easy calculation here, especially because the sprayed smoke will immediately start to swirl and dissolve around, so basically every shot will have a different result in terms on light. If you can’t live with it, smoke isn’t probably your thing.

Horrible but I hope effective scheme. F1, F2, F3, and F4 are the flashes, SM is the smoke machine, WM is the wind machine.
Let’s have a look at my drawing of the light scheme I used. I’m no Giotto, but the scheme should be clear enough. I used four flashes, all hitting from the sides. The flash on the left and the one on the right (from the photographer point of view) are Godox AD360 with the original domes on them. I placed the red disk on the left dome, and the blue+green dome on the right. Since these lights are the ones hitting the models’ faces, I had the domes facing white reflectors to soften up their light. If you don’t own reflectors, remember: your white walls are great reflectors. The two flashes on the ground are two Godox TT600, the head zoomed at 20mm. The flash on the left wears a pink gelatin, the one on the right a blue one. These two flashes are pointing upwards, and are kept far enough from the models so they don’t hit them directly (when there’s no smoke). You can see how the light diffuses on the next drawing. When smoke is around, however, the lights and colours get way more mixed up.

I set the camera at ISO 200, 1/180th of a second, and fixed white balance. I operated on the aperture to compensate for the light changes due to the smoke quantity, between f/11 to f/16. I used mostly the XF56mmF1.2, but I opted for the XF35mmF2 in some shots.
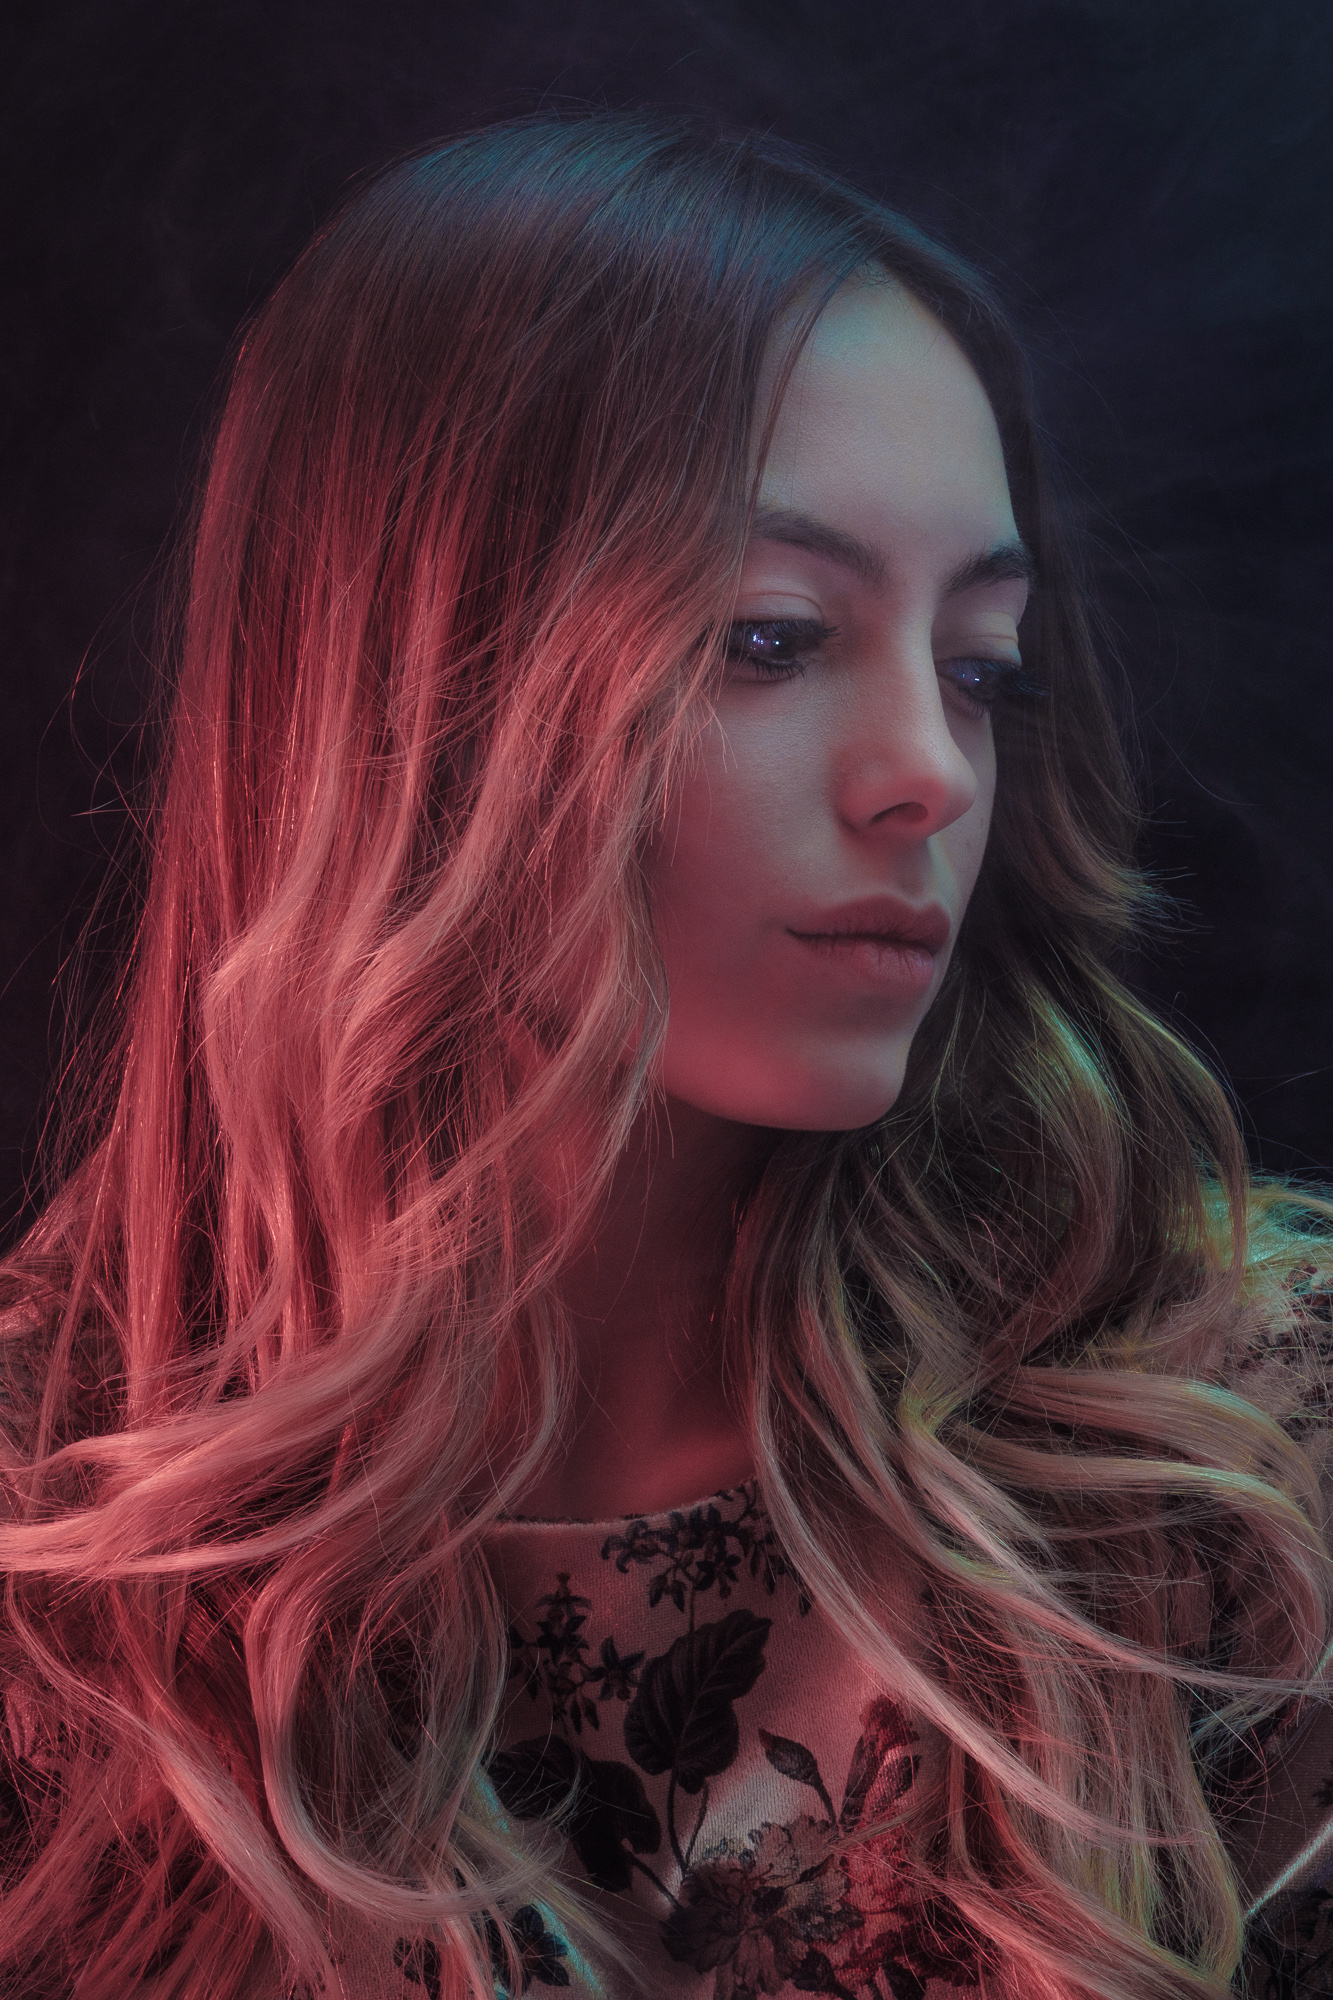
X-T20, Fujinon XF56mmF1.2, ISO 200, 1/180th, f/14. Here the smoke starts to be visible, and with it the colors around the model get more vivid.
Going back to the three questions I wanted to answer with the tests, here are my thoughts on the resulting photos:
- When the smoke is in small quantities, it does add texture and colours to the background, which otherwise would be plain black. It also softens the lights, with a beautiful effect on the skin.
- When wind is added to the equation, the previous effects stay valid as far as there’s enough smoke around. The wind adds a bit more of movement, which is never a bad thing.
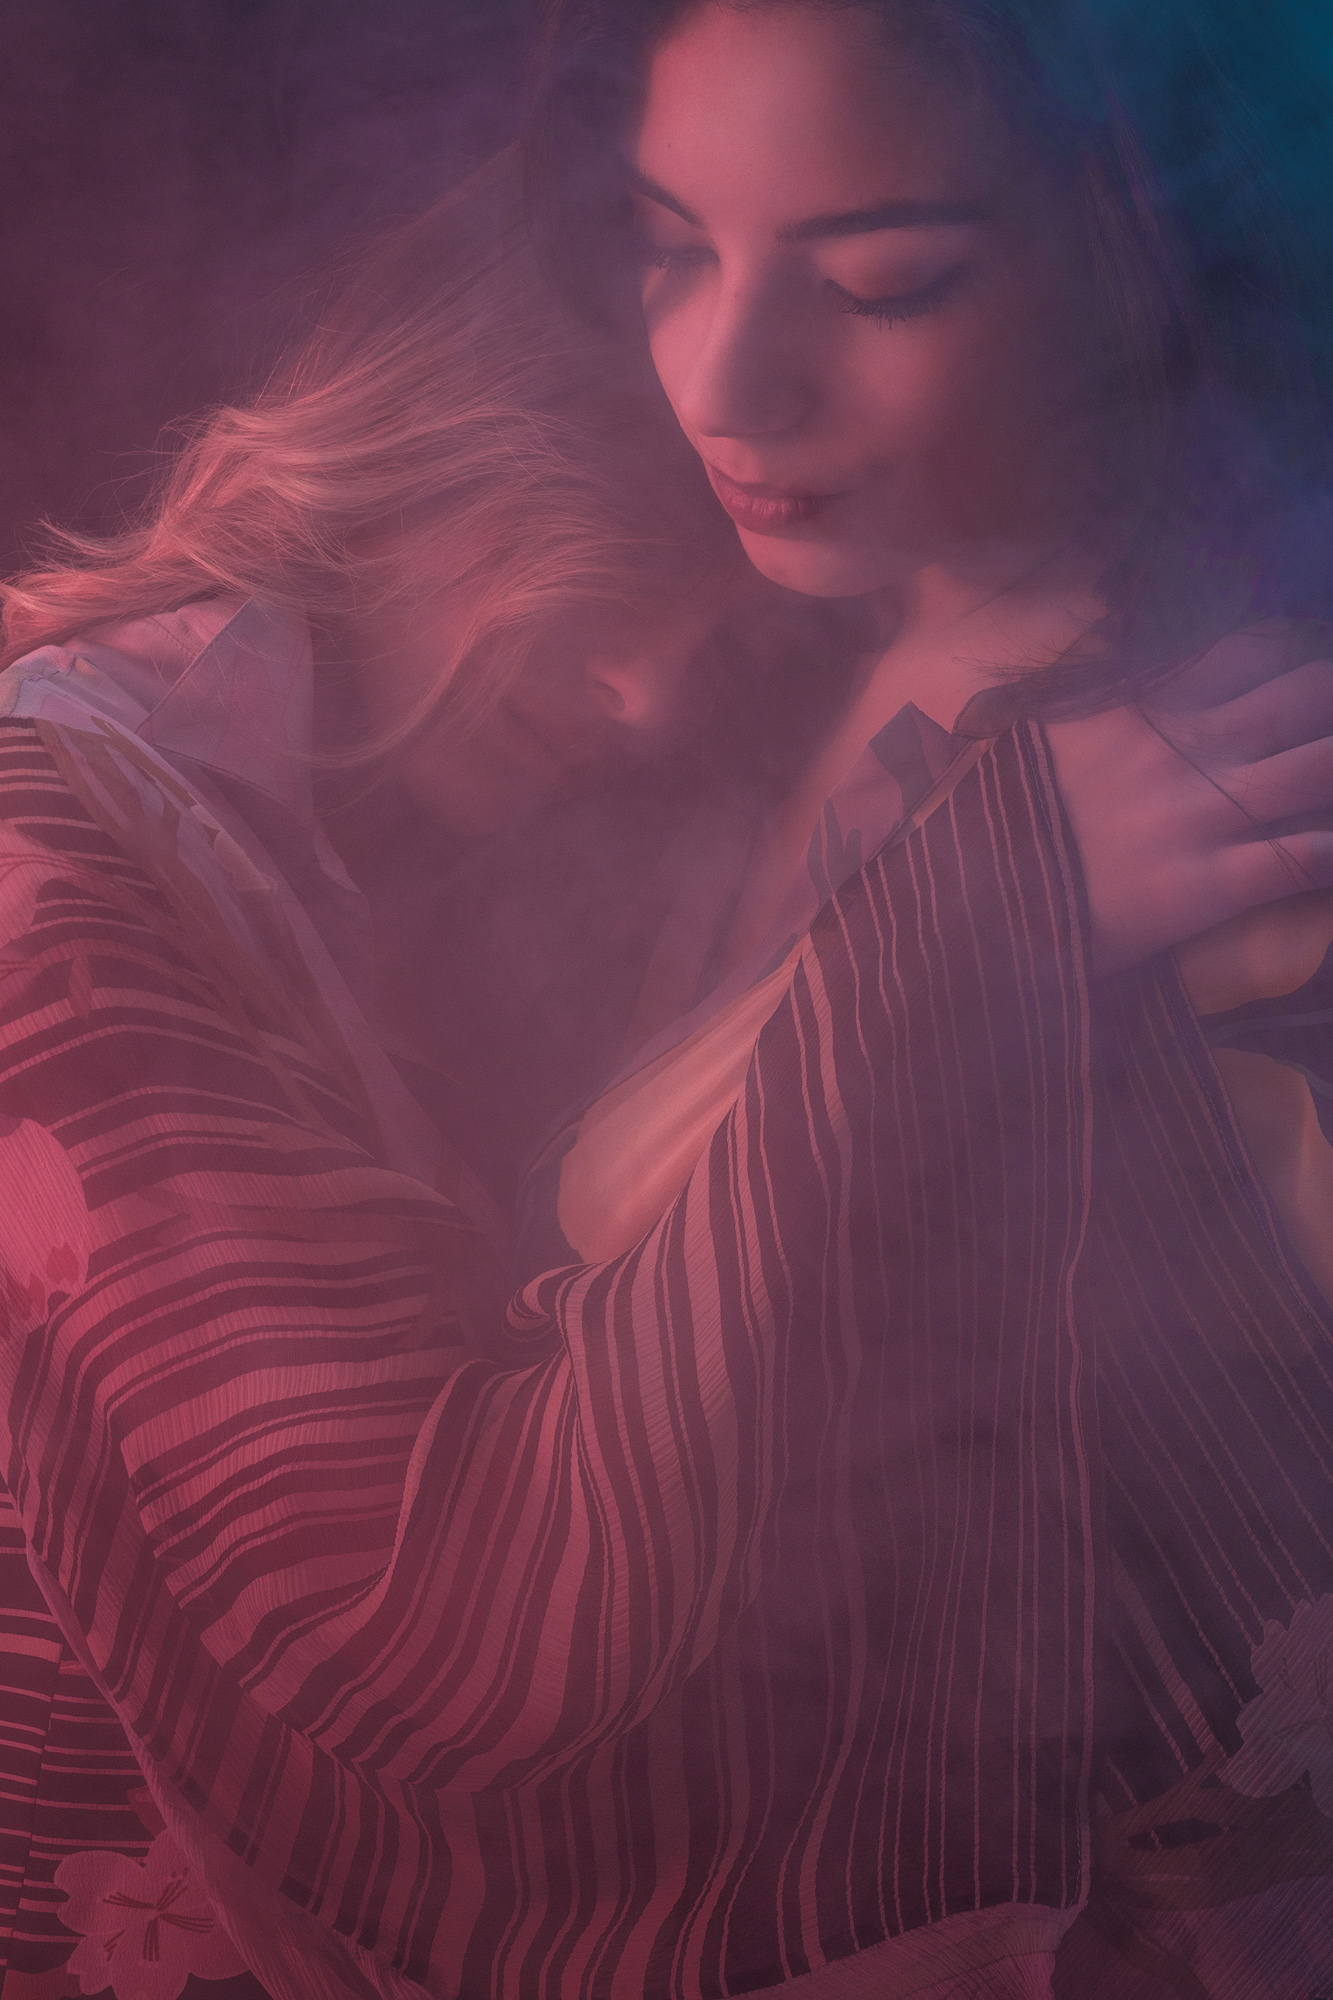
- When the smoke is a lot, crazy and unpredictable things happen. Colour “clusters” appear, the smoke’s textures prevail and the models can get lost in them. Lights get super soft and smooth, but get absorbed also a lot. Not necessarily a bad thing, actually, but to be kept in mind.

On a side note, all this smoke did trigger my smoke alarm like crazy. I eventually had to remove the alarm and hide it in a drawer. The smoke itself is absolutely fine for the models’ and the photographer’s health; it isn’t hot, so basically nothing wrong or dangerous came out from the testing, but for the aforementioned alarm going off all the time.

My final take on the smoke machine is that it is a nice toy (tool!) to play with during shooting of all kind, because it does add textures and light effects even if used in very small quantities, or create a crazy and out-of-this-world mood if used on full speed. It can be coupled with the wind machine, because the smoke will keep acting as a light diffuser and texture adder even when dissolved in the whole studio (as long as there’s enough of it). Plus, it’s comes handy when throwing a killer party!
Since this testing, I had the chance to use the smoke machine for one of my creative projects, and it worked flawlessly. I might write about that project in the next article, but if you’re too curious you’ll find it on my Instagram or on my Vogue portfolio. I hope you’ll enjoy them!