

I have been testing the new Fujifilm GFX 50R on a recent trip into the Highlands of Scotland. The new Medium Format body is certainly smaller than the GFX 50S I tested two years ago and coupled with superb GF32-64mm f4 zoom it makes for a compelling lightweight medium format landscape photographers outfit.
It certainly reminded me of my old GA645W medium format camera that had a superb fixed Fujinon 45mm f.5.6 lens. For the trip into the Highlands I also has the new GF45mm f/2.8 lens for the GFX 50R but favoured the zoom for its flexibility.
Anyway thinking of Fujifilm’s heritage another camera I used to dream about, but I never owned, was the Fujifilm TX2 / Hasselblad XPan2. The panoramic images these cameras produce on 35mm film are glorious and the camera and lenses have become highly sought after in recent years, with prices that reflect that demand.
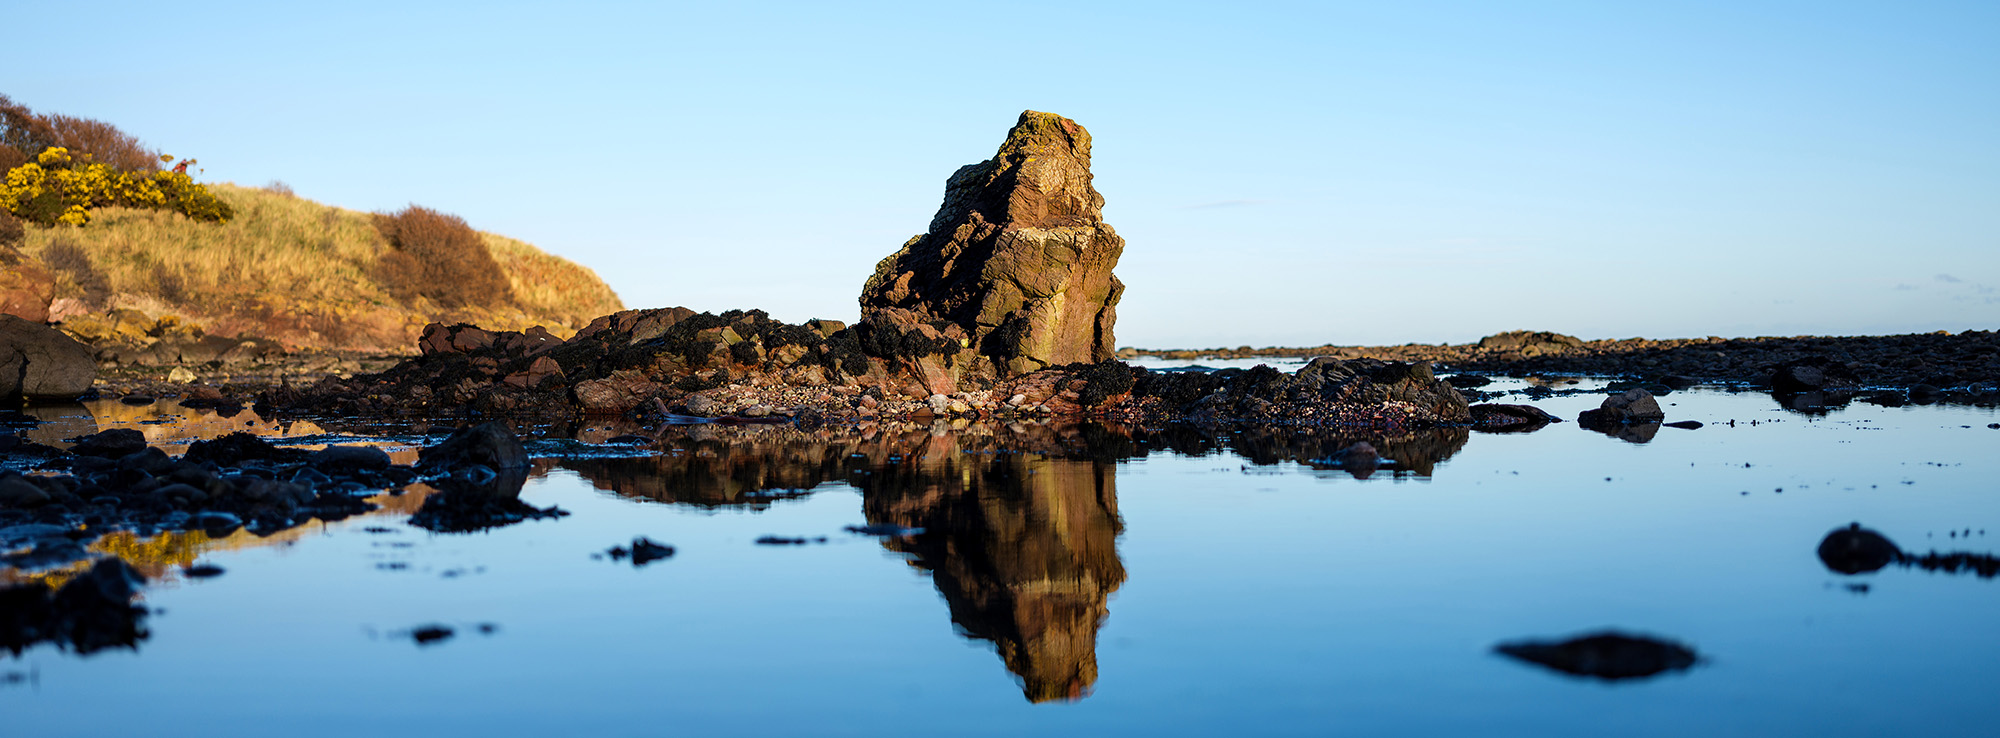
Rock Pool Reflection – GFX50R + GF45mm f2.8 – 1/500 @ F2.8 ISO50
SHOOT 65:24 IN CAMERA
I love shooting panoramas and the GFX can shoot in a 65:24 format ratio. Over the past few weeks I have found myself switching the camera to this panoramic format instinctively and shooting landscapes that suit this letter box style of photography.
SHOOT 3:2 AND CROP IN POST
Now you can shoot the image in the standard 4:3 format and crop in post production and this is a method I use with my X-T3 and X-H1. However you have to ‘see’ the panoramic crop in your mind, not in the viewfinder. On both the GFX 50R and 50S in 65:24 mode the camera’s viewfinder blacks out the top and bottom of the frame and allows you to see the final result in camera, which makes composition a lot easier.
Also shooting in RAW keeps the original 4:3 file if you wish, you just need to remove the cropping in Lightroom. The JPEG files are permanently 65:24 format, so I tend to shoot both.
X SERIES PANORAMIC MODE
Another thing to point out that, unlike the X Series cameras, the GFX50R doesn’t have a panoramic mode on the drive setting.
To be honest, I’ve never really got on with the X Series panoramic ‘sweep’ method as I find I either move too quickly or too slowly and I sometimes end up with ‘banding’ where the camera software hasn’t joined the images quite correctly together.
PHOTOMERGE
With the X Series I much prefer to shoot a series of individual images manually and use Photoshop to stitch them together. This is also a method you can use with the GFX, and the results can certainly be impressive but the files can be huge, especially if you shoot the sequence in portrait mode so the short edge is 8256 pixels before you crop to adjust the framing.
To use the Photomerge function in Photoshop CC select <FILE> <AUTOMATE> <PHOTOMERGE>. Import the images you want to merge together, I usually have these in a separate folder on my hard drive. I select <PERSPECTIVE> and then let the software work it’s magic.
Once complete I select a 65:24 on the crop tool to get the image how I want it before merging the layers to form a single image. I then work on this image as normal in Photoshop.
EXAMPLES AT BELHAVEN BAY
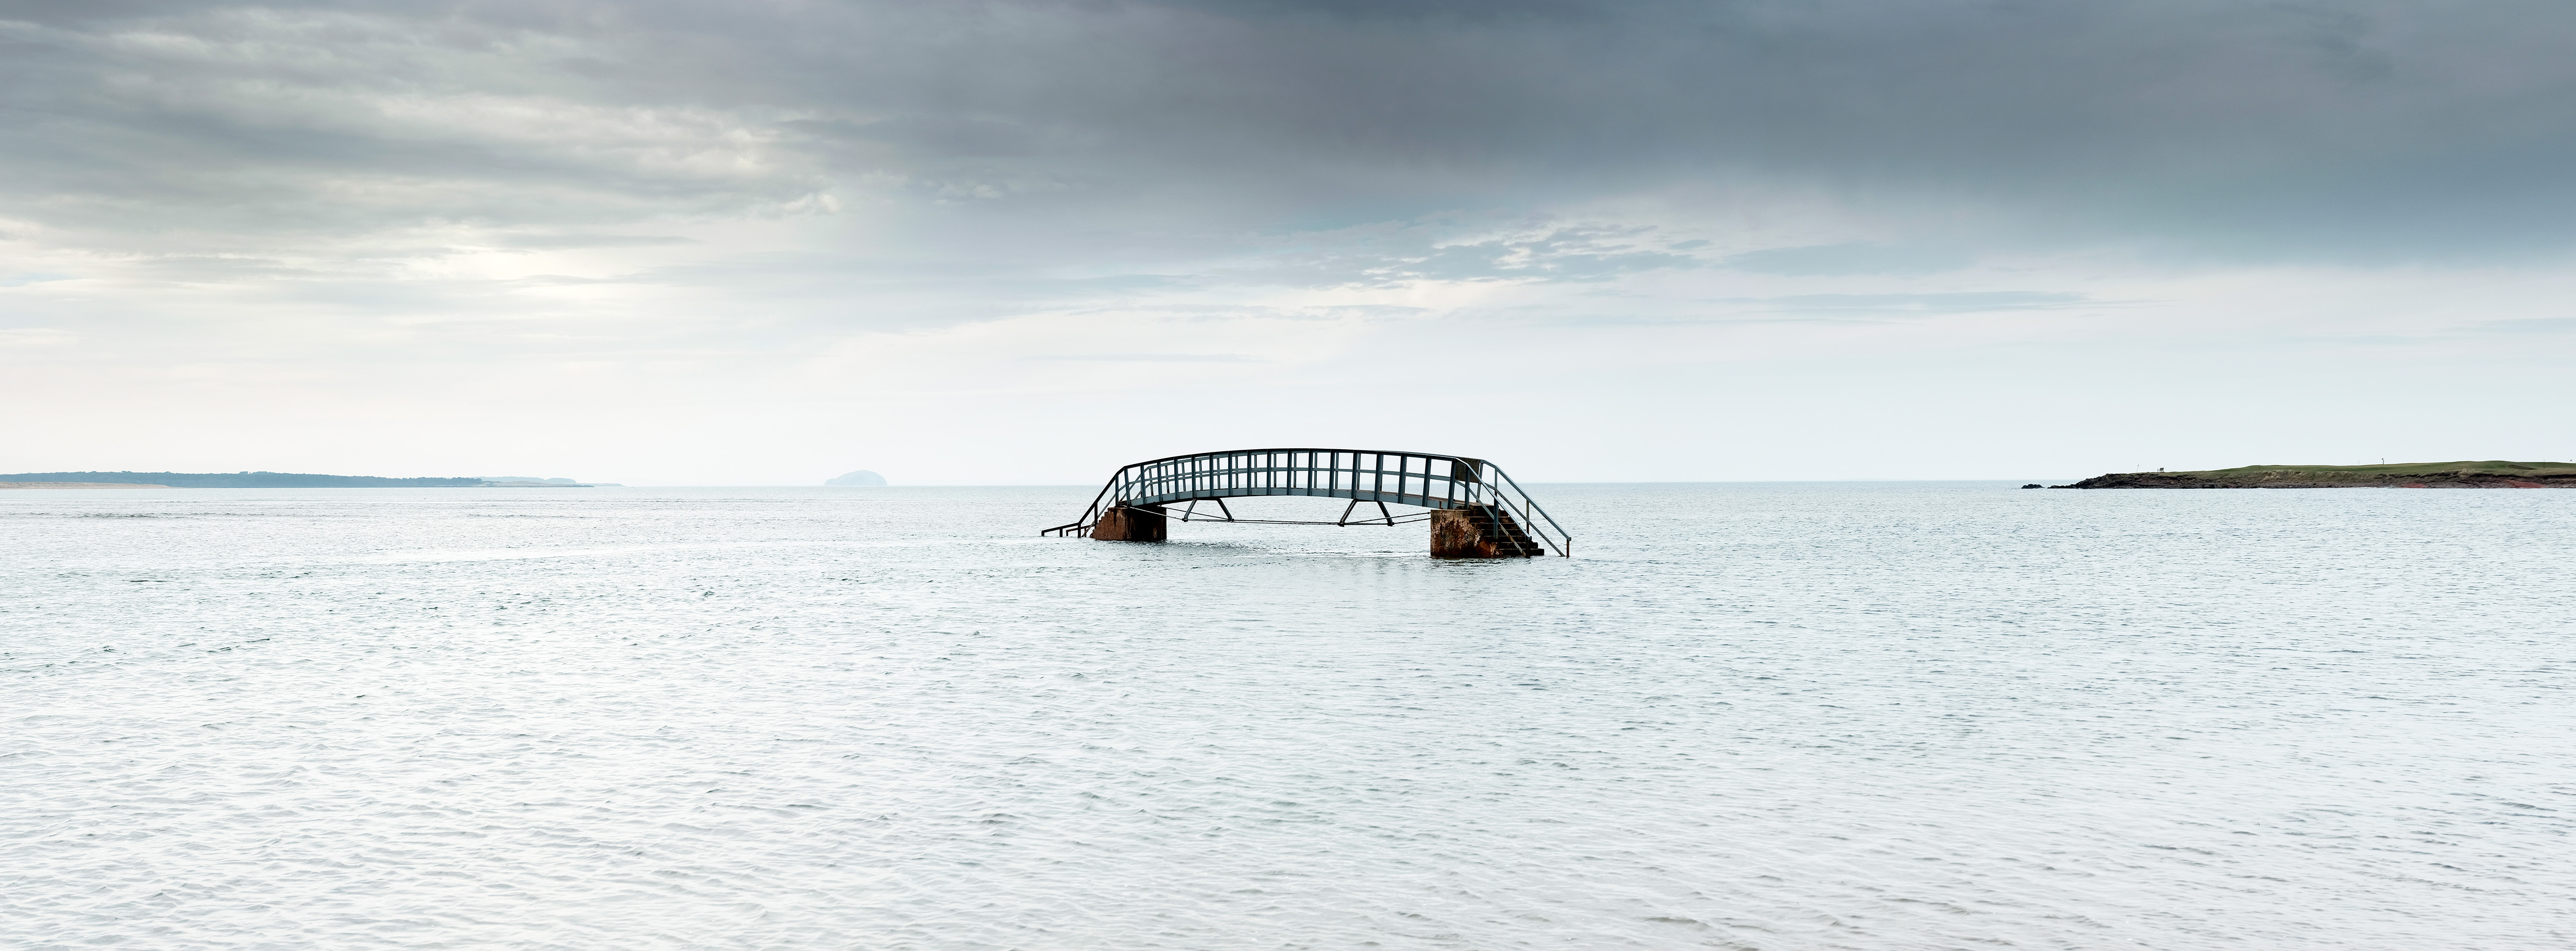
I went down to Belhaven Bay to shoot a series of images using the GFX50R and GF32-64mm f4 and the X-T3 and XF16-55mm f2.8 at the famous ‘Bridge to No Where’ at high tide.
The first image is a shot taken on the GFX in 65:24 mode. The full size image is 8256 x 3048 pixels.
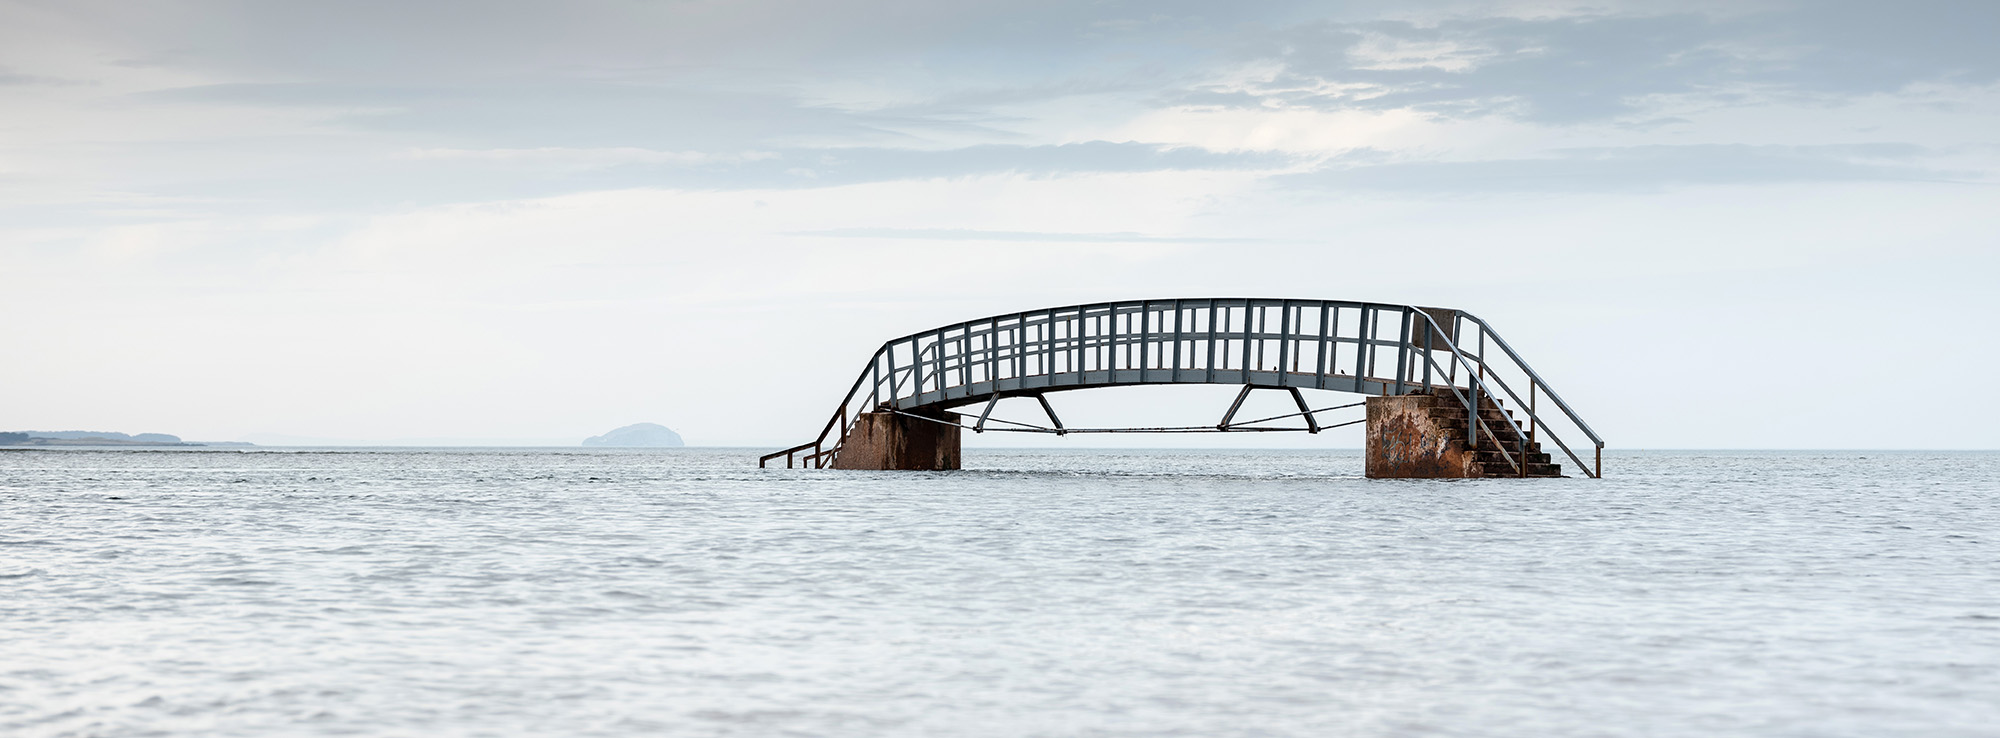
Bridge to No Where – GFX50S + GF32-64mm f4 (zoom 60mm) – 1/60 @ f5.6 ISO100
The second shot below was taken on the X-T3 in 3:2 mode and then cropped 65:24 in post production in Photoshop. The full size image is 6240 x 2304 pixels.
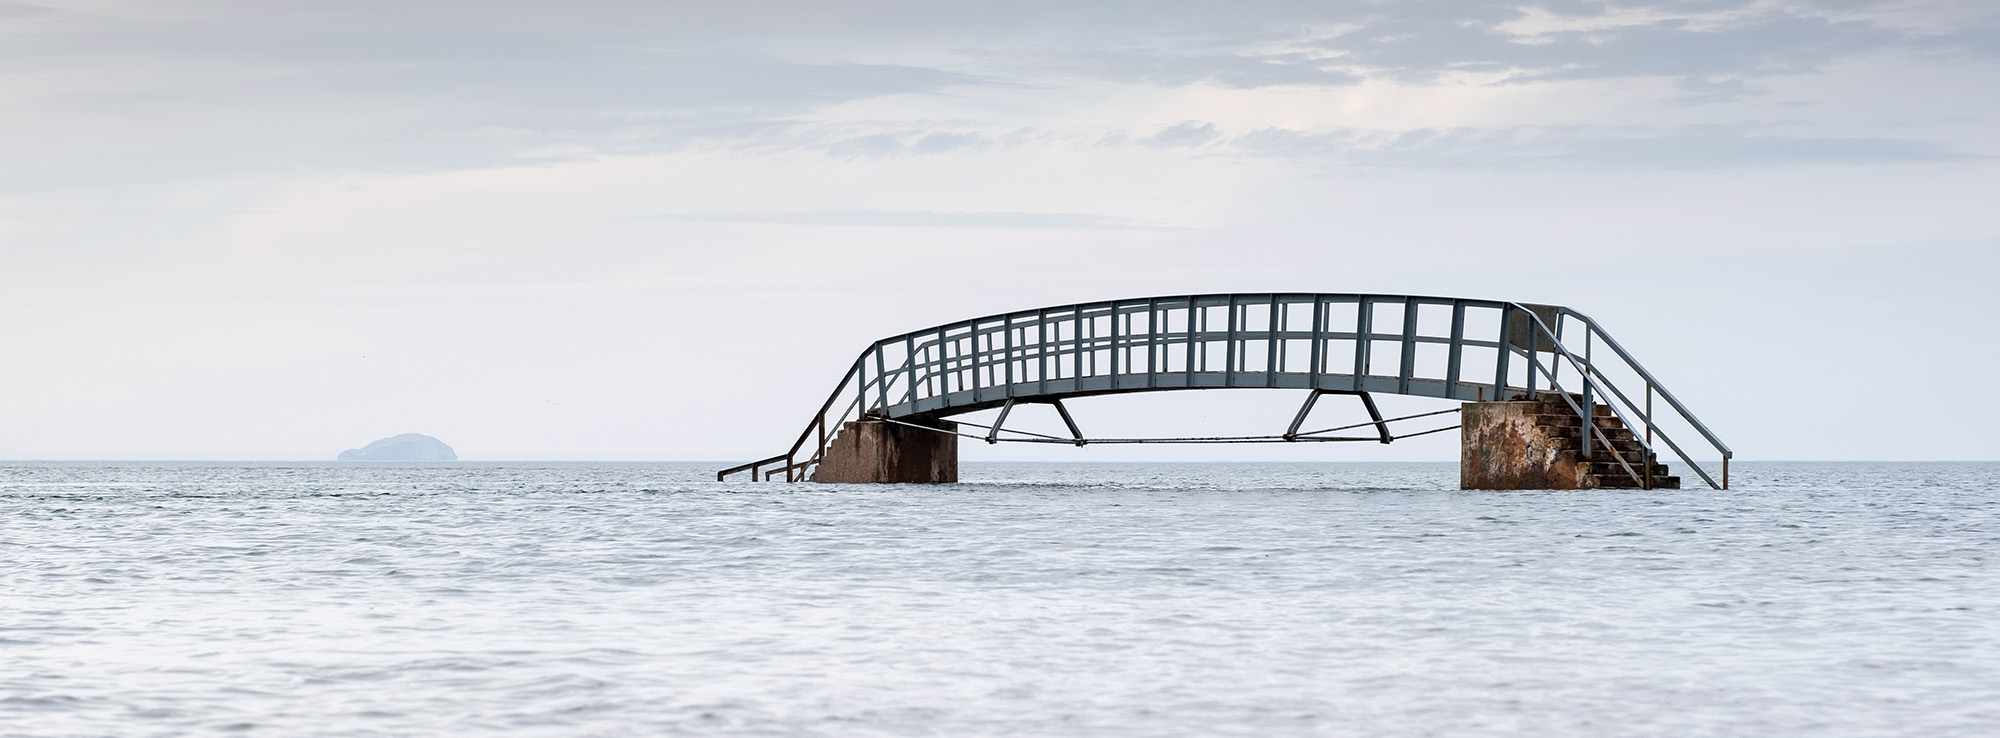
Bridge to No Where – X-T3 + XF16-55mm f2.8 (Zoom at 38mm) – 1/60 @ f5.6 ISO125
The third shot is a ‘photomerge’ of ten 3:2 format full size images shot in sequence on the X-T3 and merged in Photoshop using the photomerge function. The full size image is 16305 x 6020 pixels and the software has done a pretty good job at stitching the ten images together but I did have to tidy up some of the obvious joins where the images didn’t quite match.
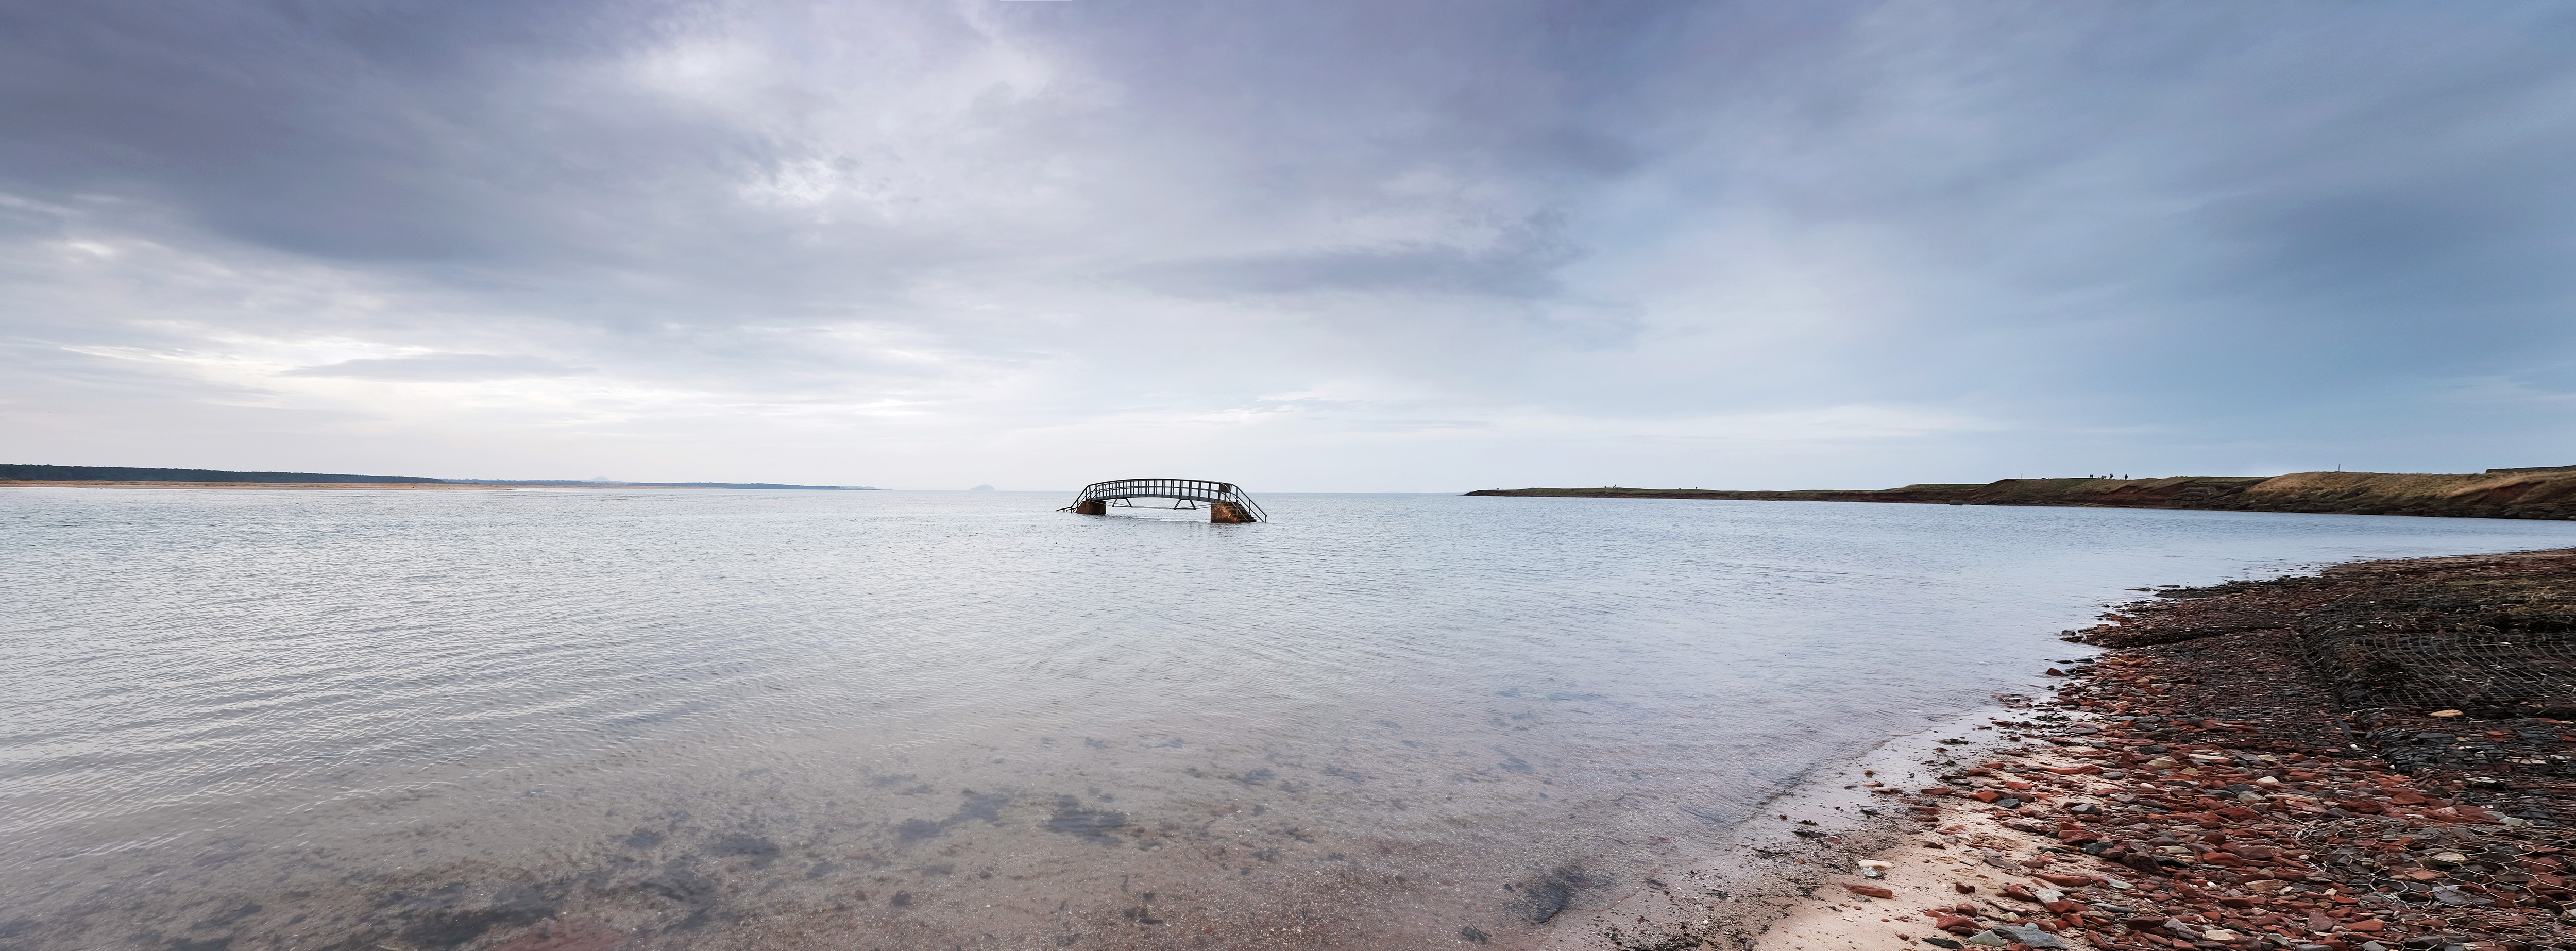
Bridge to No Where – X-T3 + XF16-55mm f2.8 – Photomerge 10 images
I tried to photomerge eight 4:3 images shot on the GFX 50R but my computer, which is fairly powerful iMac with plenty of memory, couldn’t cope with the size of the files. So I had to reduce the number to four shots. The resulting file is 15669 x 5785 pixels.
Bridge to No Where – GFX 50R + XF32-64mm f4 – photomerge 4 images
While you can get larger files using the ‘photmerge’ method, it can be tricky to get right, it can take a while for Photoshop to process the files and some computers wont be powerful enough to cope with the size of files produced.
The 65:24 mode offered by the GFX50R gives the photographer a good compromise and, because it is a single shot, you can fix the camera to a tripod and produce long exposure images with an ND filter if that is your preference. It is impossible to do that with the ‘photomerge’ method.
FURTHER EXAMPLES
Here are some examples from my recent trip into the Highlands of Scotland of images shot on the 65:24 format.

Loch Cluanie – GFX50R + GF32-64mm f4 (zoom at 40mm) – 1/120 @ f5.6 ISO200

Glen Coe – GFX50R + GF32-64mm f4 (zoom at 32mm) – 1/280 @ f4 ISO200

Rannoch Moor – GFX50R + GF32-64mm f4 (zoom at 32mm) – 1/160 @ f5.0 ISO400
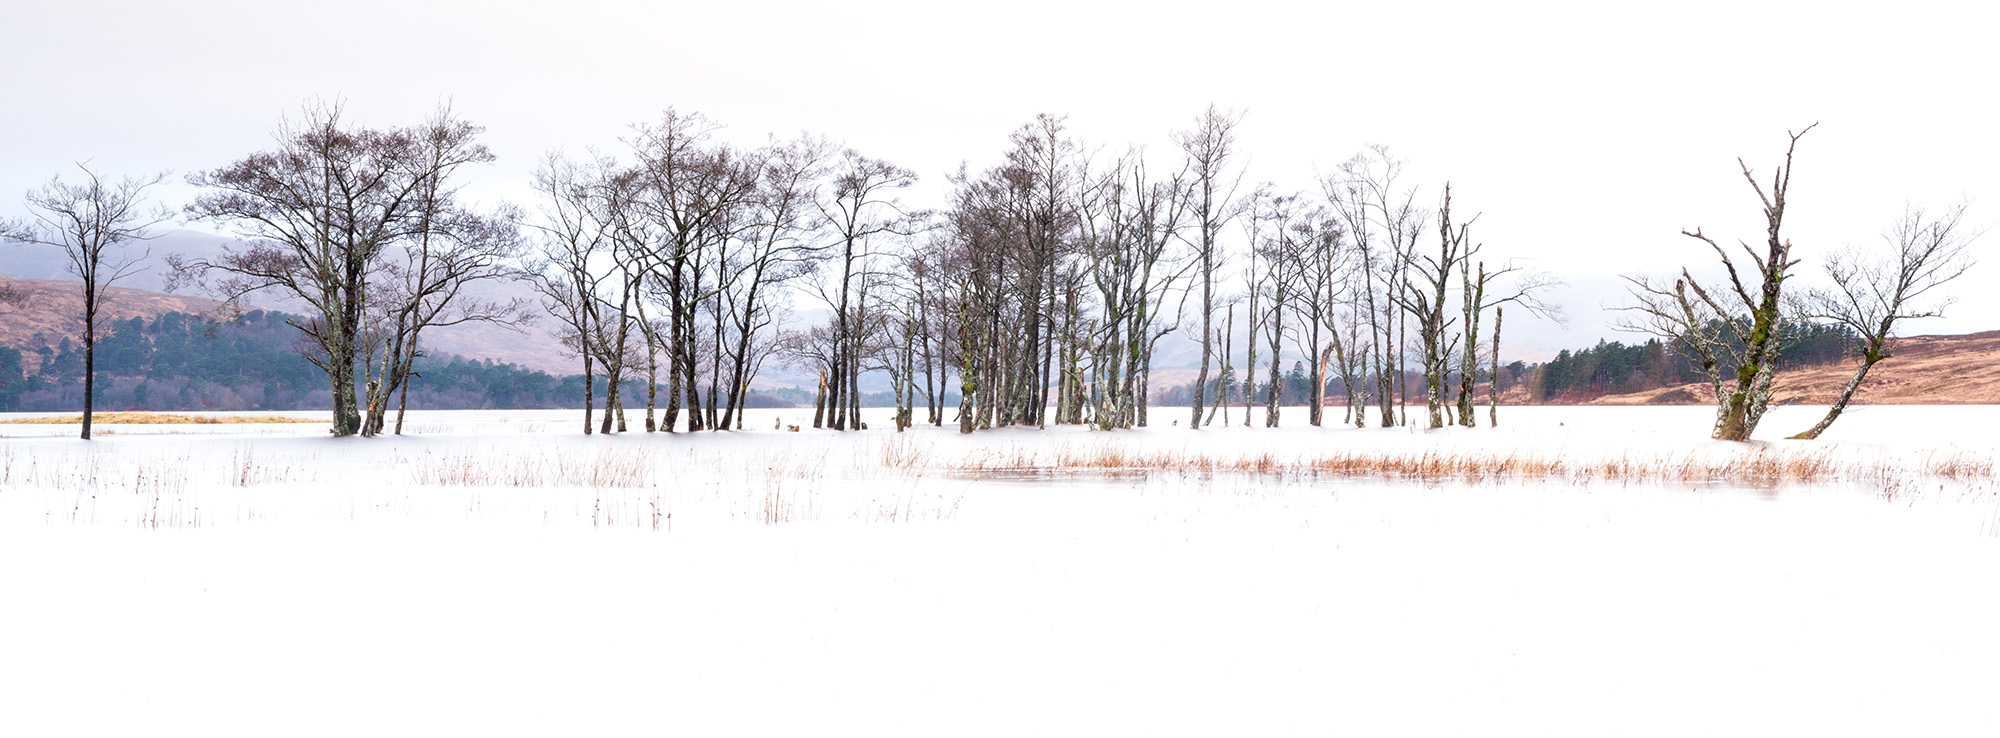
Sunken Trees in Loch Tulla – GFX50R + GF32-64mm f4 (zoom at 64mm) – 27 seconds @ f32 ISO50
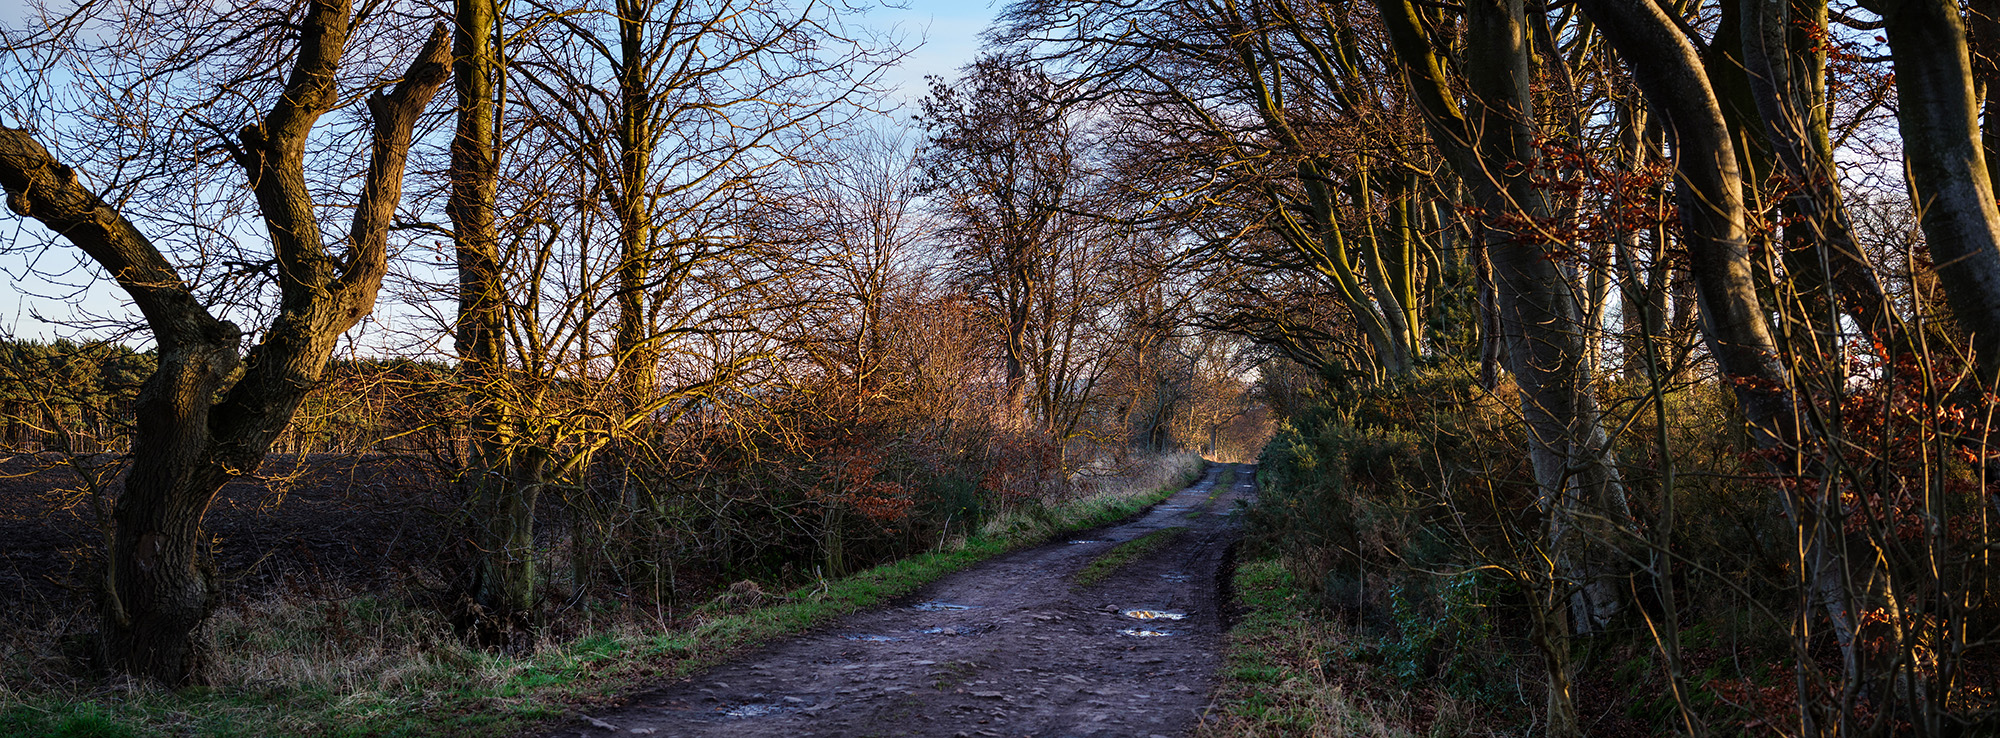
The Tree Lined Lane – GFX50R + GF45mm f2.8 – 1/125 @ f4.0 ISO200
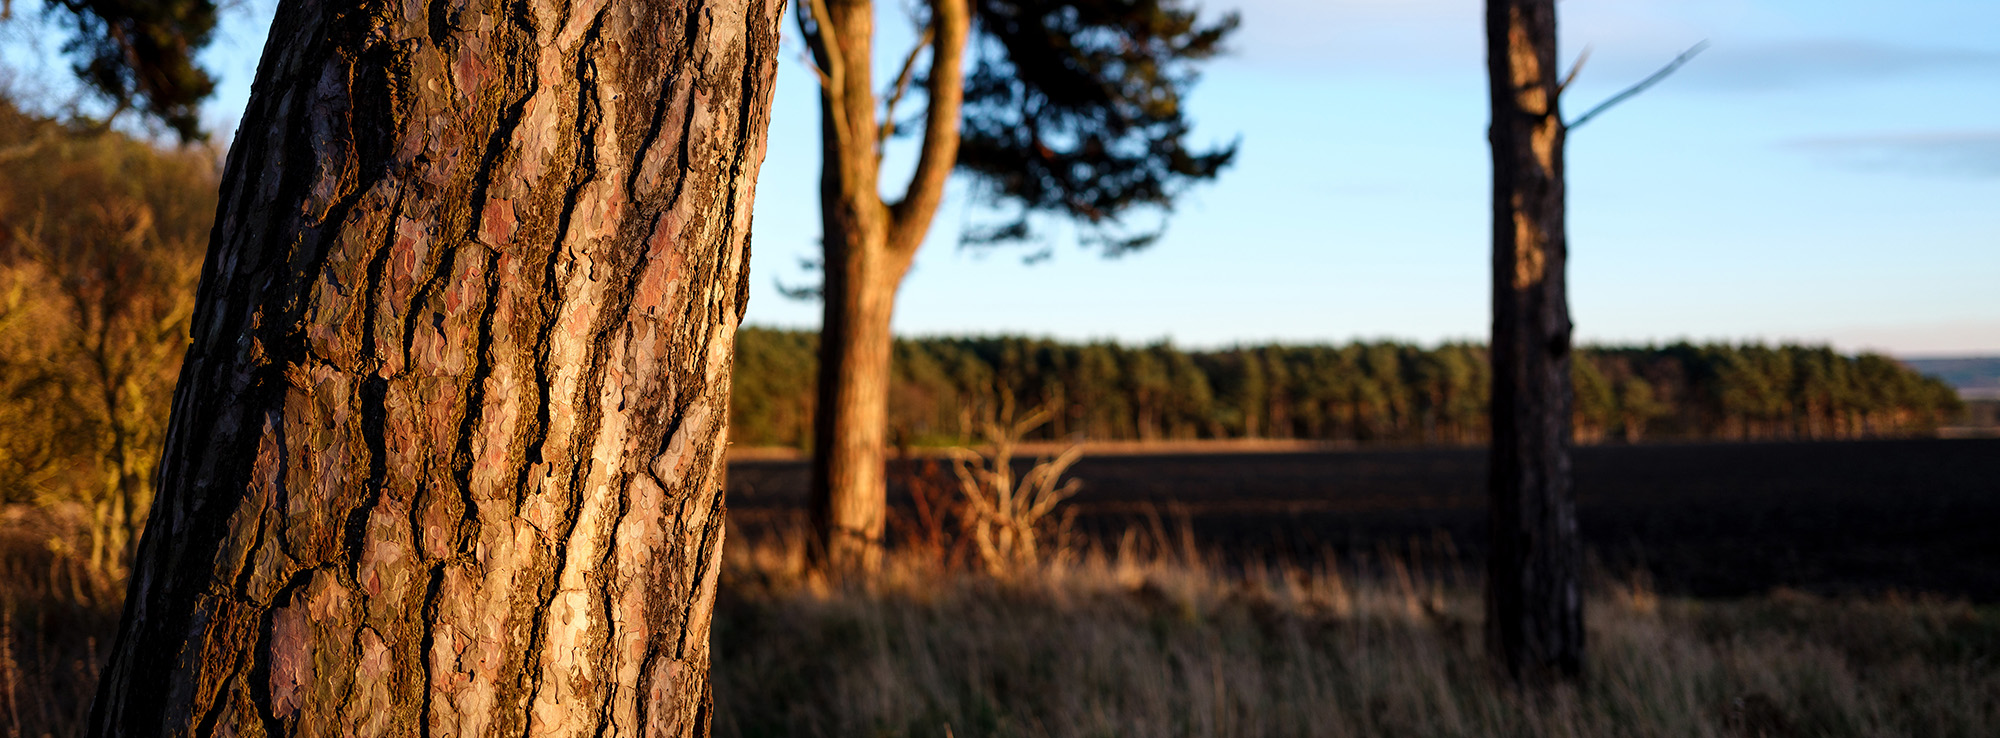
Winter Trees – GFX50R + GF45mm f2.8 – 1/550 @ f2.8 ISO200


