Fujifilm Middle East and Fujifilm South Africa were kind enough to invite me to South Africa for their official launch of the X-T2. My wife and I decided to take a few days off and visit Cape Town first before we hit Pilanesburg National Park with the Fujifilm Crew. This journey was mostly about animals since South Africa boasts a pretty diverse selection of wildlife.
A major starting point of the trip was a scenic drive from Cape Town all the way down south to the Cape of Good Hope. We were often intrigued and had to stop quite a few times to soak in nature’s attractions.
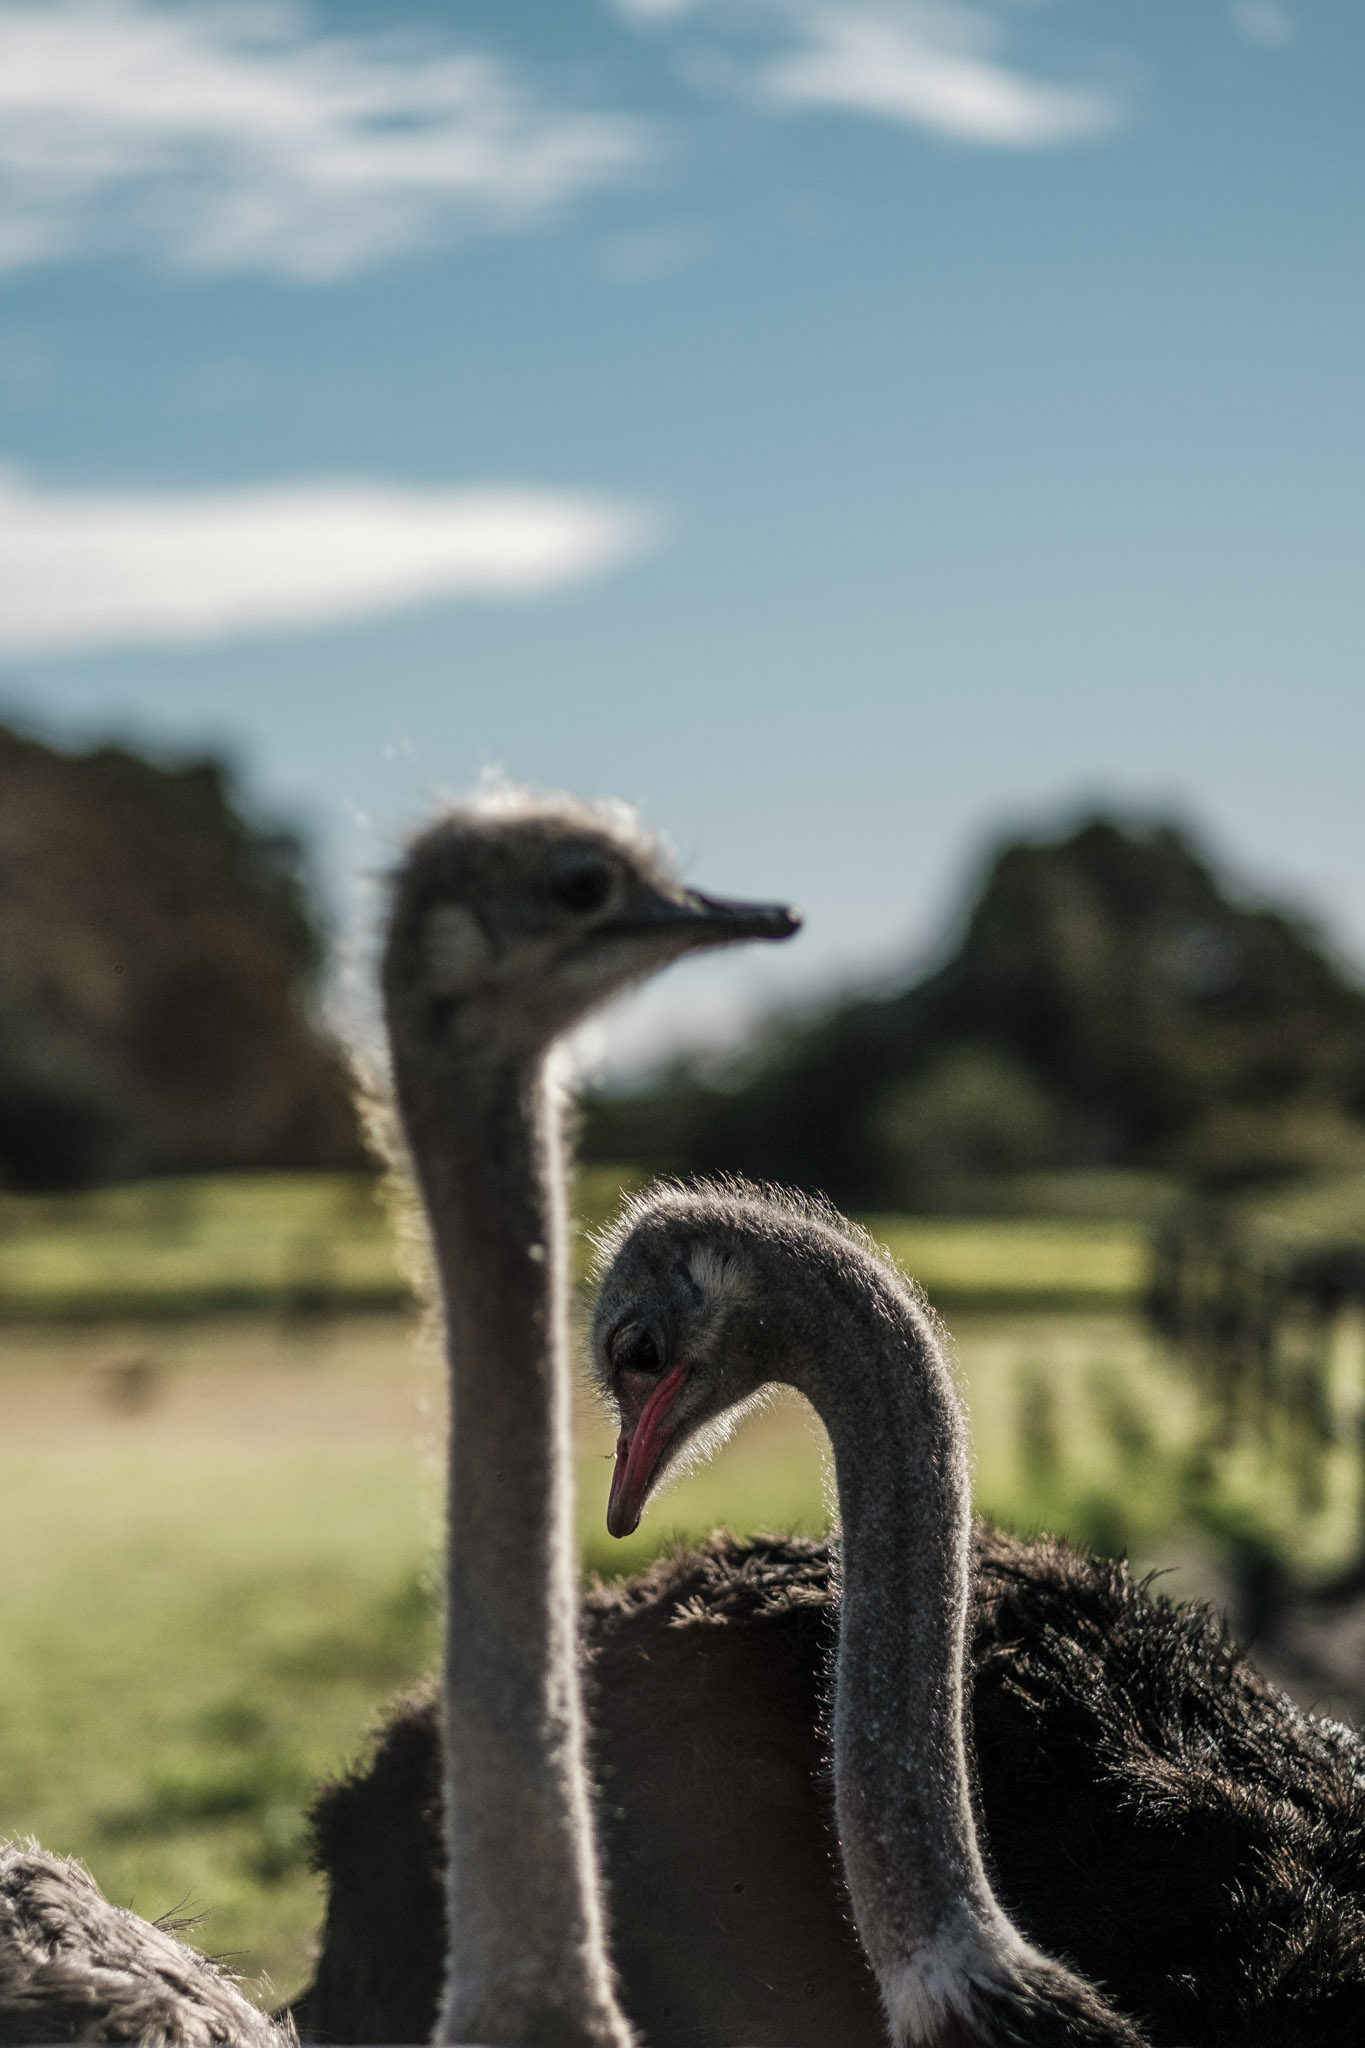
My wife is an animal lover, so upon seeing the sign “Cape Point Ostrich Farm”, she made me stop, “Just to take a quick look”, she said. (http://capepointostrichfarm.com/).
We spent over 90 mins on the huge ostrich farm with lots to see. It began with a casual conversation with one of the managers of the farm, that evolved into a tour of the Ostrich Breeding process and visiting the baby Ostriches, ending with us feeding an Ostrich couple “Bonnie and Clyde”, yes kinda lame names.
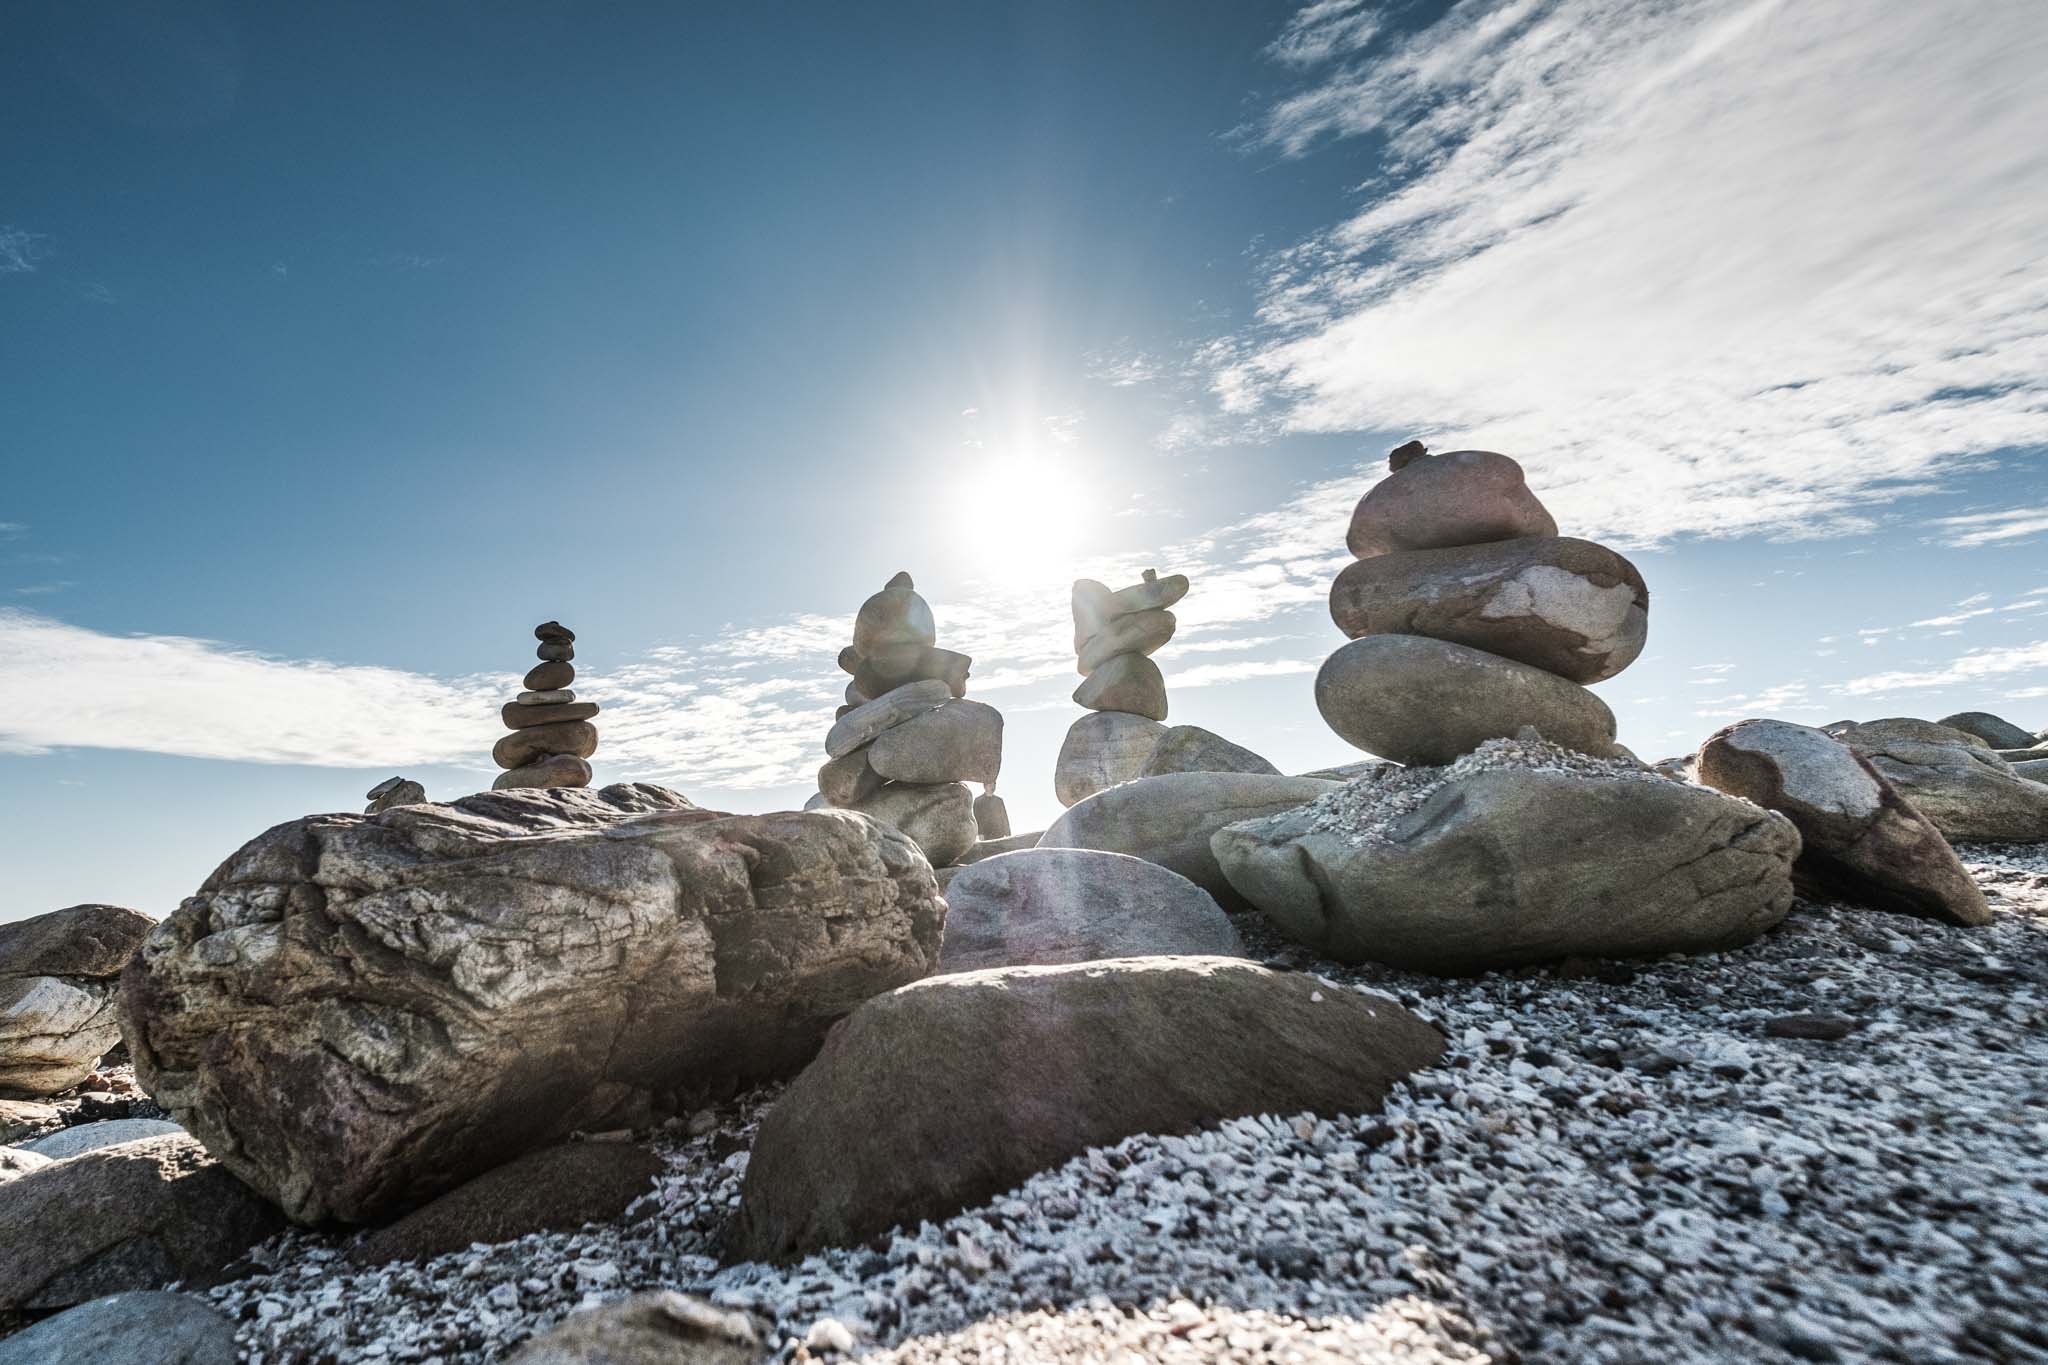
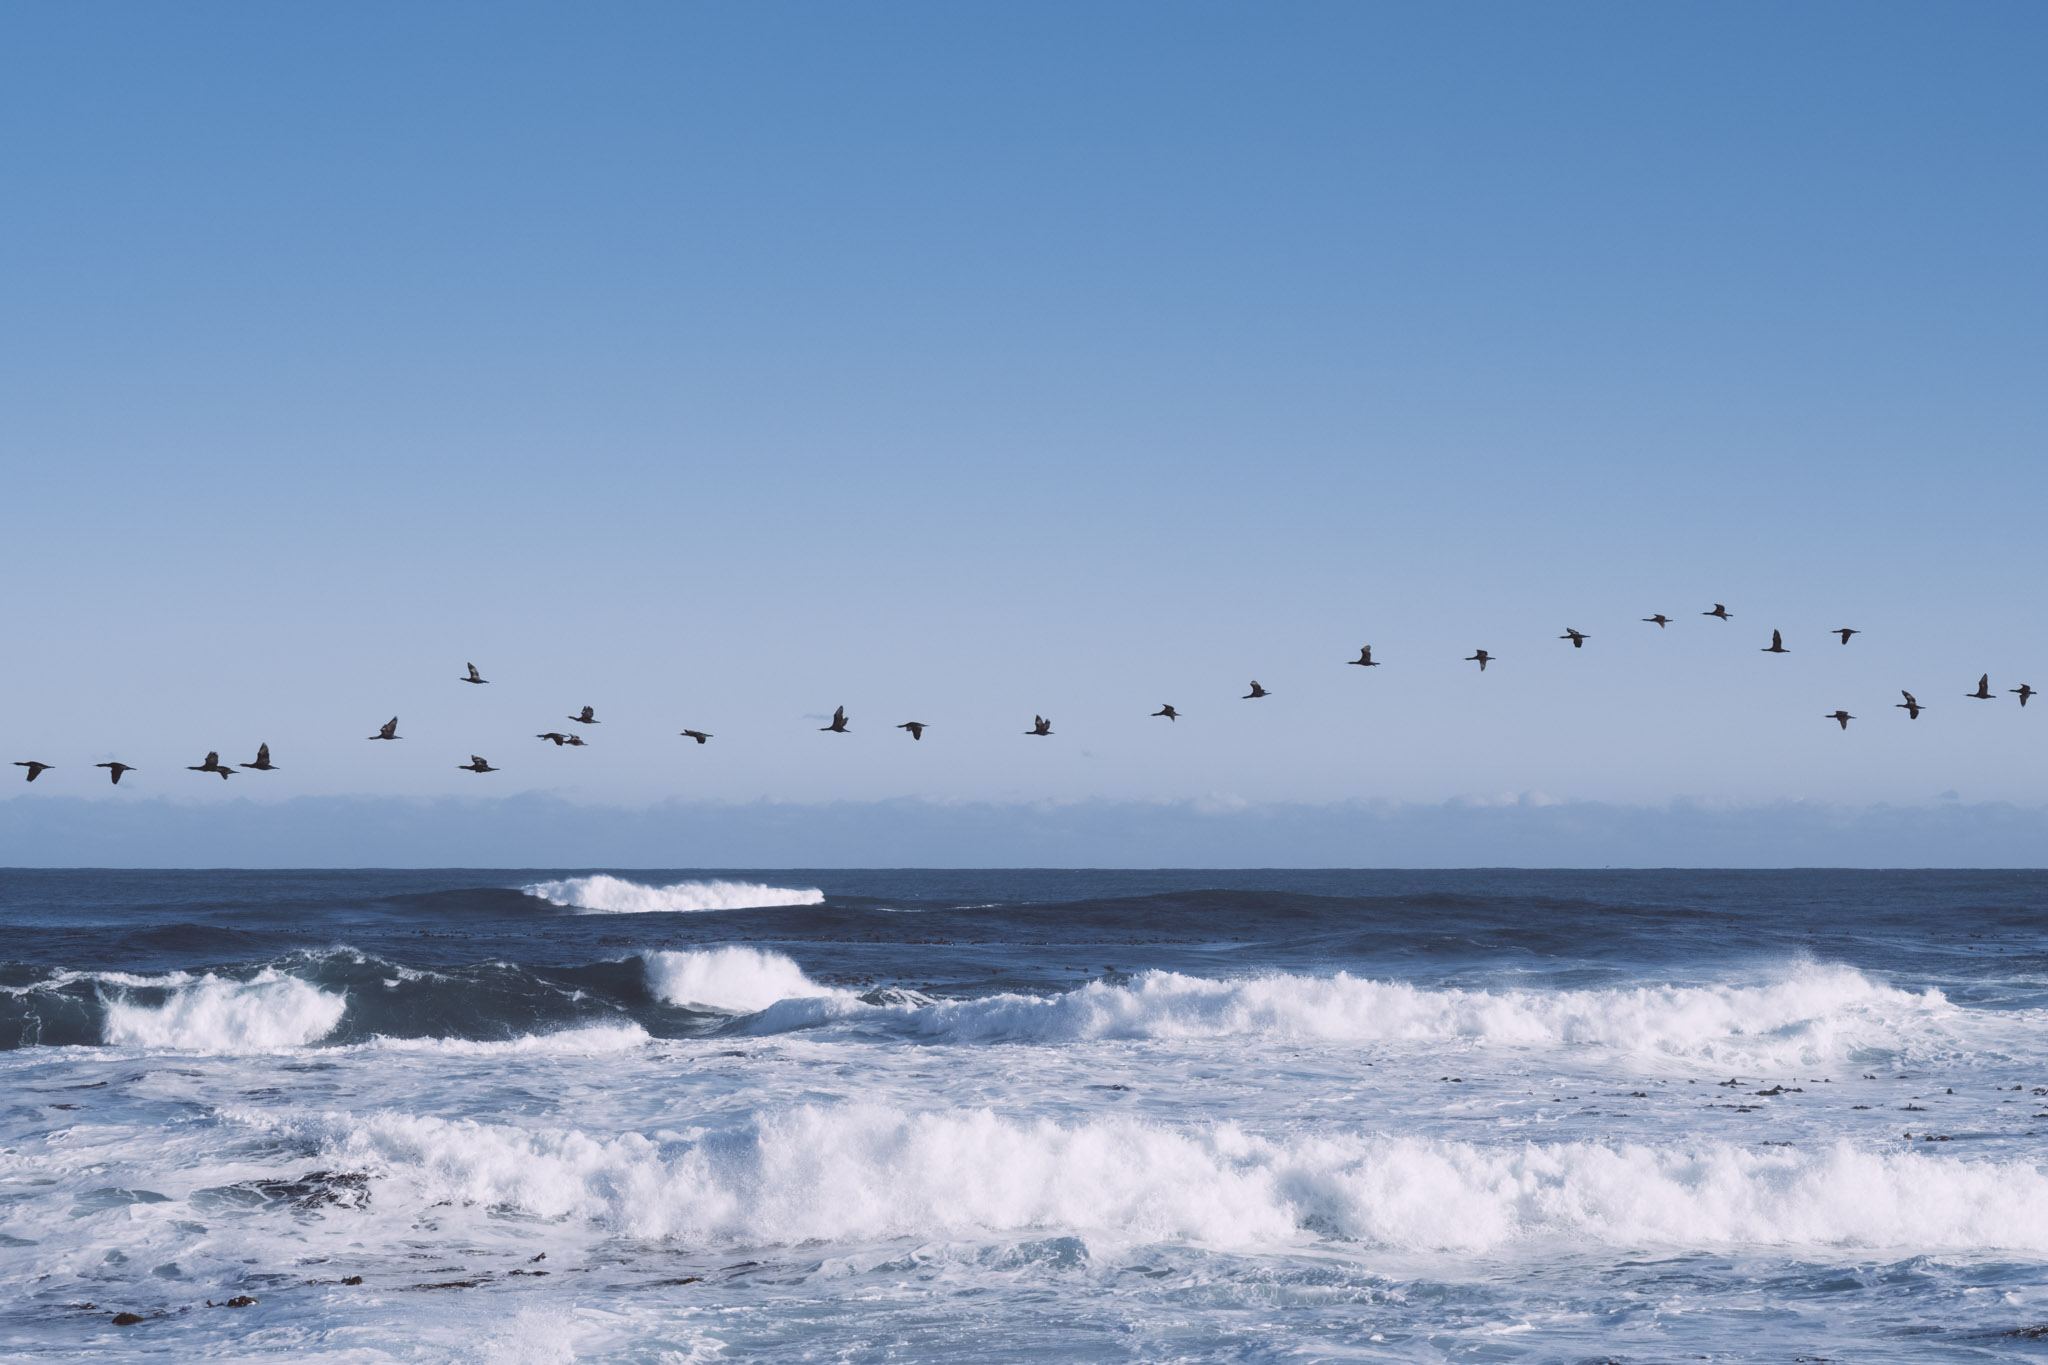
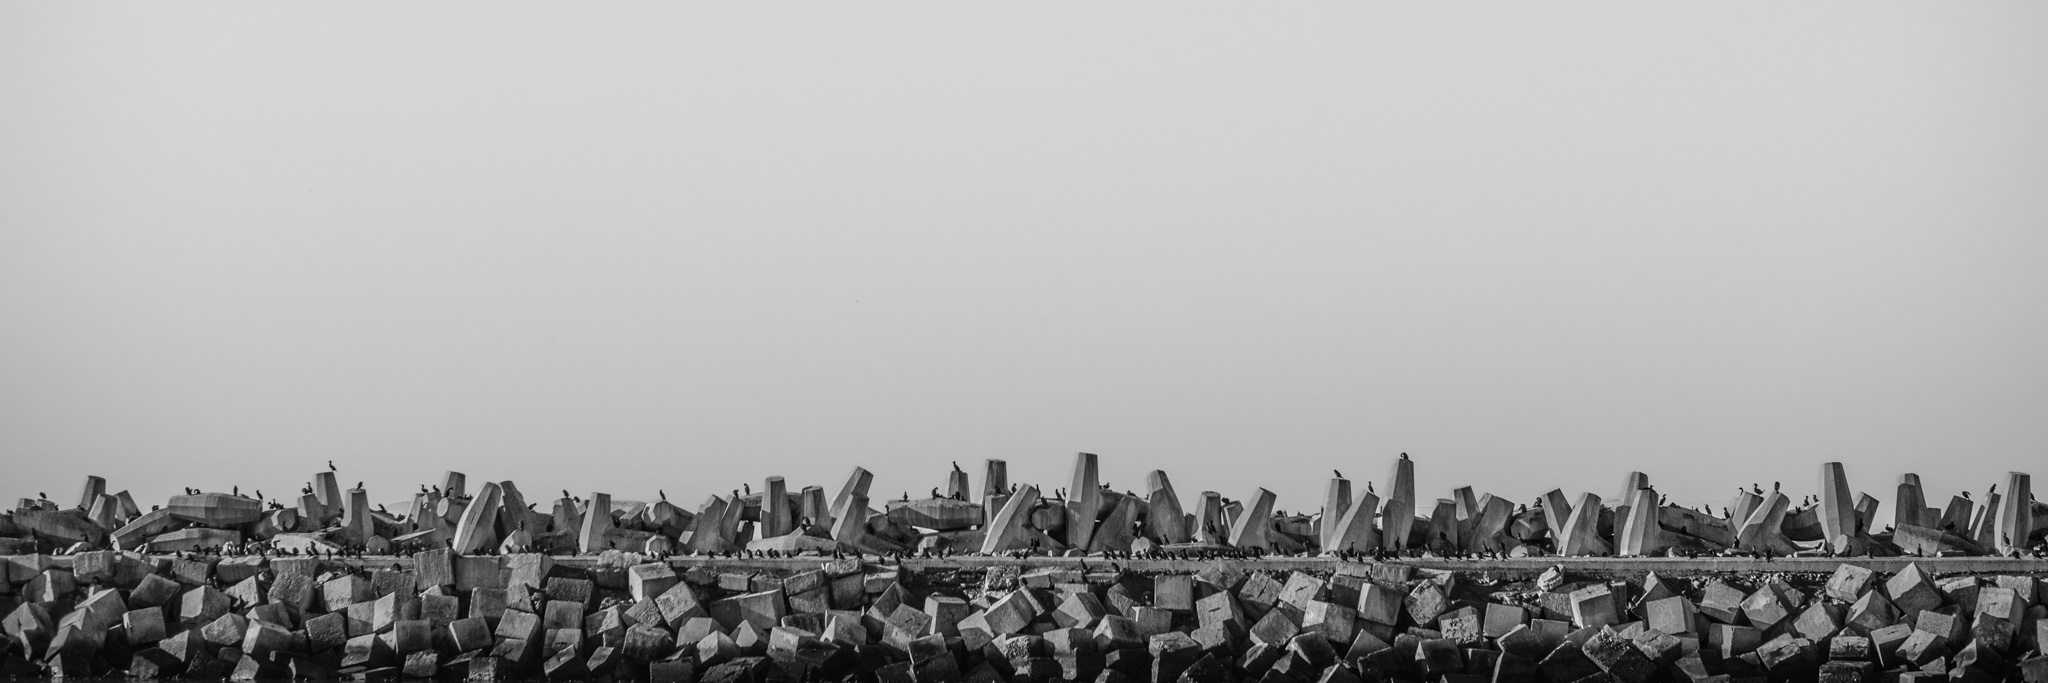
Continuing our drive further up the road, we got to the Cape of Good Hope (https://en.wikipedia.org/wiki/Cape_of_Good_Hope). Everyone said we had to go there because it was the Southern most tip of Africa and that’s where the Atlantic and Indian Oceans meet. Well, apparently that’s a common misconception, the Cape of Good Hope is the South Western most tip of Africa and its marks the point where a ship begins to travel more eastward than southward, Boo Hoo!!! The main attraction was 150km further and we weren’t prepared to drive any longer. Nonetheless, the spot was breathtaking and I was fascinated by the stacks of rocks someone (or several people) had piled up. I did some research to see if I could find any significance to tie the rock stacking to the Cape of Good Hope but found nothing, so here’s a pretty picture of some random rock stacks, then another of birds flying around.
As we were driving out, a traffic controller mentioned how close we were to the must-see attraction: African Penguins. Boulder Beach was a 15-minute drive away.(https://en.wikipedia.org/wiki/African_penguin).
These penguins are also known as the “Jackass Penguin” because they sound like donkeys, and truly that’s all we heard for about an hour. One jackass penguin came right up to my camera so close, the XF56mm 1.2 on my X-T2 had trouble focusing. I quickly switched on the face detection and was able to get this shot.
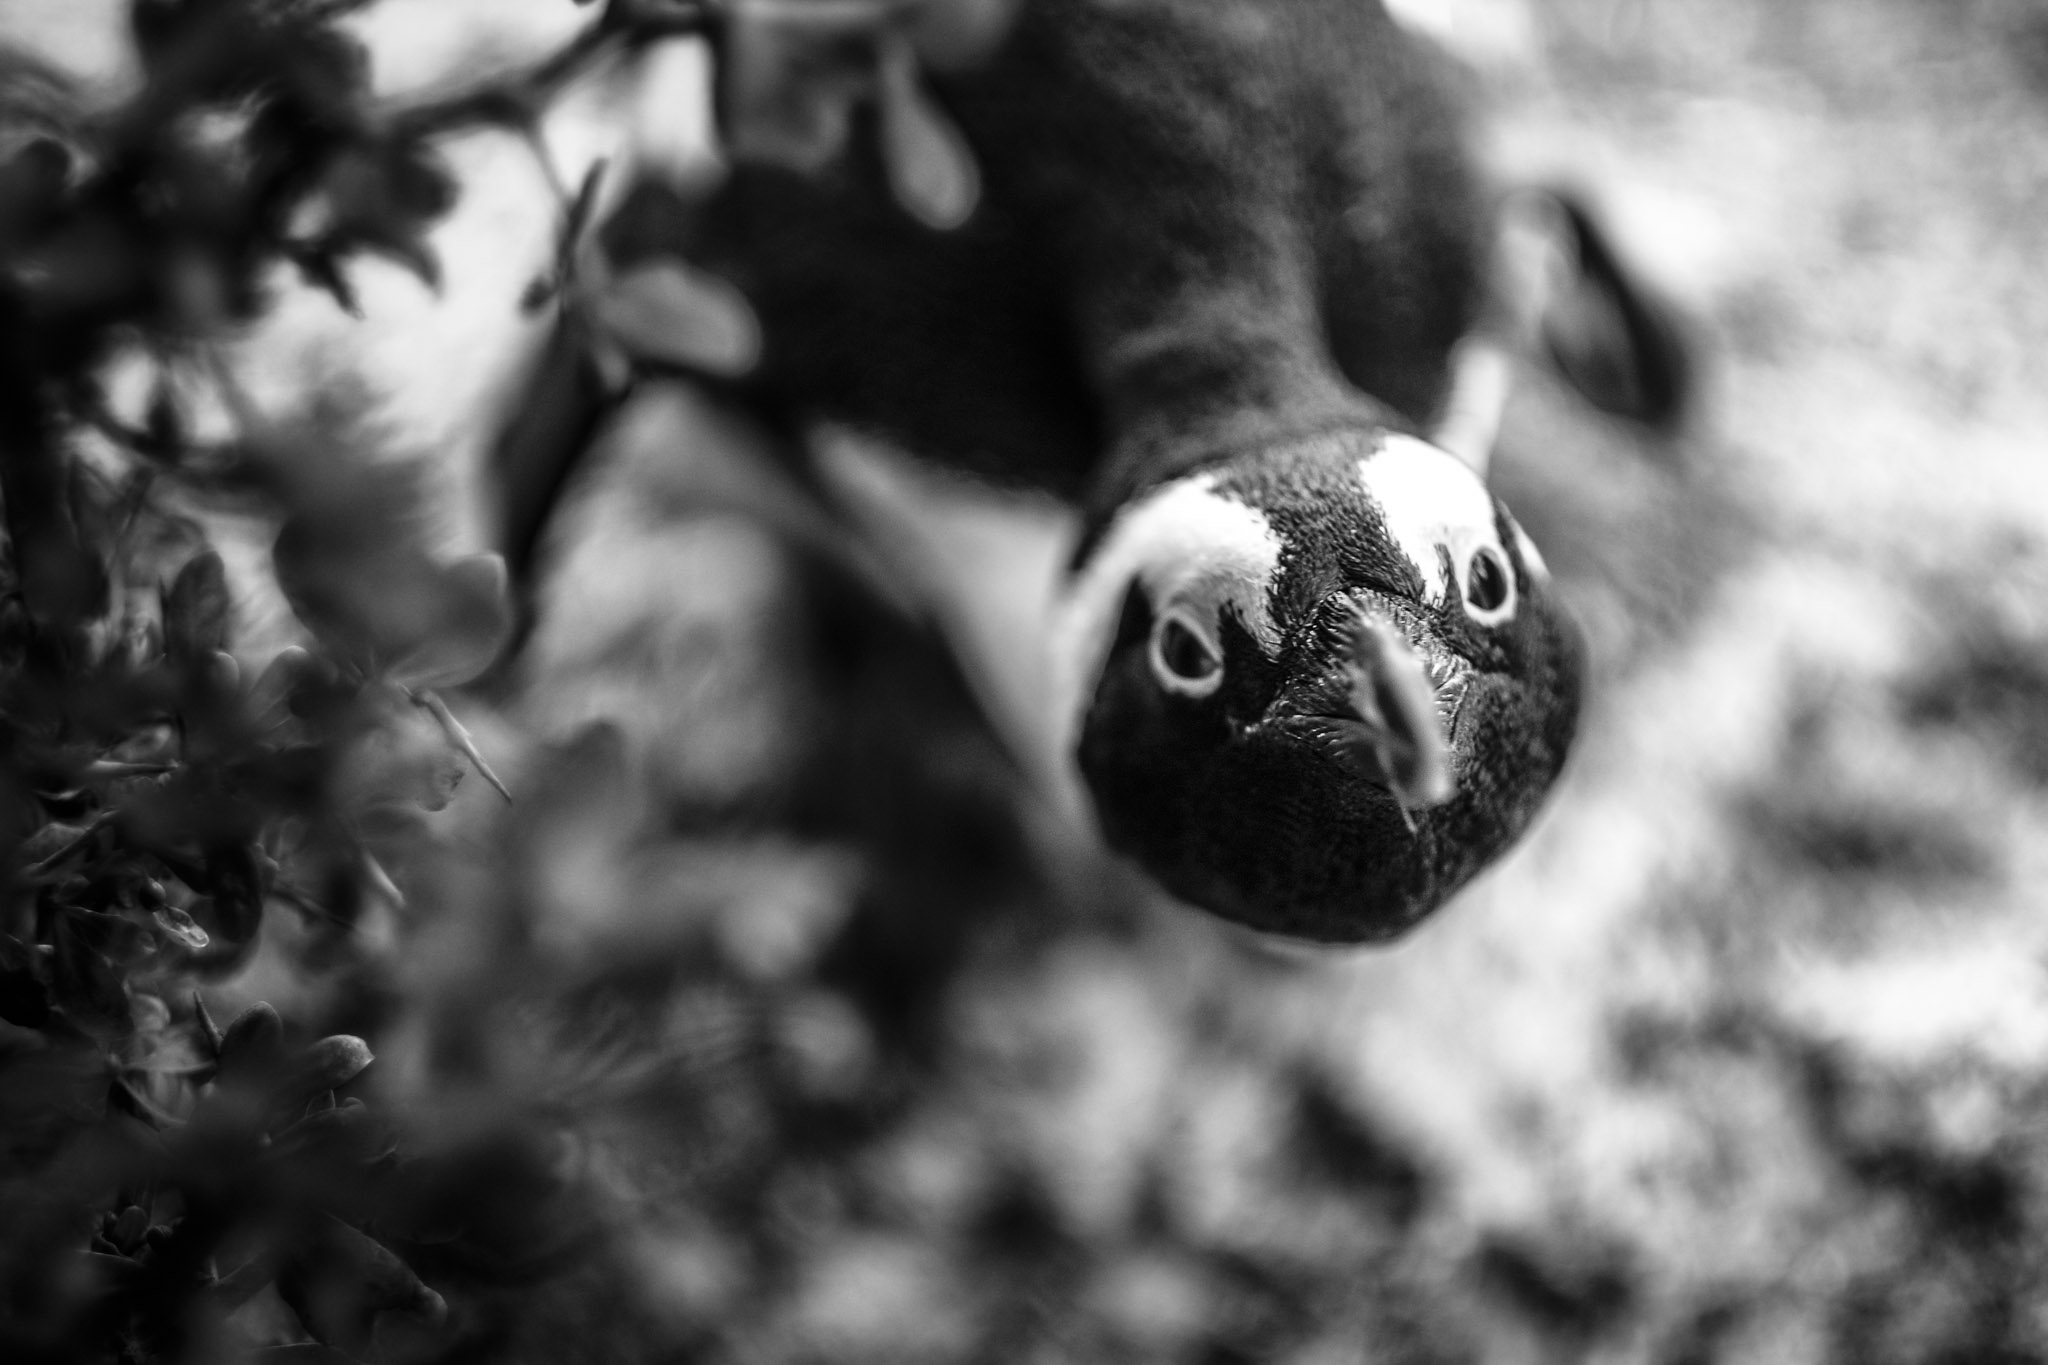
The African Penguin, also called jackass penguins, they make donkey-like braying sounds to communicate.
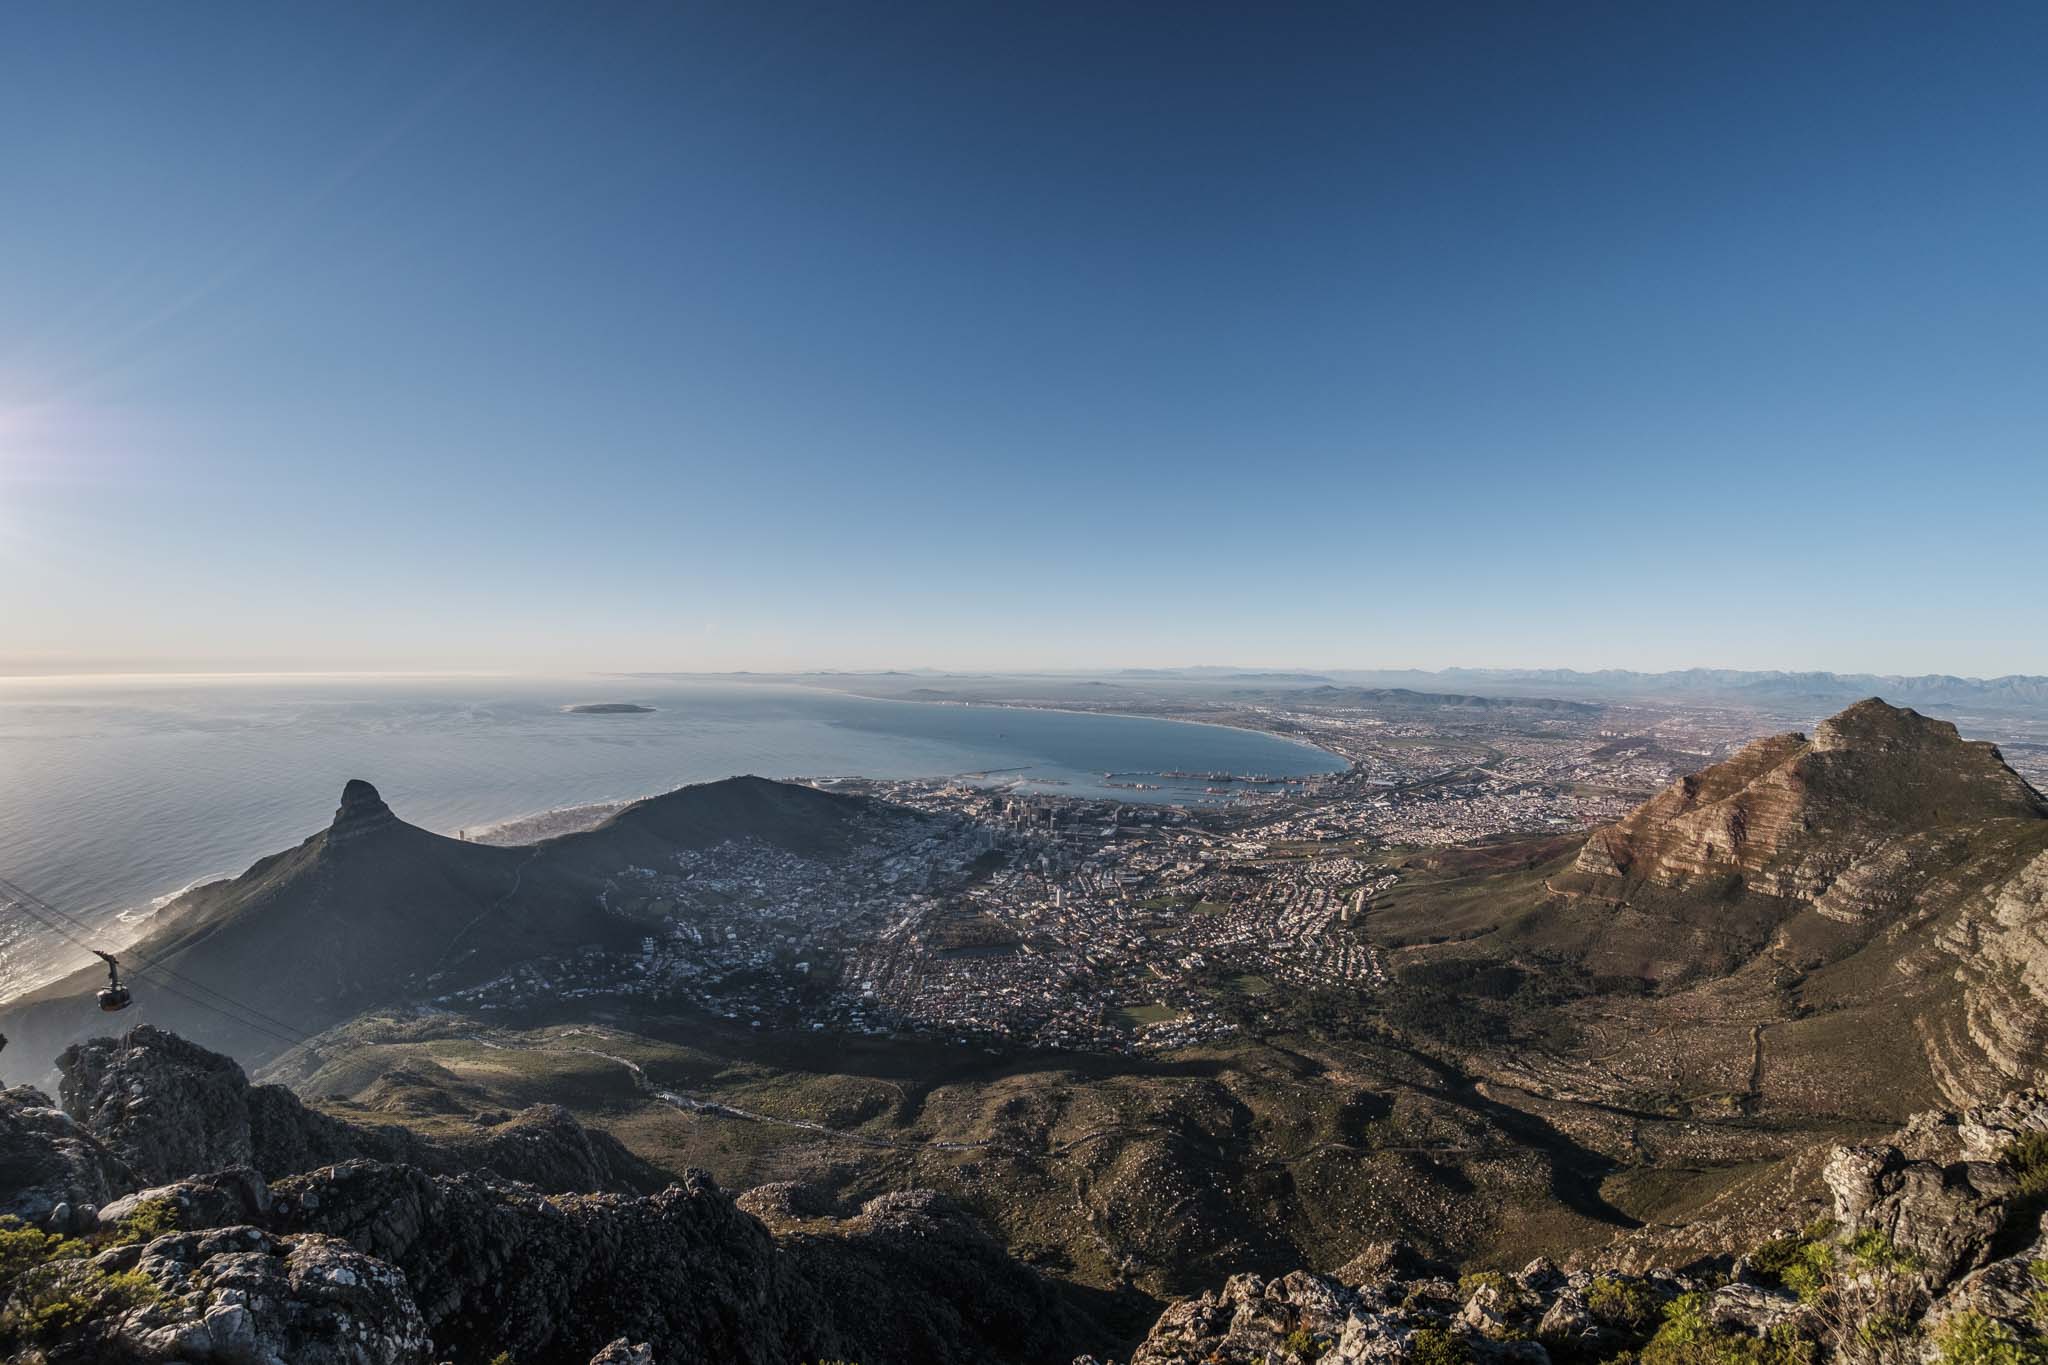
The next day we we took a hop on/hop off bus to explore the whole of Cape Town and some of its outskirts. It was quite a packed schedule and we managed to visit so many spots and see a variety of attractions in one day.
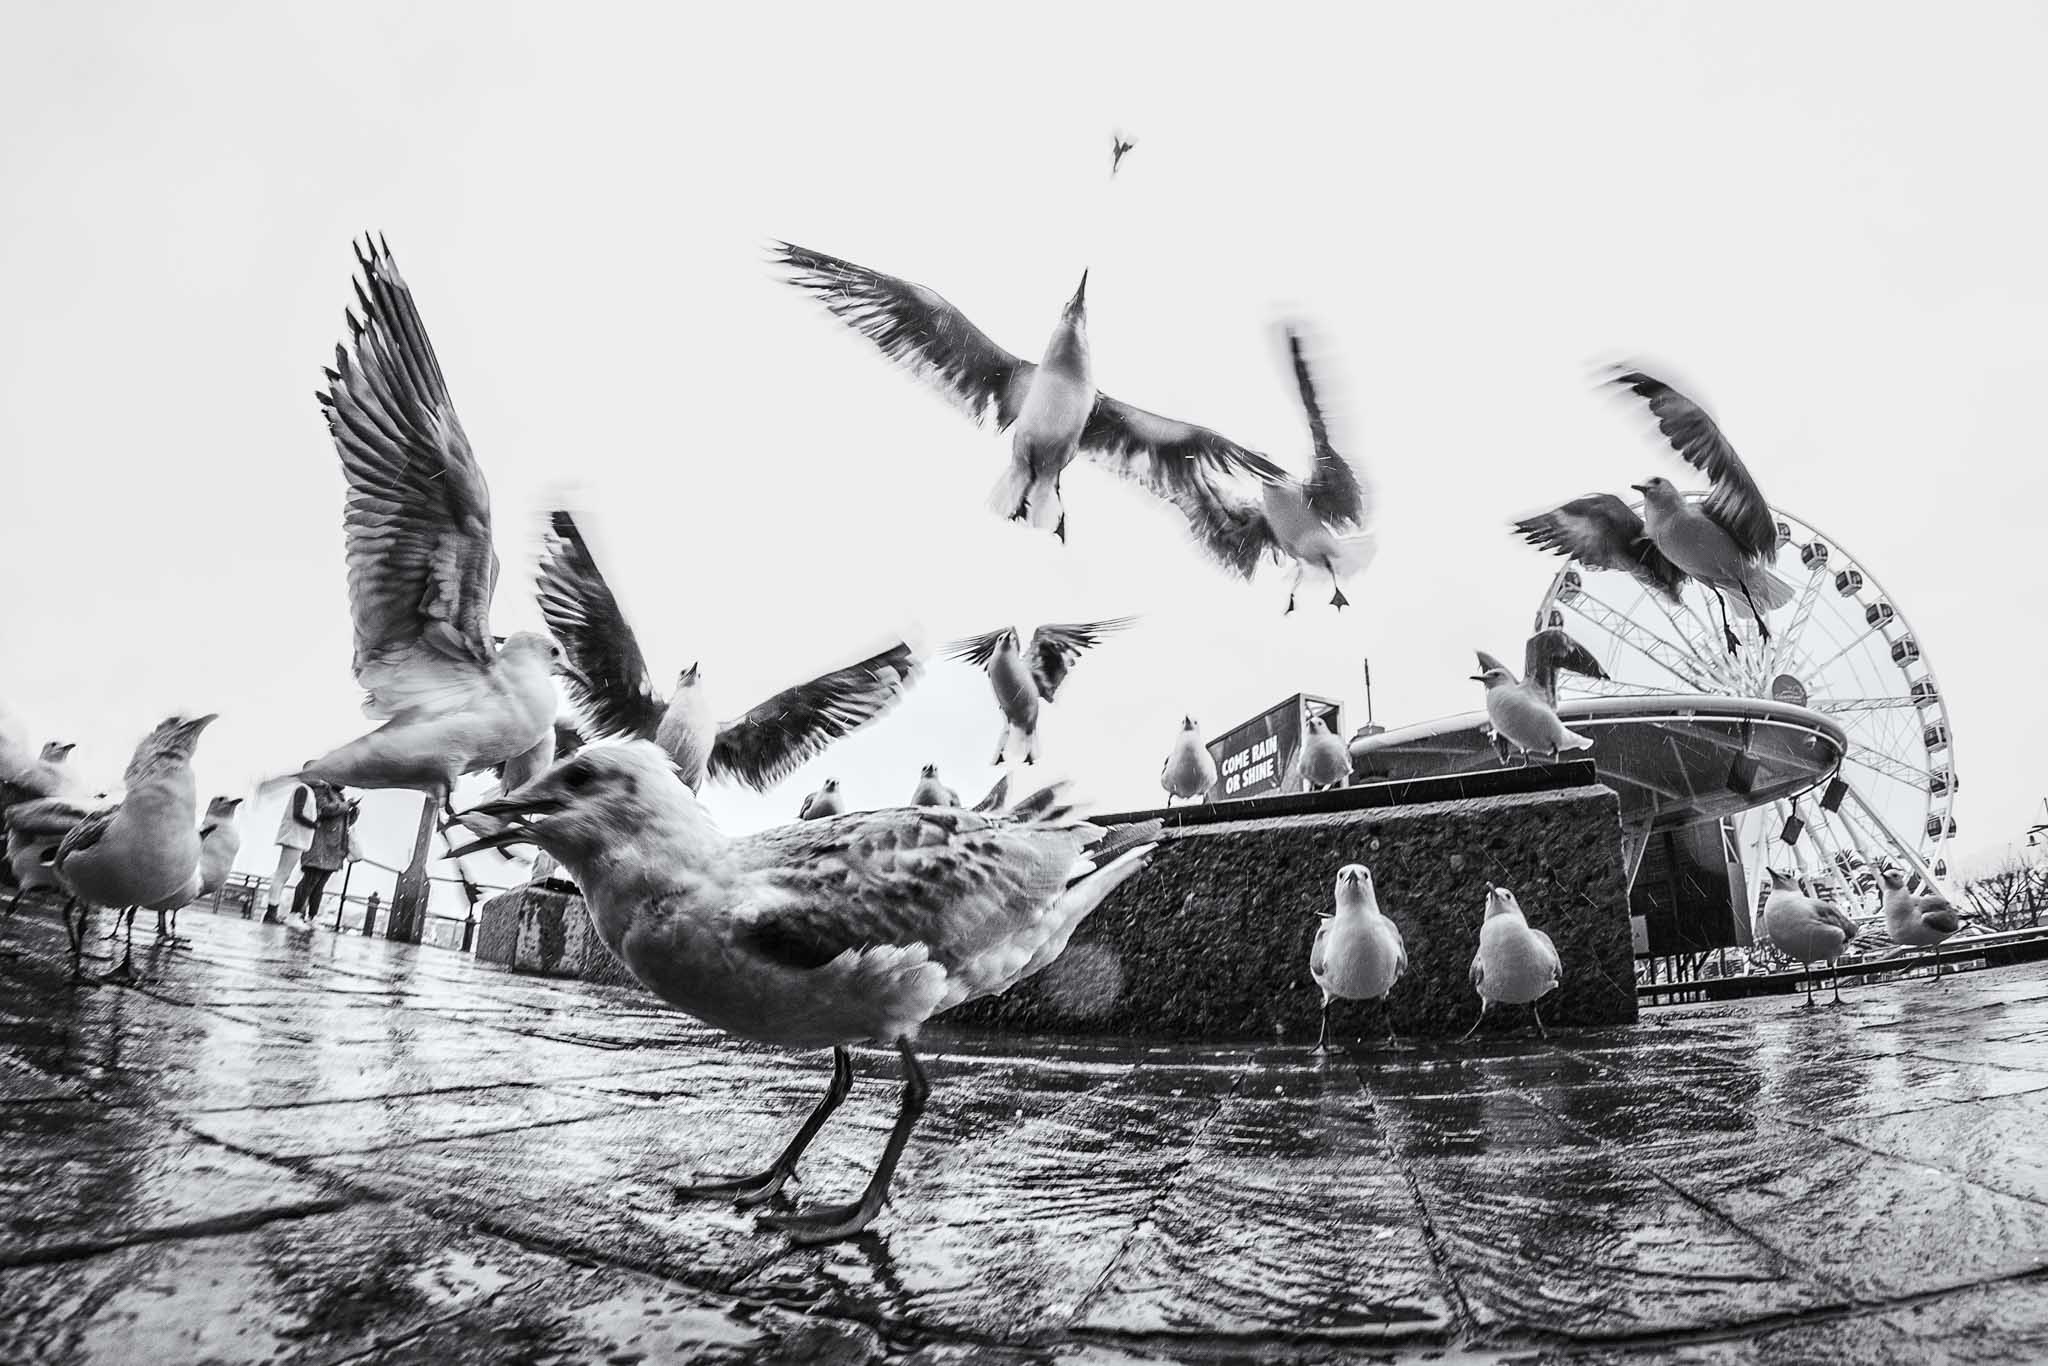
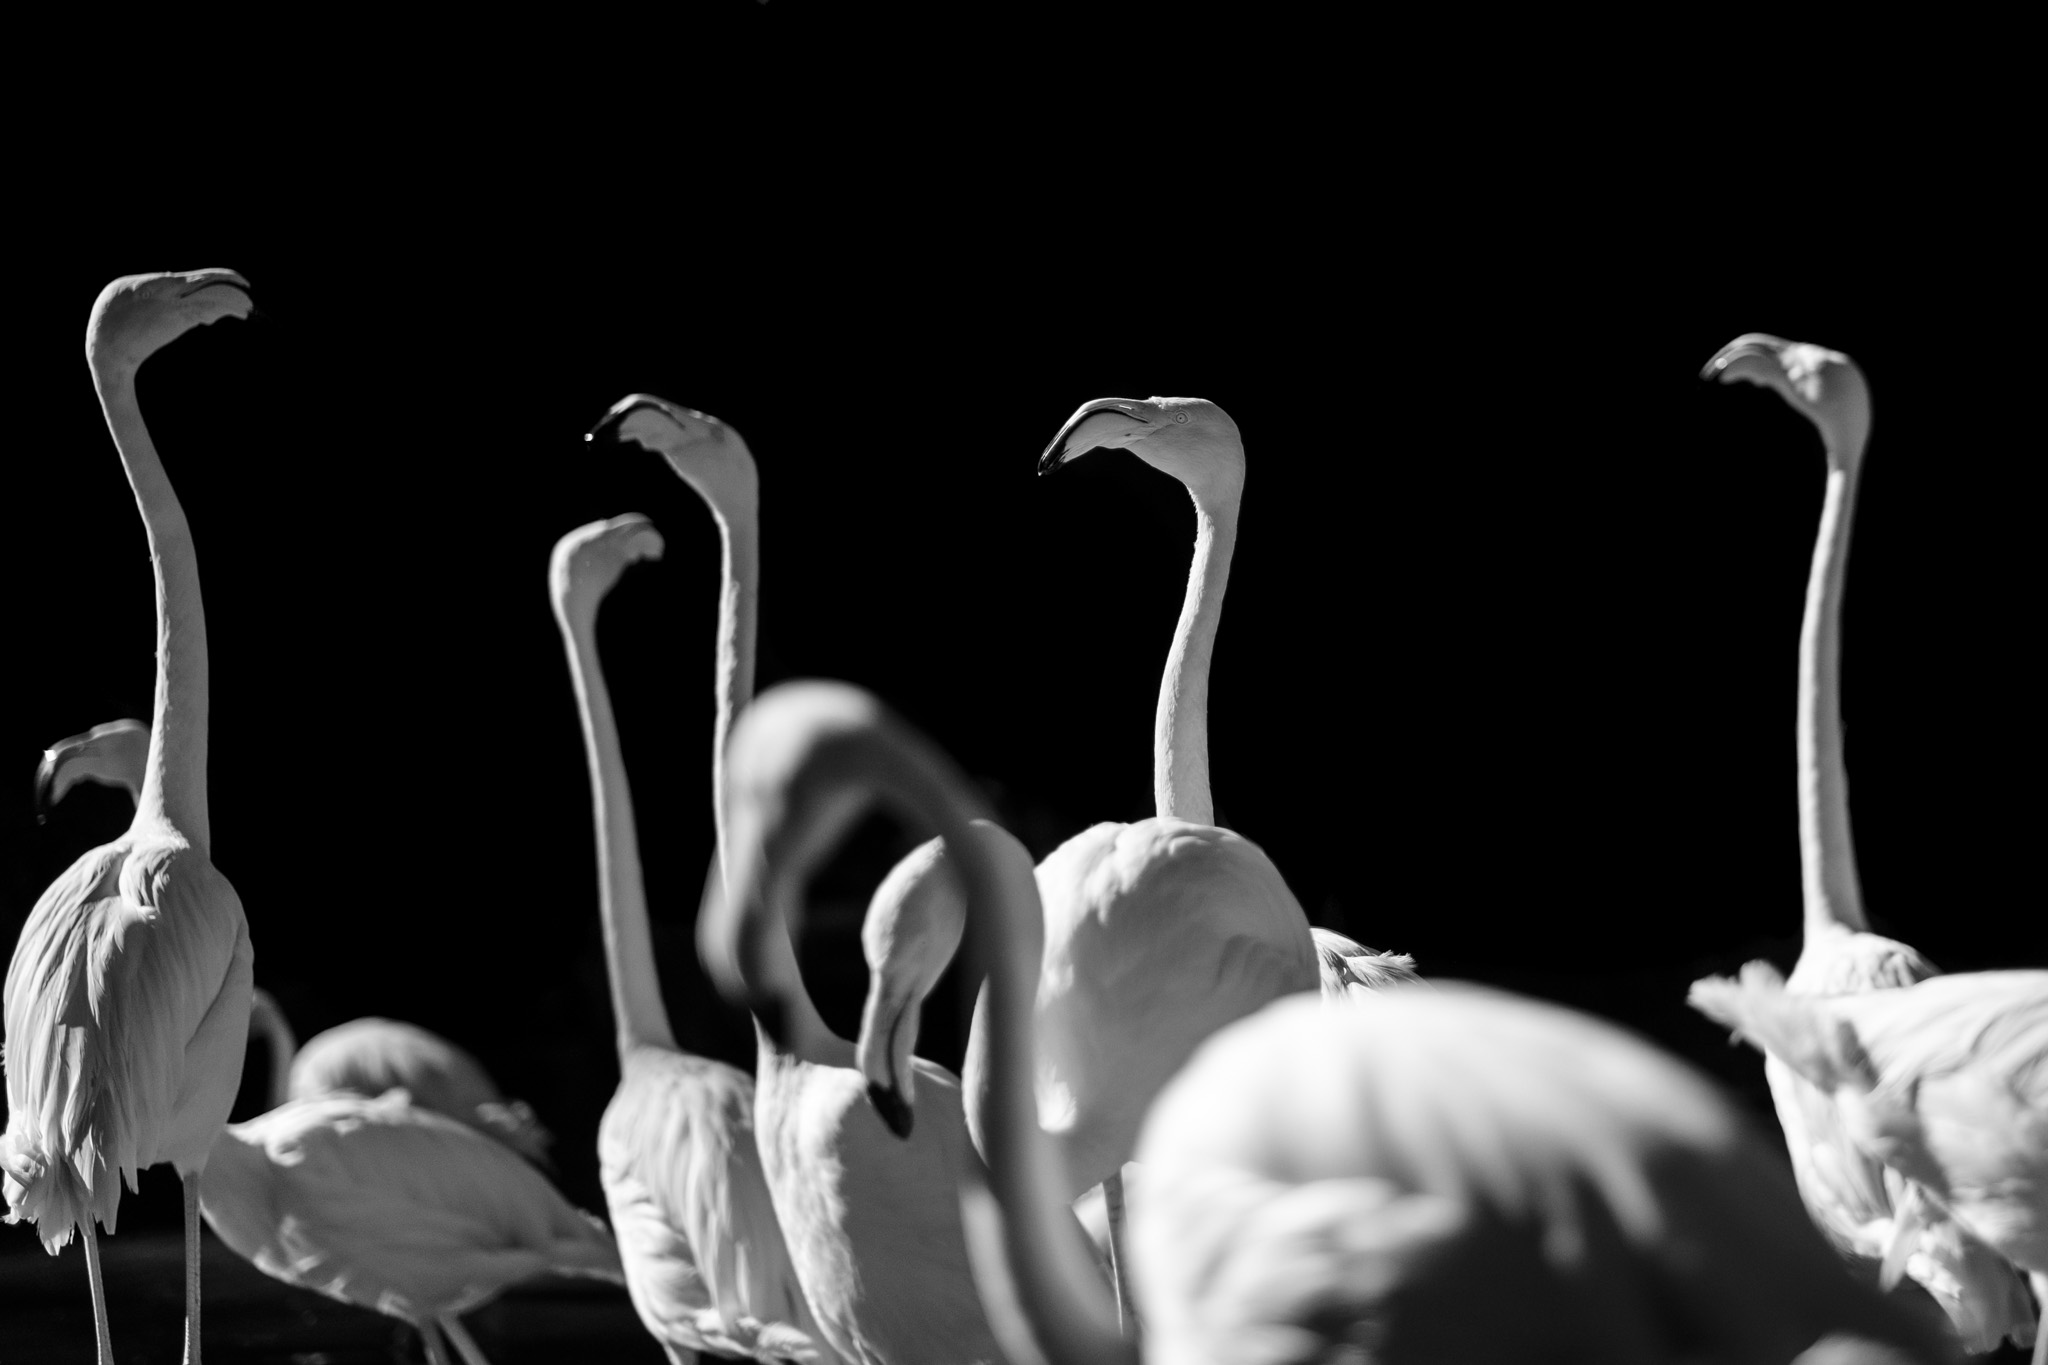
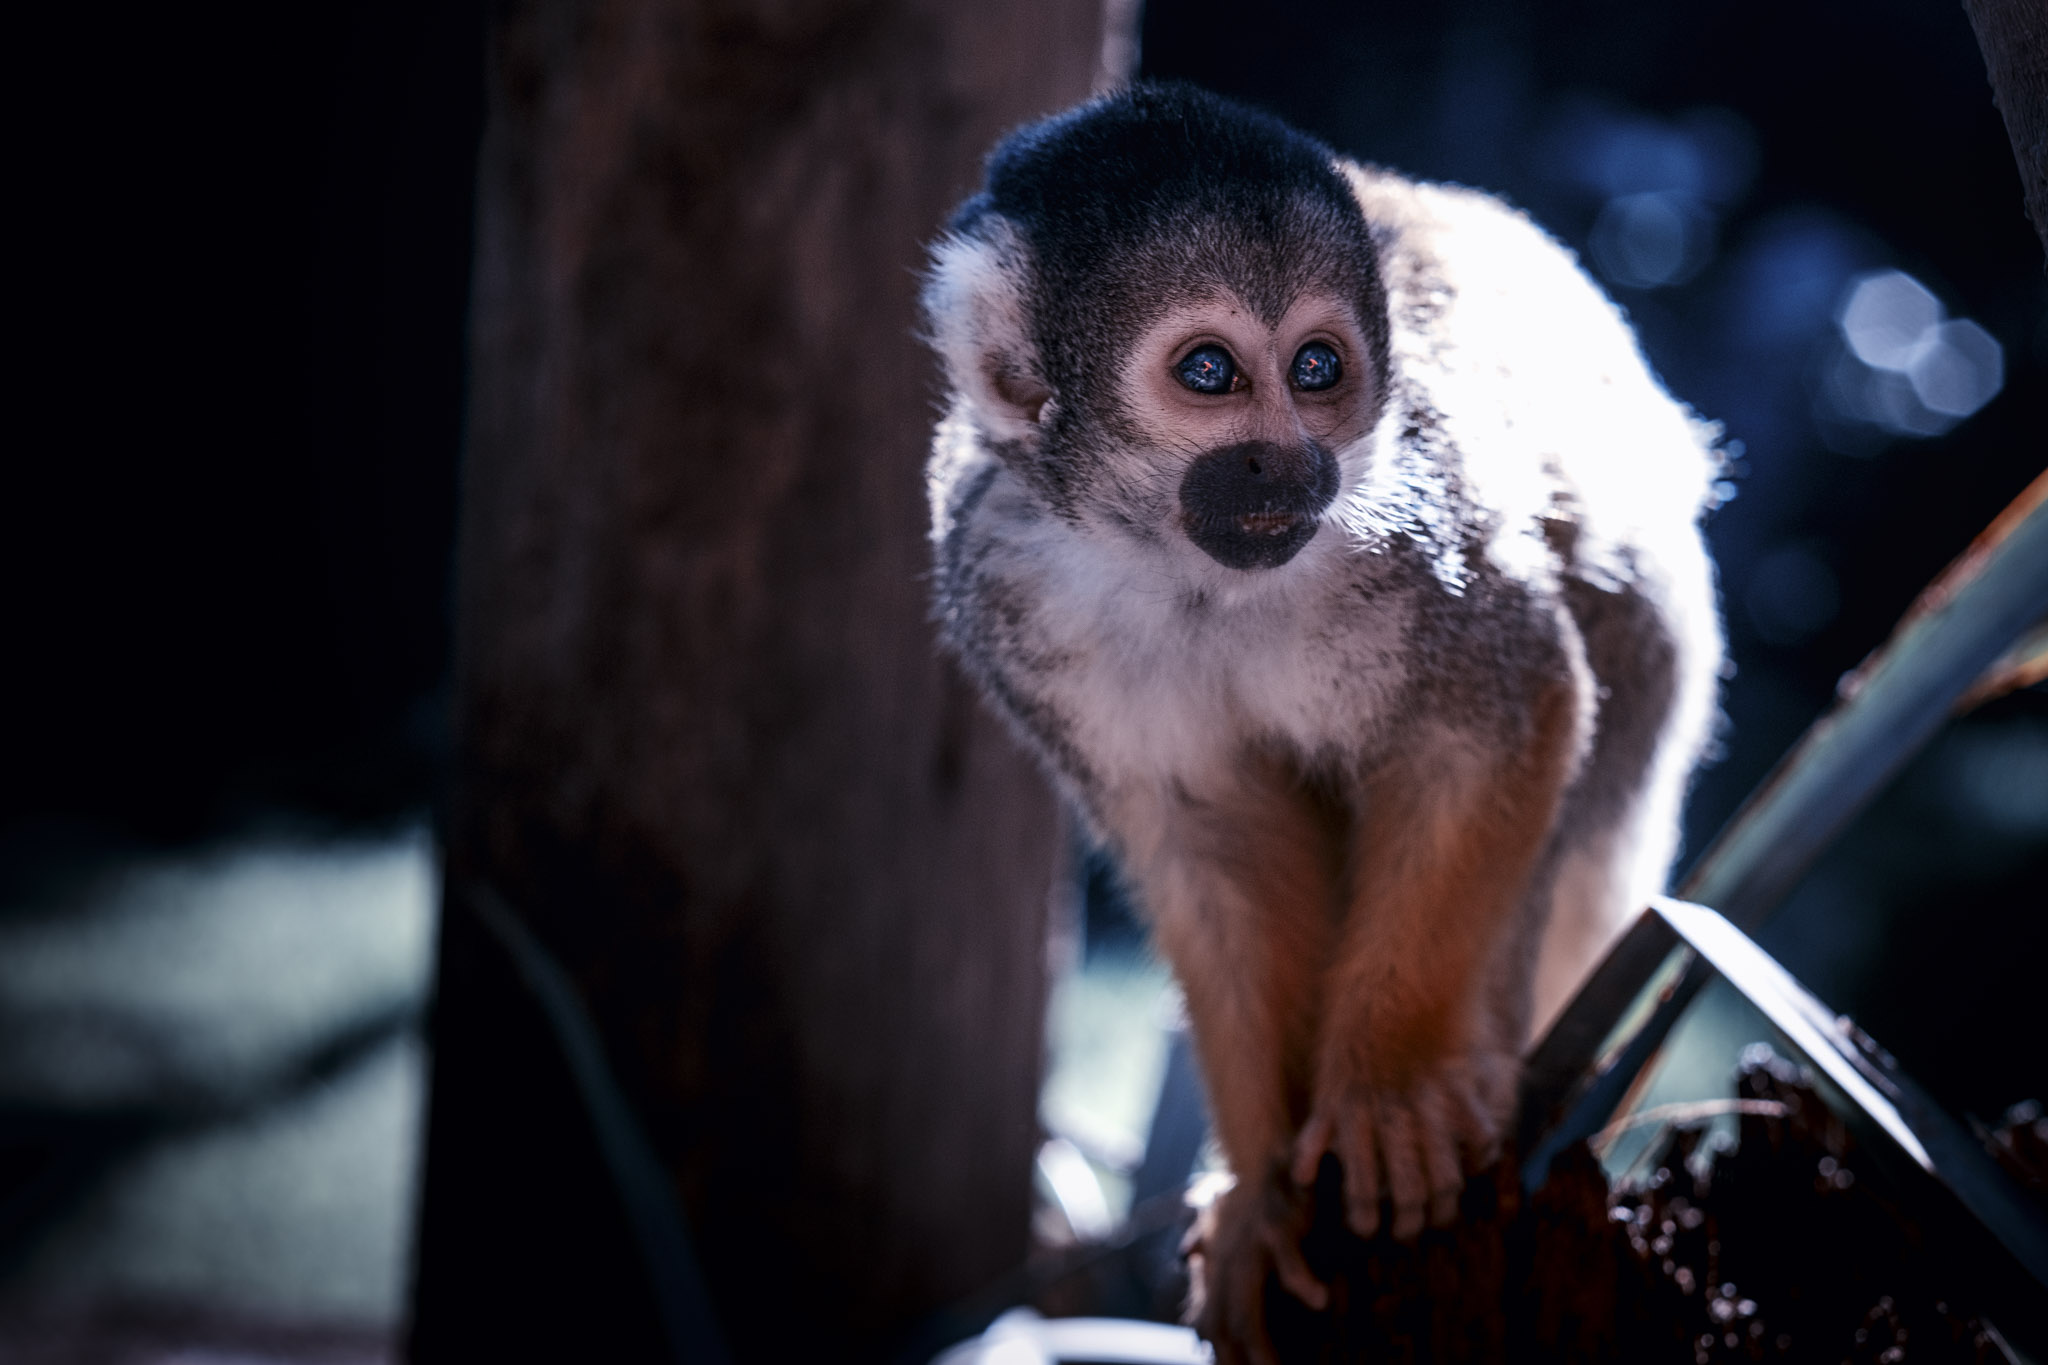
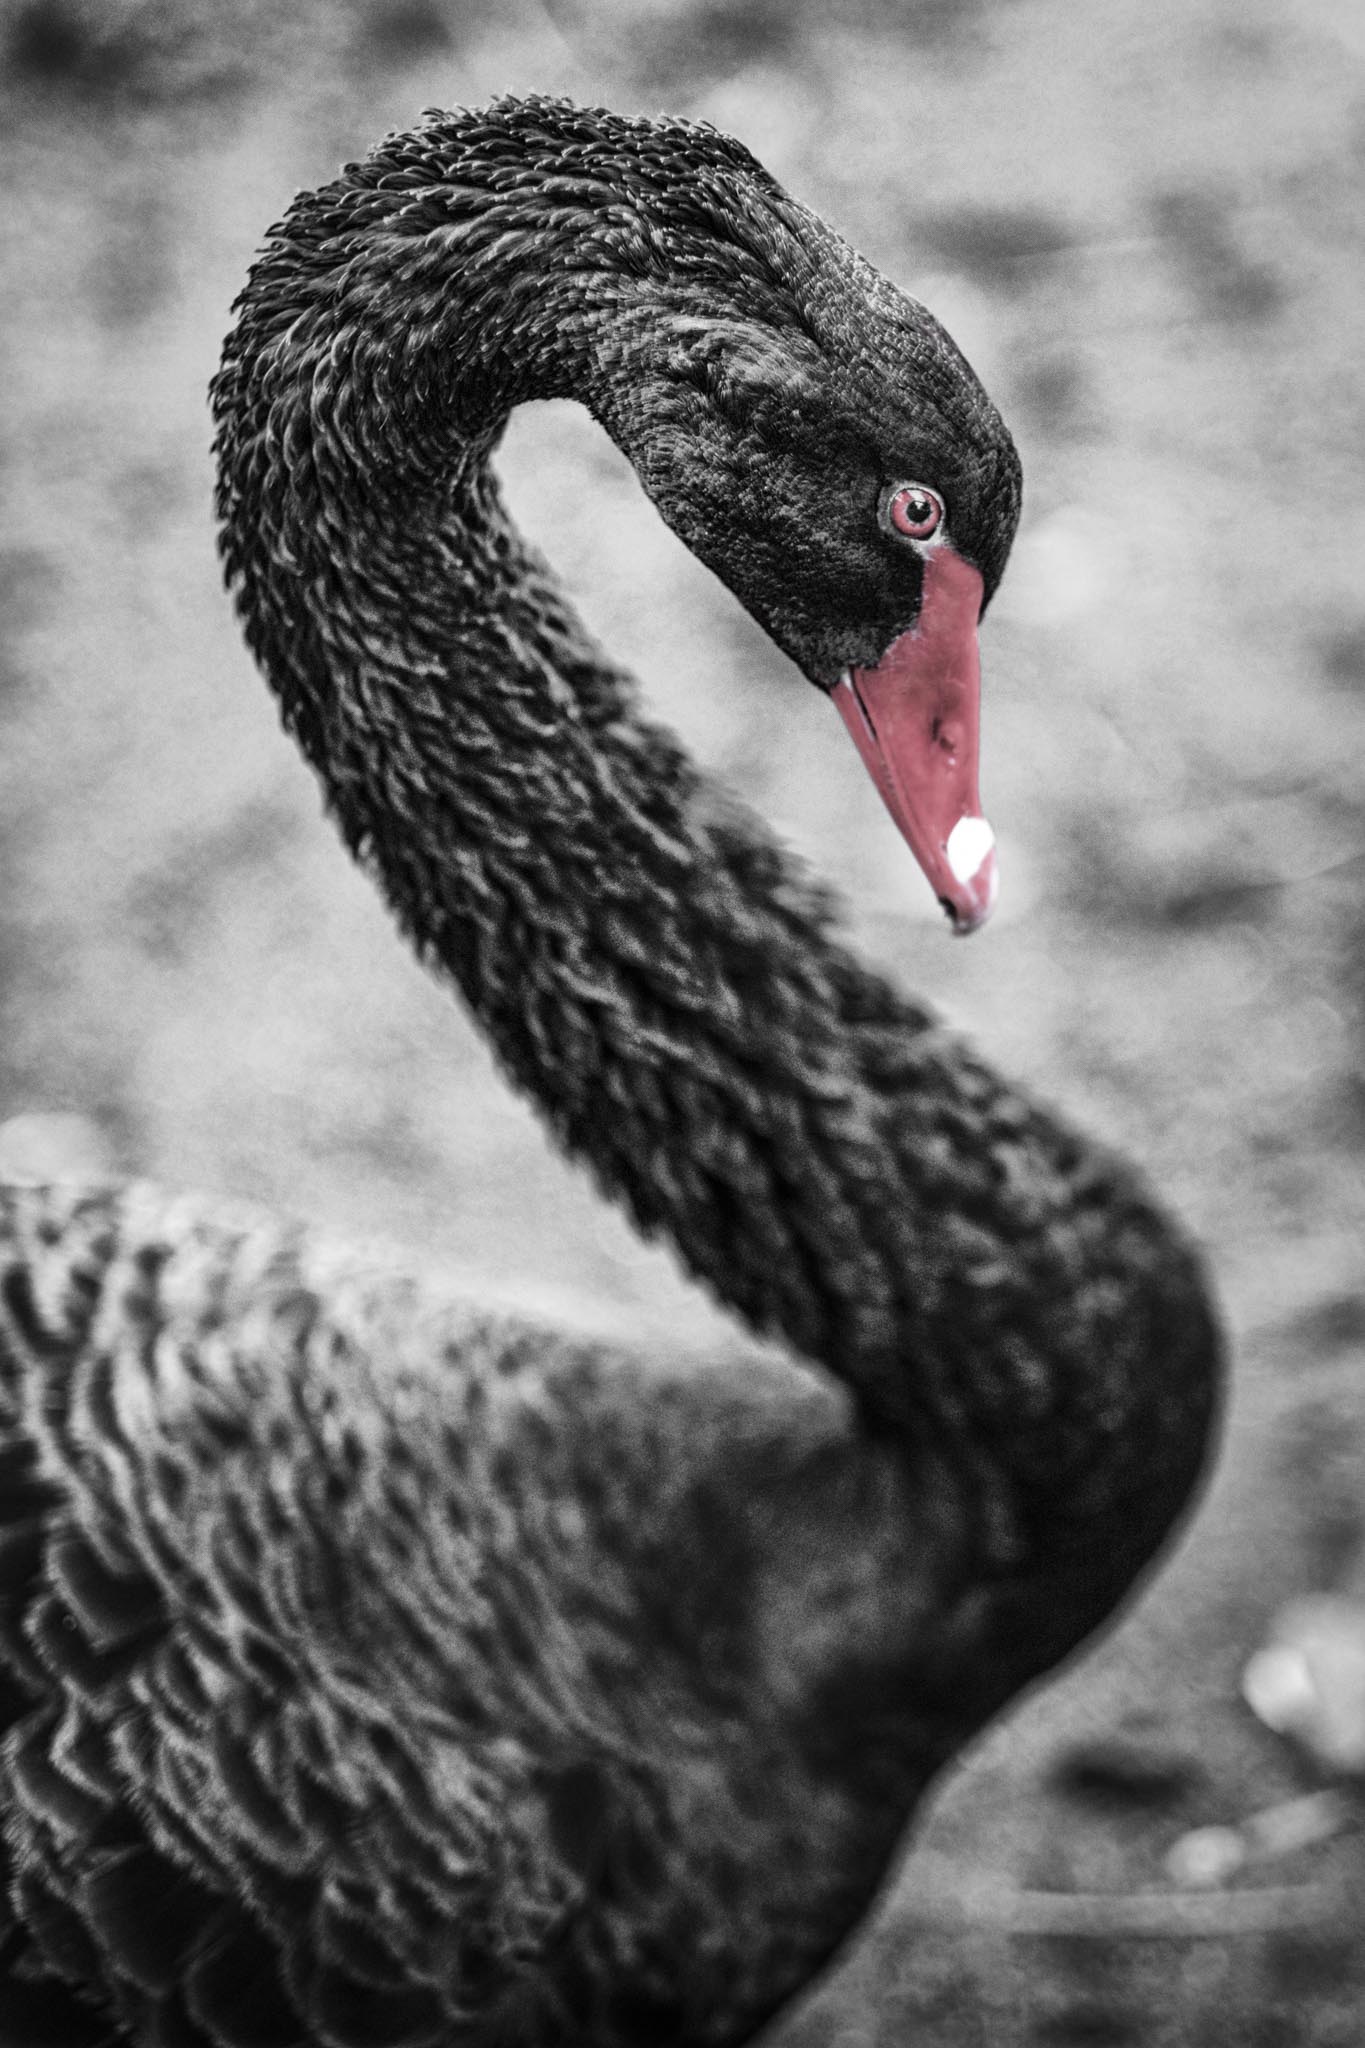
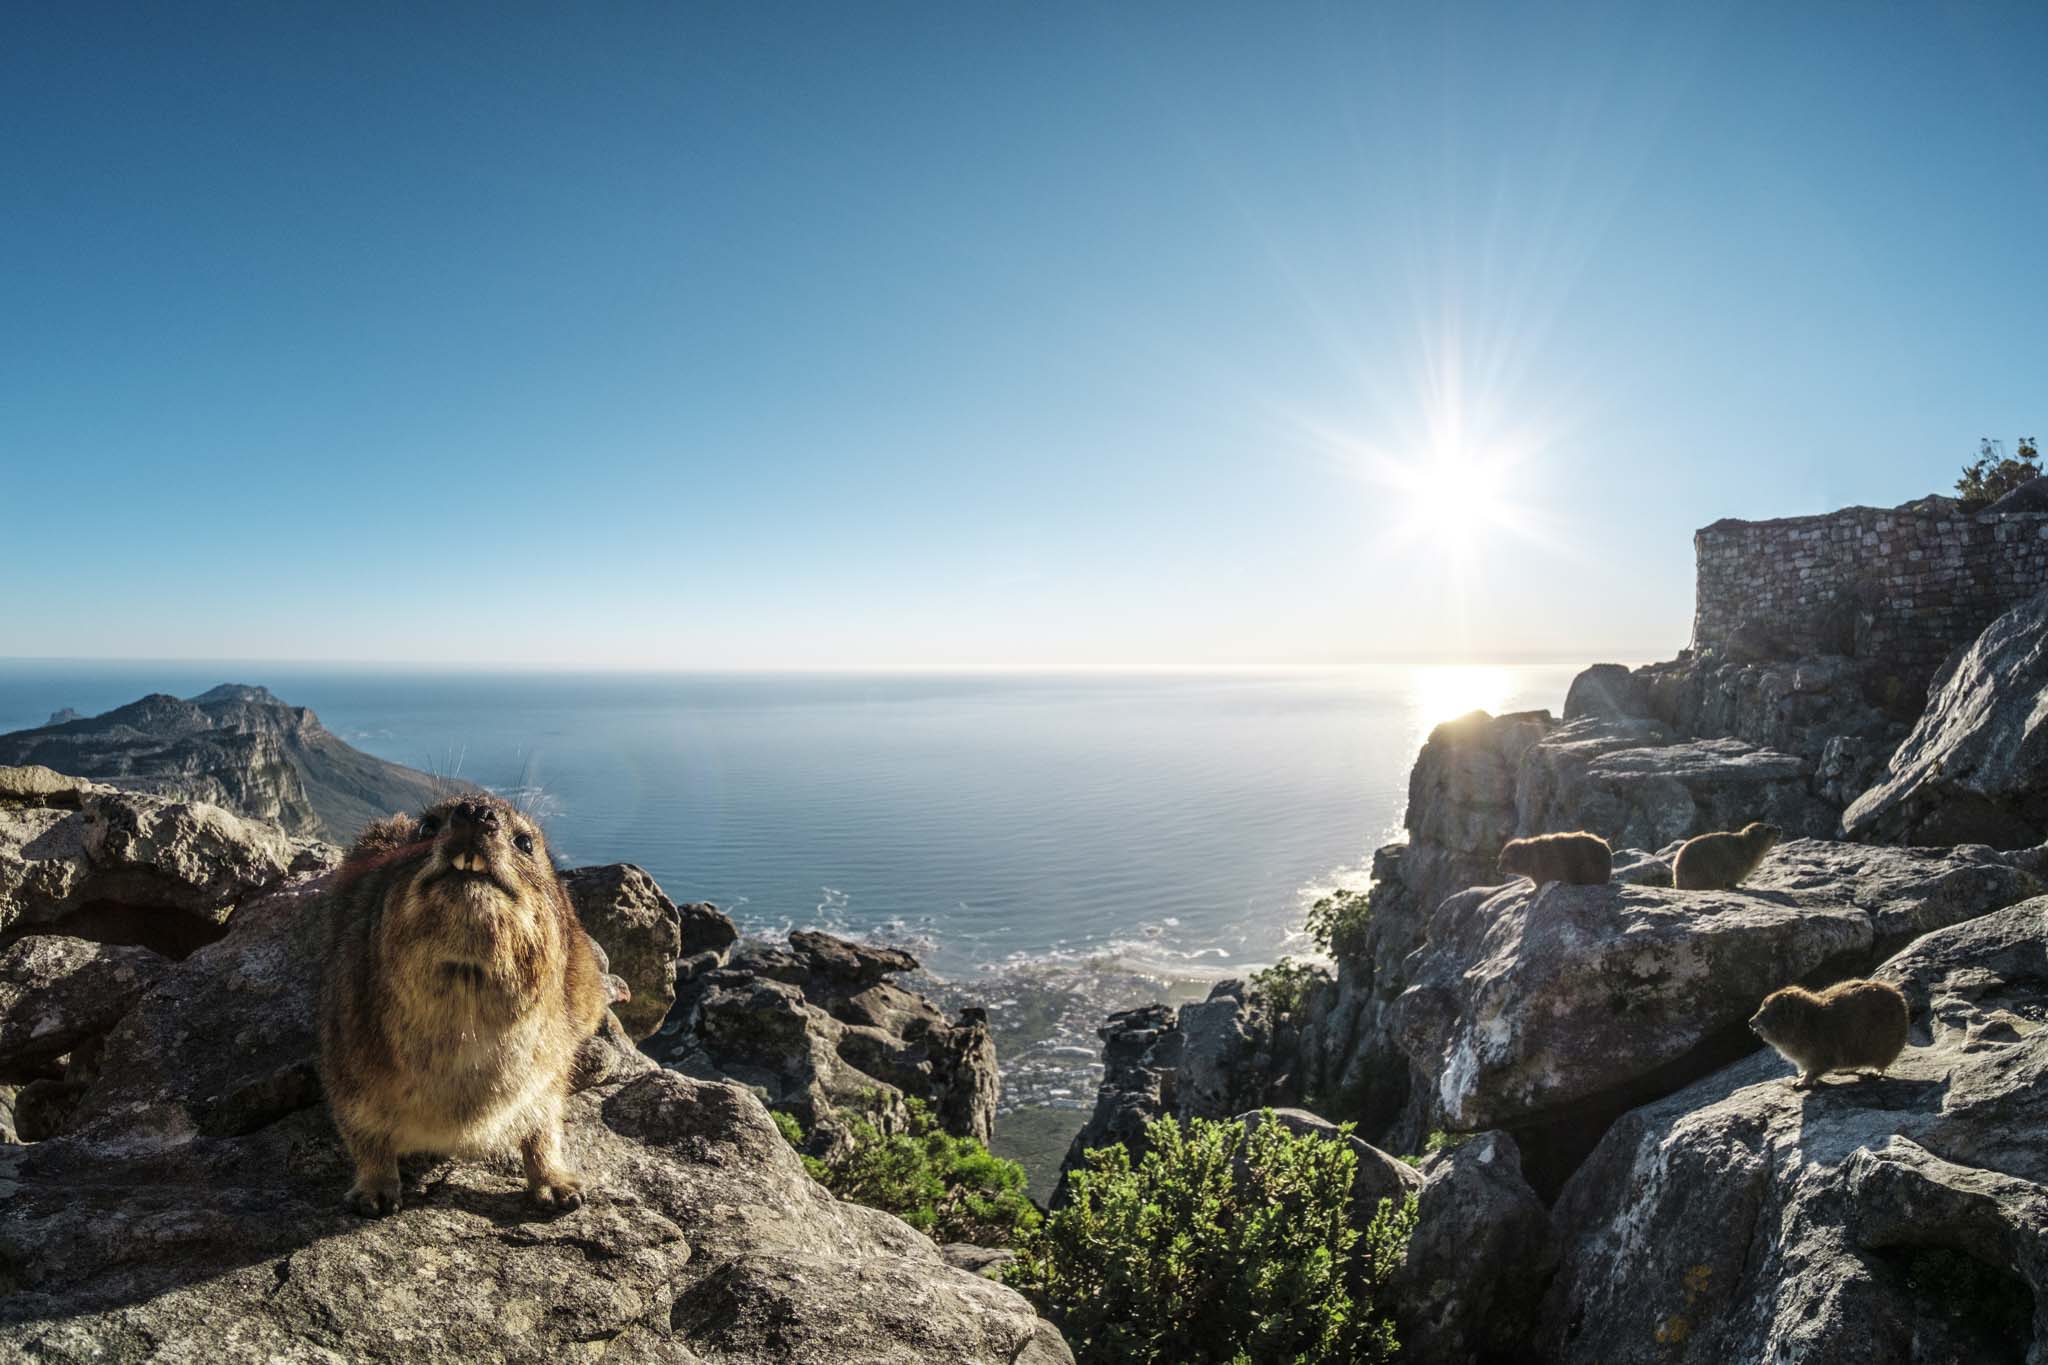
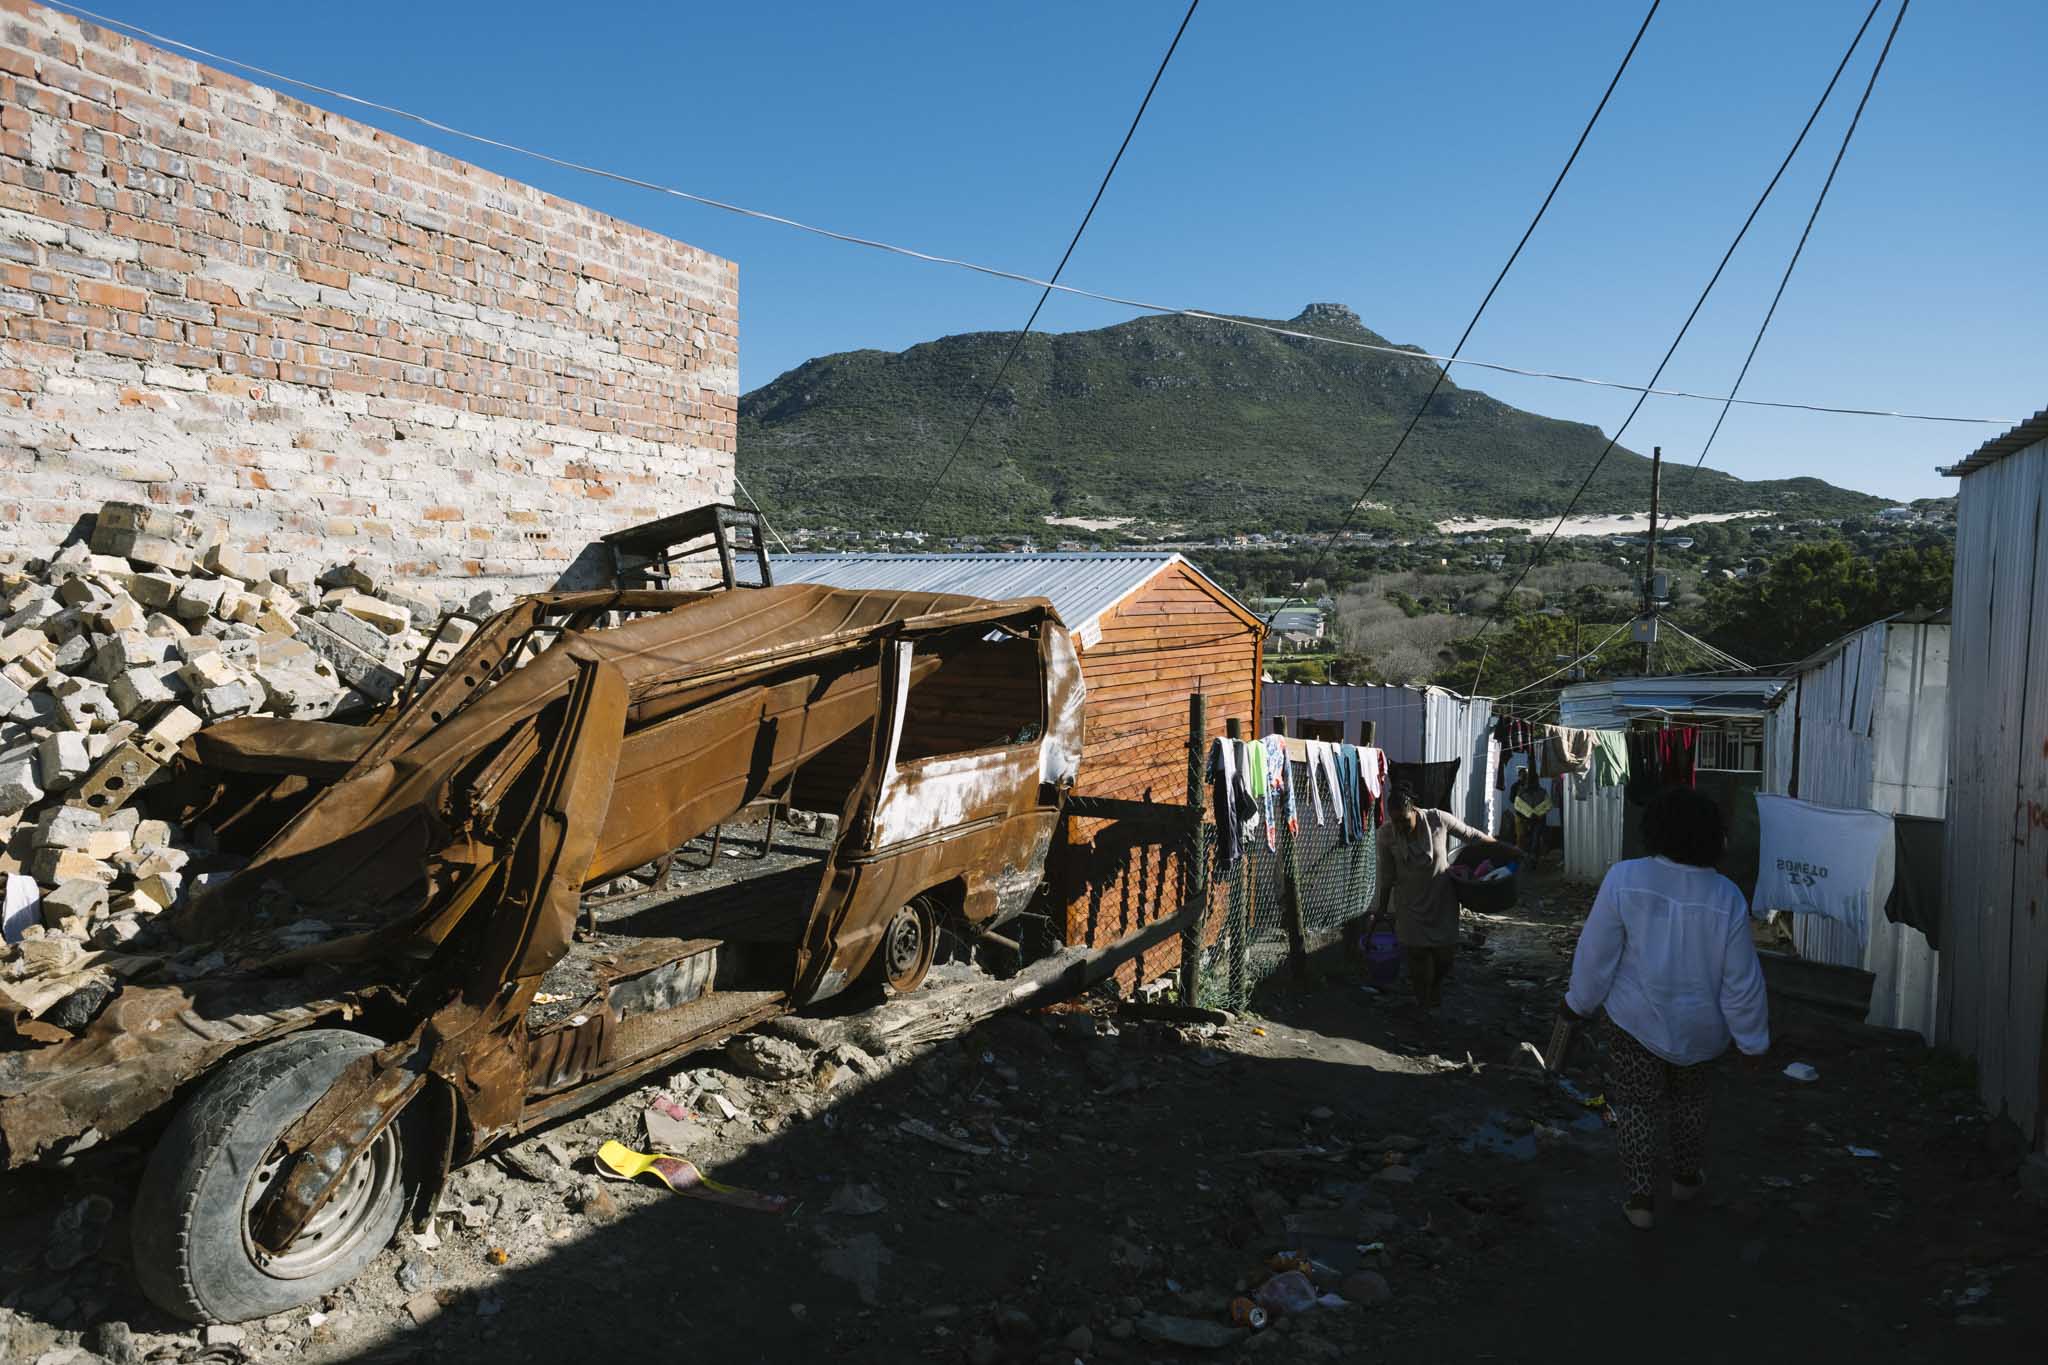
We stopped by the harbour and fed some birds, visited an animal sanctuary and spotted flamingoes, monkeys and a black swan. Yes, a BLACK SWAN!!! Not sure why I’m that excited about the Black Swan. We also went up to table mountain to take in the views Finally, we hopped off the bus at the township to get a glimpse of the poverty stricken side of Cape Town and learned a bit about apartheid history.
The next day was our last in Cape Town, and we had to catch an early afternoon flight to Johannesburg to meet up with the Fuji crew.
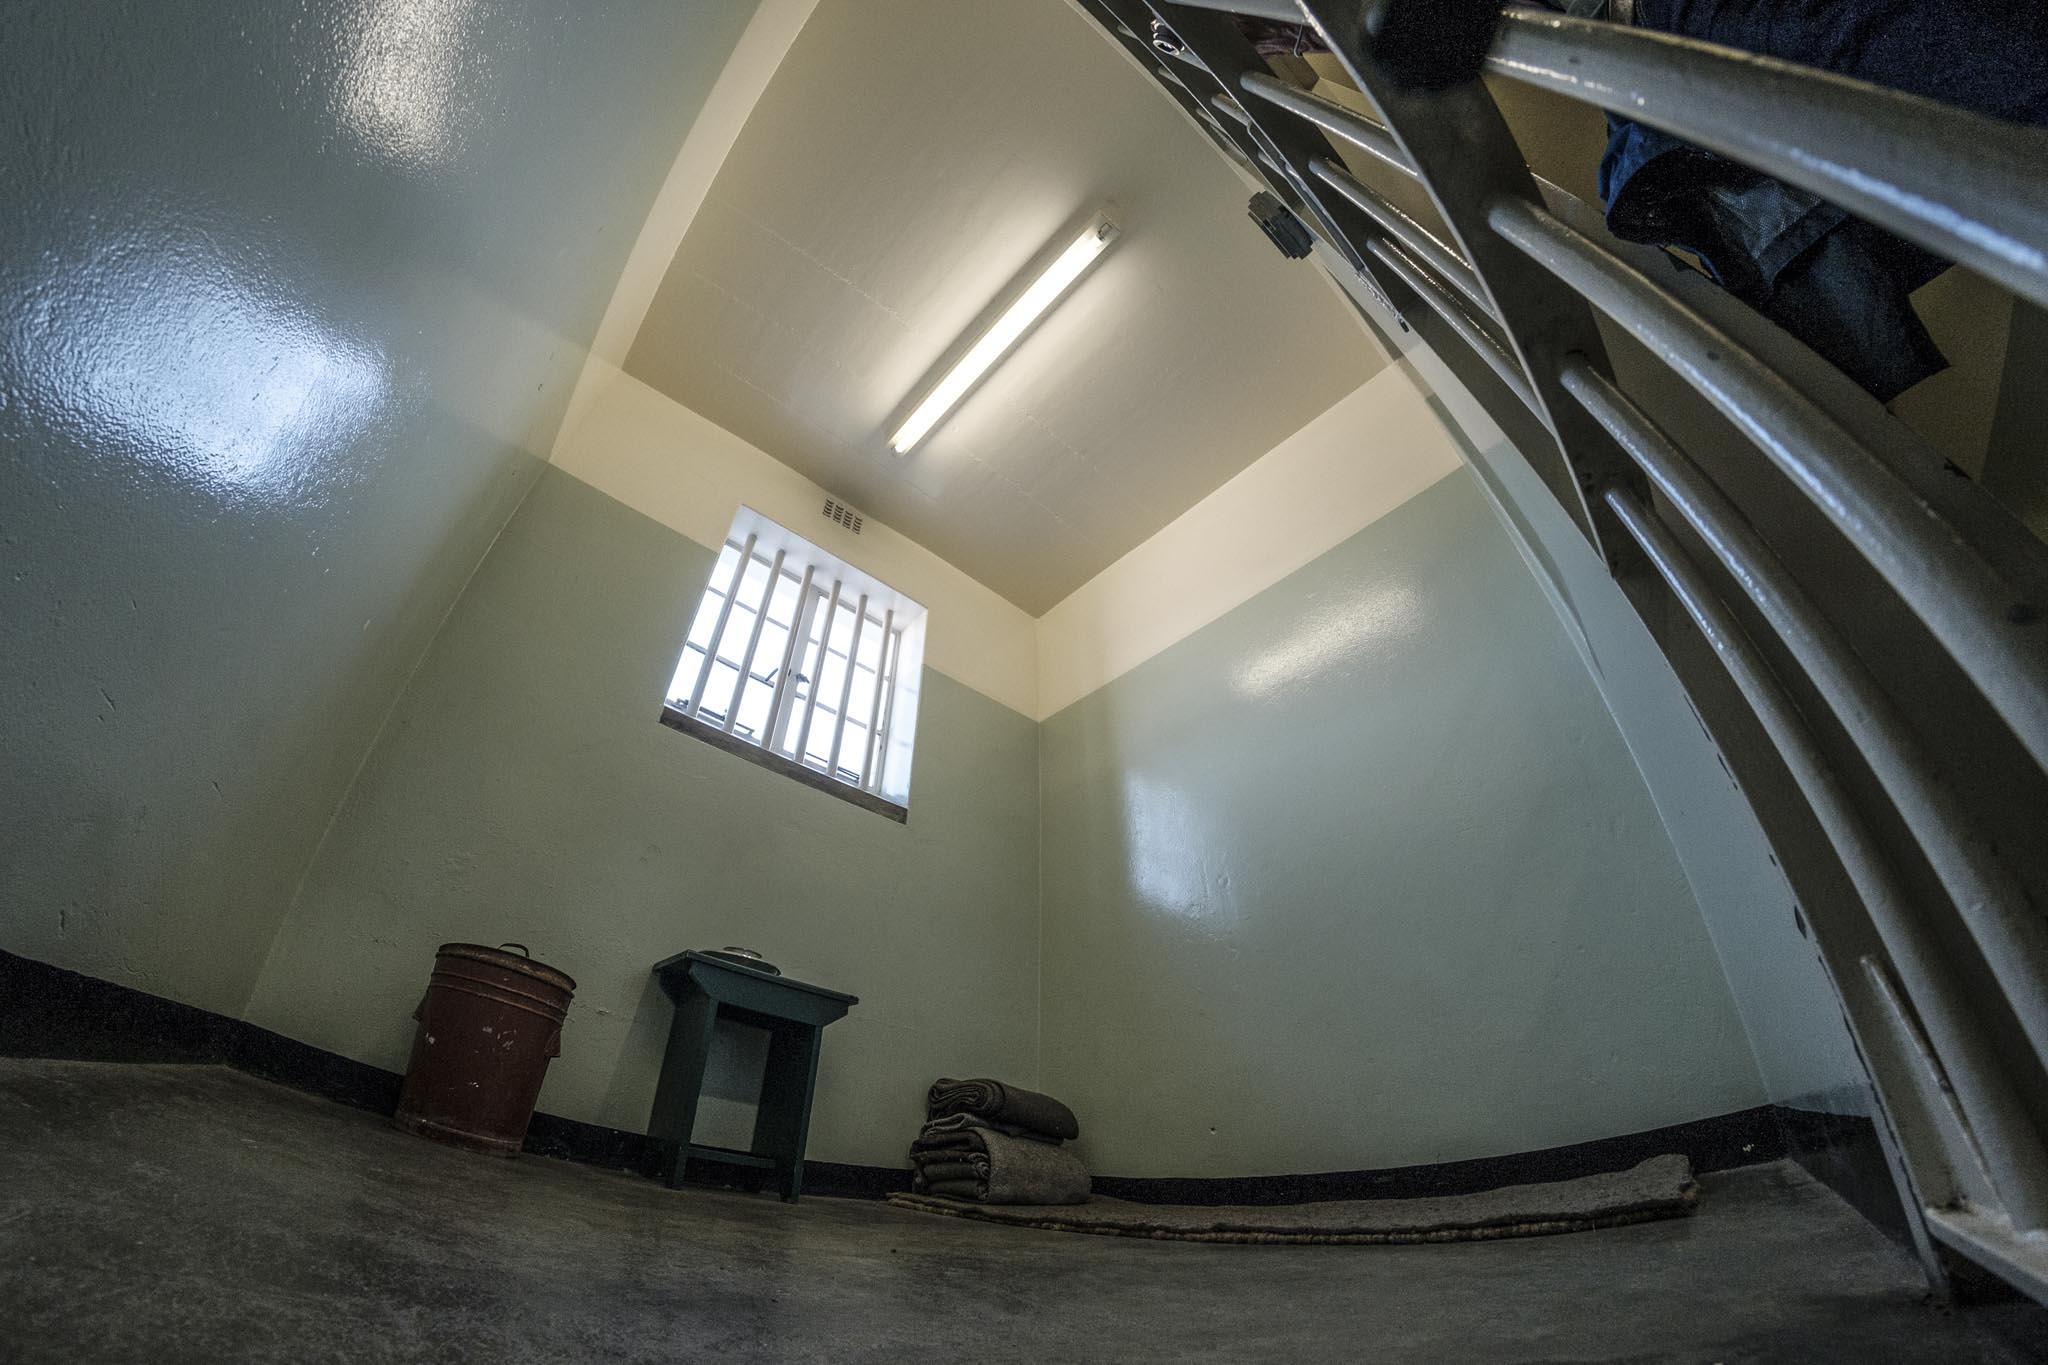
But we couldn’t leave Cape Town without going to the historical Robben Island! I arranged to reschedule our tickets by a few hours and off we went to Robben Island Museum to catch the ferry over.
Arriving at the Island, you immediately begin seeing huge board with pictures and descriptions of the time of apartheid. Main events are documented to make you experience what it was like for the prisoners.
The island visit was basically a bus tour around a few attractions, most popular of them being Nelson Mandela’s prison cell of course.
At that prison, the highlight was getting a tour by a former political prisoner where he described the hardships the prisoners endured and how they coped with them. He described how Mandela and the elders continued to lead the freedom movement internally by sharing political literature amongst prisoners and arranging hunger strikes to make sure they got their rights. In that moment, I felt grateful for my freedom.
Our Cape Town visit ended up quite a high note, and from there we rushed over to the airport for our flight to Johannesburg.
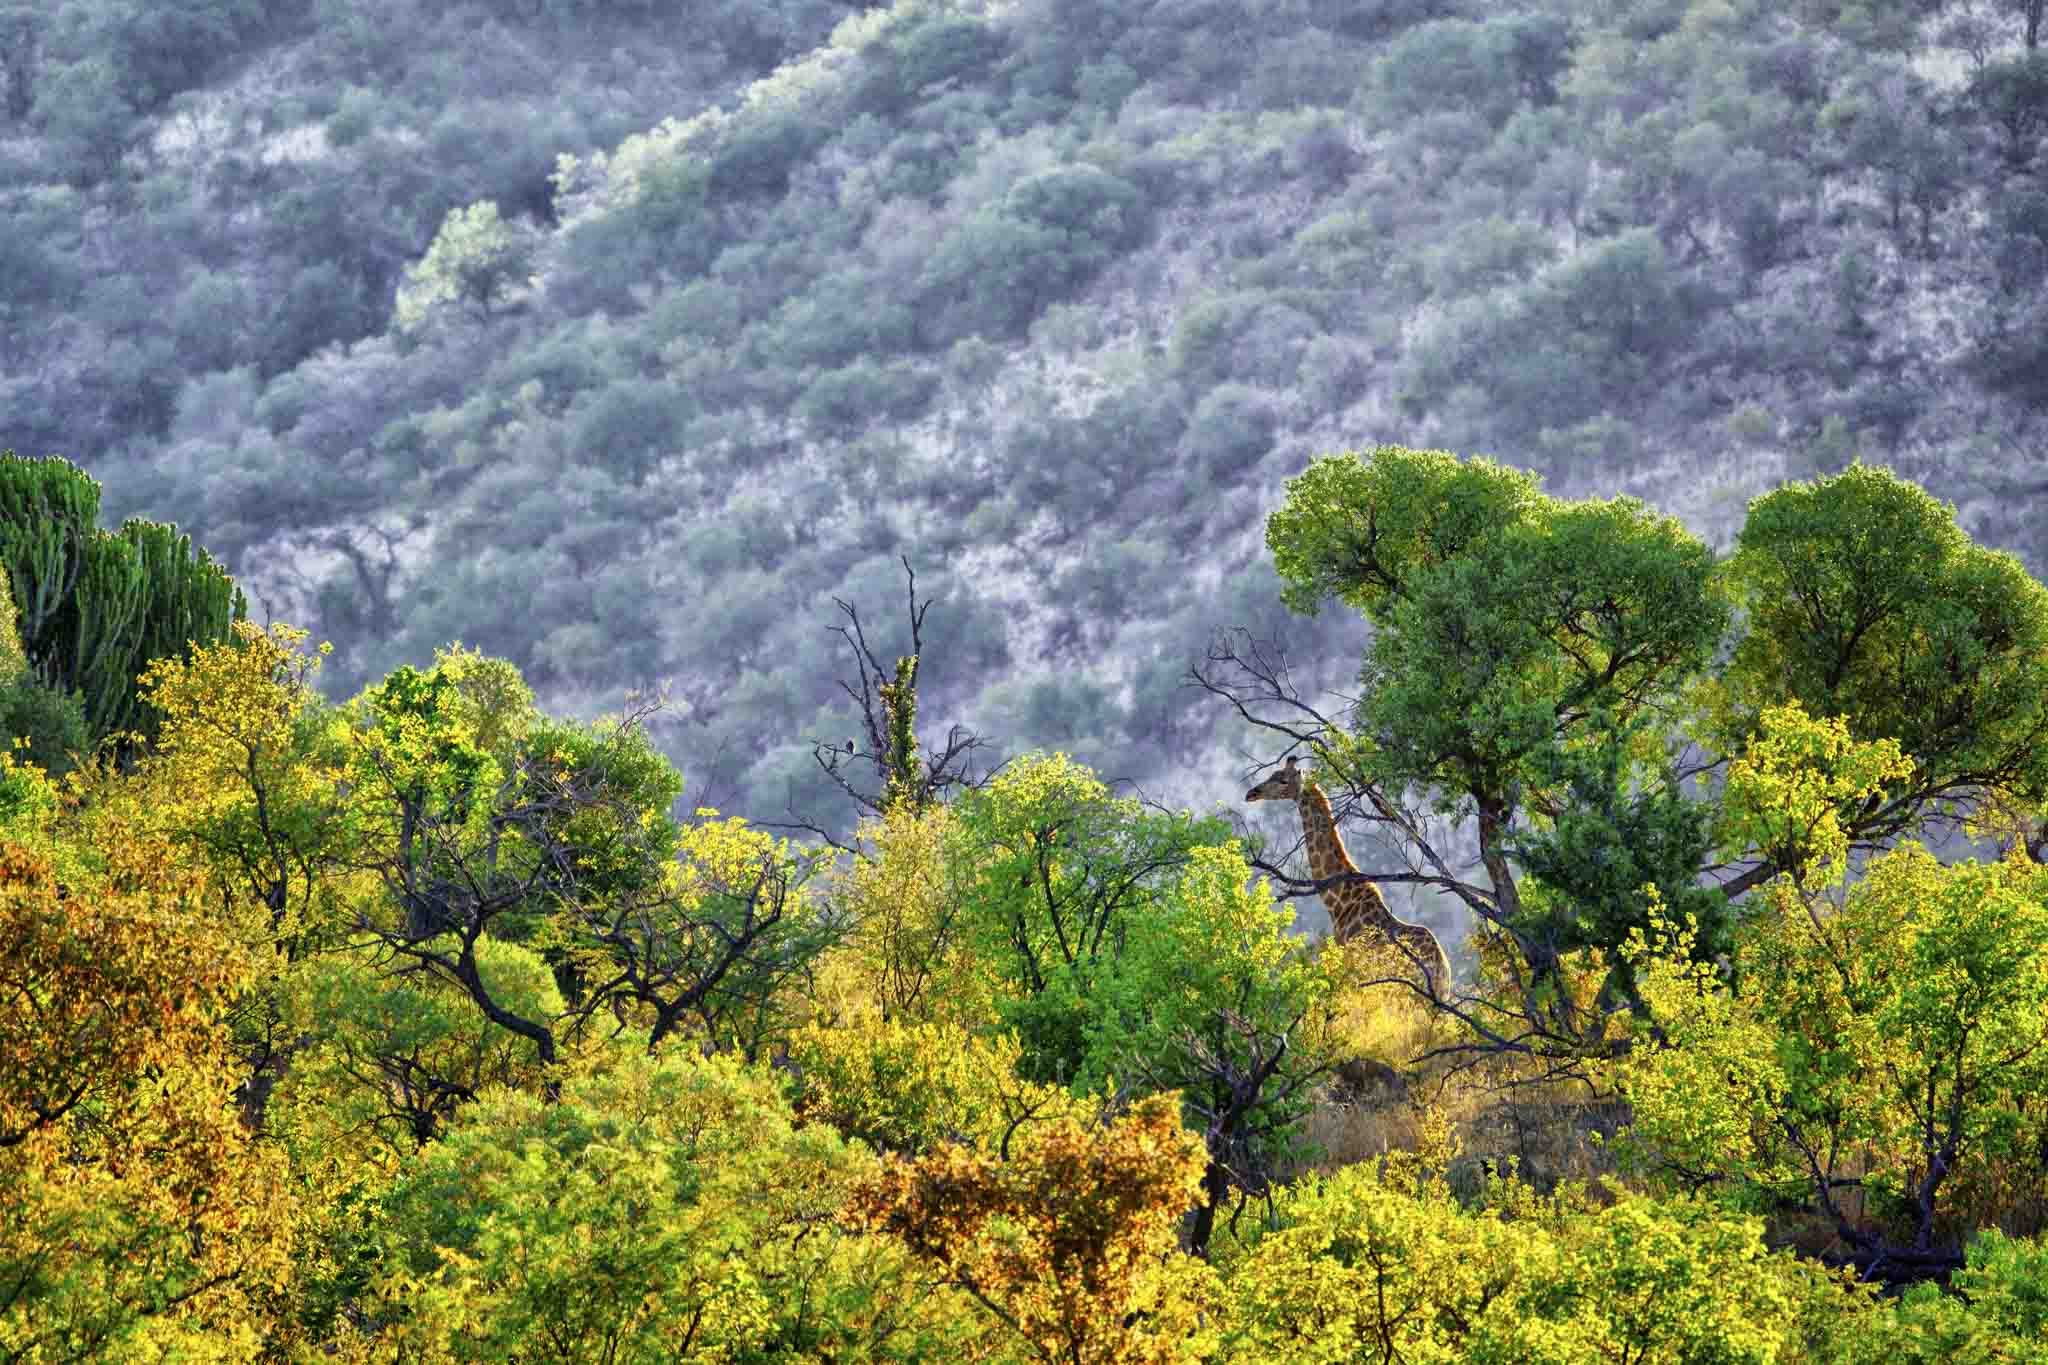
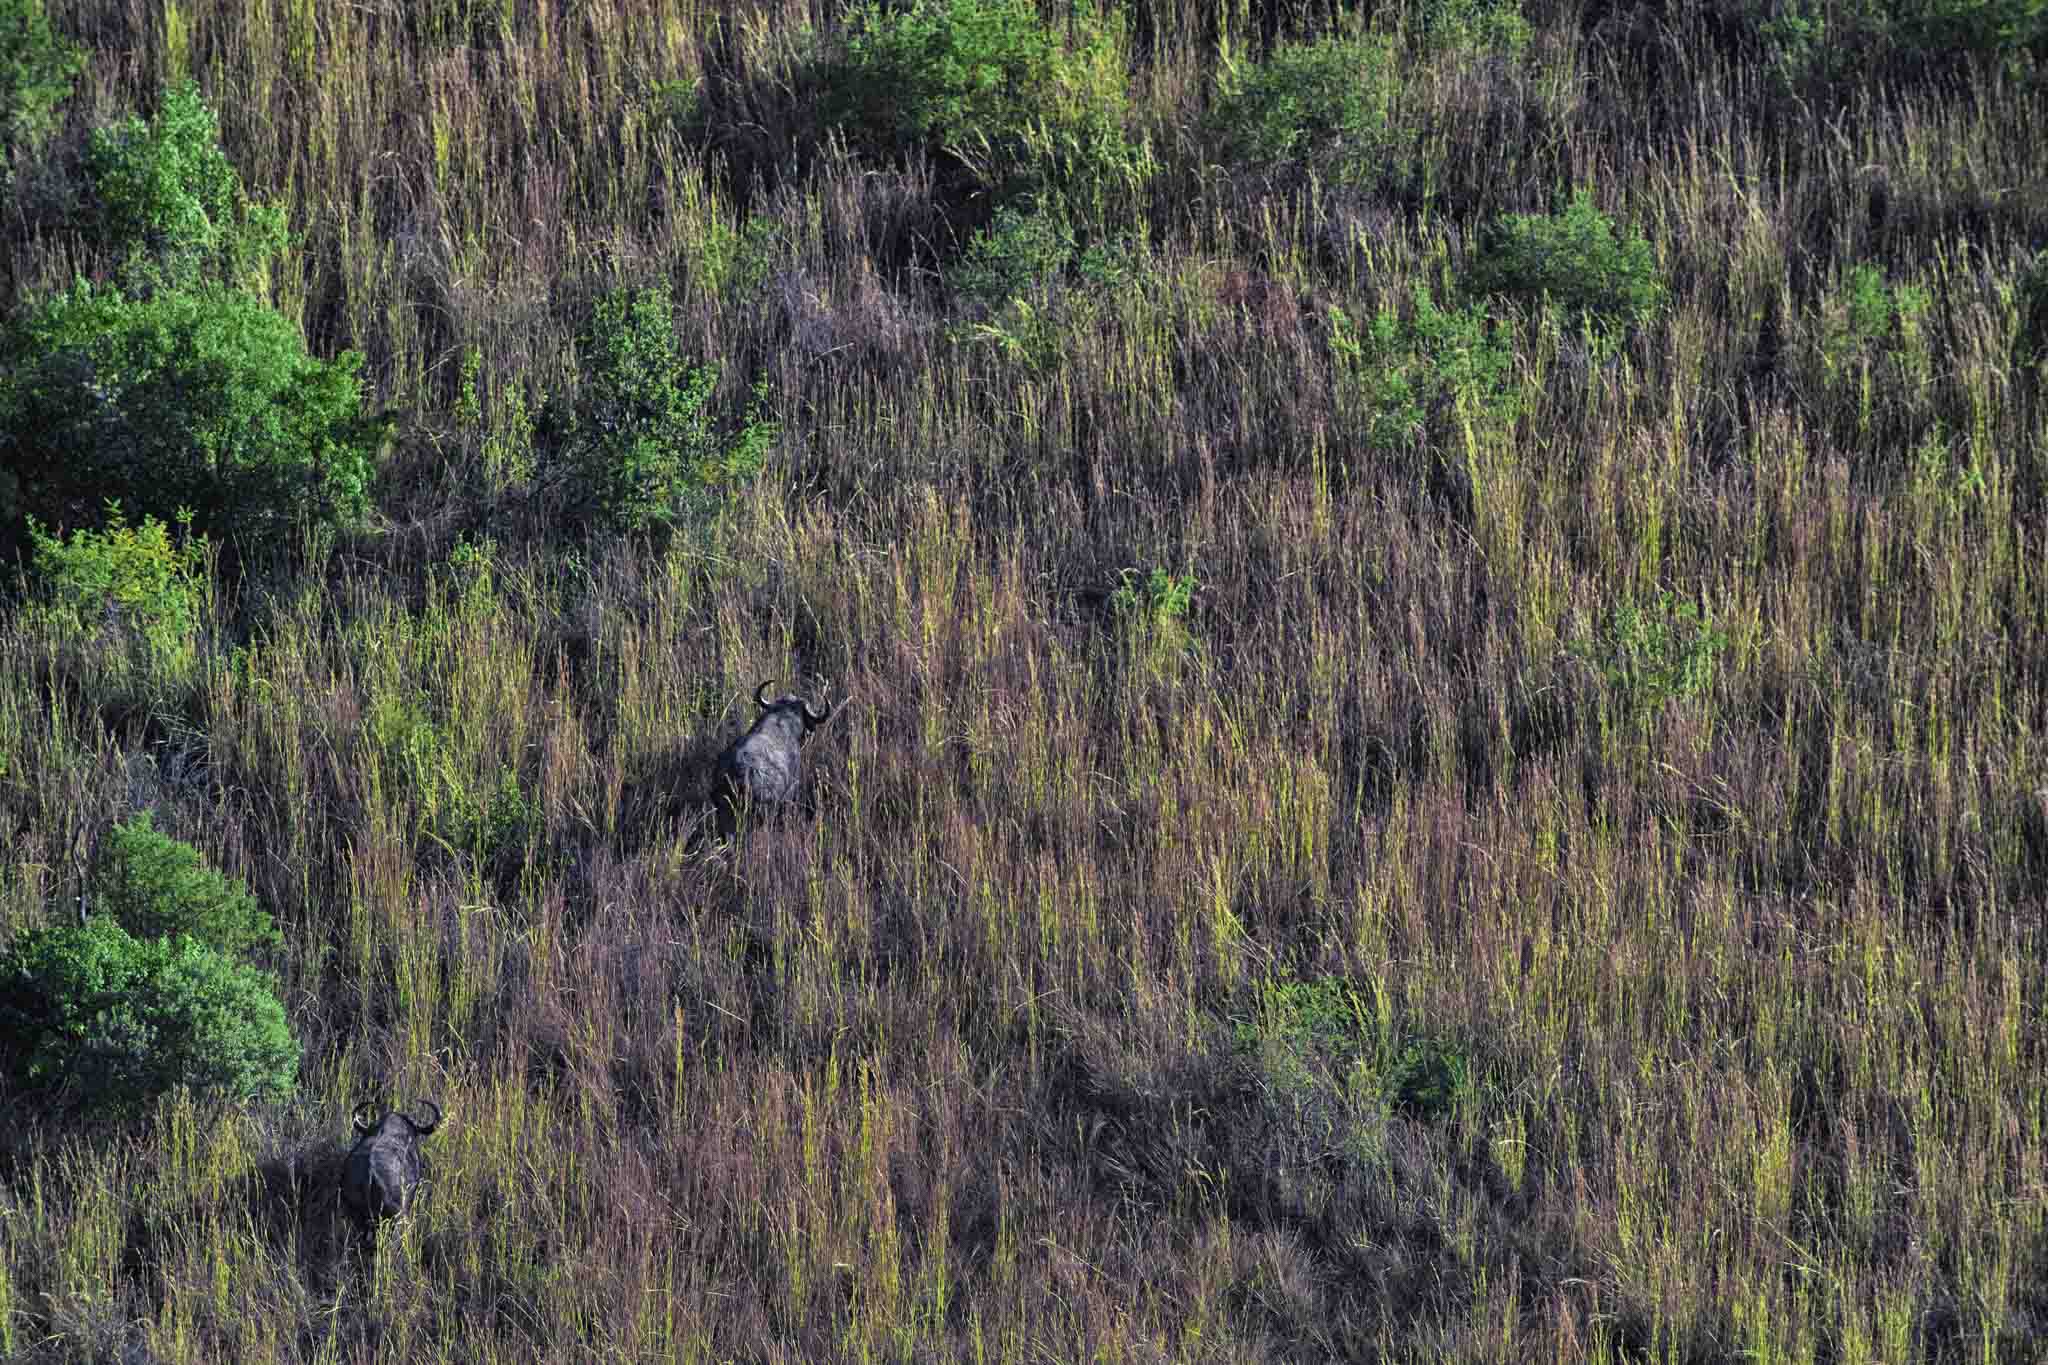
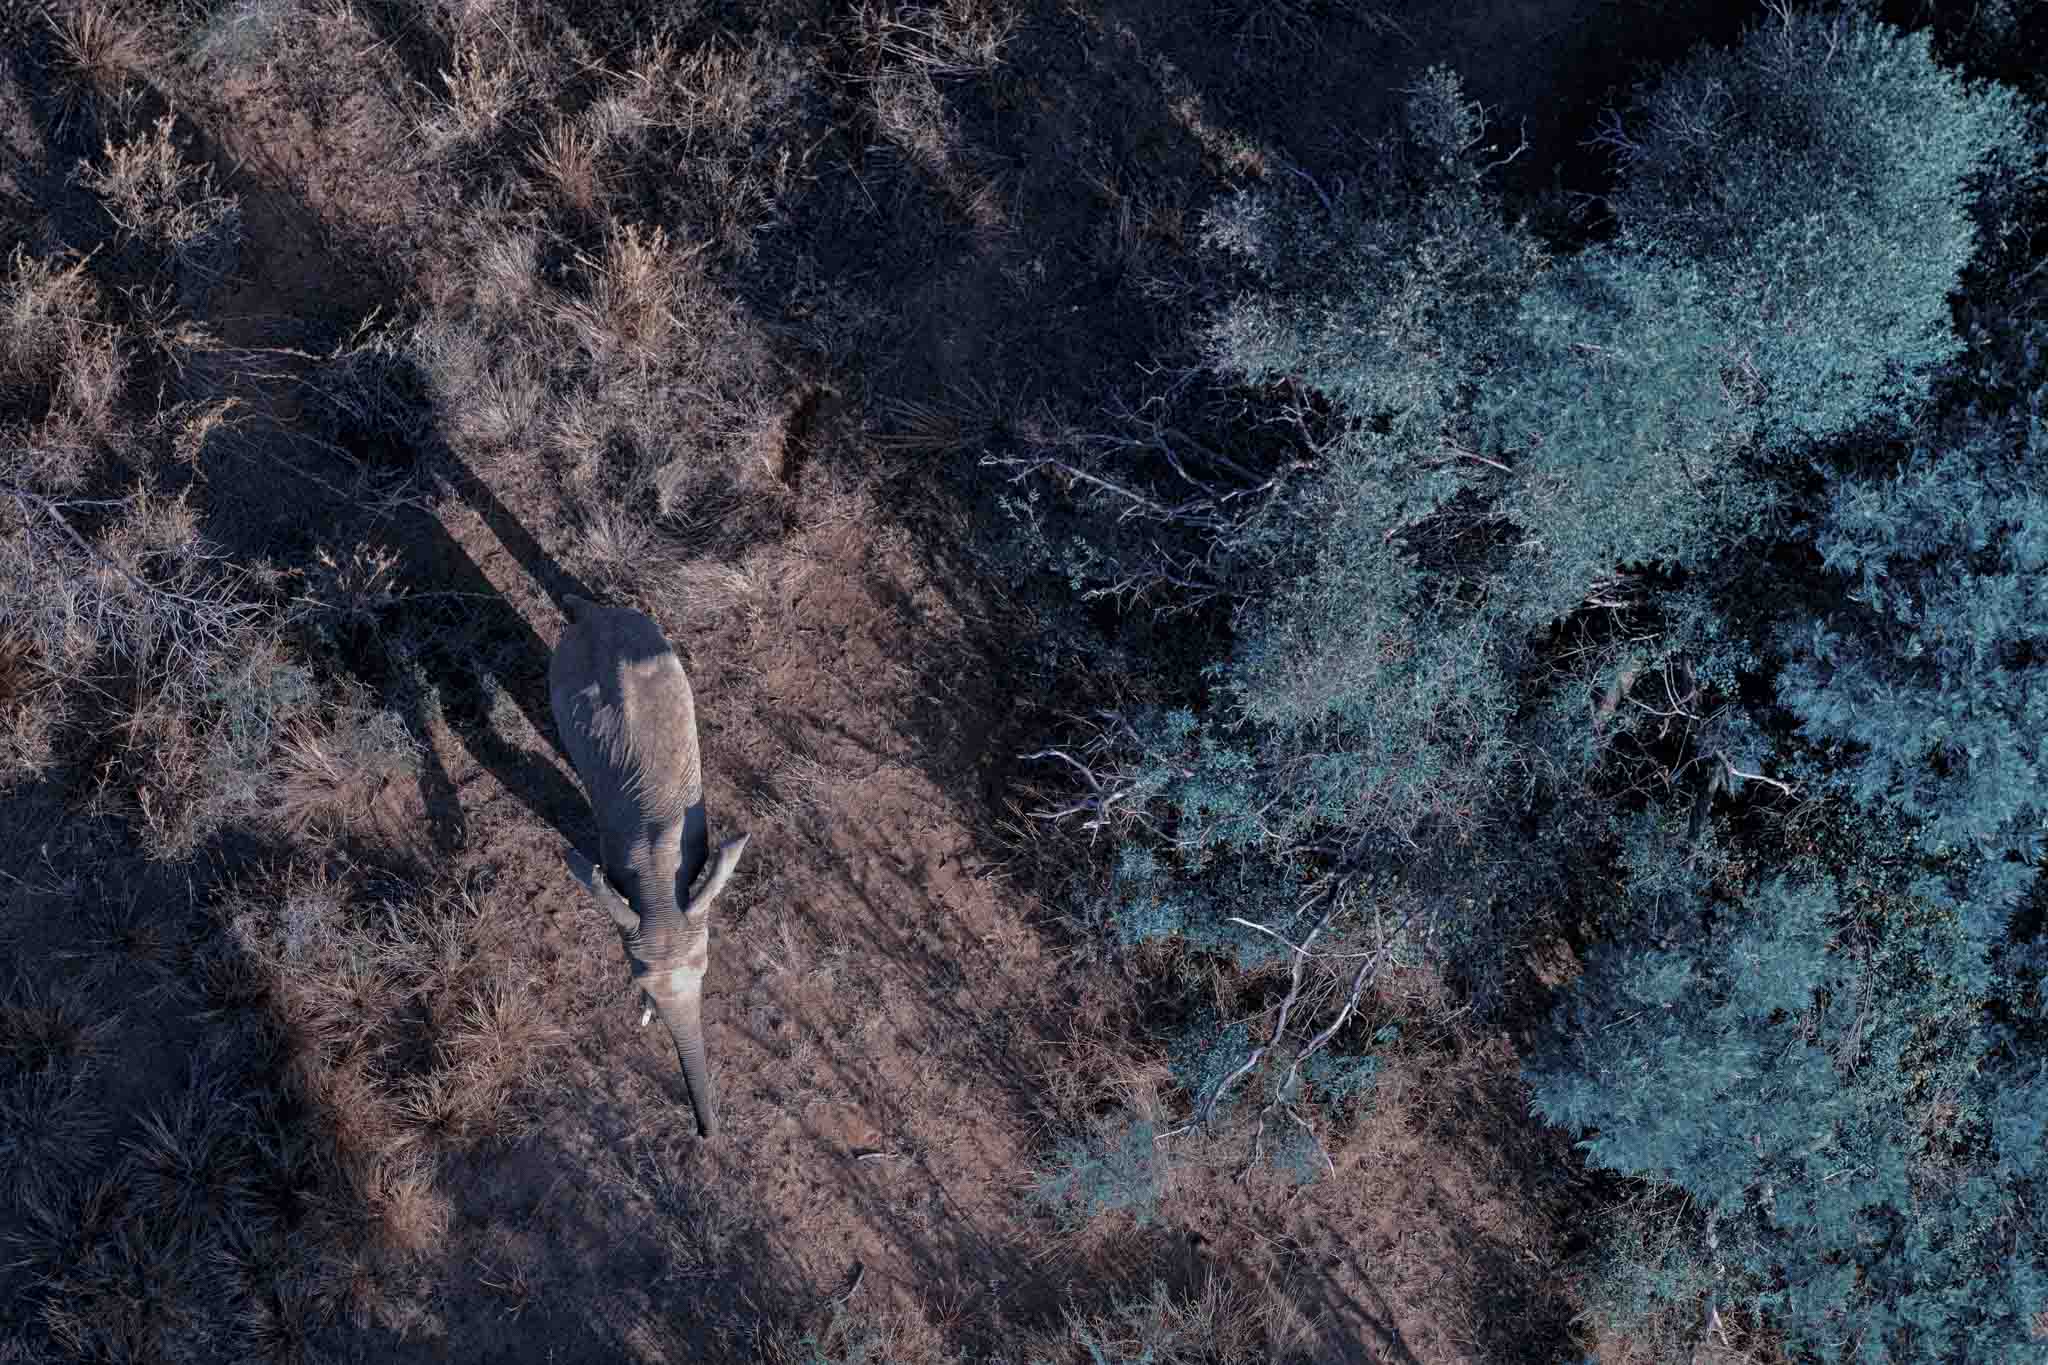
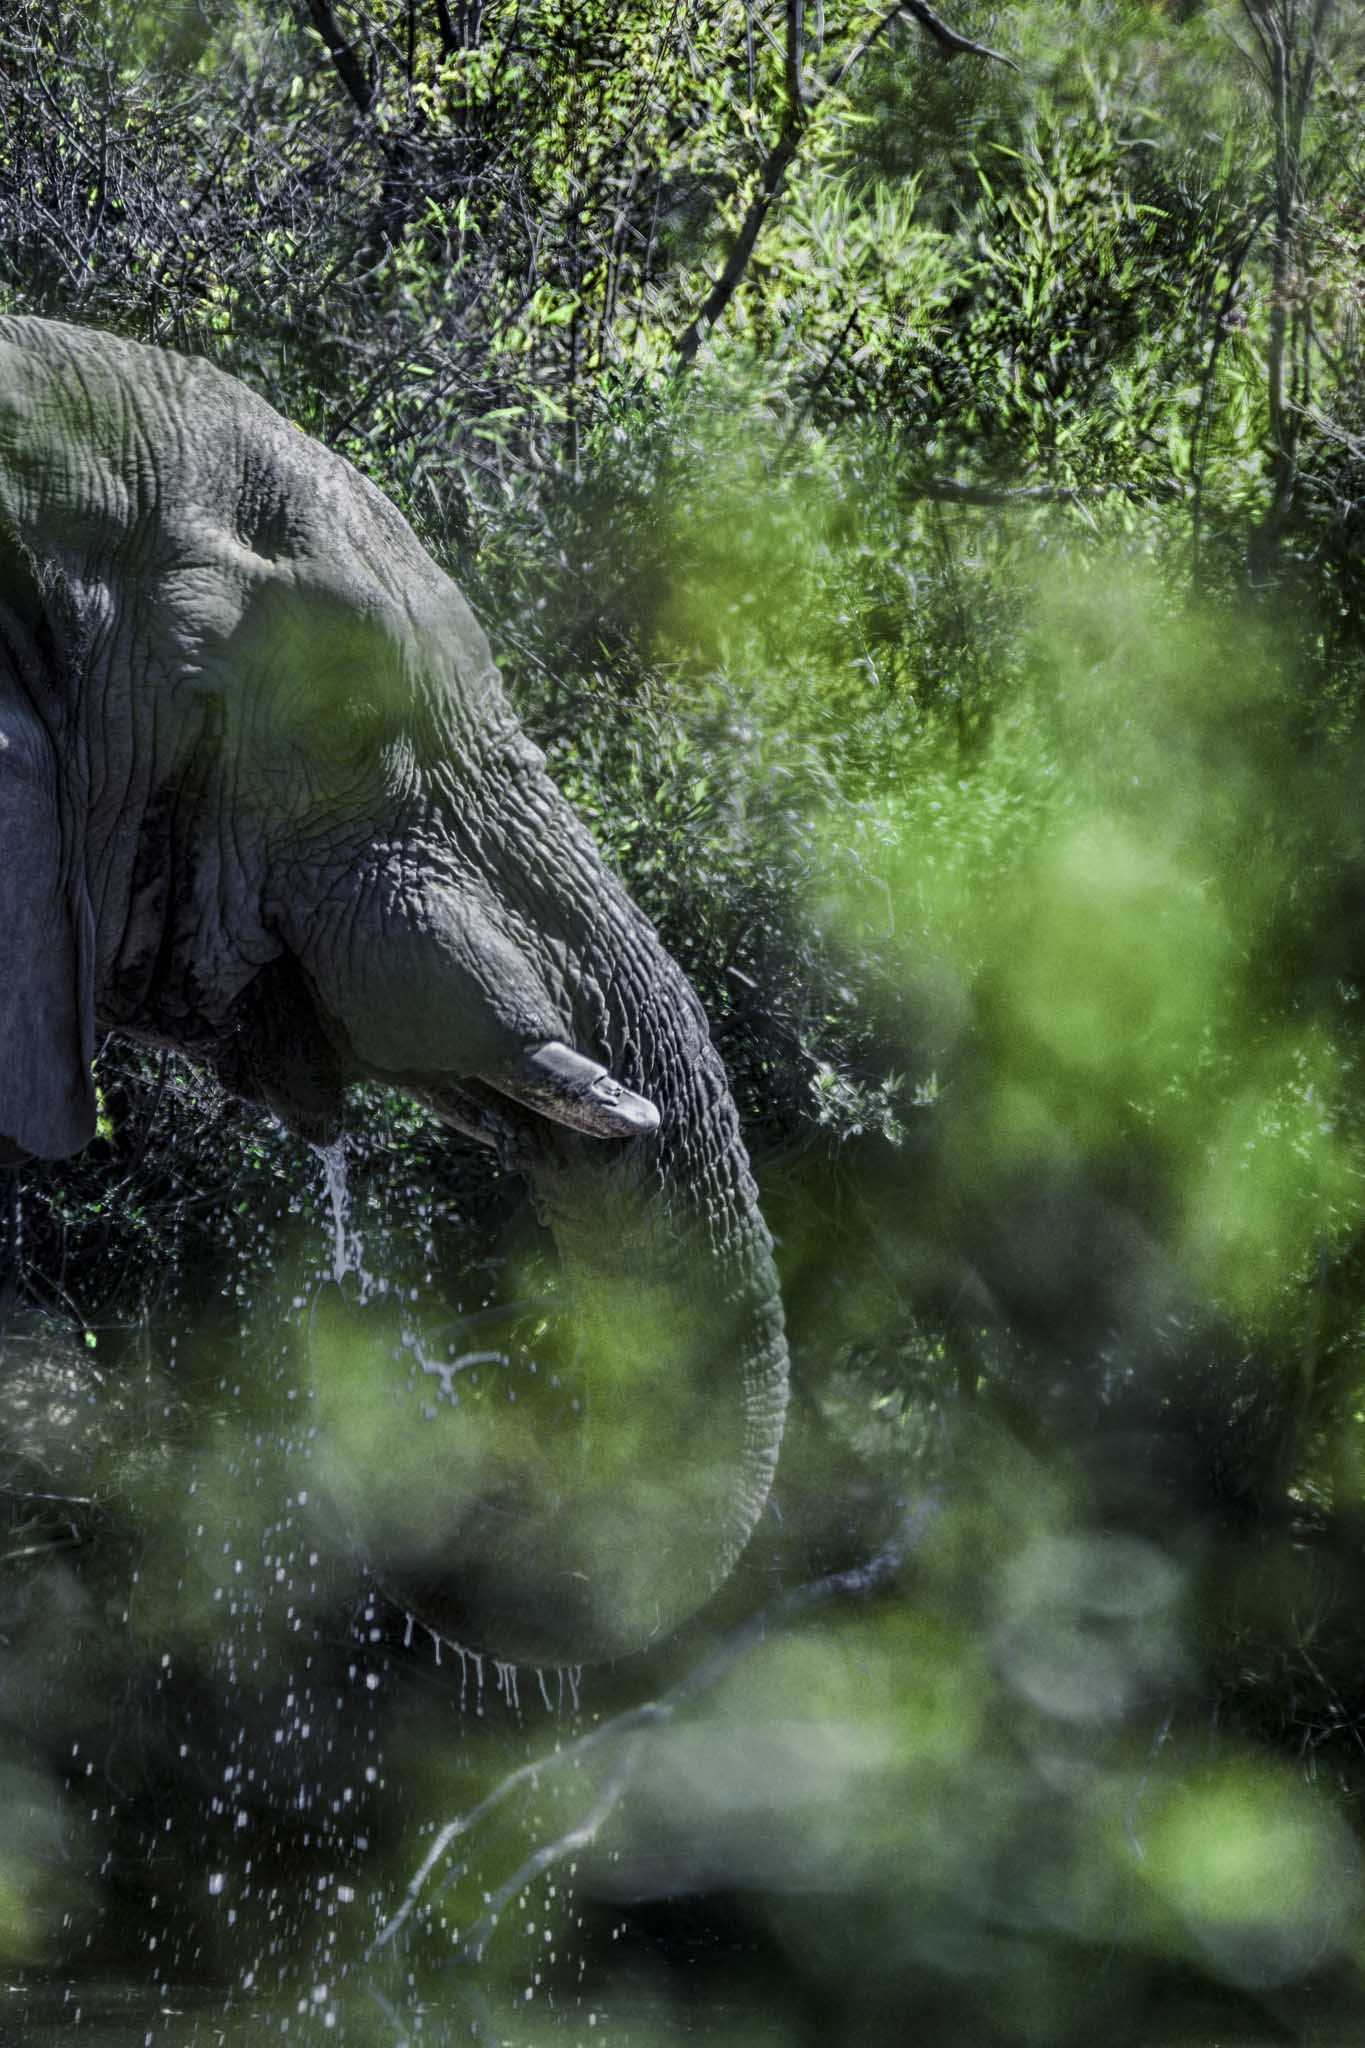
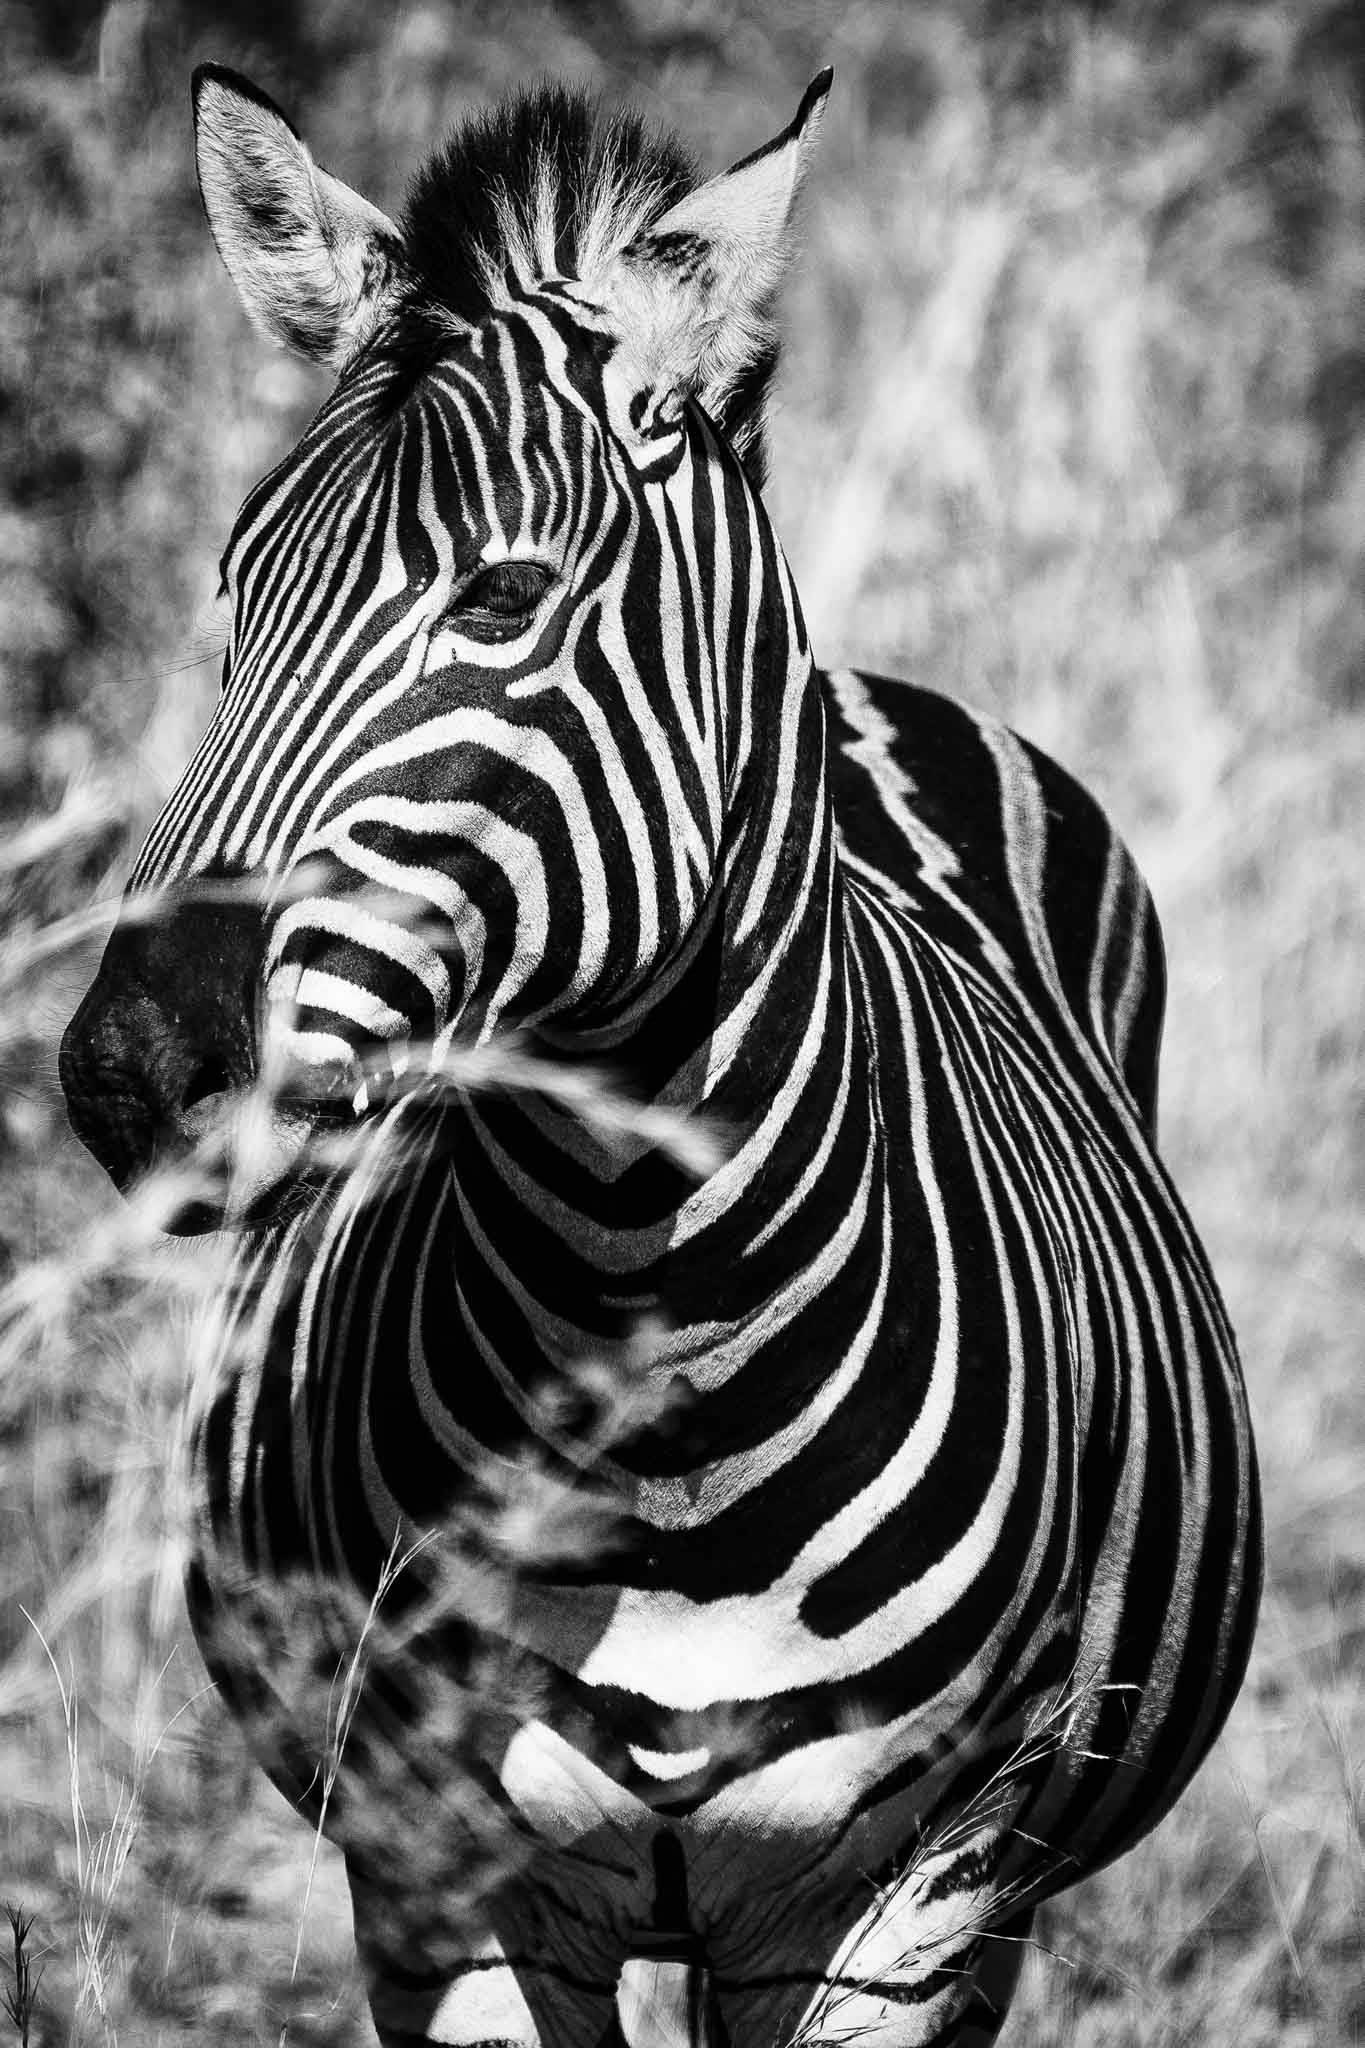
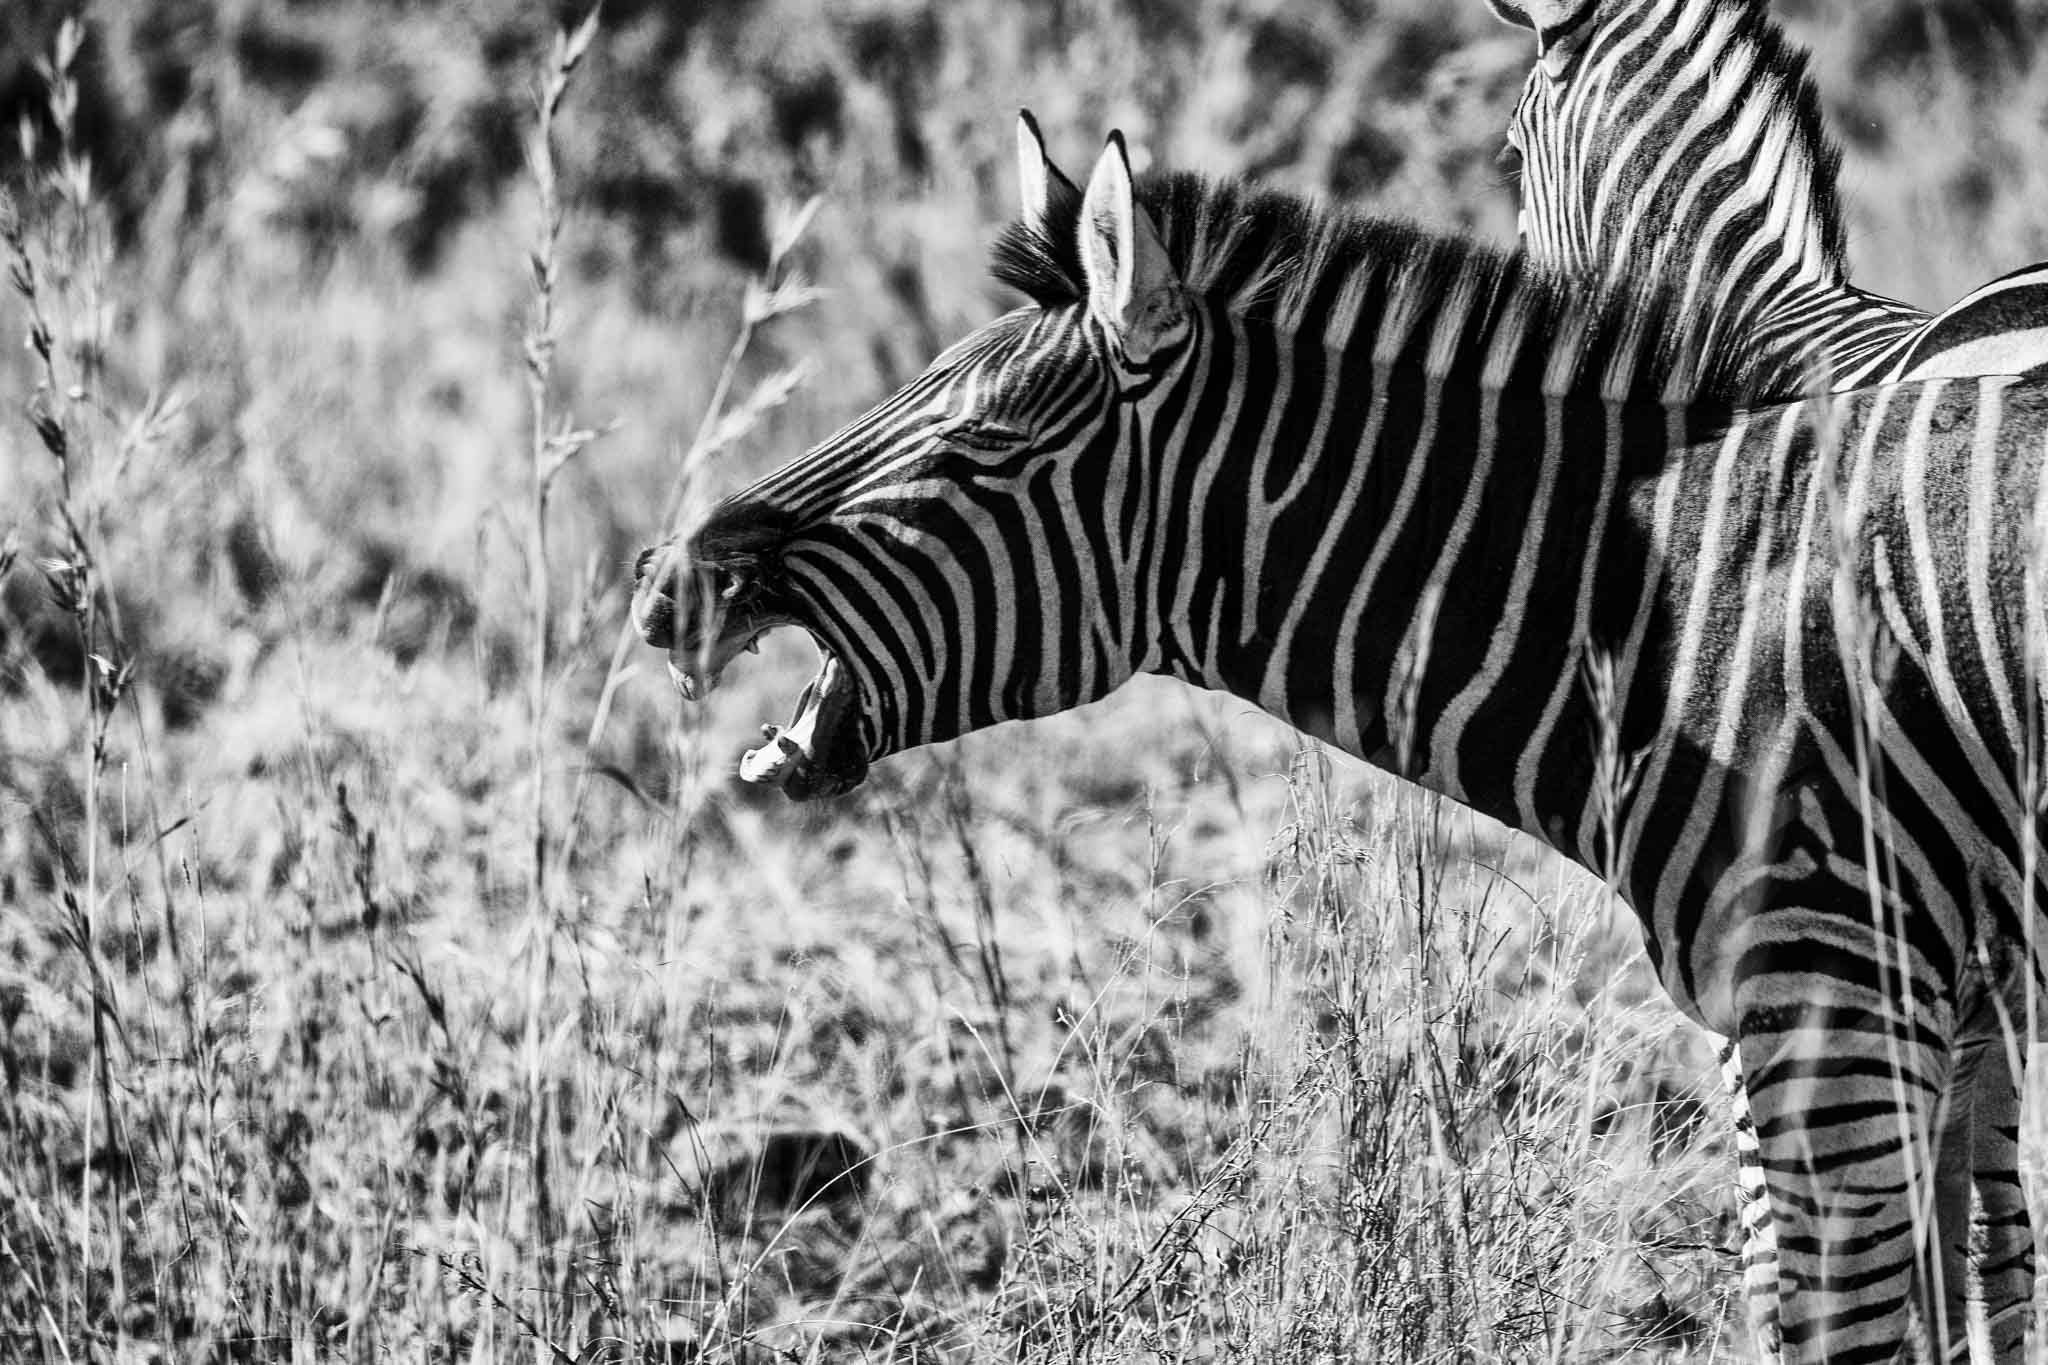
Next morning, our wildlife adventure with Fujifilm began. We were greeted by the Fujifilm South Africa team and also joined by some media members who were to take part in the experience of shooting at Pilanesburg National Park using the X-T2.
I’d just like to point out the really cool deal they have in South Africa where you can rent to own your Fujifilm gear. If you’re in South Africa and interested check out their website: http://www.fujifilmfinance.co.za/ . It’s super easy to use, just fill out the application and they’ll get back to you once the’ve checked out your credit score.
Other Fujifilm regions take note, this is a great opportunity to put high-end cameras in less financially capable hands. Another way to do it is to hook up with banks and credit card companies and have the financial institutions finance the purchase. In the UAE, Sharaf DG has a similar plan for Apple products.
Anyway, back to photos and gear. Obviously the main attraction was the X-T2 and most of the photographers paired it up with the XF100-400mm f4.5-5.6 LM OIS. Some of us also tried the 1.4x and 2x teleconverters.
Here are my thoughts:
My first impression was that it’s a BIG lens, at least bigger than I’m used to. Then you look at the numbers and compare it to its full frame cousins and you think man, this thing is tiny. Especially when you add the teleconverters, you can effectively have a 1200mm lens at a fraction of the size and weight. Of course that comes with some sacrifices, and I’ll talk about that in a second.
Image quality – awesome. Not surprising since Fuji have been killing it with their lenses. Sharp all the way around and you have a decent amount of bokeh all the way to f9 at 100mm and f13 at 400mm.
The OIS (Optical Image Stabilisation) is pretty damn good. I shot a few crappy photos to try it out so I won’t be sharing those, but you can comfortably shoot at 1/20s at 400mm and 1/8s at 100mm and obtain sharp images. I don’t know about you, but in my books that’s pretty insane.
A cool feature it has is that you can flip a switch to tell the camera not to try to focus on anything closer than 5m. Pretty handy and saves some time.
One thing I didn’t like is that it doesn’t have any aperture markings. I later understood that it was meant to be used with the teleconverters and the aperture changes so it was best to read the aperture in the camera.
Coming to the teleconverters, they have their advantages and disadvantages. The obvious advantage is reach. Pretty straight forward, 1.4x and 2x. However, you lose 1 stop of light on the 1.4x and 2 stops of light on the 2x.
In plain english, you’ll need a hell of a lot of light to use the 2x teleconverter since the lens becomes f9-11.
In addition, I felt the 2x images start to lose a bit of sharpness. The 1.4x images were acceptable.
Final thoughts: I fell in love with the lens and the teleconverters. They have specific purposes at certain times. Definitely a must for a wildlife or motorsports photographer. That’s not me though, but I will definitely loan one out next time I’m shooting the odd sporting event.
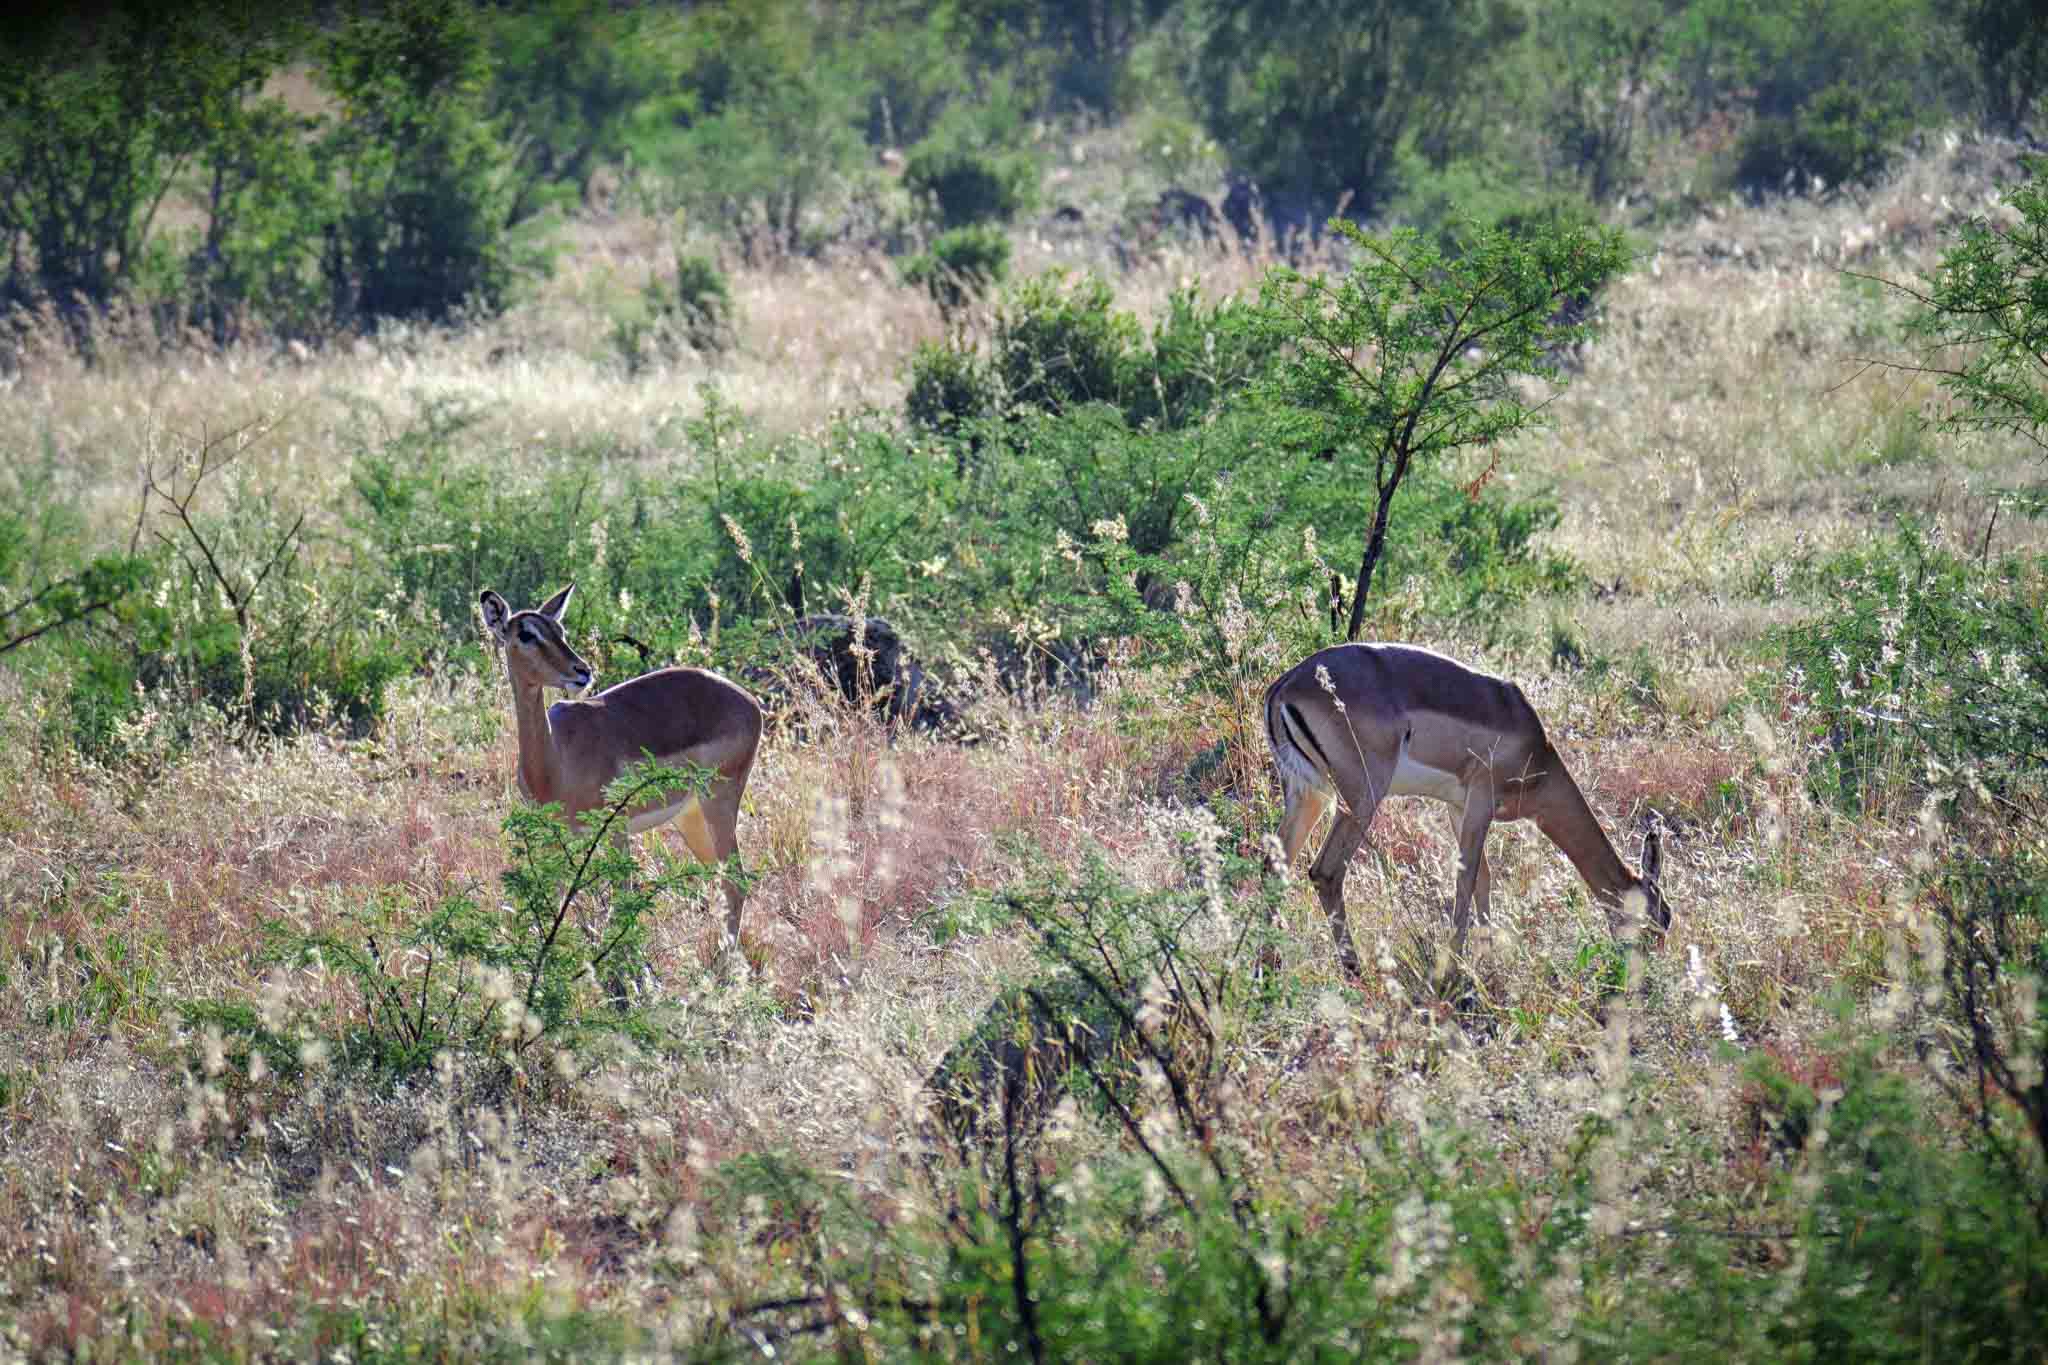
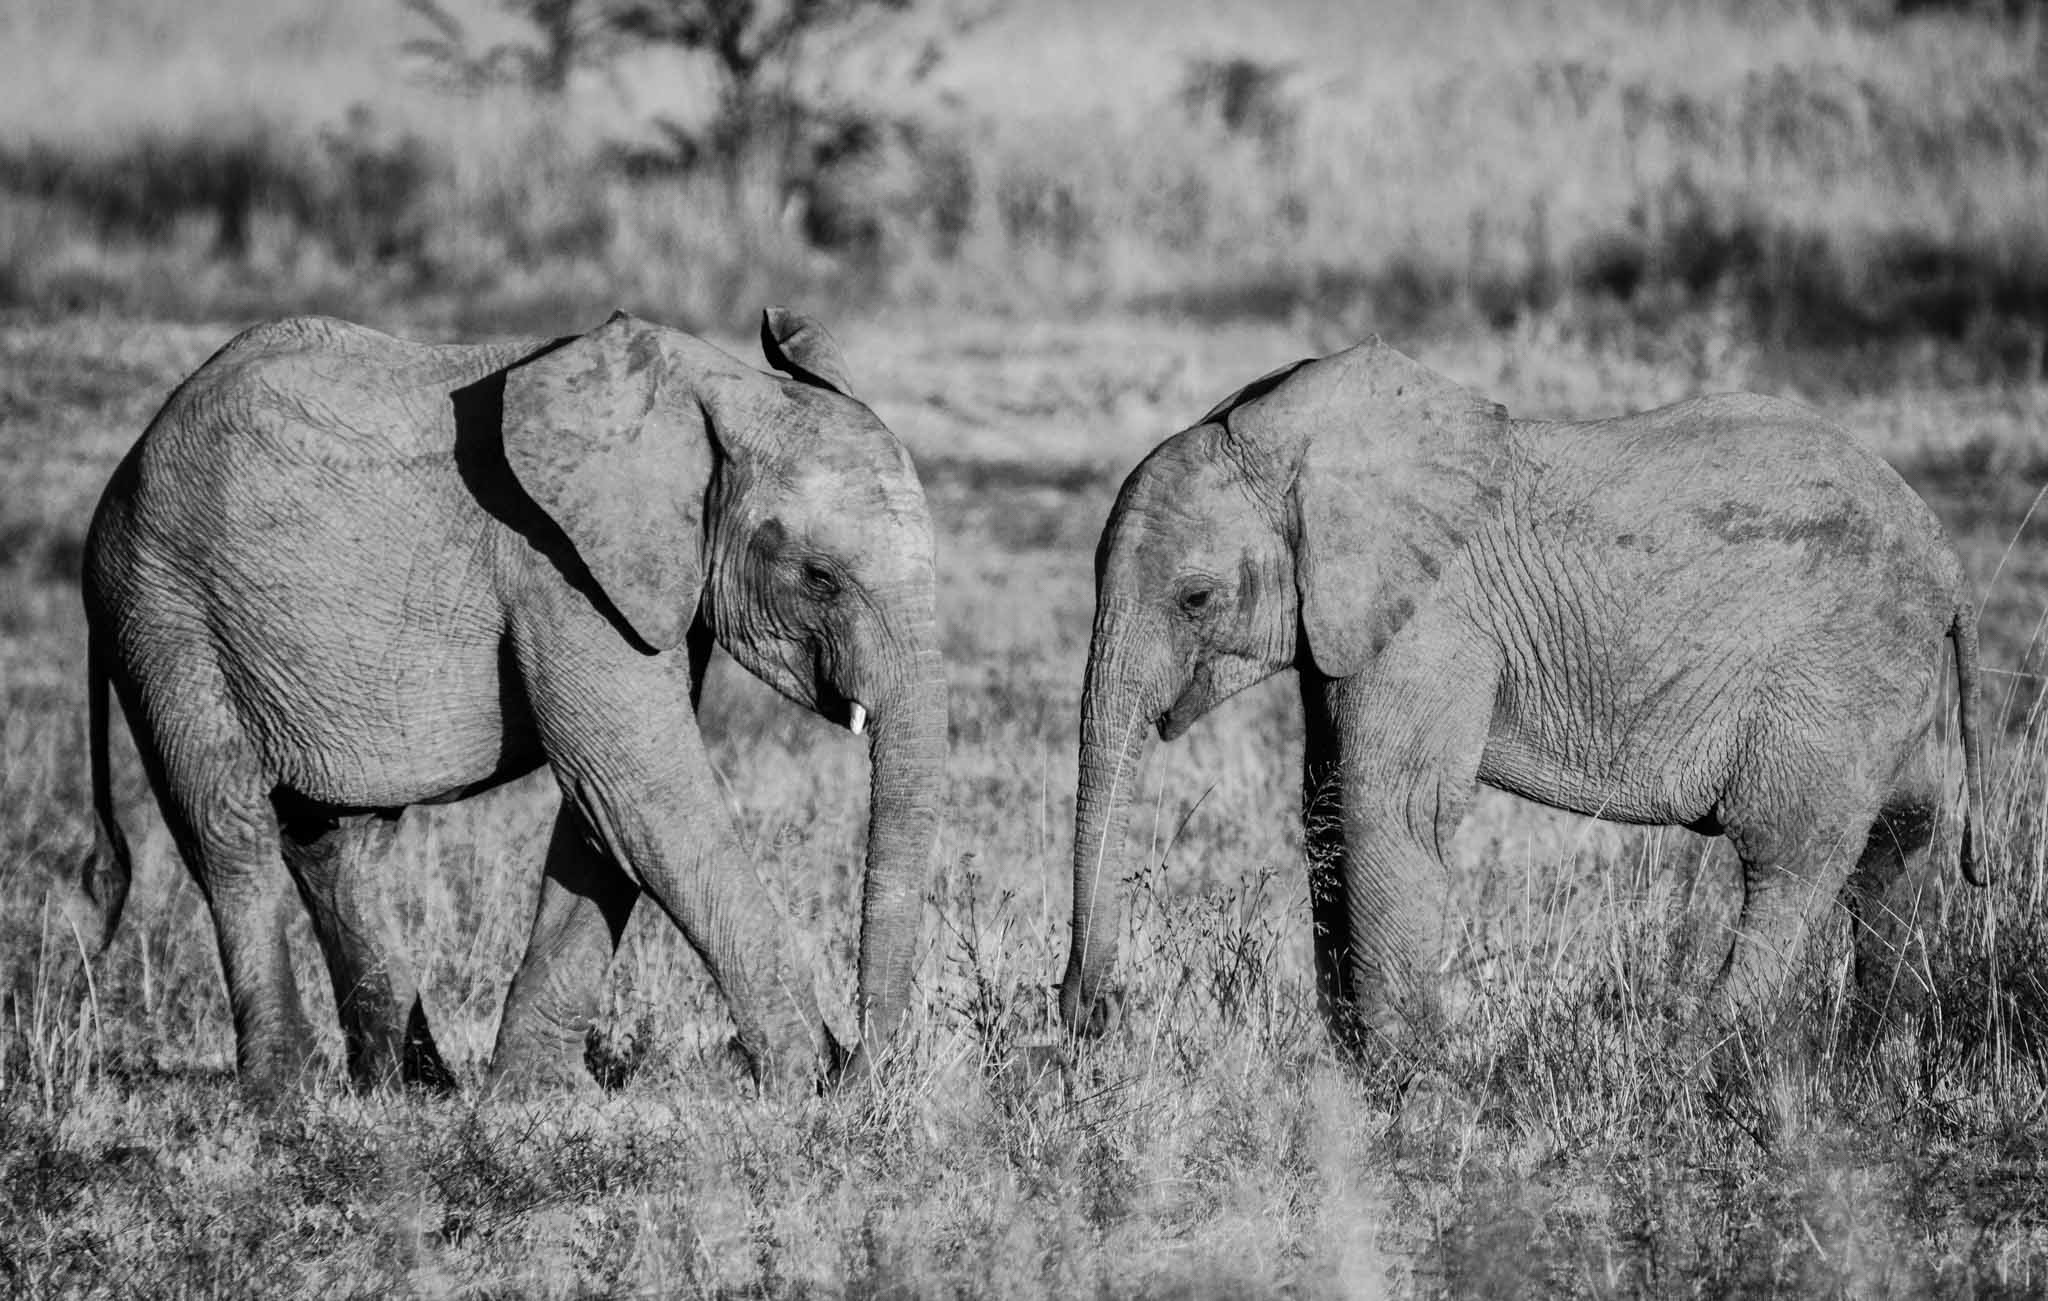
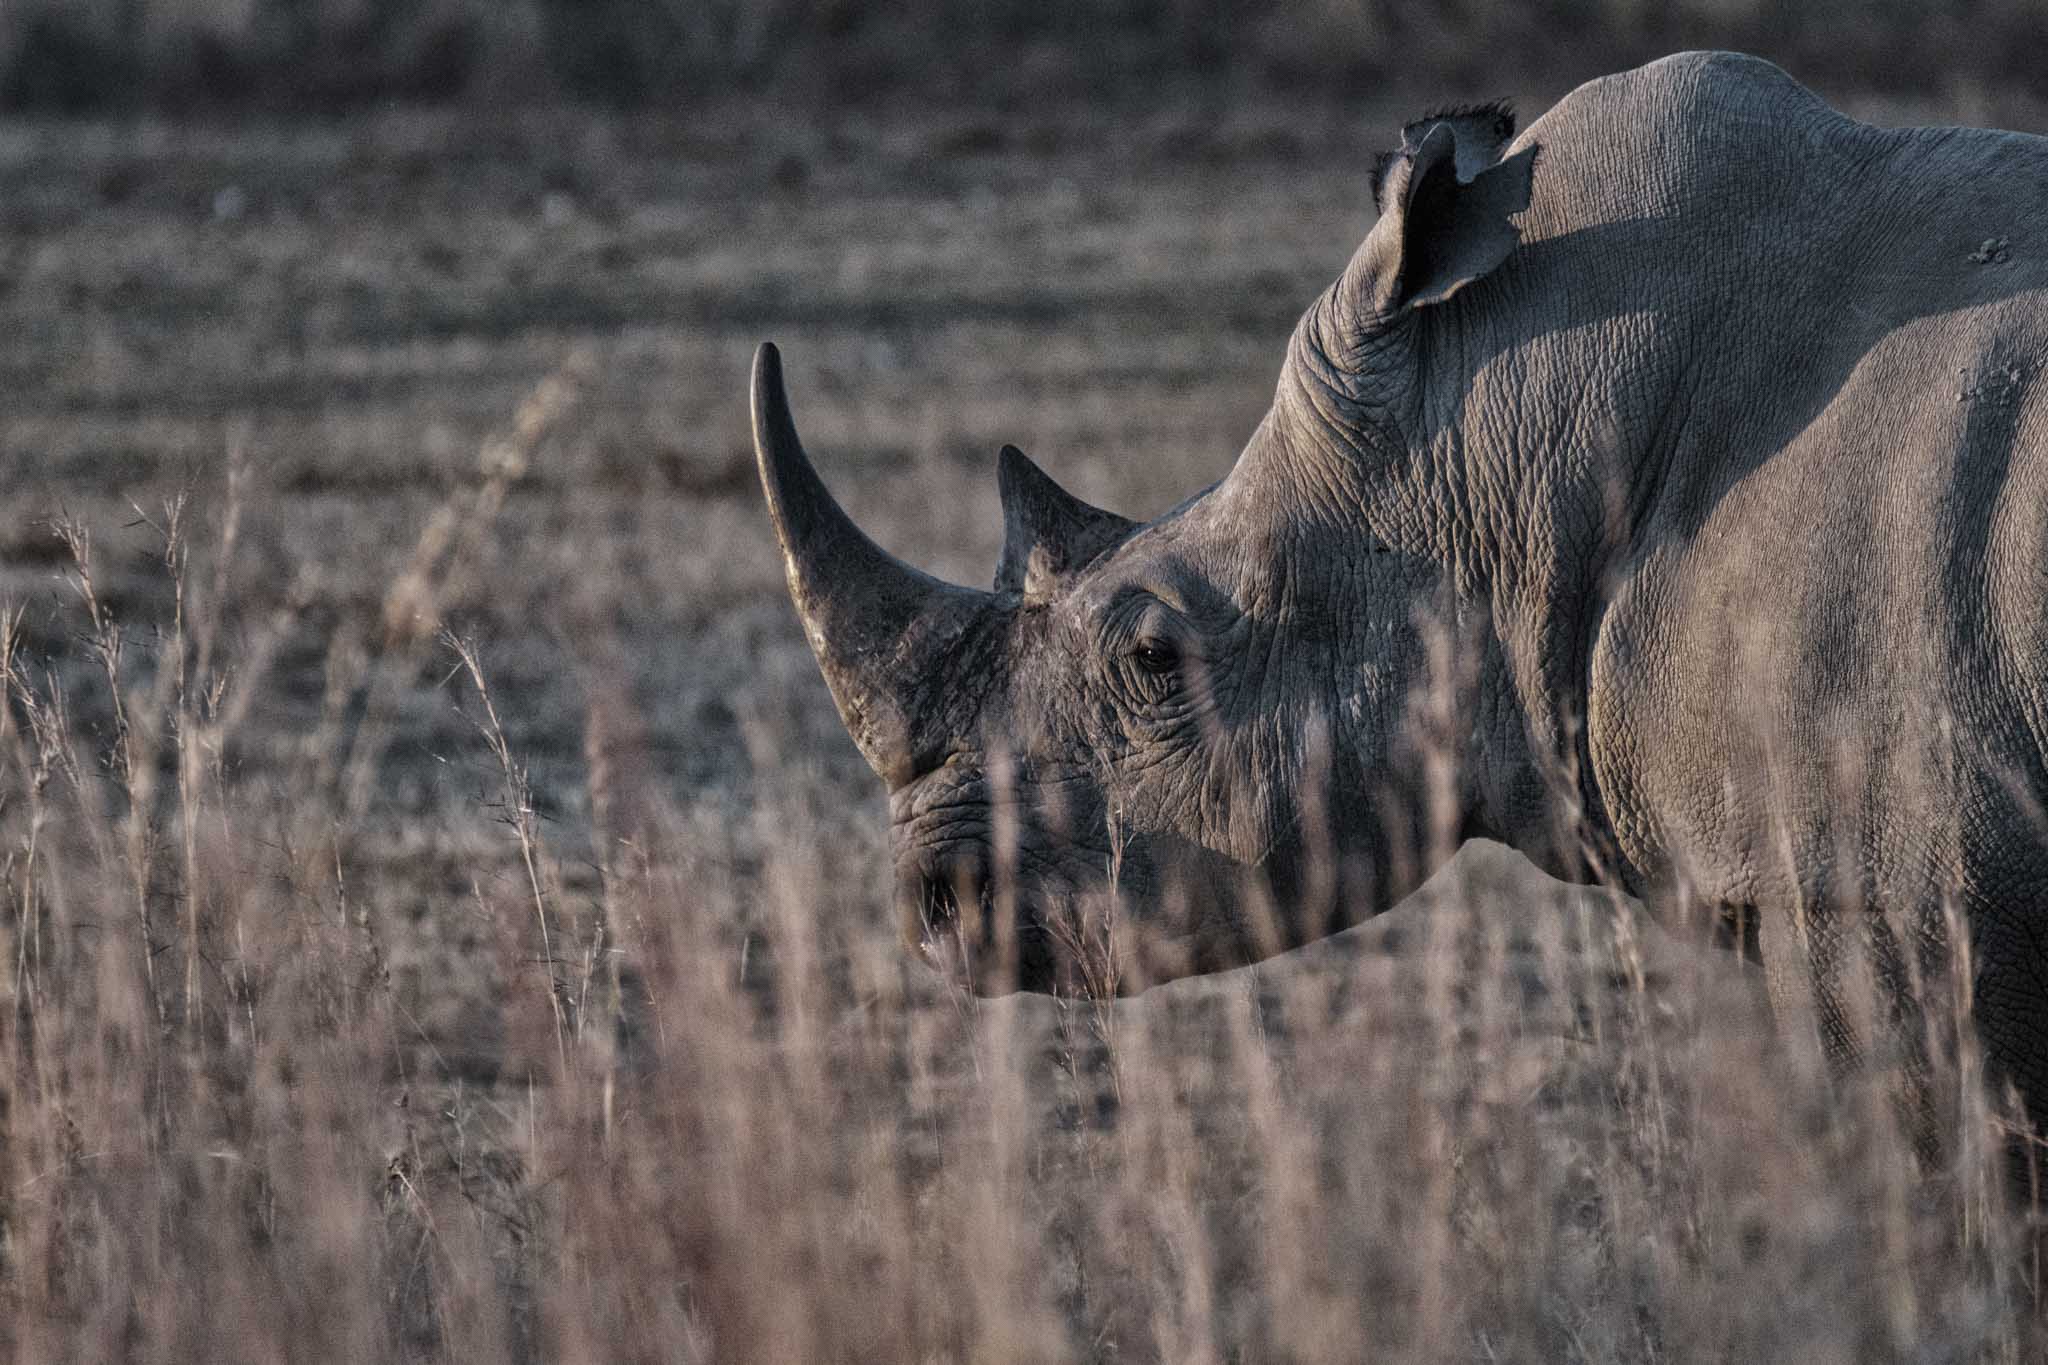
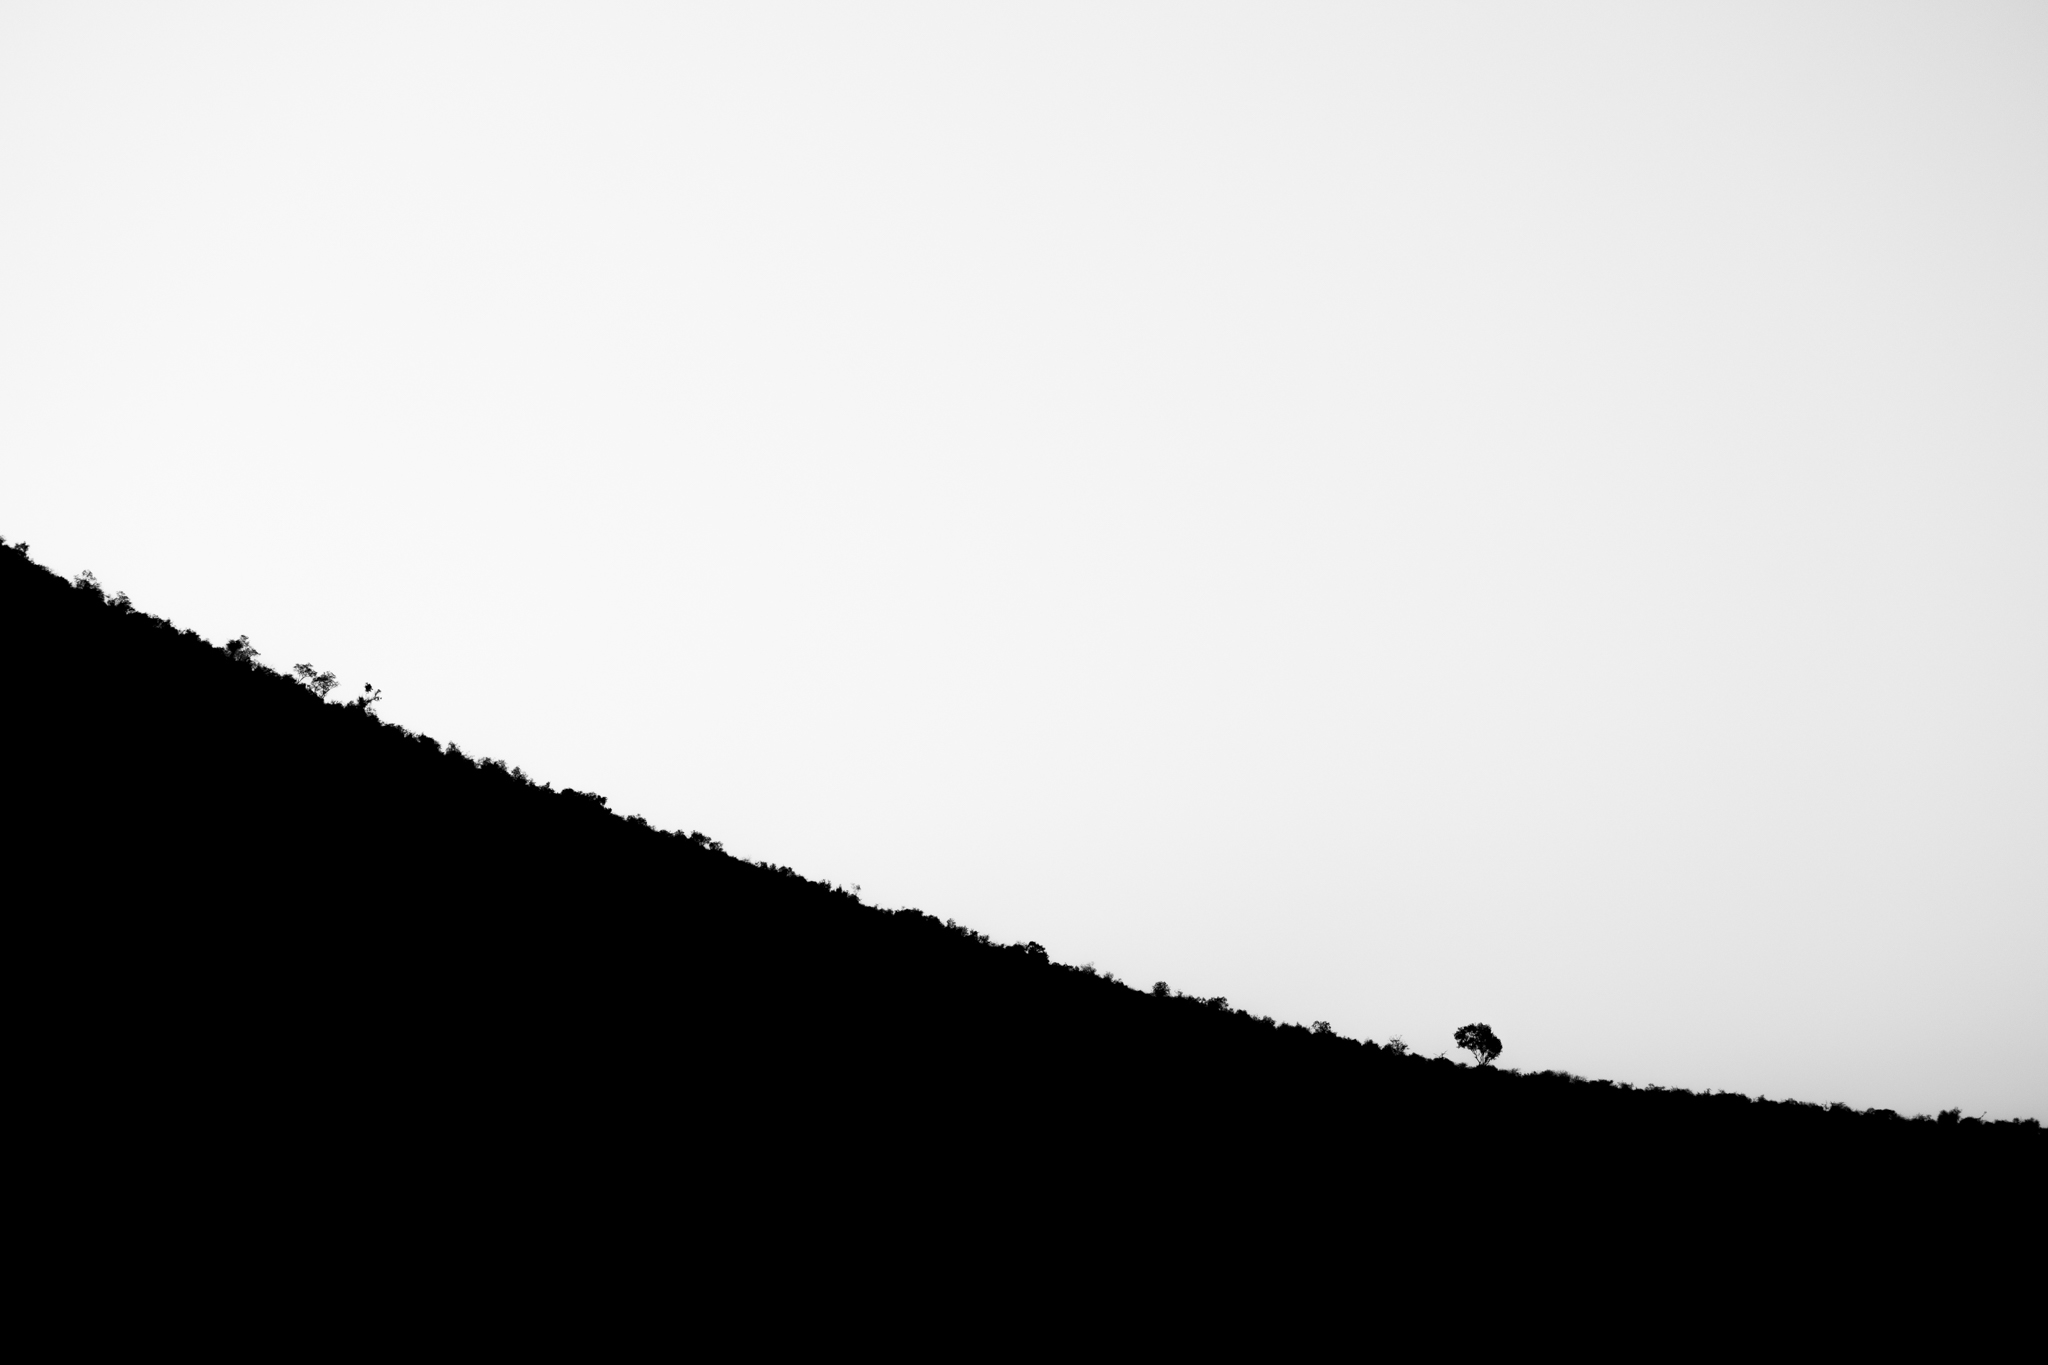
Oh yeah, the photos, here you go!