Photography is a form of exploration and this time we will touch a bit on moving beyond native lenses into the bigger playground together with Fujifilm X-mount cameras.
History: Focusable lenses itself have been around since the early 1800s and considering that autofocus did not appear until the 1980s, there is potentially quite a lot of manual focus lenses with interesting character waiting to be discovered.
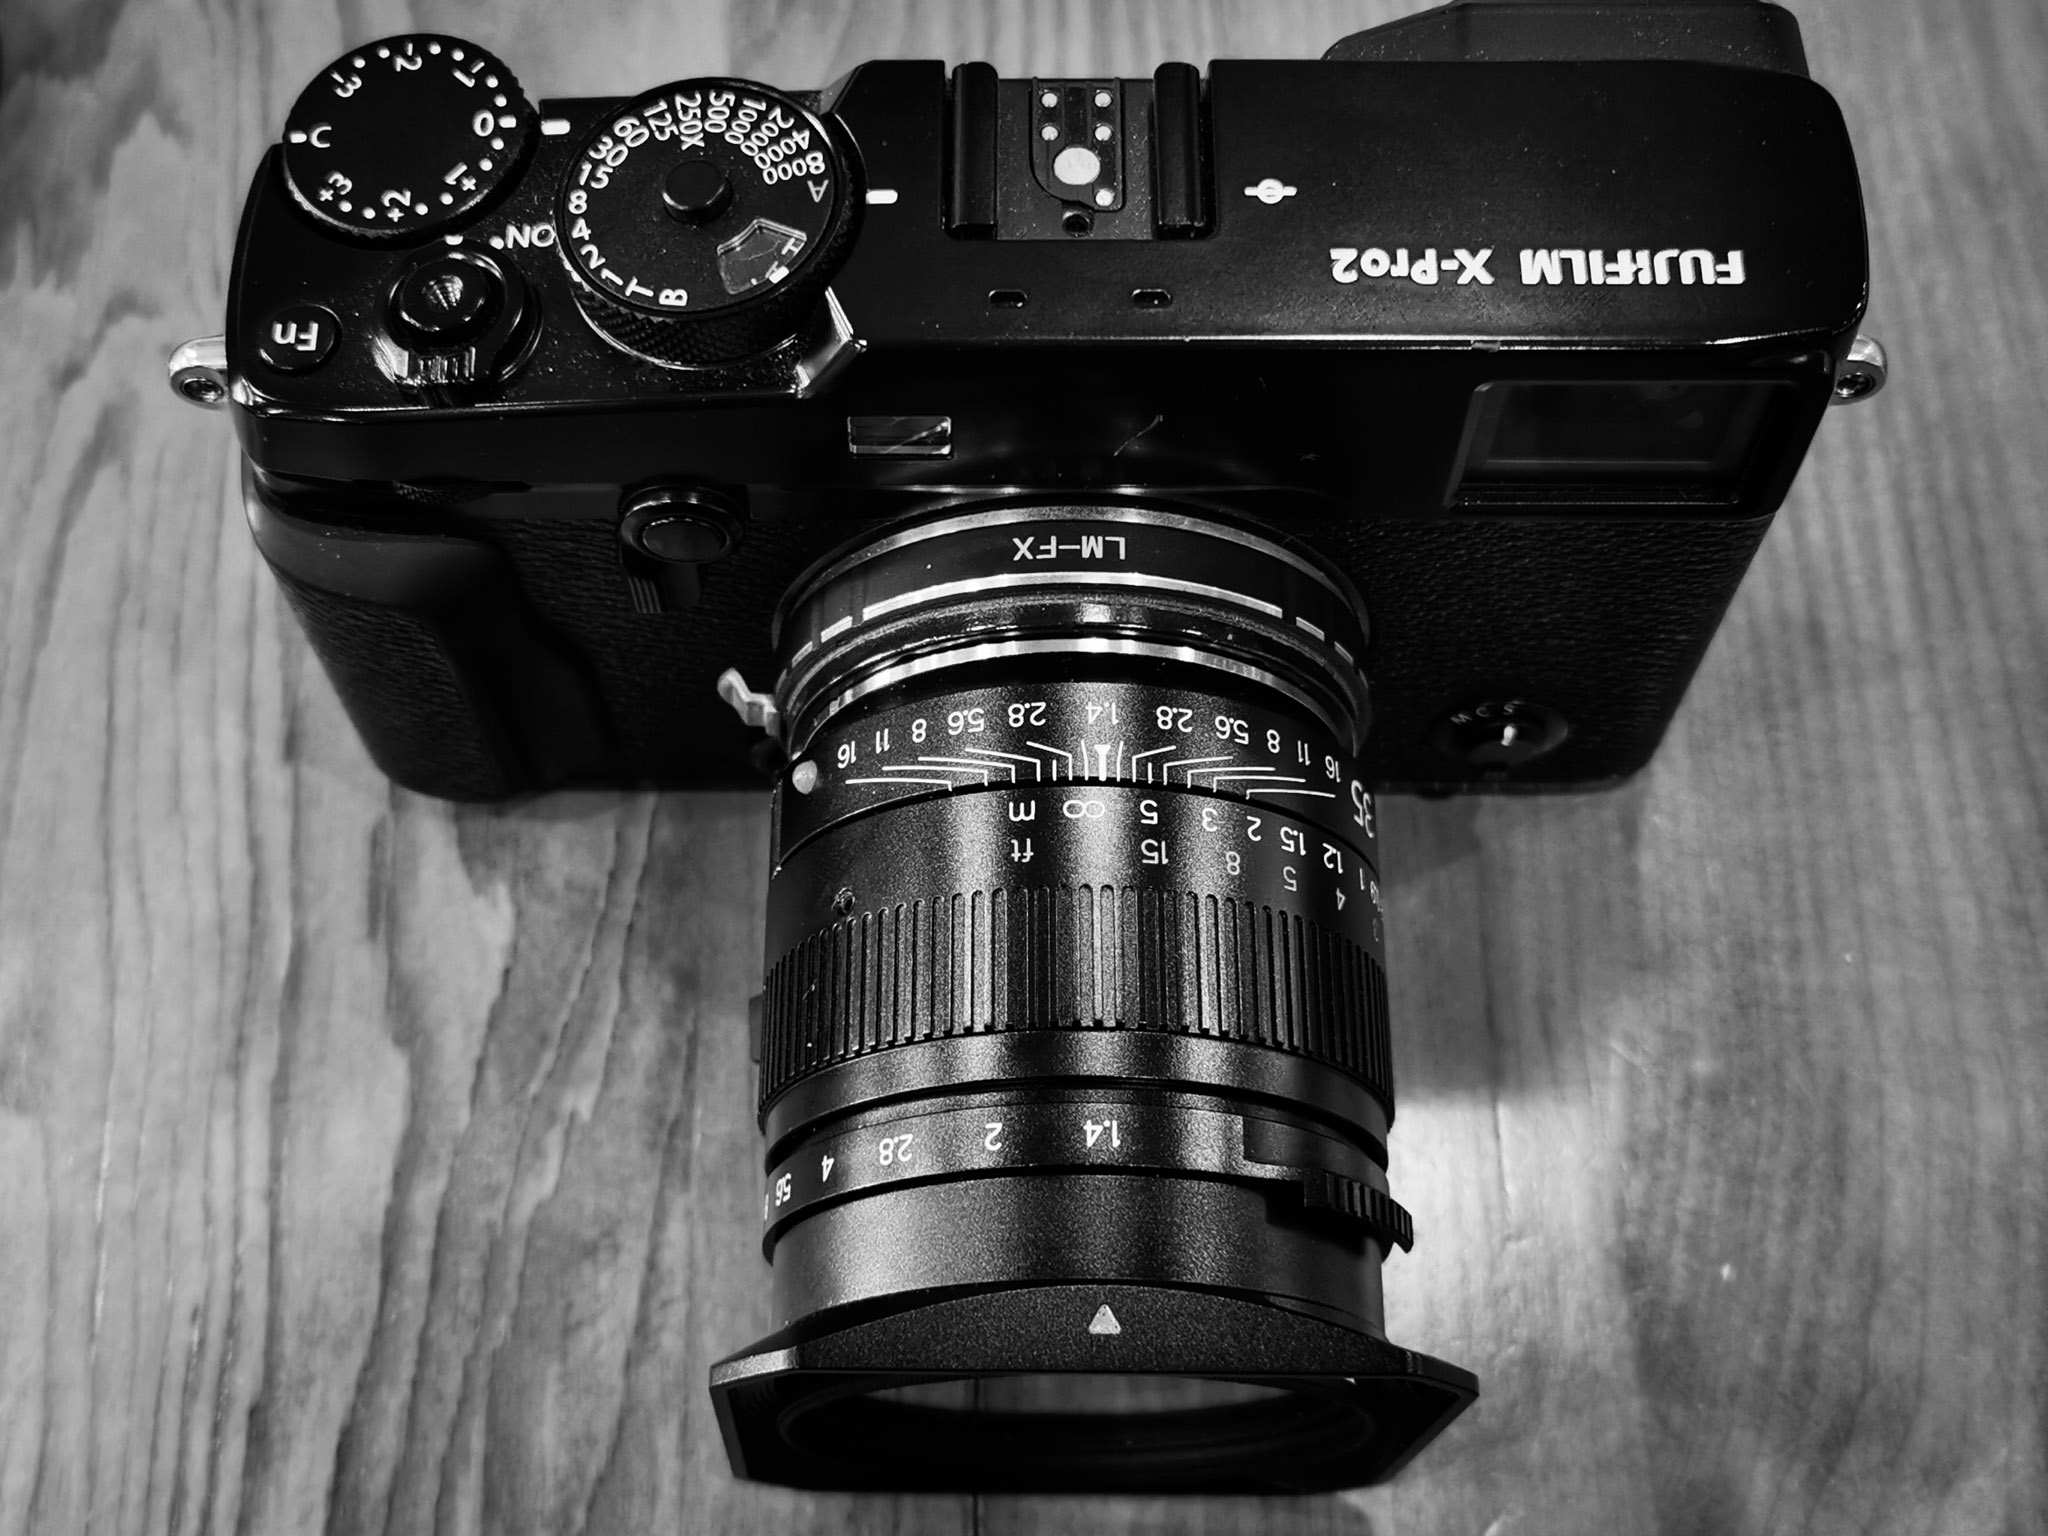
(Featured image above: The ‘soon-to-be’ officially released TTArtisans (7Artisans) 35mm f1.4 lens for M-mount on the Fujifilm X-Pro2)
Moreover, beyond the ‘oldies’, there are new manual focus lenses specifically for X-mount being released, with Mitakon, Laowa, and 7Artisan being the more noteworthy makers.
Learning to manual focus these lenses is exactly the same as learning to focus the classic vintage ones so once you learn it, you’re set to explore literarily thousands of manual focus lenses from all around the world.

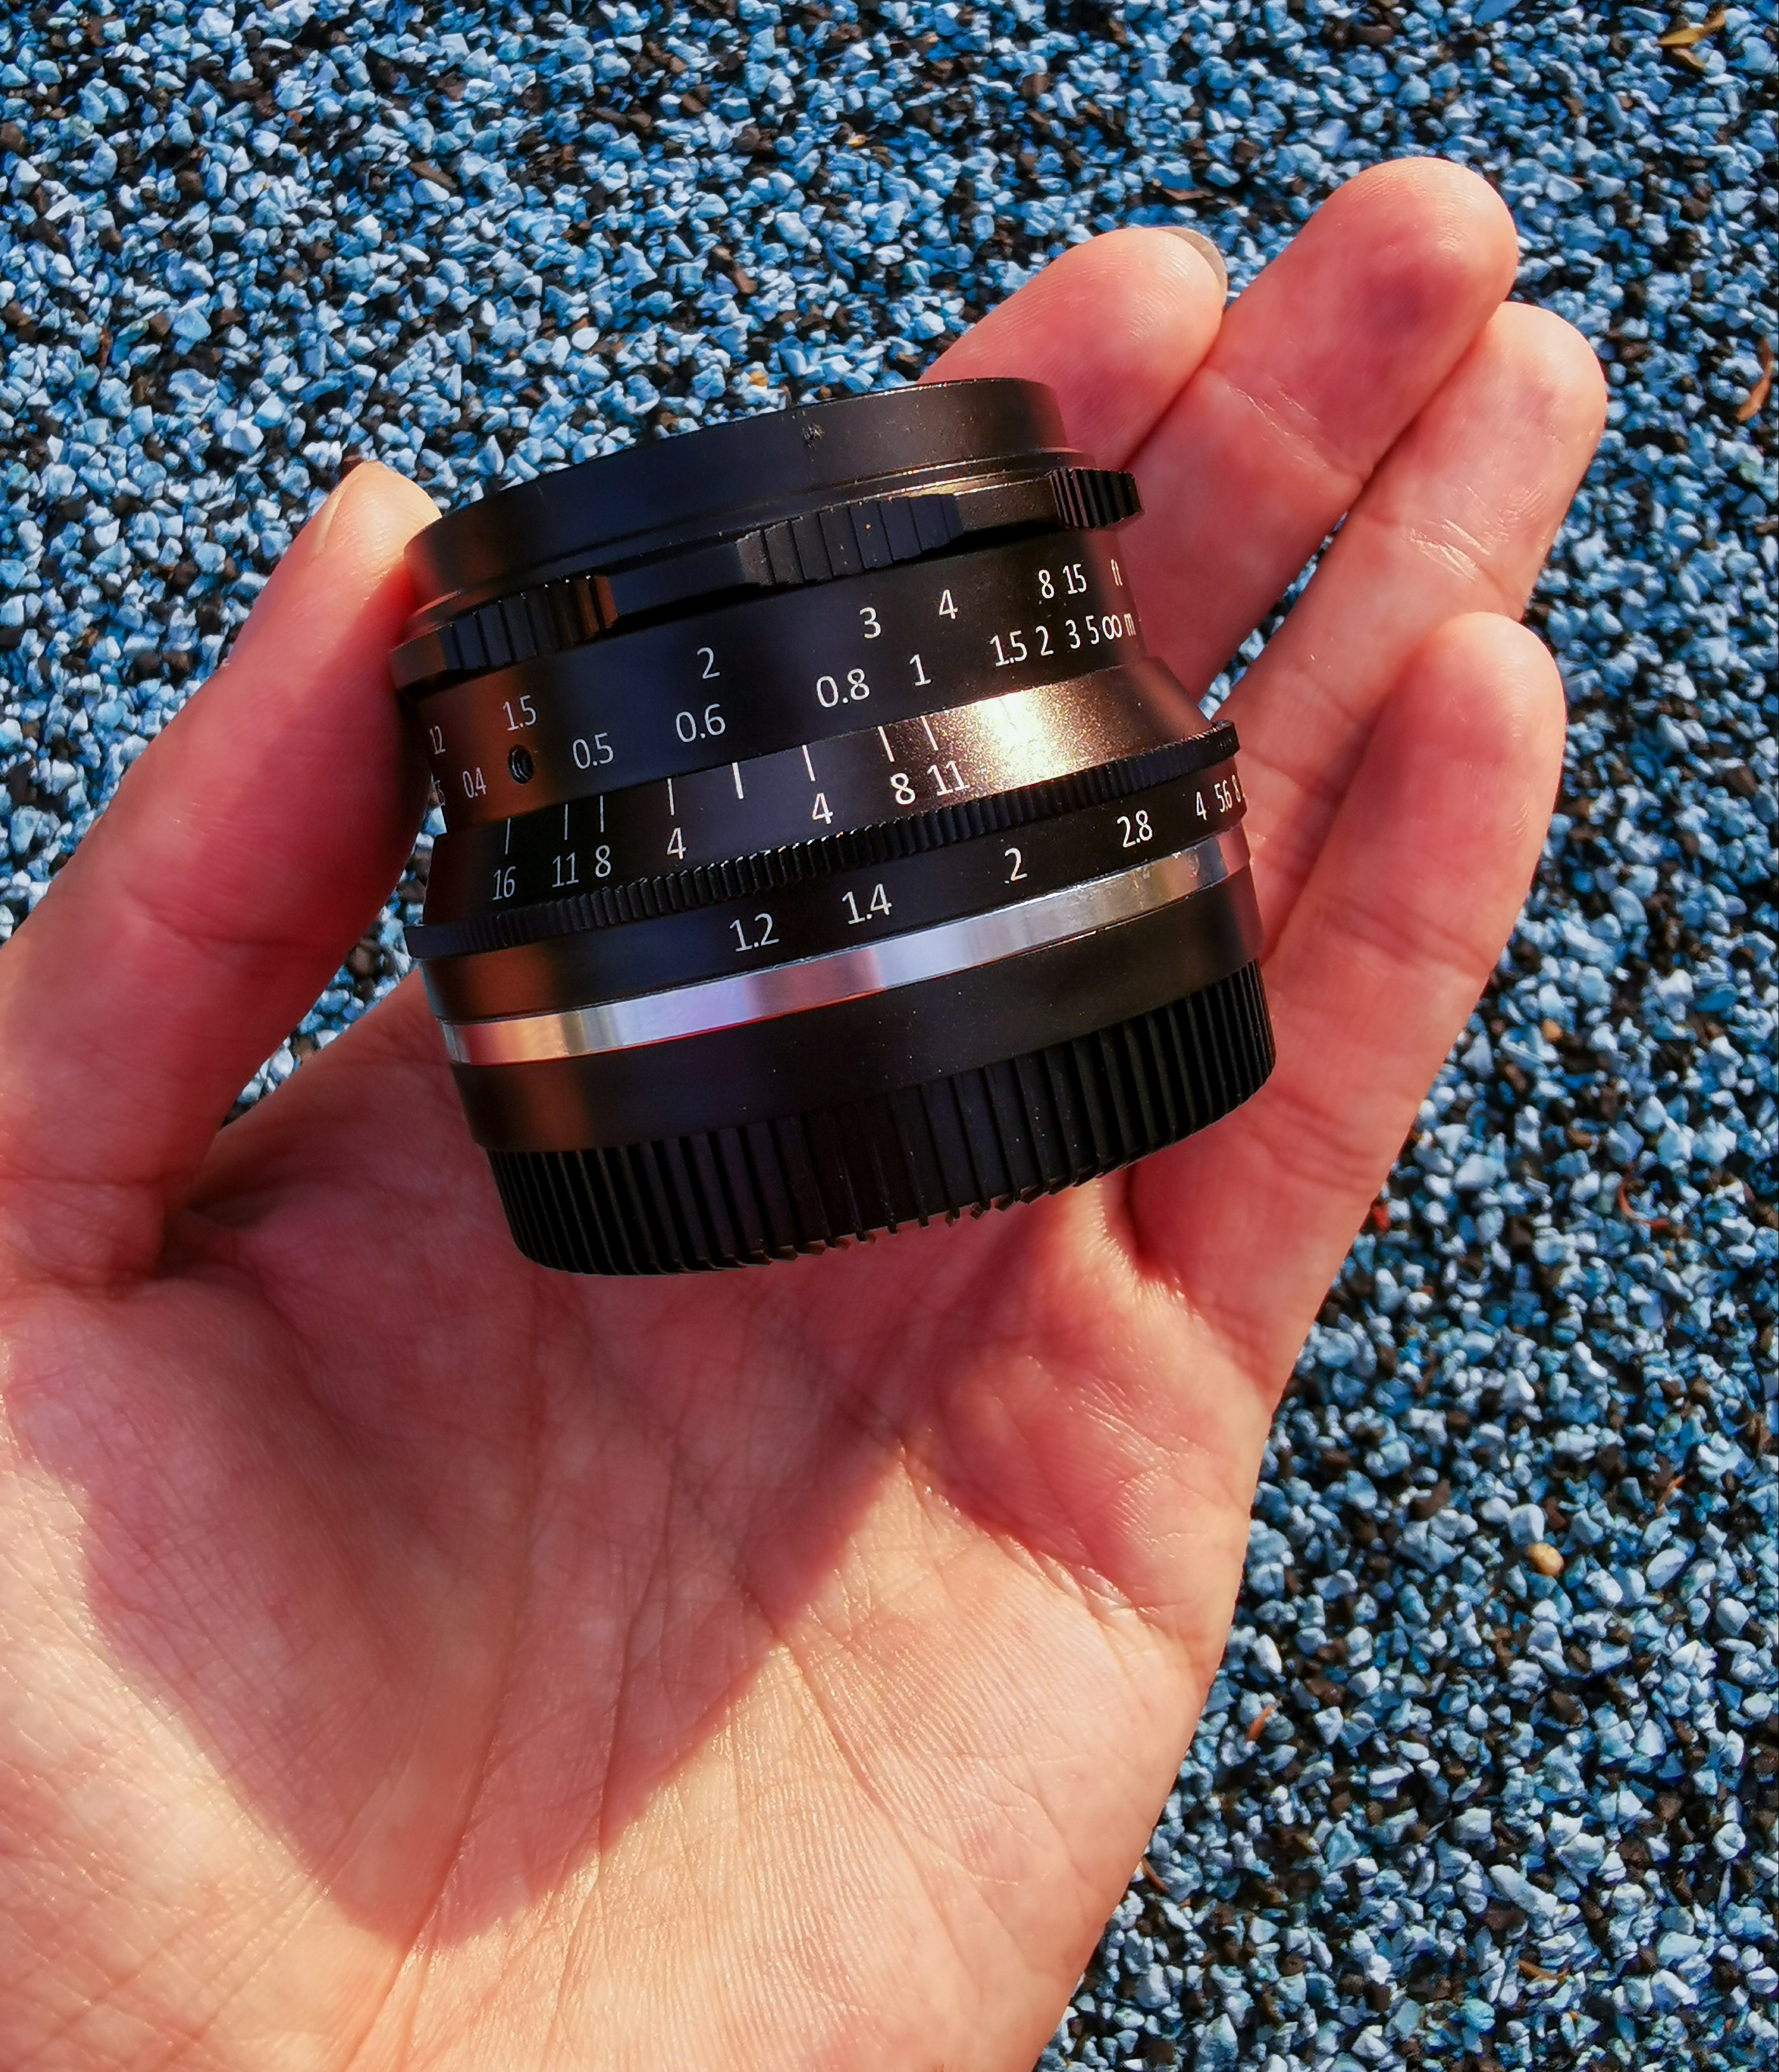
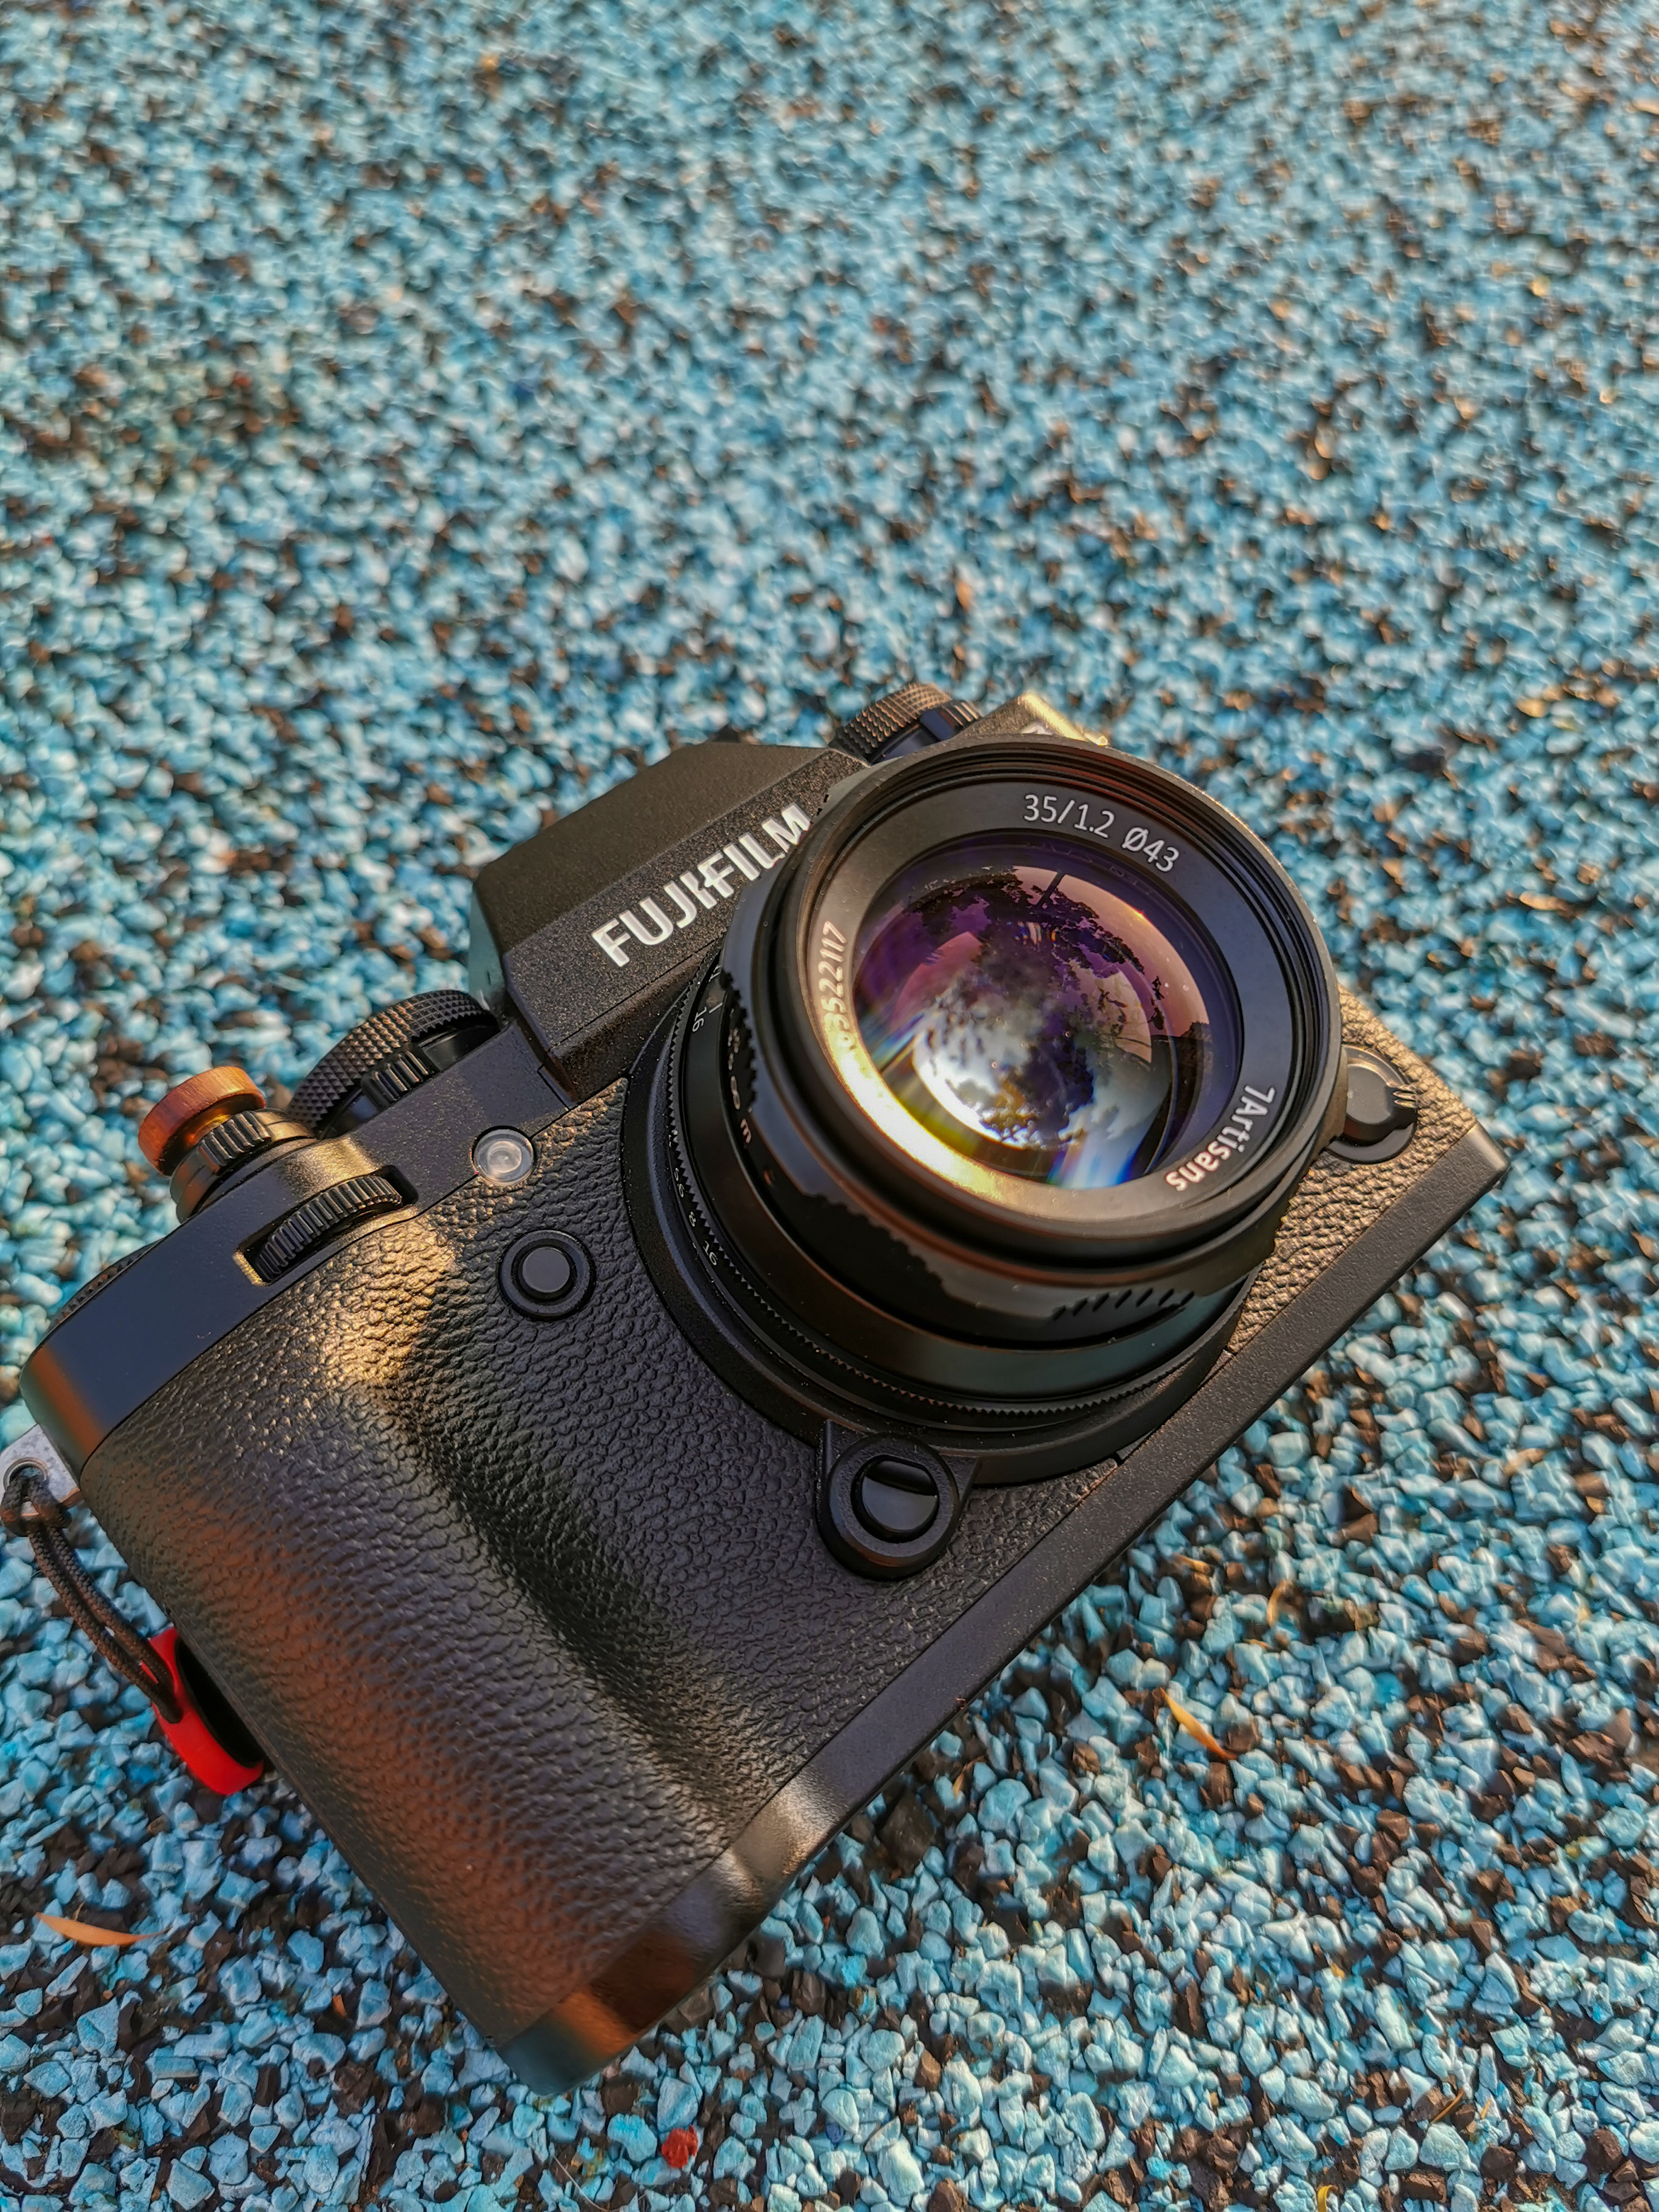
X-T3 with 7Artisan 35m f1.2 (X-mount). This lens from 7Artisans is around USD140 but easily punches above its price in terms of optical performance.
Do not fall into the misconception that manual focus is always slow, rather it is the amount level of practice and willingness to step out of comfort zone that matters more.
Here are 5 tips on getting onto this journey of exploration.
Tip #1: Enable the ‘Shoot without Lens’ option in the menu first (under ‘BUTTON/DIAL SETTING’ sub-menu in the SETUP menu).
Tip #2: Try the different manual assist modes to see what works best for you.
Fujifilm cameras are well designed with practical manual assist modes, namely:
- Standard – A zoomed-in view is shown to manage the accuracy of focus.
- Focus Peaking – high contrast areas are highlighted with a choice of preferred color of highlights.
- Digital Split image – A split, black-and-white image in the center of the frame appears where we frame the subject in the split-image area to adjust the focus until the three parts of the split image are correctly aligned.
- Digital Micro-Prism – A grid pattern that emphasizes blur is displayed when the subject is out of focus, disappearing to be replaced by a sharp image when the subject is in focus.
Read more about these modes here.
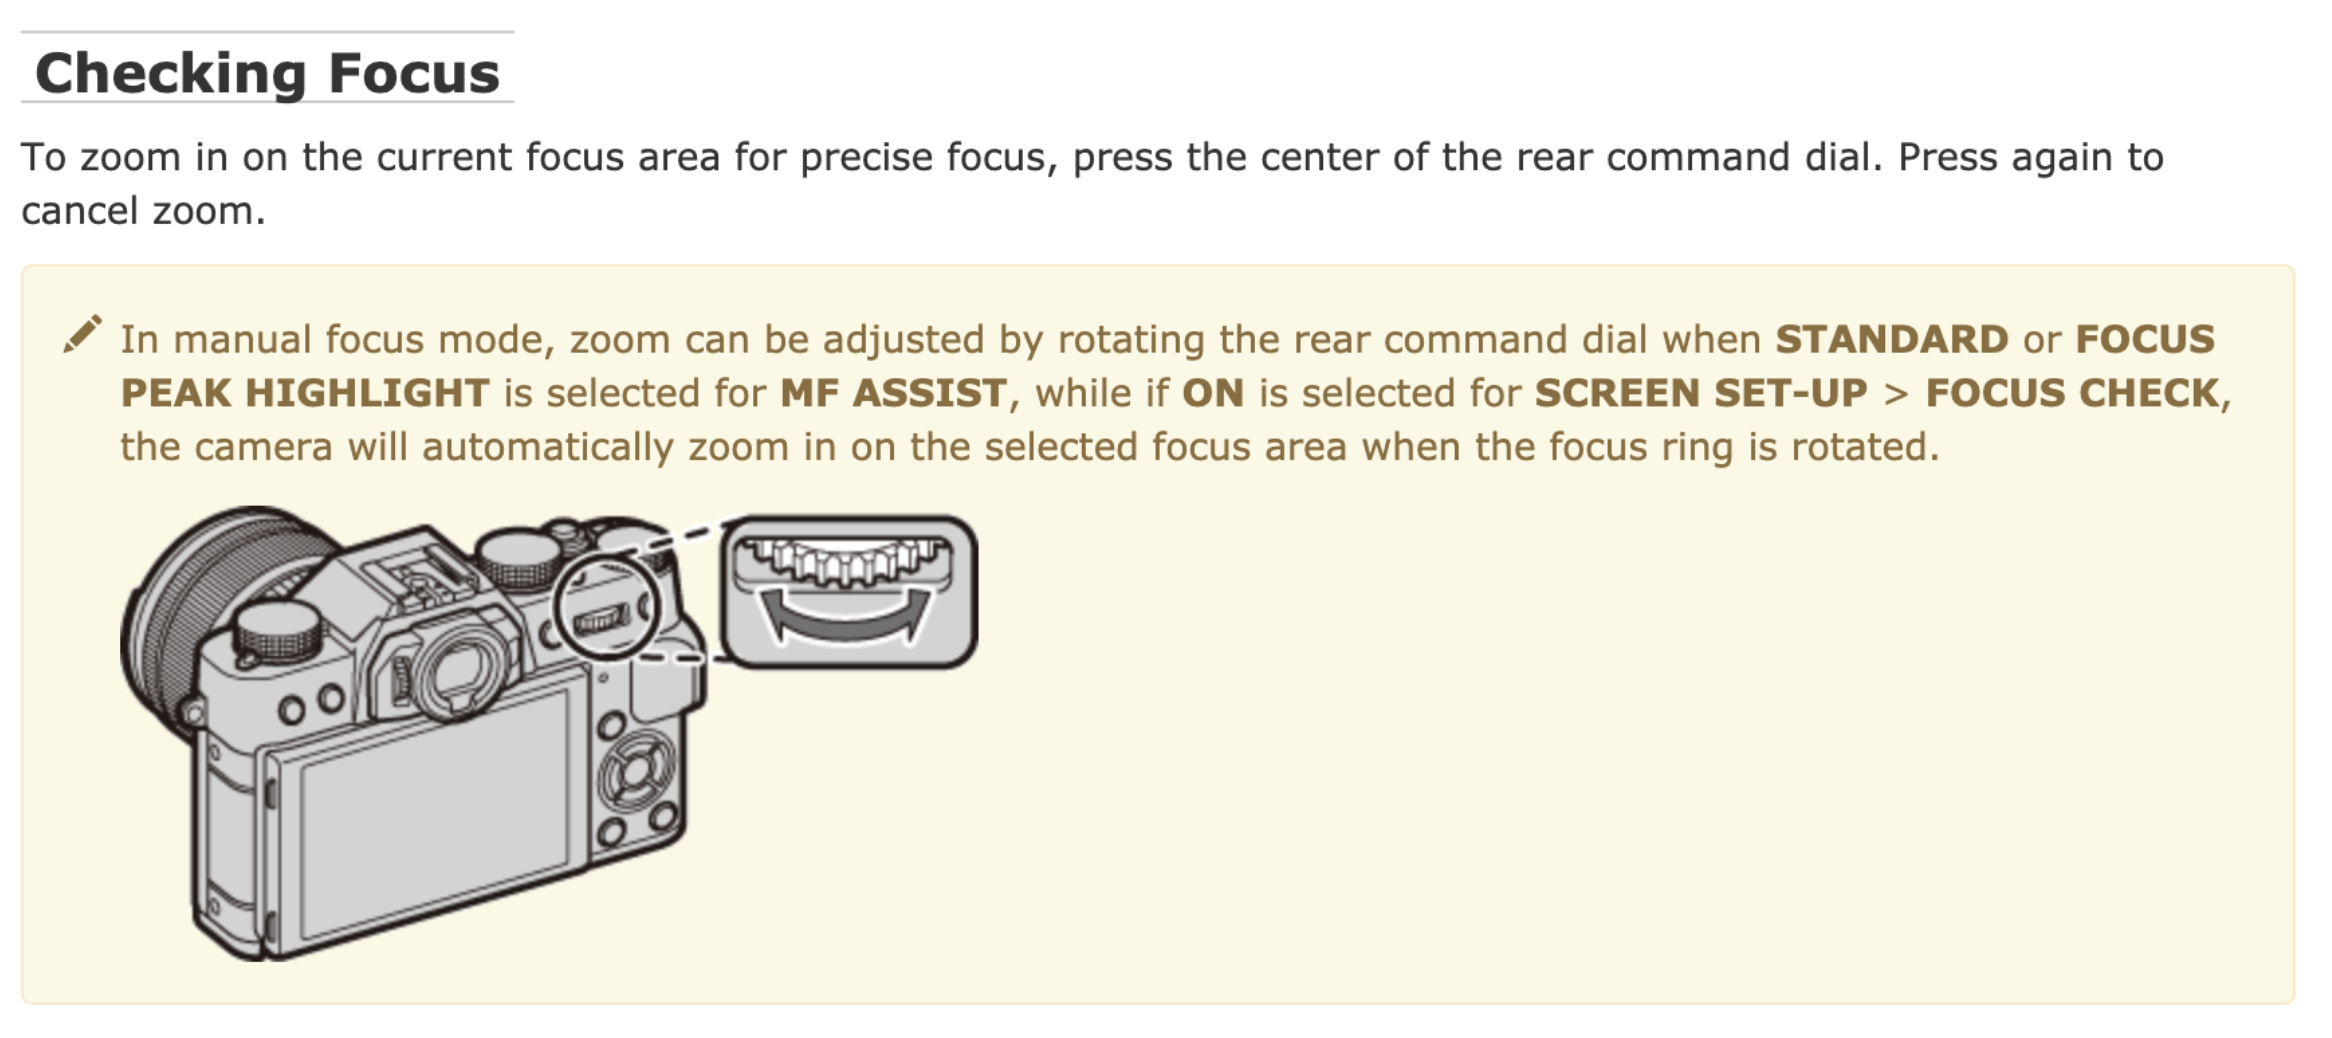
Bonus tip: Depressing and holding the back command dial gets one directly into the manual assist mode options.
Tip #3: Use the distance markers on the lenses or Zone Focusing for efficiency.
Most manual lenses have distance markers built-in. Assuming they are accurate and that one has a good sense of distance estimation, these markers can help immensely in getting the shot by focusing in zone instead of a fixed distance.
For the above 7Artisan lens, if I am shooting at F8, any distances marked between the 2 ends of F8 values will be in focus (1m to infinity) so once set up, all I need to do is to have the subject within this range of distances and proceed to capture the shot.
Note that the smaller aperture value means the lesser the depth of field and lesser distances in focus.
Bonus Tip (and to highlight the benefits of reading the manual):
Tip #4: Persevere
Anyone that shoots with manual lenses knows that it can be tricky to get used to, and it is true here practice makes perfect.
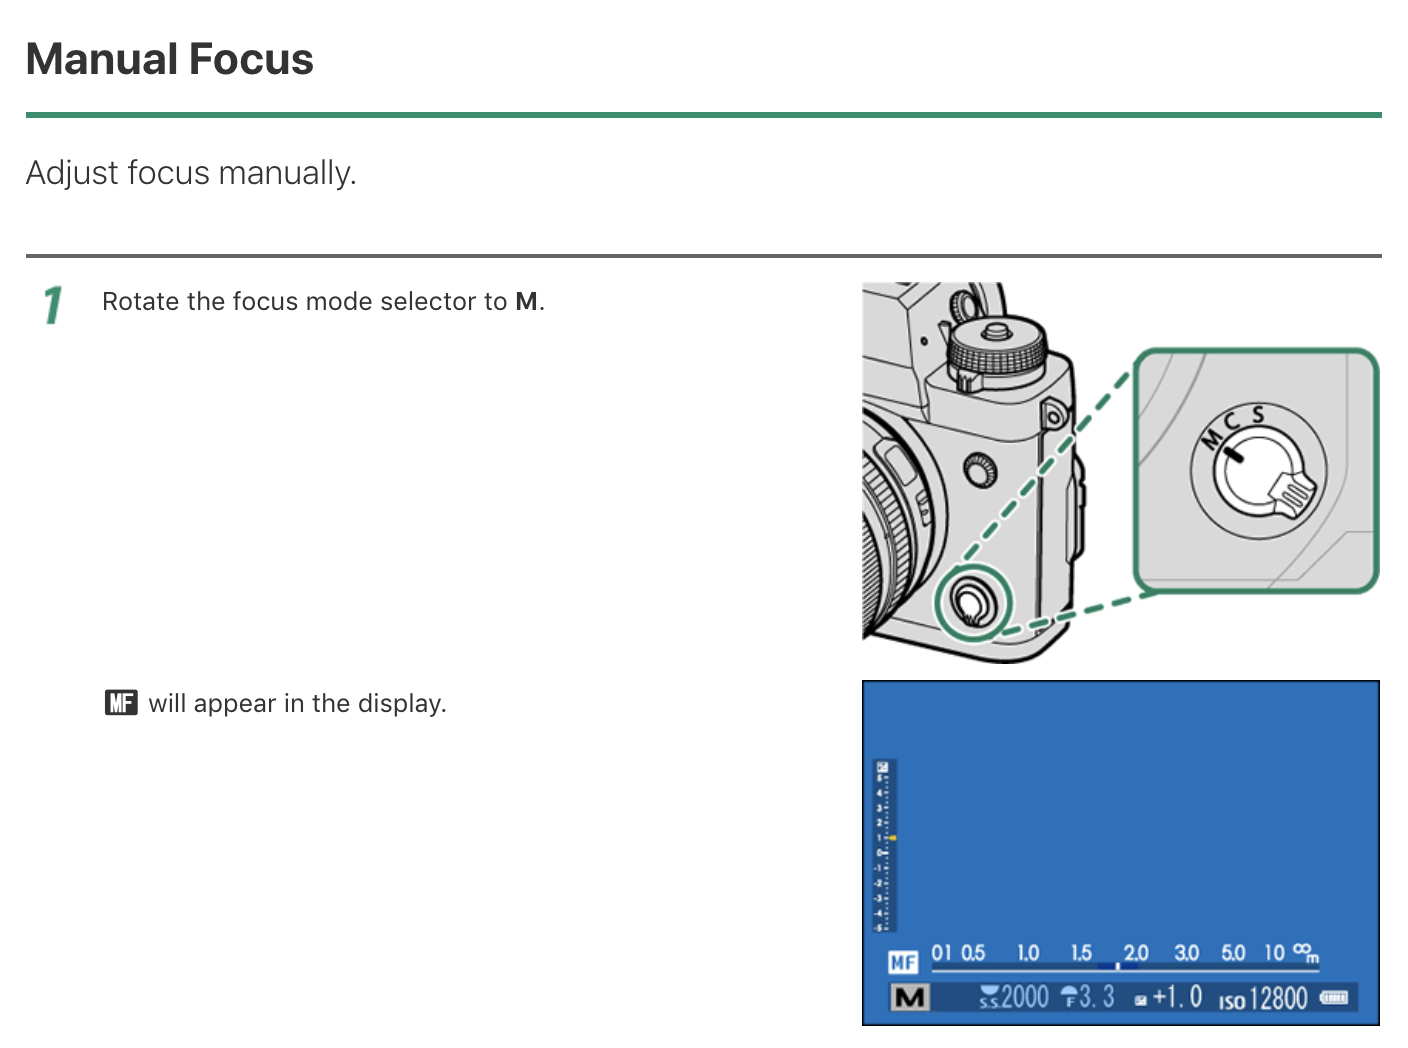
Bonus Tip: Unsure of whether manual focus is going to be great for you? Try shooting in manual focus for a week with any native Fujifilm lens before spending money for another lens. Setting your Fujfiilm camera to manual focus is as easy as flicking a switch as seen below. This also allows one to try the different manual assist modes.
Tip #5: Be open-minded.
Not all vintage and modern manual lenses are great, and the prized gems can go into the thousands of dollars. Even so, there are many budget-friendly options like the ones from the Minolta Rokkor series or even the Olympus OM series that can cost as little as below USD100 and yet deliver beautiful results.
Such is also the thrill of starting on third party lenses as in a sense some see it as a treasure hunt of sorts.
Time never stops for anyone, start now.
Thank you for reading.

