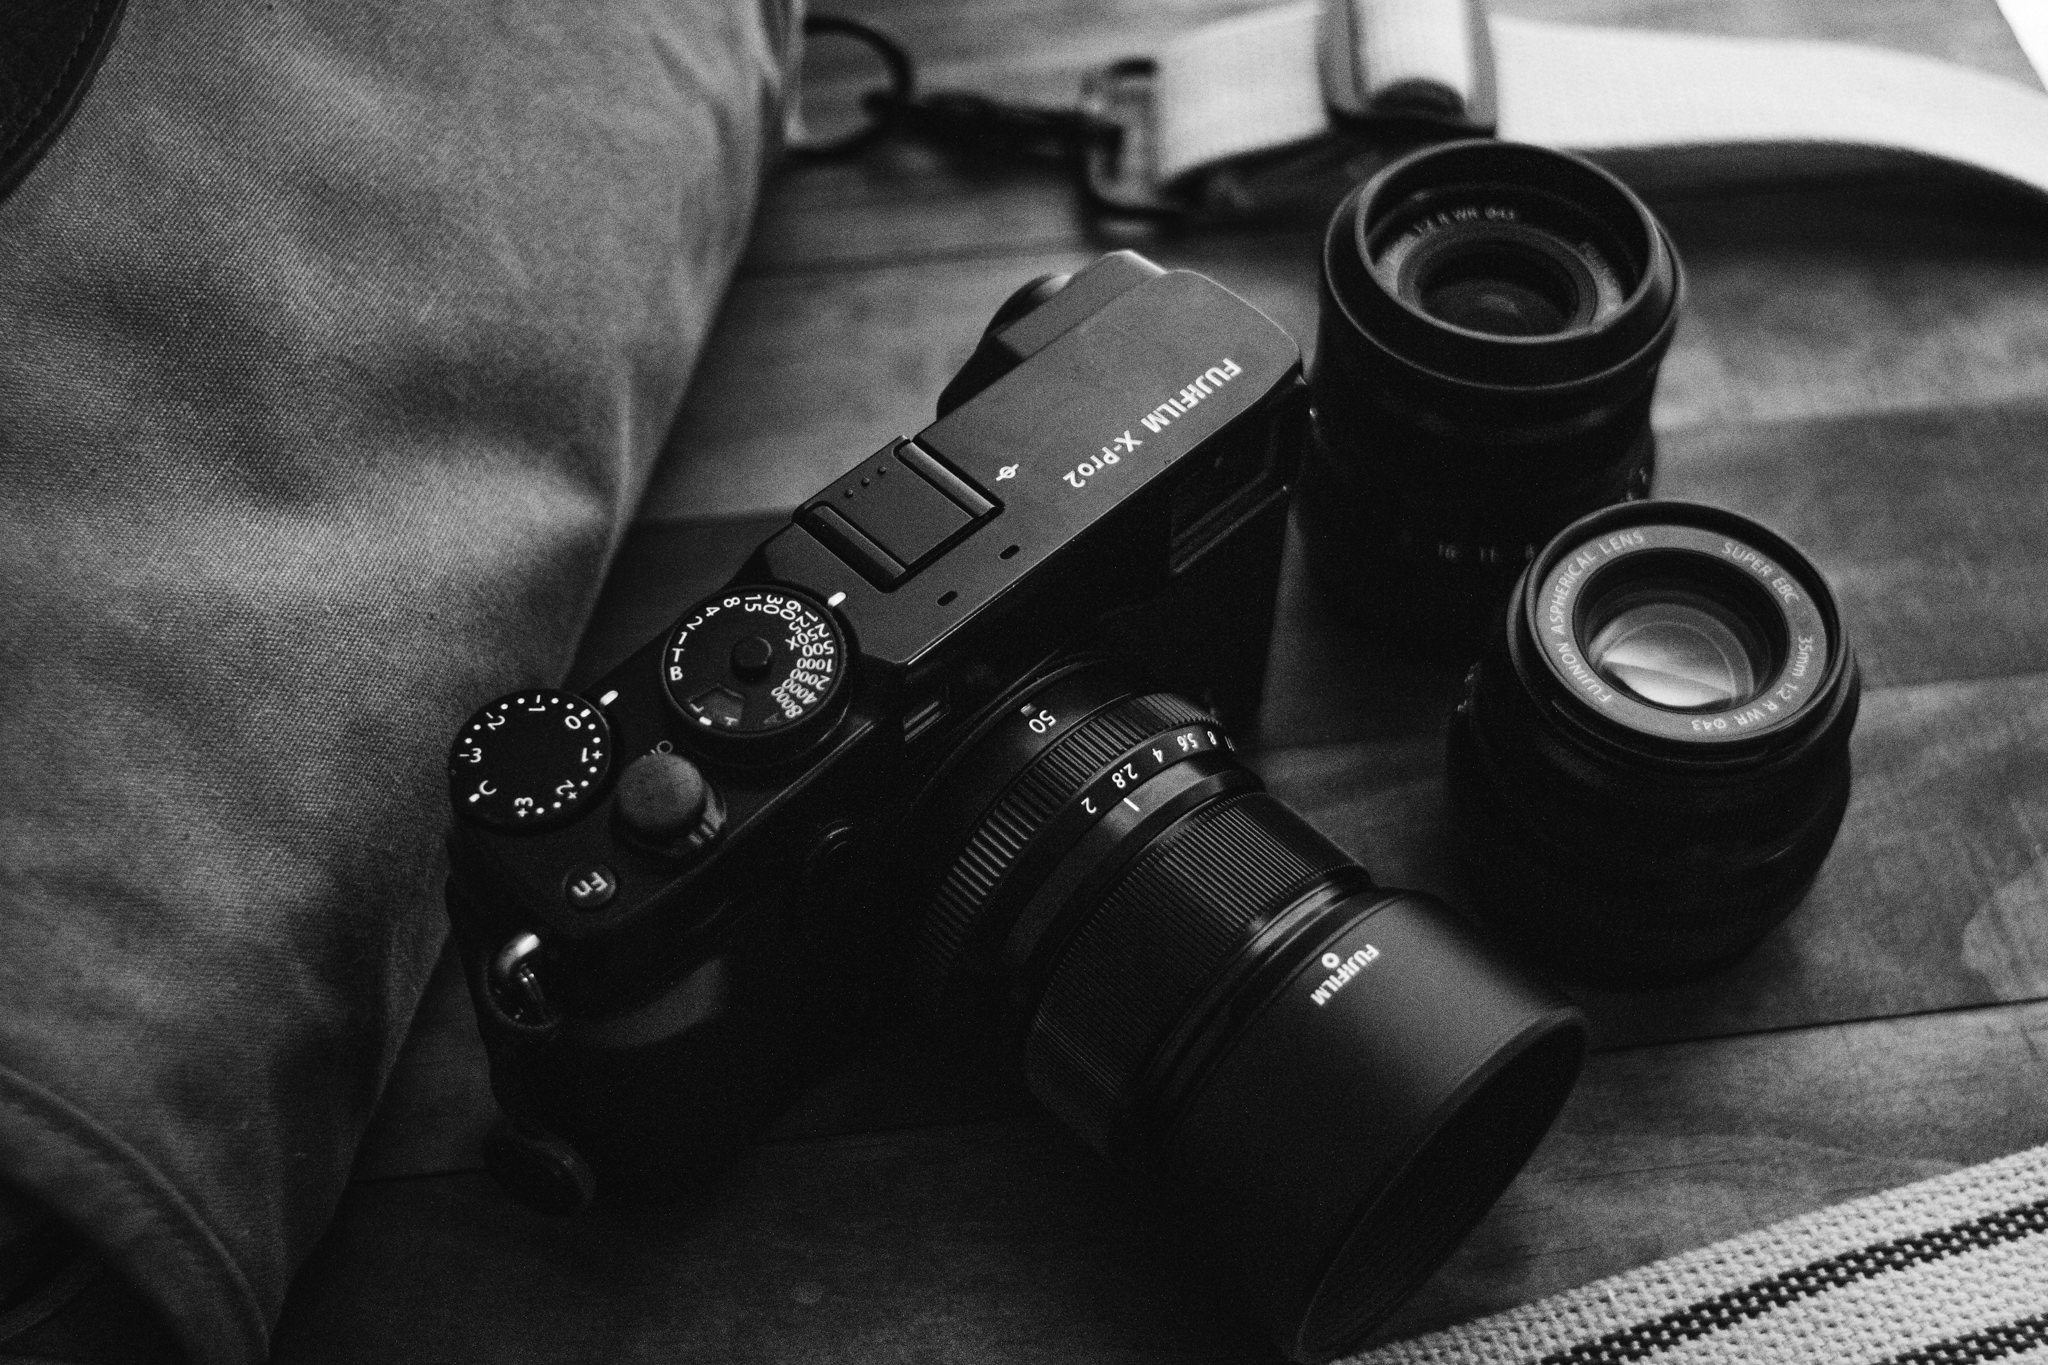
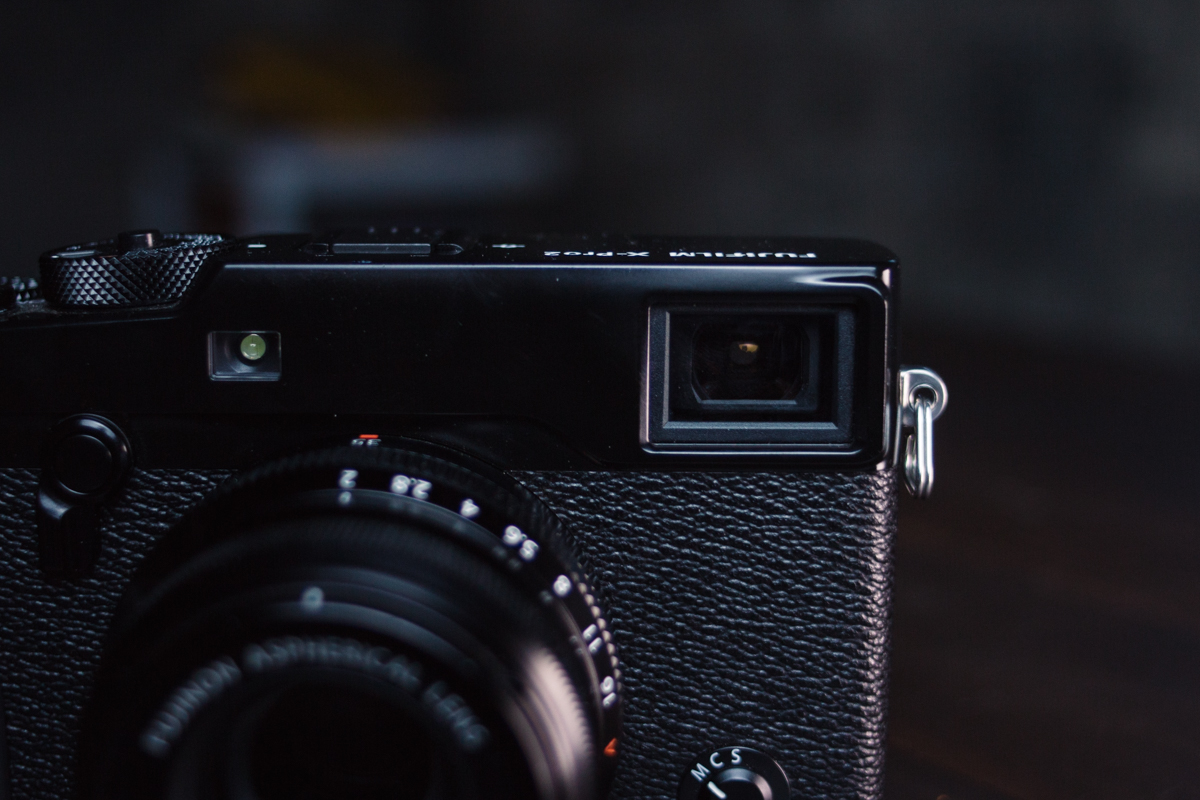
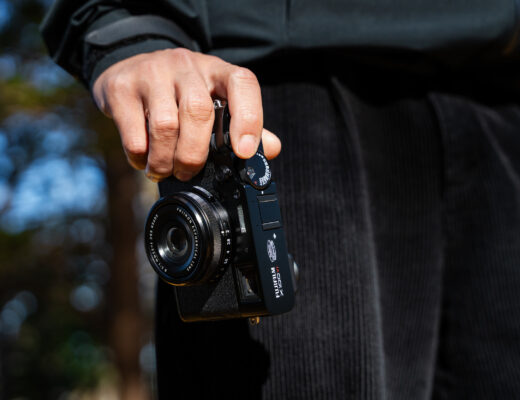
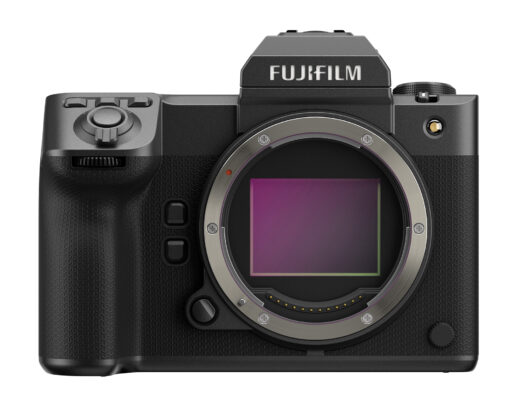
Fujifilm has all but replaced their entire lineup of 16MP x-series bodies now with the newer X-Trans III based imaging sensor. The similarity to the X-Trans II sensors is apparent, for sure, but X-Trans III is really something special on its own. So as many of you are really starting to think about upgrading your older Fuji bodies if you have not already, I thought I would like to take some time and talk about some of my top tips for setting up your X-Trans III based Fujifilm camera for the best results.
Now, these are just based on my own personal experience, and are biased towards the style that I like to shoot – so if you aren’t on the same wavelength as me, feel free to disagree on some of these points. But for those with little or no Fujifilm experience, these are some of the things that I recommend doing before ever snapping a shot on your camera.
Customize Your Picture Profiles
This one is key as far as I am concerned, it has been instrumental in allowing me to get the look that I am going for with my images about 90% of the way in camera, with only minimal edits in Lightroom required beyond applying a preset. To do this you can go into your Fujifilm menu and change your highlights, shadows, sharpness, noise reduction, etc. and you can save these settings as easily selectable custom settings.
For me, I have them mapped to the front function button on my X-Pro2, so I can easily switch between the various settings that I have made in order to better fit the look I want to see out of the camera. This means that even though I am grabbing a RAW file, what I am seeing on the EVF and LCD is close to how I would be processing the image with my import preset in Lightroom. Meaning while I am looking through my viewfinder I am seeing a close representation of what I expect the image will look like upon import into Lightroom. I am a huge believer in WYSIWYG and this is the pinnacle of that mindset in photography.
Turn on High-Performance Mode
Batteries are easy and quick to replace, especially if you are paying attention to it while you are shooting so you can be ready to switch quickly between shots when needed. As such, I almost never have my X-Pro2 outside of High-Performance Mode. Everything just runs better with this turned on, from faster/more accurate AF, quicker and more responsive menus and buttons. Overall, the camera just works better with this mode enabled, and especially for a photographer like me, who is rarely in a ‘must grab this shot right now’ the increased battery drain is not something I am worried about. I have 4 extra batteries, I can switch them out at a moment’s notice.
As well, I rarely use more than one battery in a single shoot, and when I do, it is usually just barely, and I only end up with maybe 100 shots on the new battery.
Use Your EVF Features
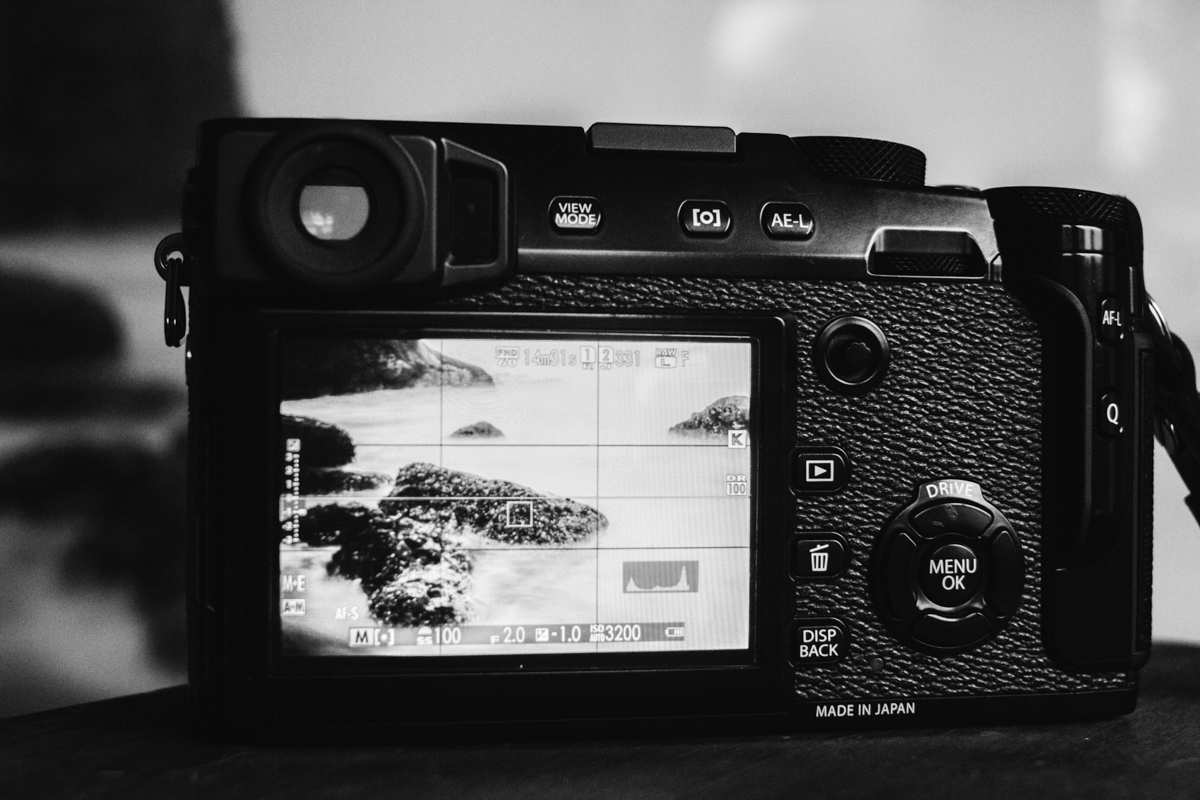
I am always surprised at how many people don’t take the time to setup their Fujifilm EVF settings to something they desire. Sure, it works fine out of the box, but I always set up my camera to give me the rule of thirds grid, the histogram, leveler, and any other relevant information that I am looking for while I am shooting.
This has also been incredibly helpful to me in my growth as a photographer. Being able to see my histogram, live, as I adjust my exposure and framing, so helpful. Seeing that leveler change color just before I take a shot, so I know if my shot is level or not. Obviously, the rule of thirds grid, while not essential, is always a nice visual aid to remind you about your composition during a shoot.
Shoot with Acros As your Picture Profile
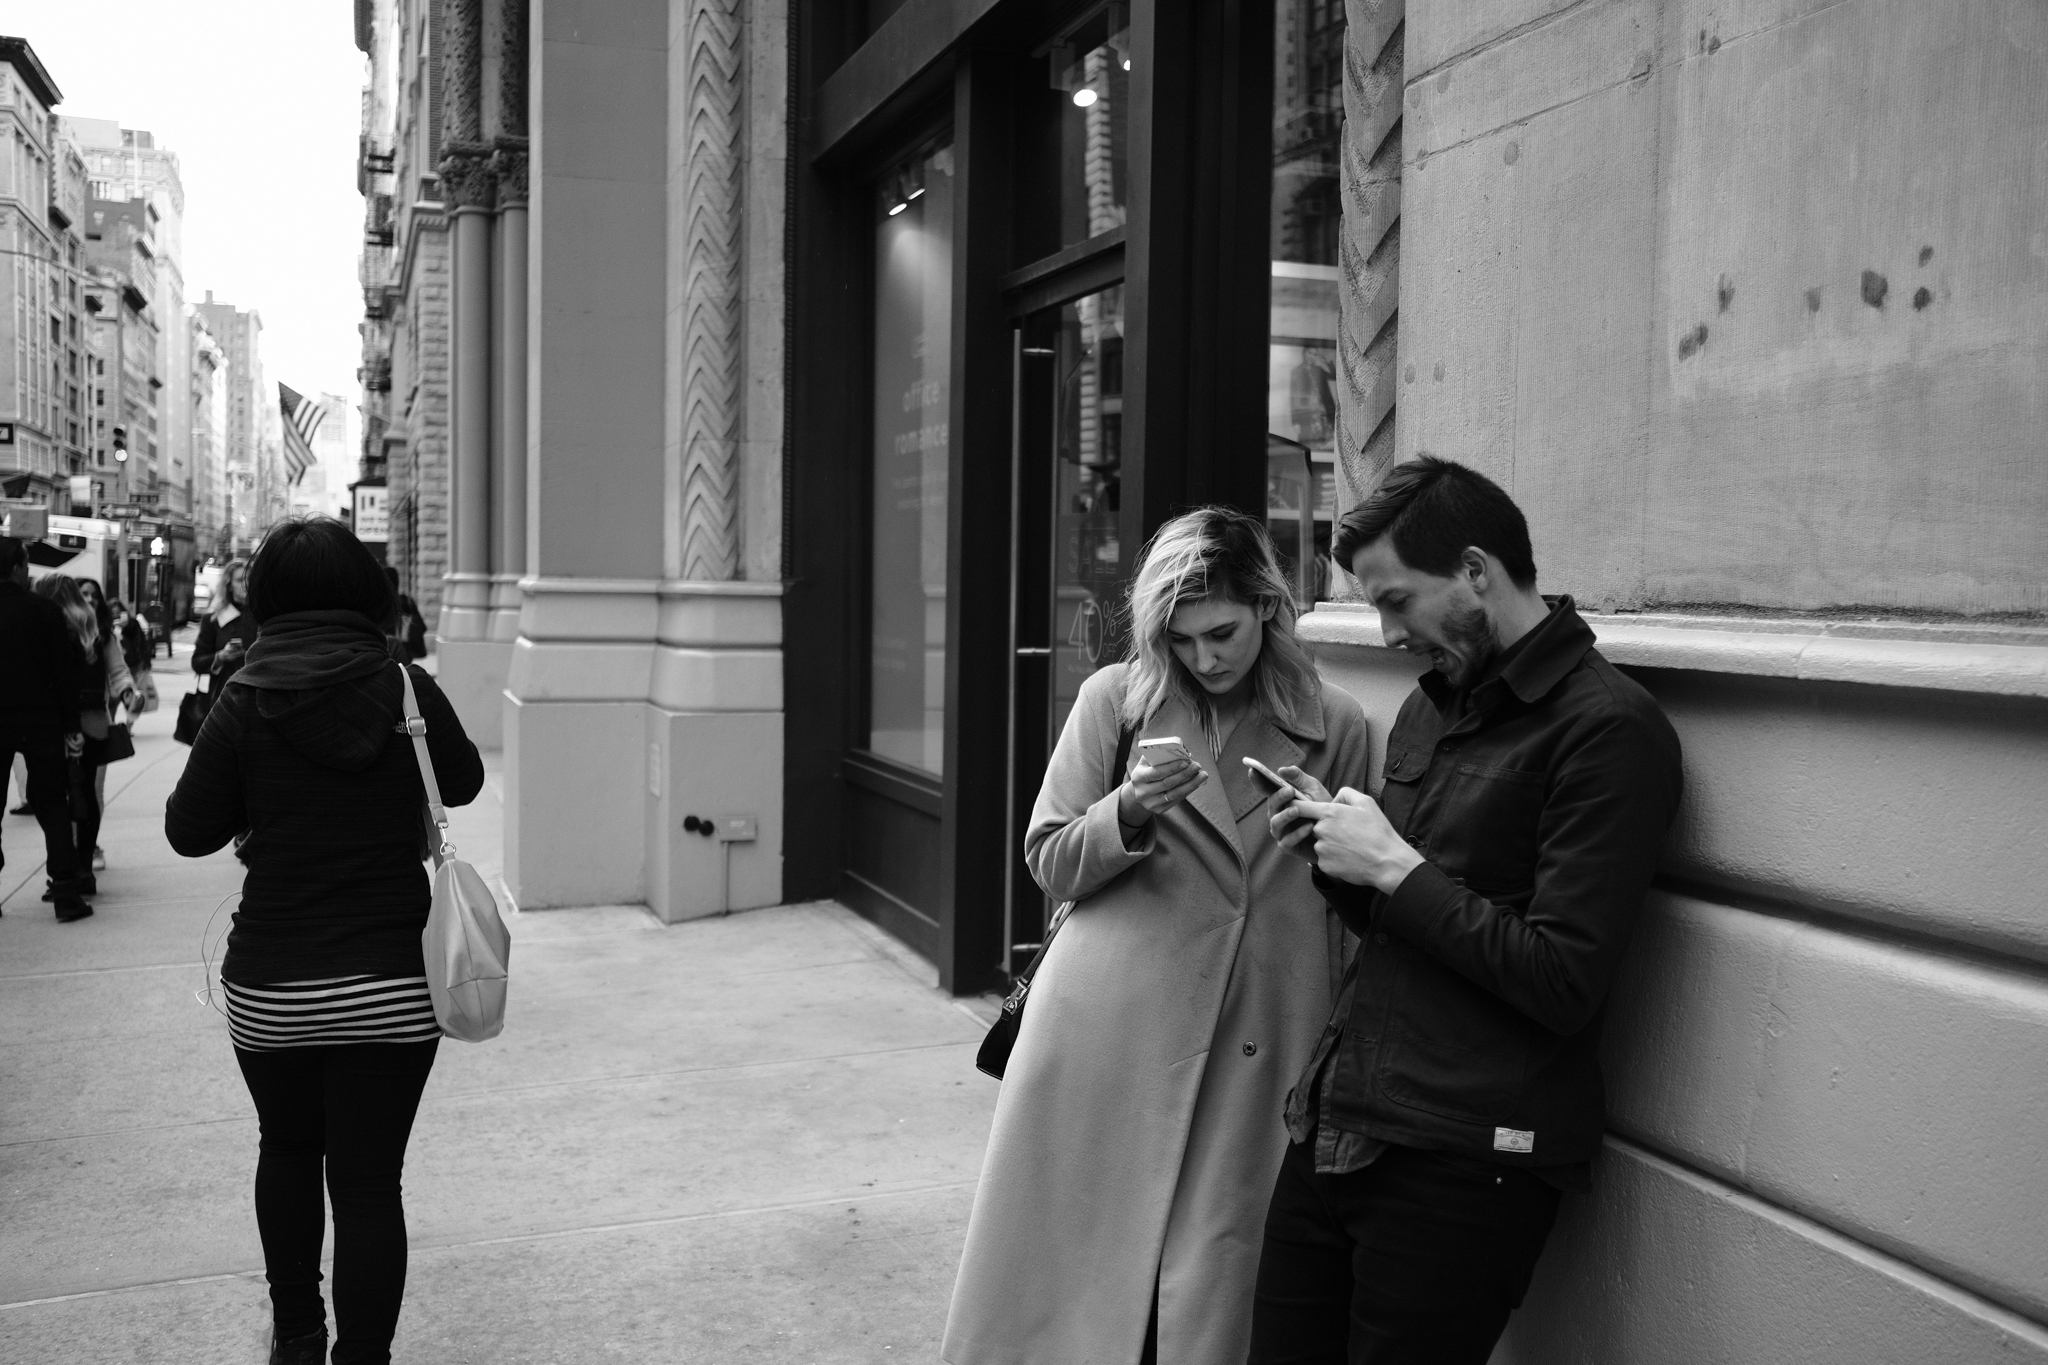
This probably could have been noted in the first section, but I wanted to recap it alone. As I mentioned in my post last month about shooting in black and white, this is really key to helping train yourself to see the light without distractions. As well it makes it much easier to get your contrast right, which is much harder to see visually in color due to all the varying tones.
You can check out that post for my full reasoning here, but needless to say, I still very much recommend it.
Turn Off Your Image Review
You are shooting with a mirrorless camera and you are seeing your shot through the EVF. There is no need to have your image pop up for review after taking the shot unless you have your settings configured funny, your shot will look exactly like what it did in the EVF. So, having the image pop up, disrupting your shooting flow is just more distracting than it is helpful – in my opinion, so turn it off.
It’s super quick to just press the play button to go back through your shots if you want to look at one. But this should be an exception to the rule, so there is no need to see each and every shot right after capture. Set up your gear how you like and then trust it, if you can’t trust your gear then why are you using it in the first place.
Now Go Forth And Capture Magic
So, these are my top tips for setting up your X-Trans III cameras for getting the most out of your images. Like I said, you may have different opinions, and that is fine, but with how I shoot, and with what I shoot, I have found these things to have had the biggest impact on my images as I have taken steps to improve my work over the years.
If you have other suggestions drop a comment below and let’s help everyone get their cameras set up in a better way!

