Last month I presented my new lightning equipment together with a few shots from some different portrait sessions. The mix consisted of very different subjects, which together gave a good idea of the quality and versatility of the equipment. On the other hand, a four flashes set-up with tripods, light diffusers, and triggers can be way too expensive for photo amateurs, which may be tempted to compromise on the “wrong” things to save money and get a “similar” set-up.
So, today I decided to focus on the minimal set-up for great portraits and to show you a session done with such a set-up. Now some (or many) of you might have different opinion on what’s the minimum of light equipment you should buy to get great portraits, so let me introduce a little bit my personal experience before getting to the point. When I bought my first studio light equipment I was still an amateur, meaning I didn’t really know what I needed, I couldn’t invest too much in it, but I wanted to test as many different techniques as possible. This for two reasons: first, testing technique was fun, and secondly, I didn’t know what I would be good at.
So, by reading books and blogs I figured out that two big strobe flashes with softboxes and a large foldable reflector was really the minimum I had to buy if I wanted to approach flash portraiture. A main light, a second light, a reflector to fill in some of the shadows. Not that there was anything wrong with it, I mean it really is the standard set-up, but in order to get all of it I had to compromises on some of the flash specification (in particular the ability to control flash power from the trigger) and on the diffusers (60x60cm basic softboxes). So, I got two Elinchrom D-Lite 400W with the standard softboxes, standard stands and simple wireless trigger. I had a lot of fun with those, but I was limited by the lack of battery on the flashes, the lack of power control from the trigger, and the lack of a really big, soft, beautiful light, which is what I really lingered for.
Today, eight years after that first lightning set-up and several equipment-iterations after, I feel I really have the equipment I want and need, and in particular I feel I finally know what’s the minimum set-up you should get if you want to shoot tremendous portraits. It’s not two or three lights with basic diffusers, it is rather one single powerful light with an excellent big diffuser. Less but larger, if you like.
If you want to be able to shoot anywhere you need a flash that works on batteries. If you want to bring your set-up anywhere, you need a flash that’s small and light. Same goes for the stand. The diffuser needs to be easy to unfold and mount, and easier to de-mount and re-fold. In this perspective, the Fujifilm X-T10 is the perfect camera, thanks to the size, weight, tilting screen and great quality, especially if equipped with the fantastic 56mm f1.2. Get yourself a set-up like this and you’ll find it so easy and enjoyable to bring and mount it around that you’ll be quickly shooting in places you would have never dared otherwise.
Getting to my set-up choices, I used a Godox AD360 (small, powerful, and goes on batteries), one FTR-16 receiver mounted on the flash, one FT16 transmitter on my X-T10, one Manfrotto Babylight stand, and one octagonal Walimex Pro Easy 90cm softbox. The AD360 is more than enough powerful to light up the big 90cm octagonal softbox, which in return produces that big, soft, and gorgeous light I always lingered for.
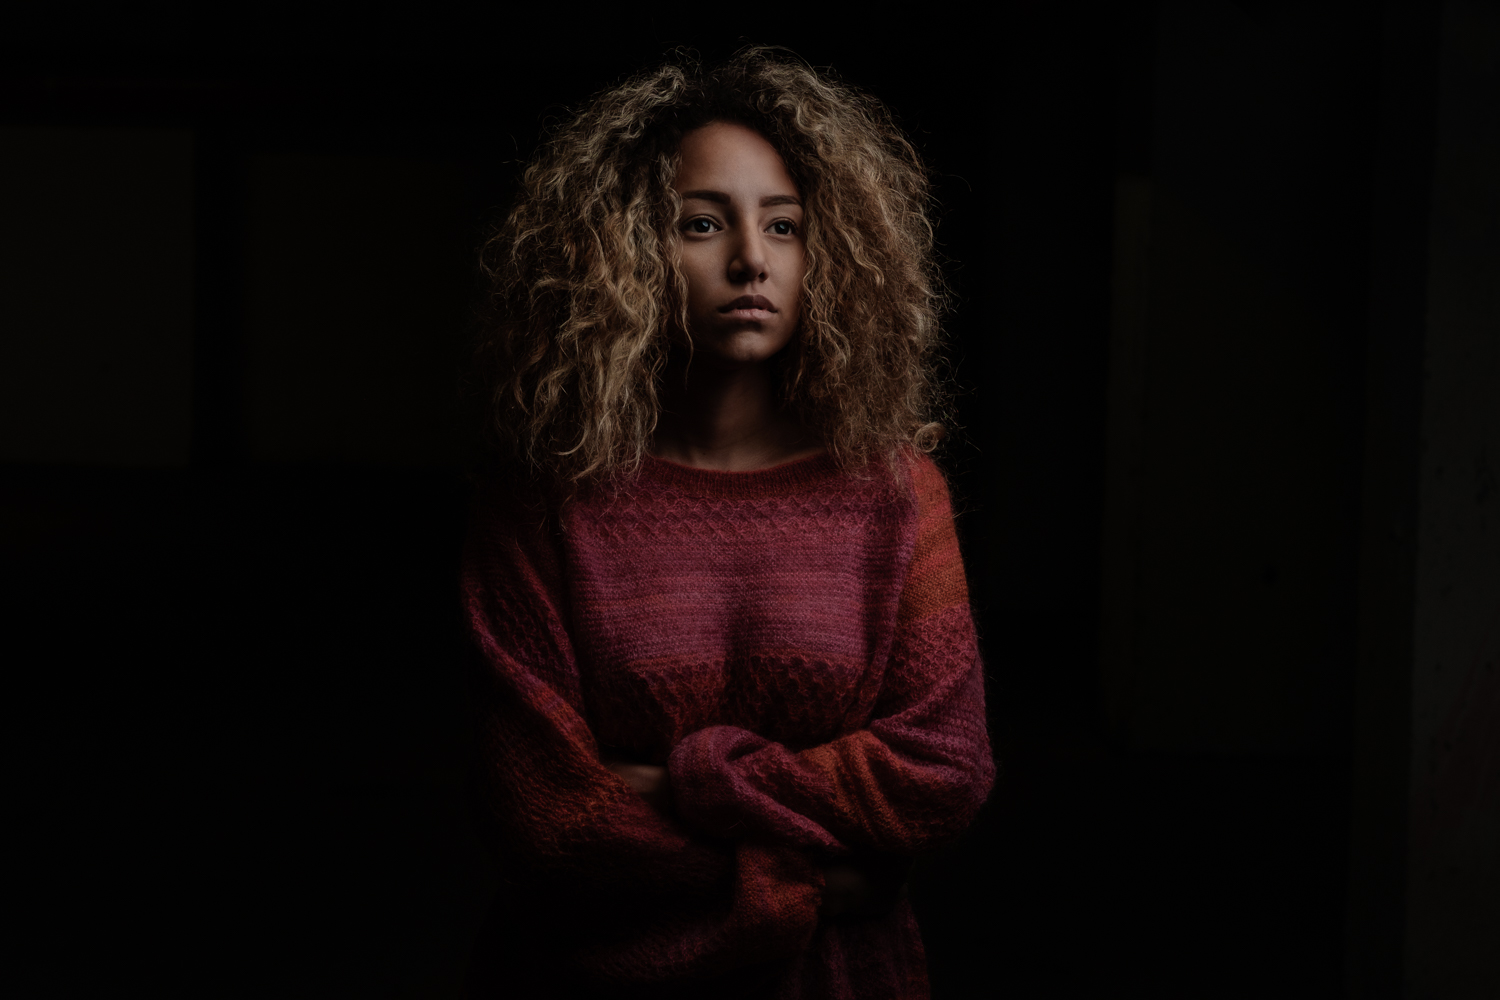
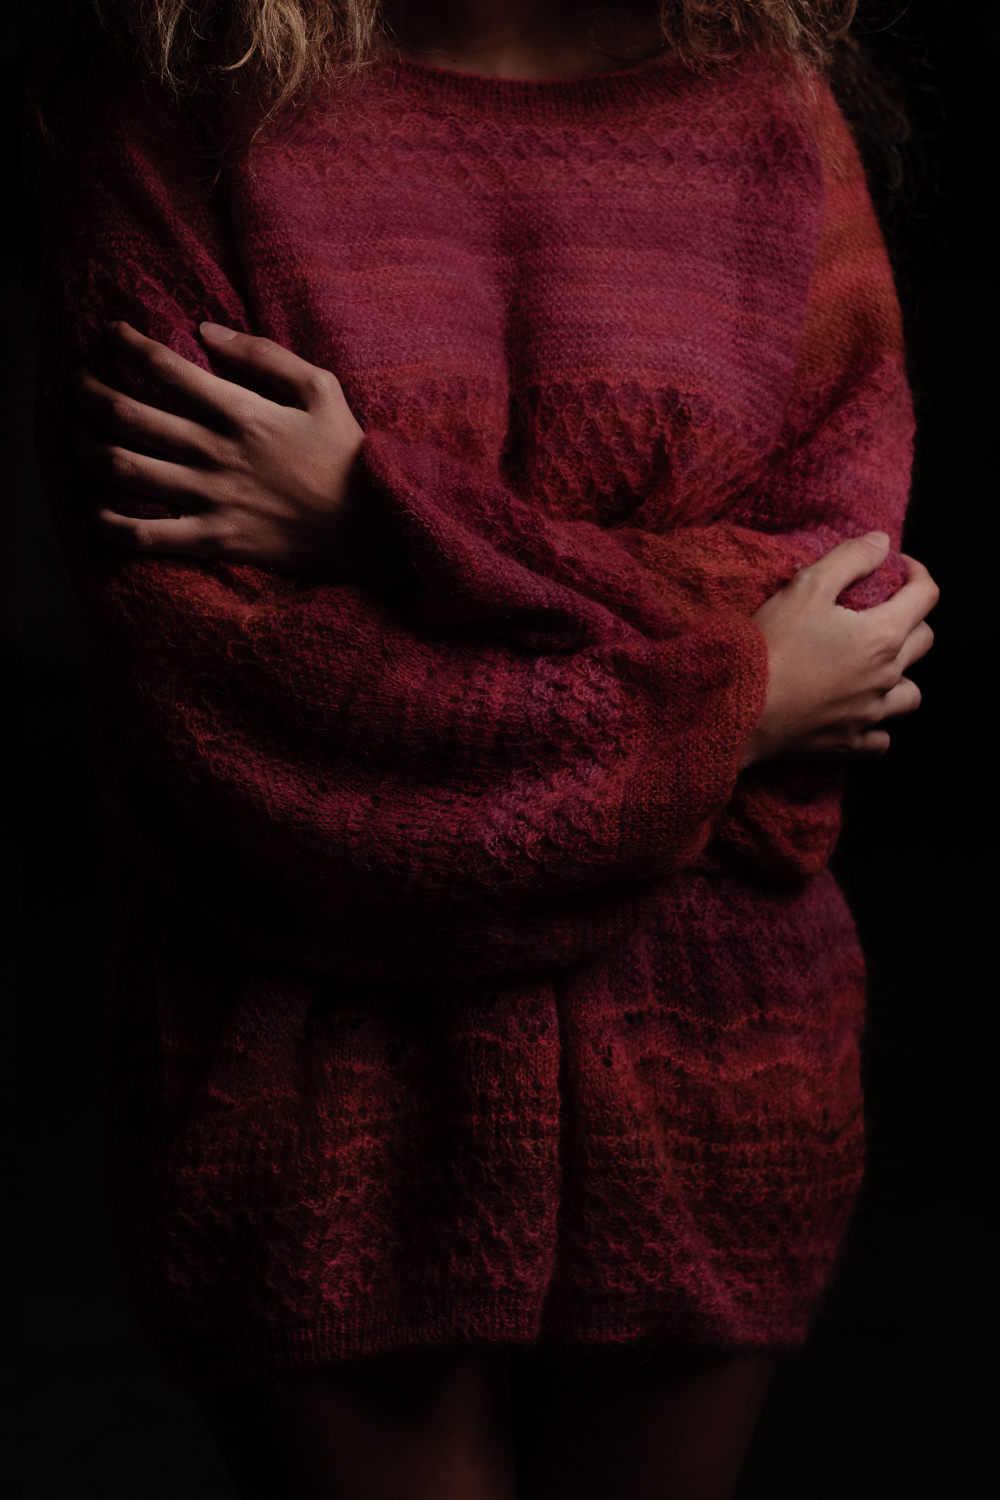
You see, when you have that one big and gorgeous light, suddenly you don’t really need a fill-in light anymore, or a hair light, because the big gorgeous light will take care of softening the shadows and lightning a lot of your subject, even his/her hair. One light which does it all.
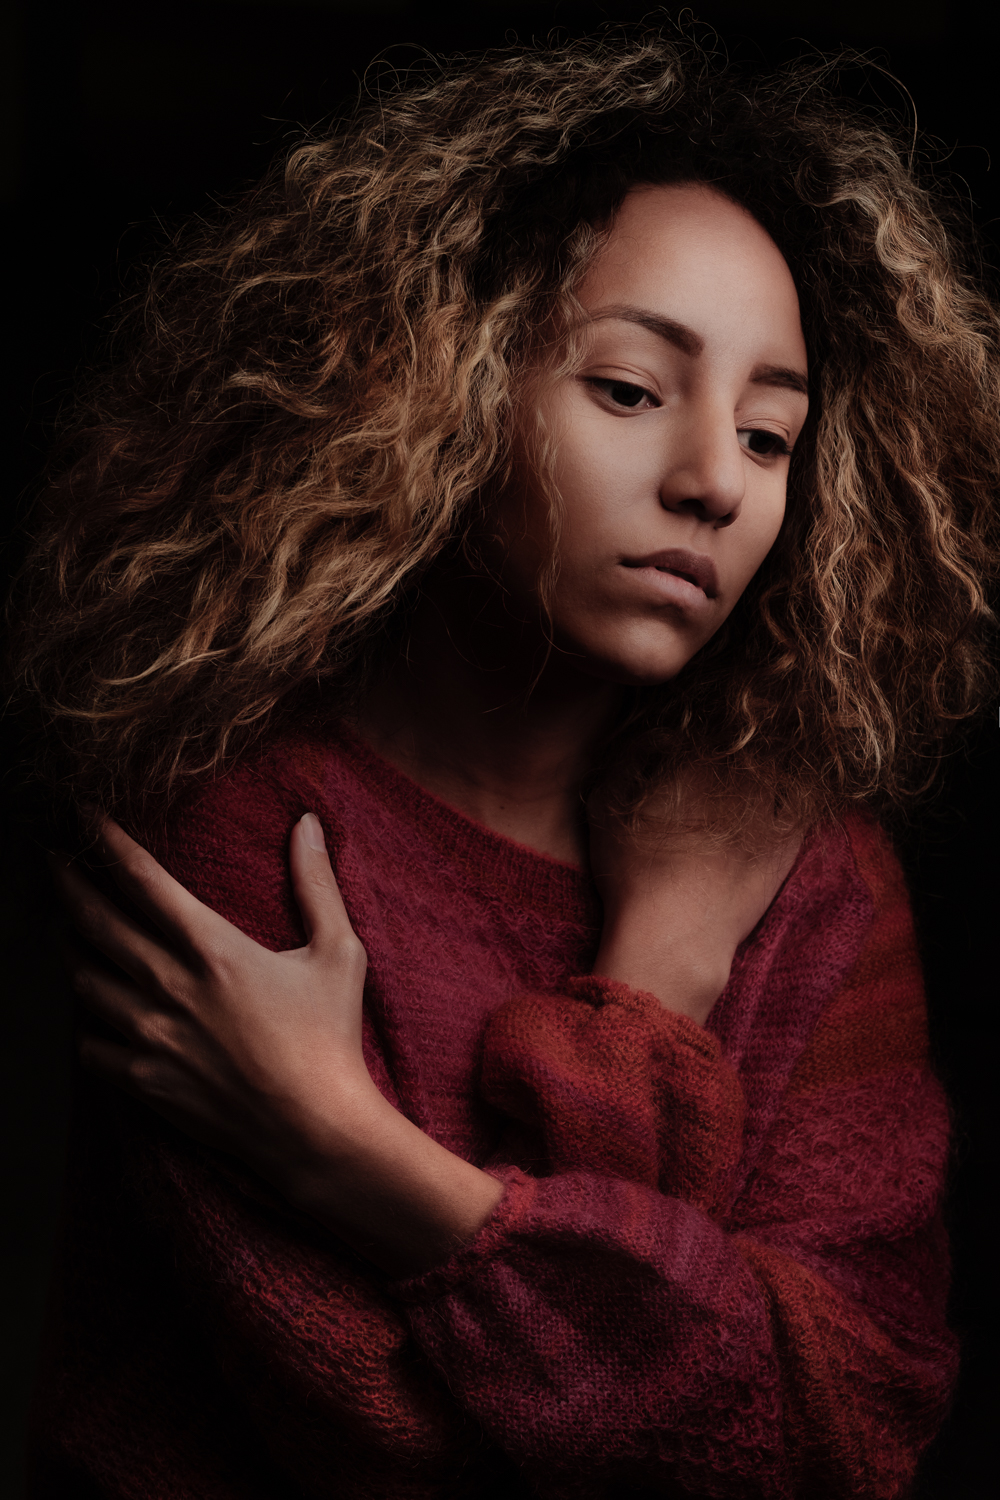
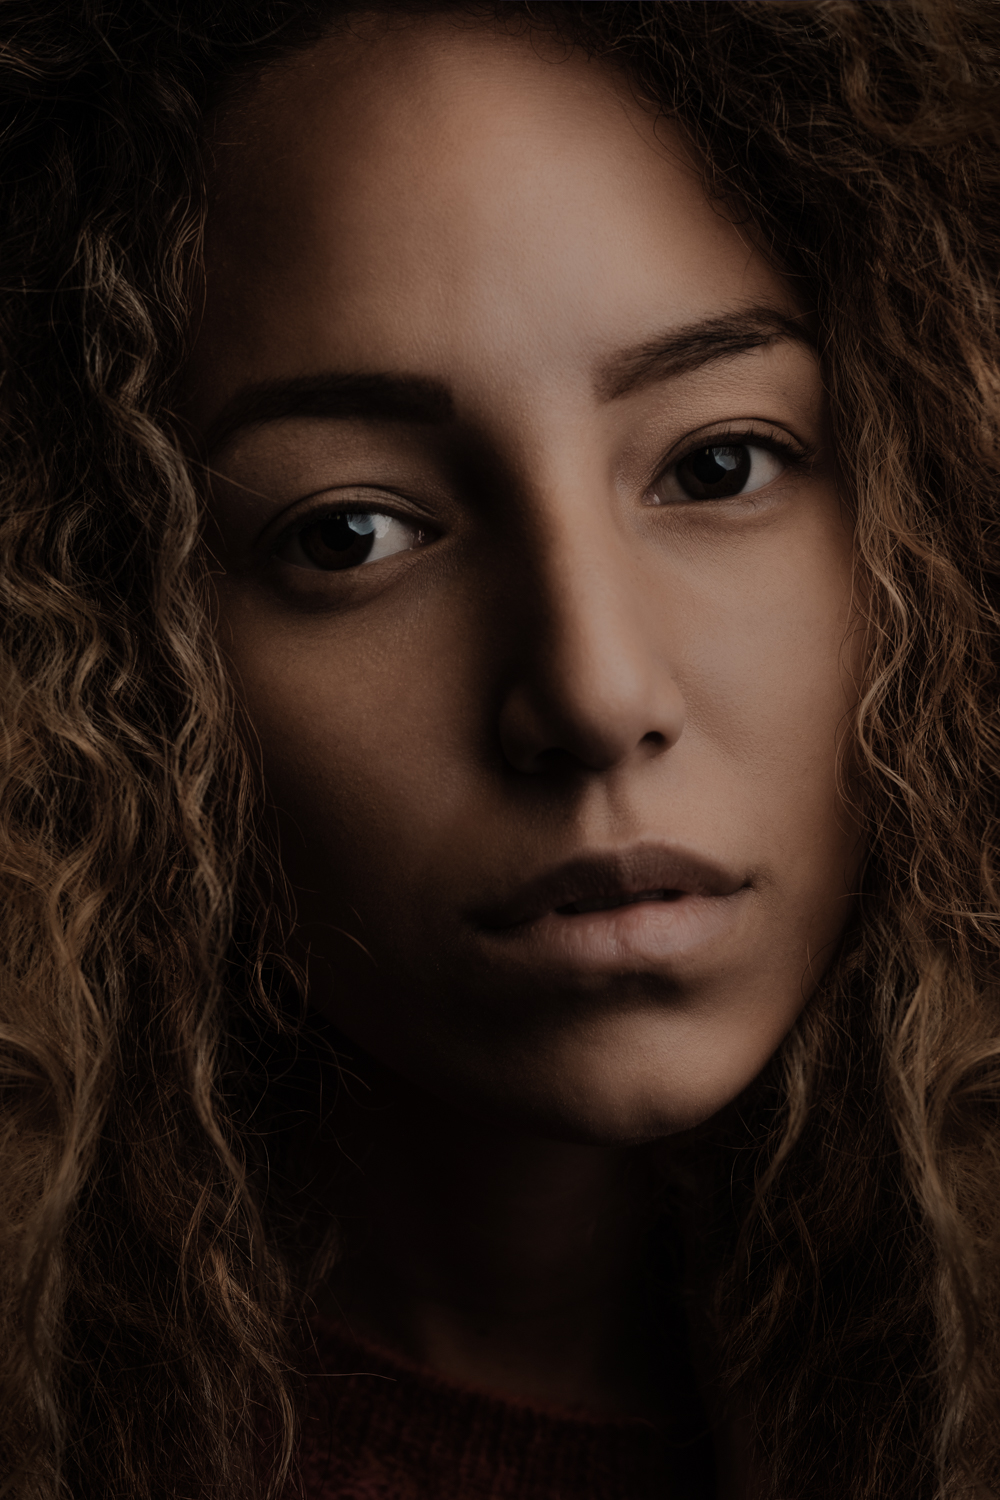
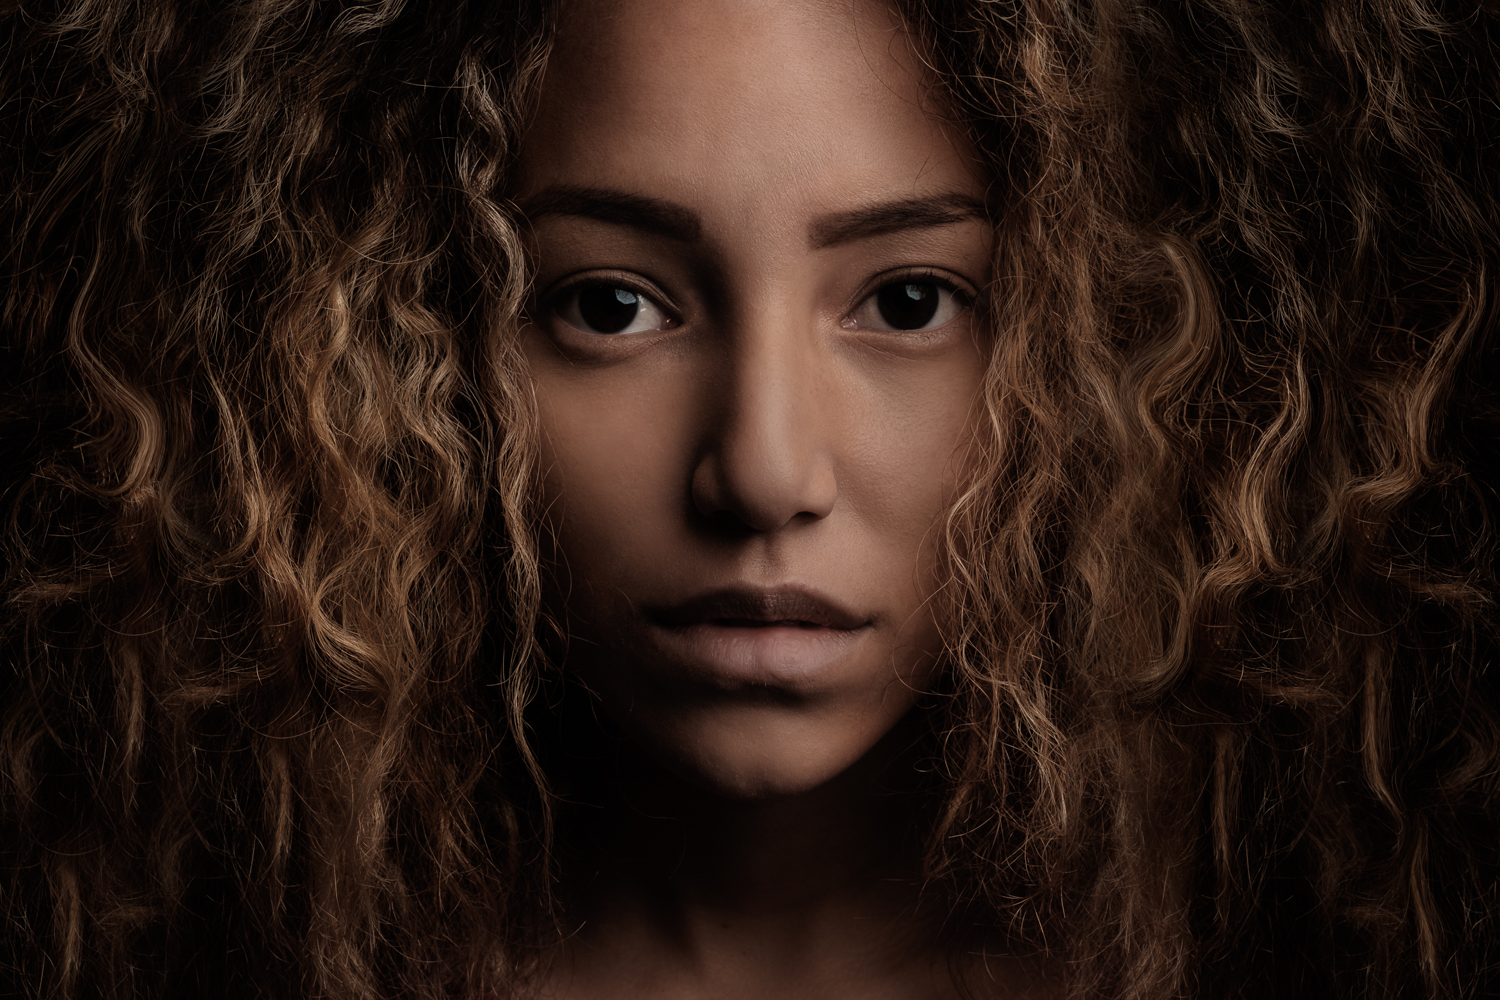
So, how should you place it? The answer comes from the first painter who focused on the use of a single gorgeous light, which is Rembrandt. He used that light for most of his portraits, and taught it to his students. So much he studied and perfectioned it that today we call it “Rembrandt’s light”, and those painter who used it are considered the “Rembrandt’s school”. Not saying Rembrandt invented the “chiaroscuro”, here in Italy we had Caravaggio mastering that technique thirty years in advance, but Rembrandt was a master in rendering a scene which used one single light coming from slightly above the subject, slightly from his side, and aiming down on his face, so to light completely one side of the face and just a little of the other side, creating beautiful shadows under the cheekbones and under the chin, and soft shadows around the nose, beautifully describing volumes and shapes.
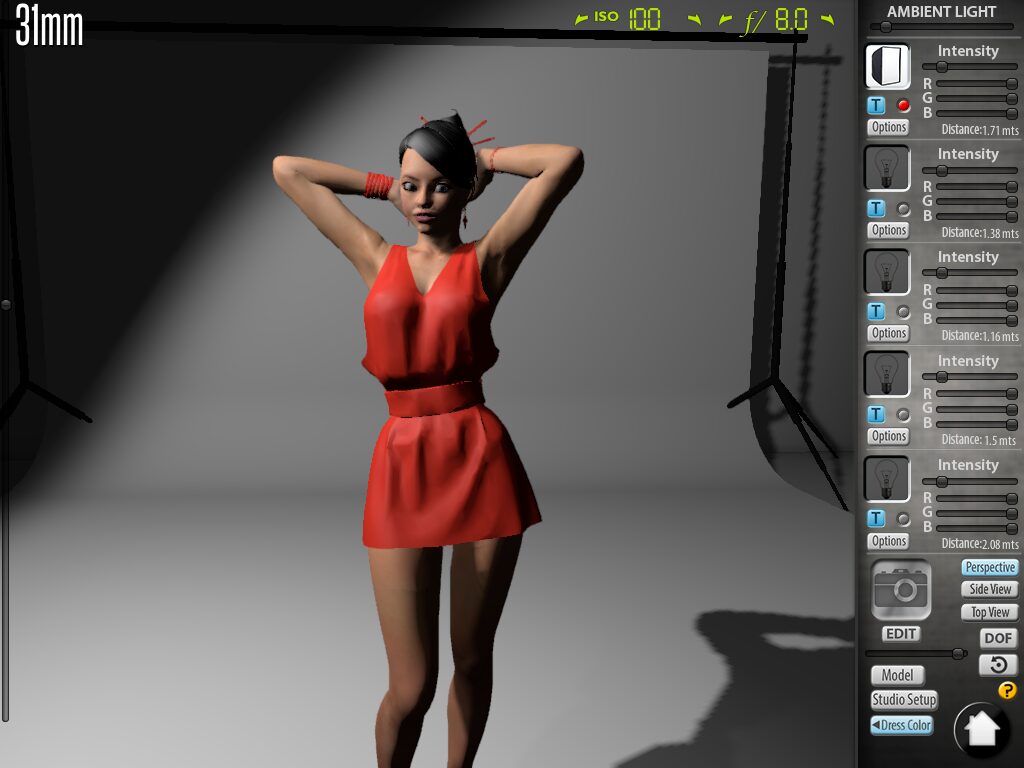
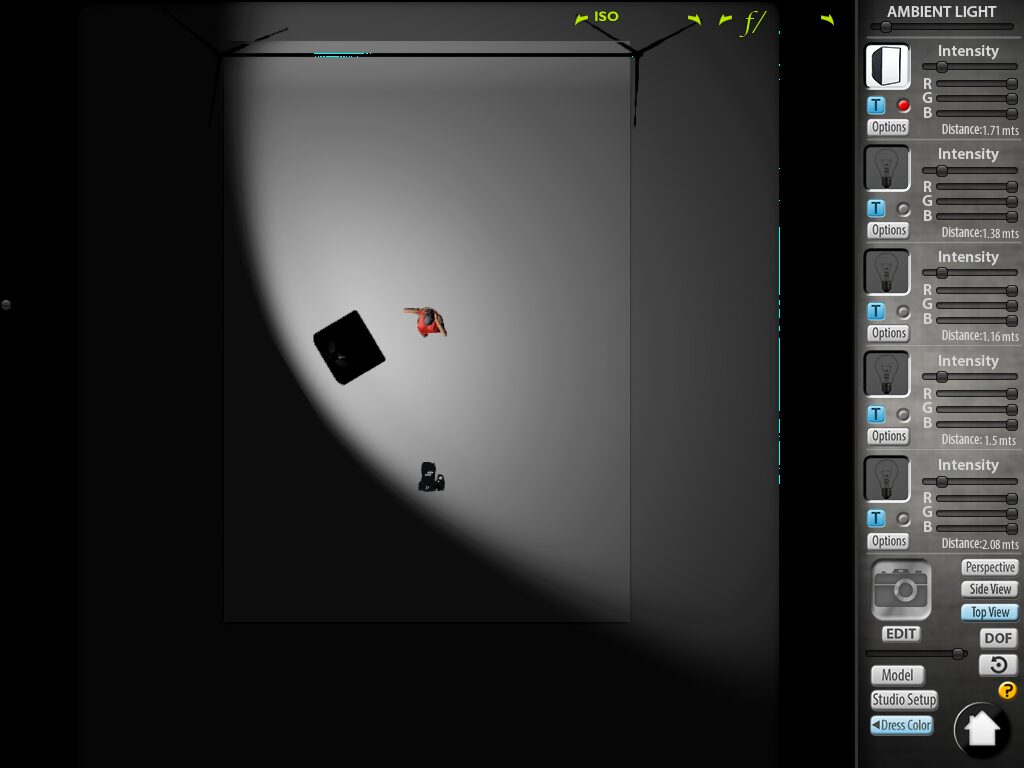
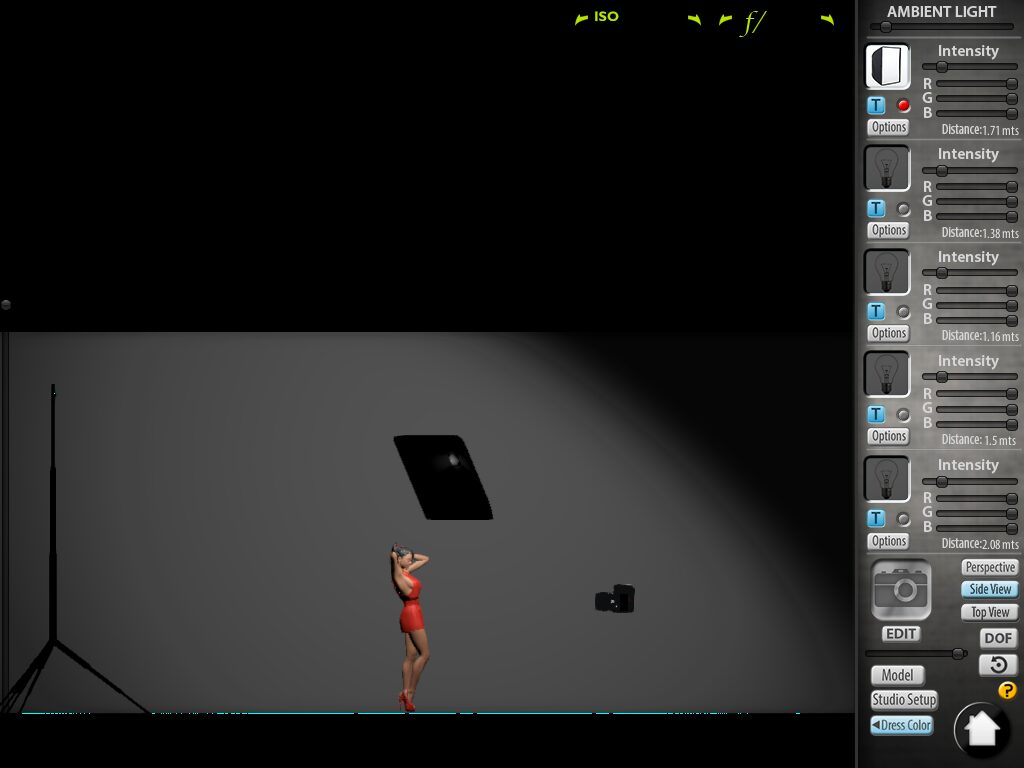
To get that light in photography you need to place the light between you and your subject, slightly on the side, and slightly from above. The most standard of Rembrandt’s light will light on side of the face, while on the other side it will create a triangle of light, with the eyebrow being the base, and the end of the cheekbone being the vertex. I used the software Photo Light Pro to show you what I mean, I hope it will help.
Summing up, my advice on getting your first lightning set-up for great portraits would be: don’t spend your budget on as many flashes as possible, but get a powerful flash that goes on batteries and that can be fully controlled from the trigger, a good and light stand, and invest all you’ve left on a big and professional softbox. That’s where the quality of the light comes from, that’s where you don’t want to compromise.
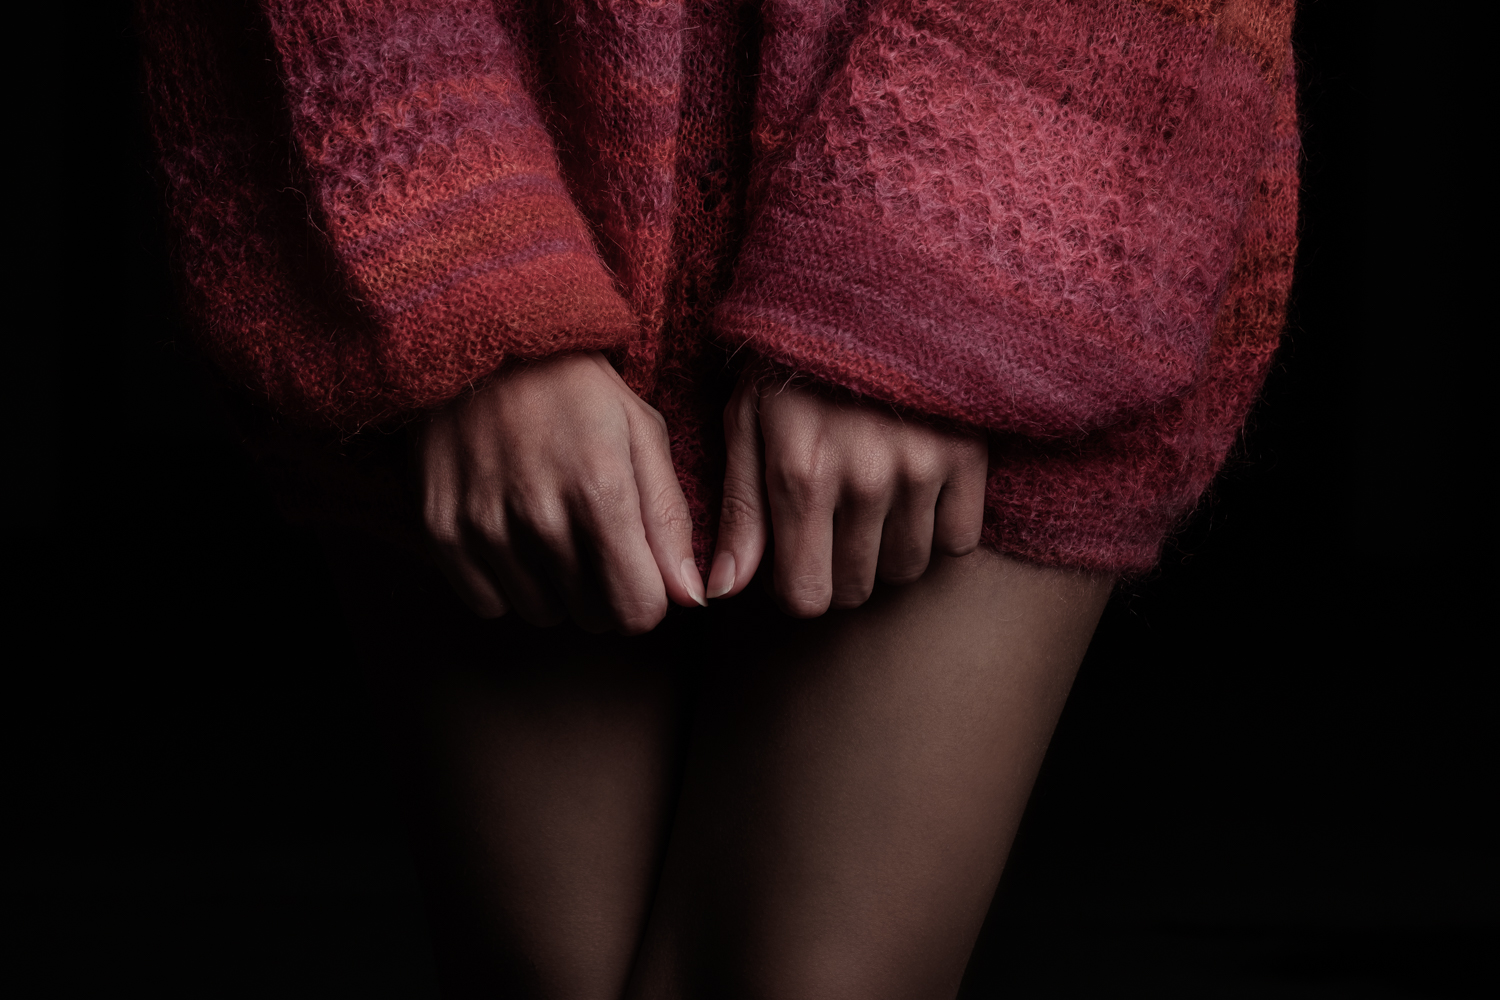
The model portrayed in this article is the beautiful Miriam Herrera!