Taking selfies is still a Big Thing and, while it seems to be a prerogative of mobile photography, in the old times, when selfies where still called self-portraits, cameras where usually put on tripods. Having the camera on a tripod instead than handheld in front of your face gives all sort of benefits, the most important being the ability to use longer focal lengths better suited for portraits. On the other hand, there are some annoyances, like the need for a remote or a timer-trigger (or both), or the impossibility to look through the viewfinder while staying on the other side of the camera.
Both these issues, and many others, are wonderfully addressed by the (free) Fujifilm Camera Remote app designed for Android and iOS phones and tablets. This app allows to control all the important camera parameters (shutter speed, aperture, ISO, focus) directly from the tablet, while also providing a remote shutter (with timer, when needed) and a remote screen, good for shooting and reviewing the shots. While the app is obviously a great tool to take professional-looking self-portraits, it can also help improving studio portraits techniques, because the photographer can try on himself quickly and precisely how the final shots are affected by different light schemes and different poses, and so on.
In this article I want to show a few examples of self portraits taken in my studio by using the simplest (and one of my favorites) light scheme: one single flash with a very large diffuser. In my case I’ve been using a GODOX AD3600 with a Walimex Pro 90cm Octagon. As a stand I used a boom, which was useful for positioning the flash below me and over me. I collected a few examples for this article of what you might want to test in a self-portrait session. I’ve applied the same post production using Lightroom to all the photos, so the changes you see are only due to the light schemes and to the poses.
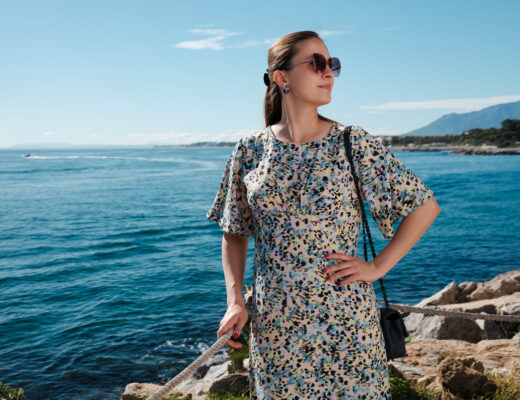
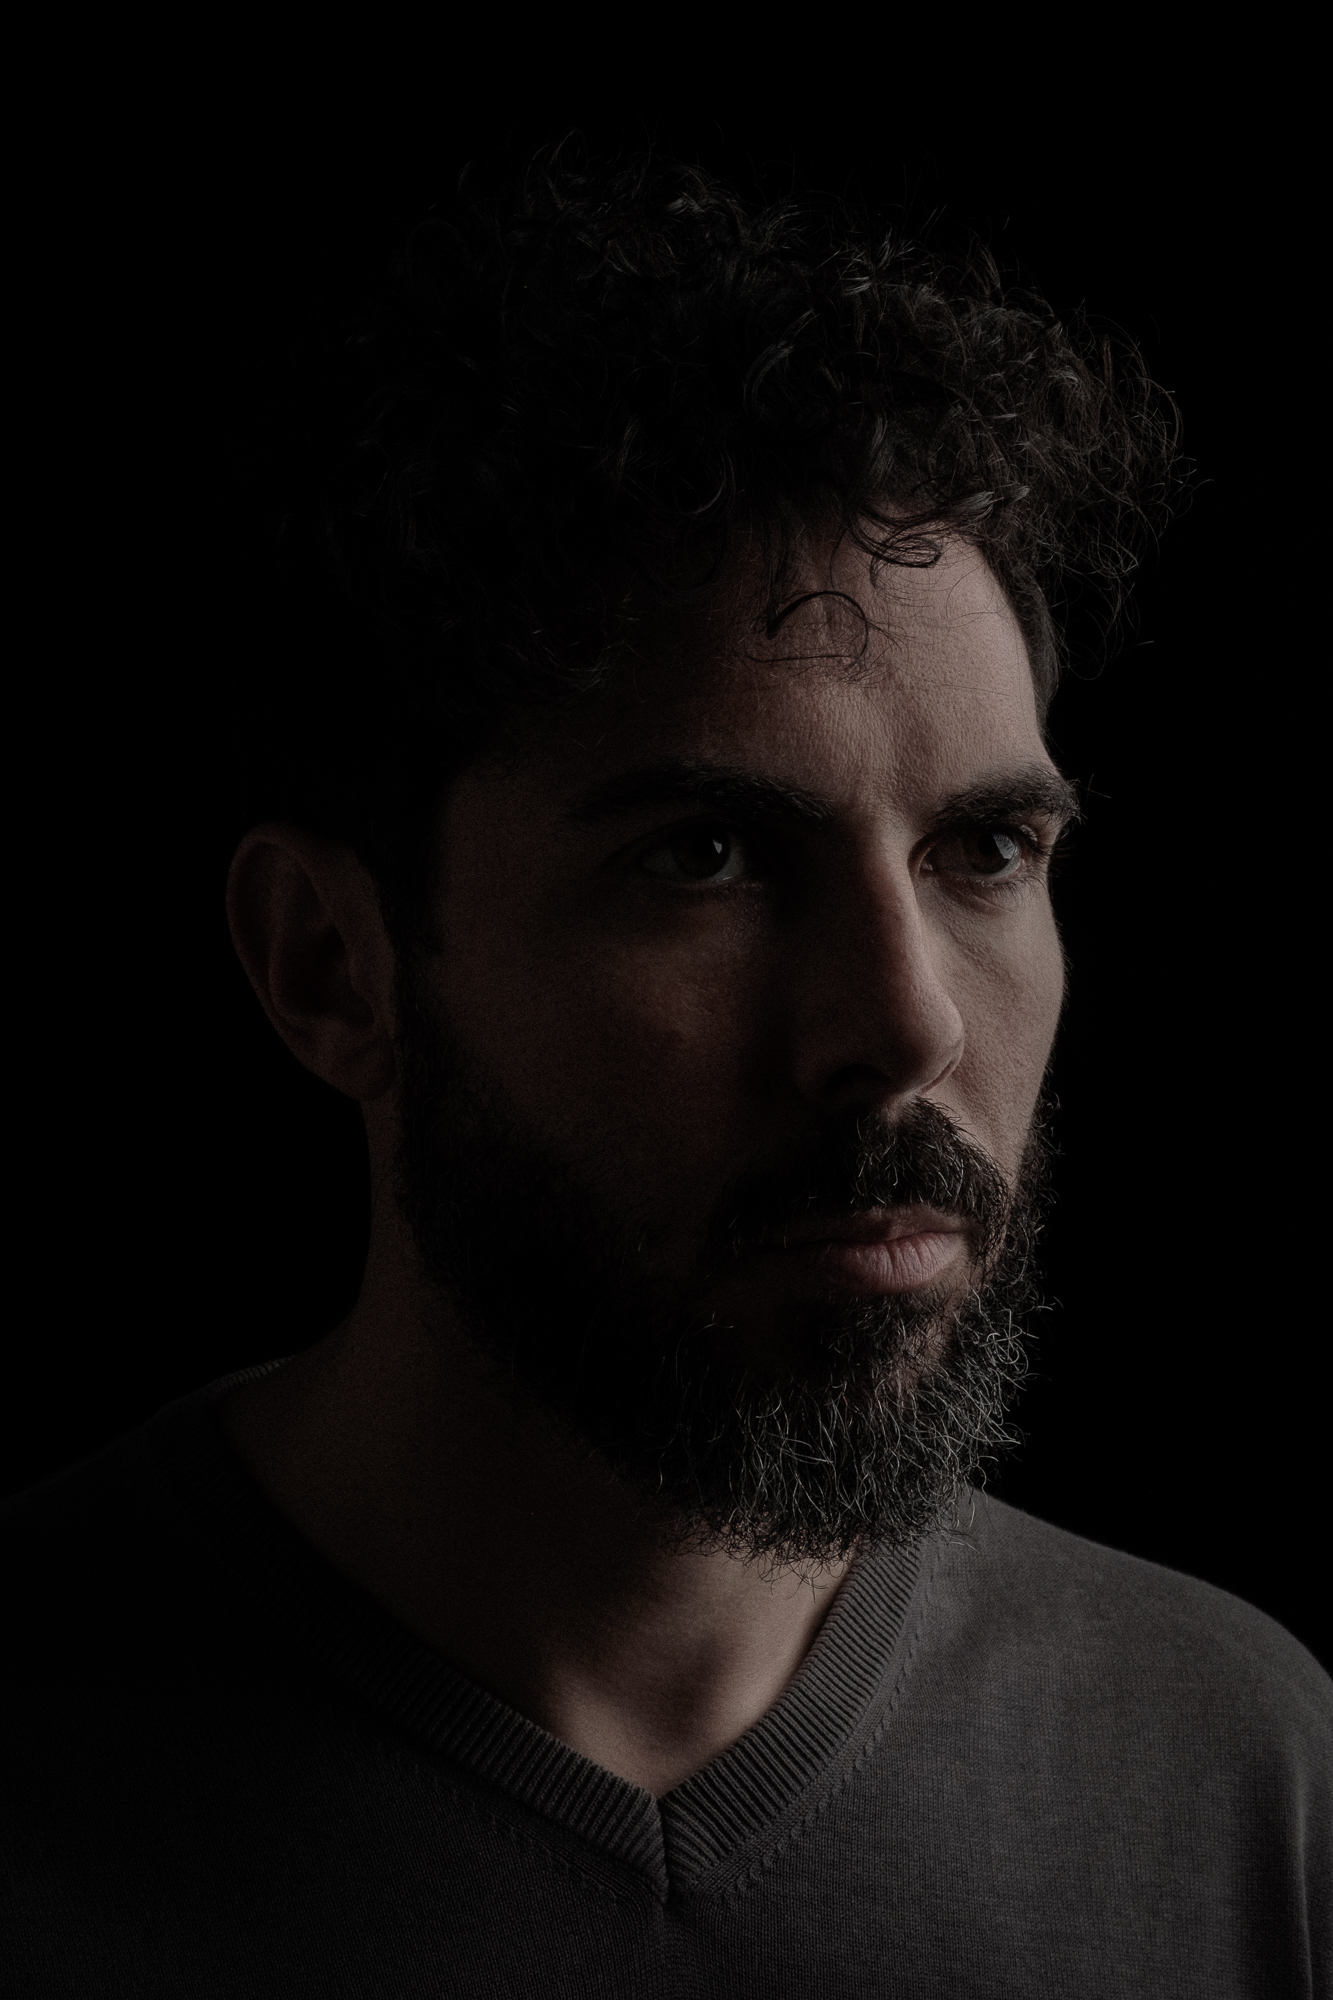
I started with a “standard” scheme in portrait photography, with the flash at the camera side but not too lateral to the subject. Compared with the full-frontal light, this allows for a little bit of shades on one side of the subject, which delivers volumes and textures. I went for a profile pose with the head rotated towards the camera just the right amount so the have the nose not protruding over the cheek. Such precise kind of pose would have been very difficult to obtain in a self-portrait without the help of the Fujifilm Camera Remote app, which showed on my tablet screen exactly how I was fitting in the frame.
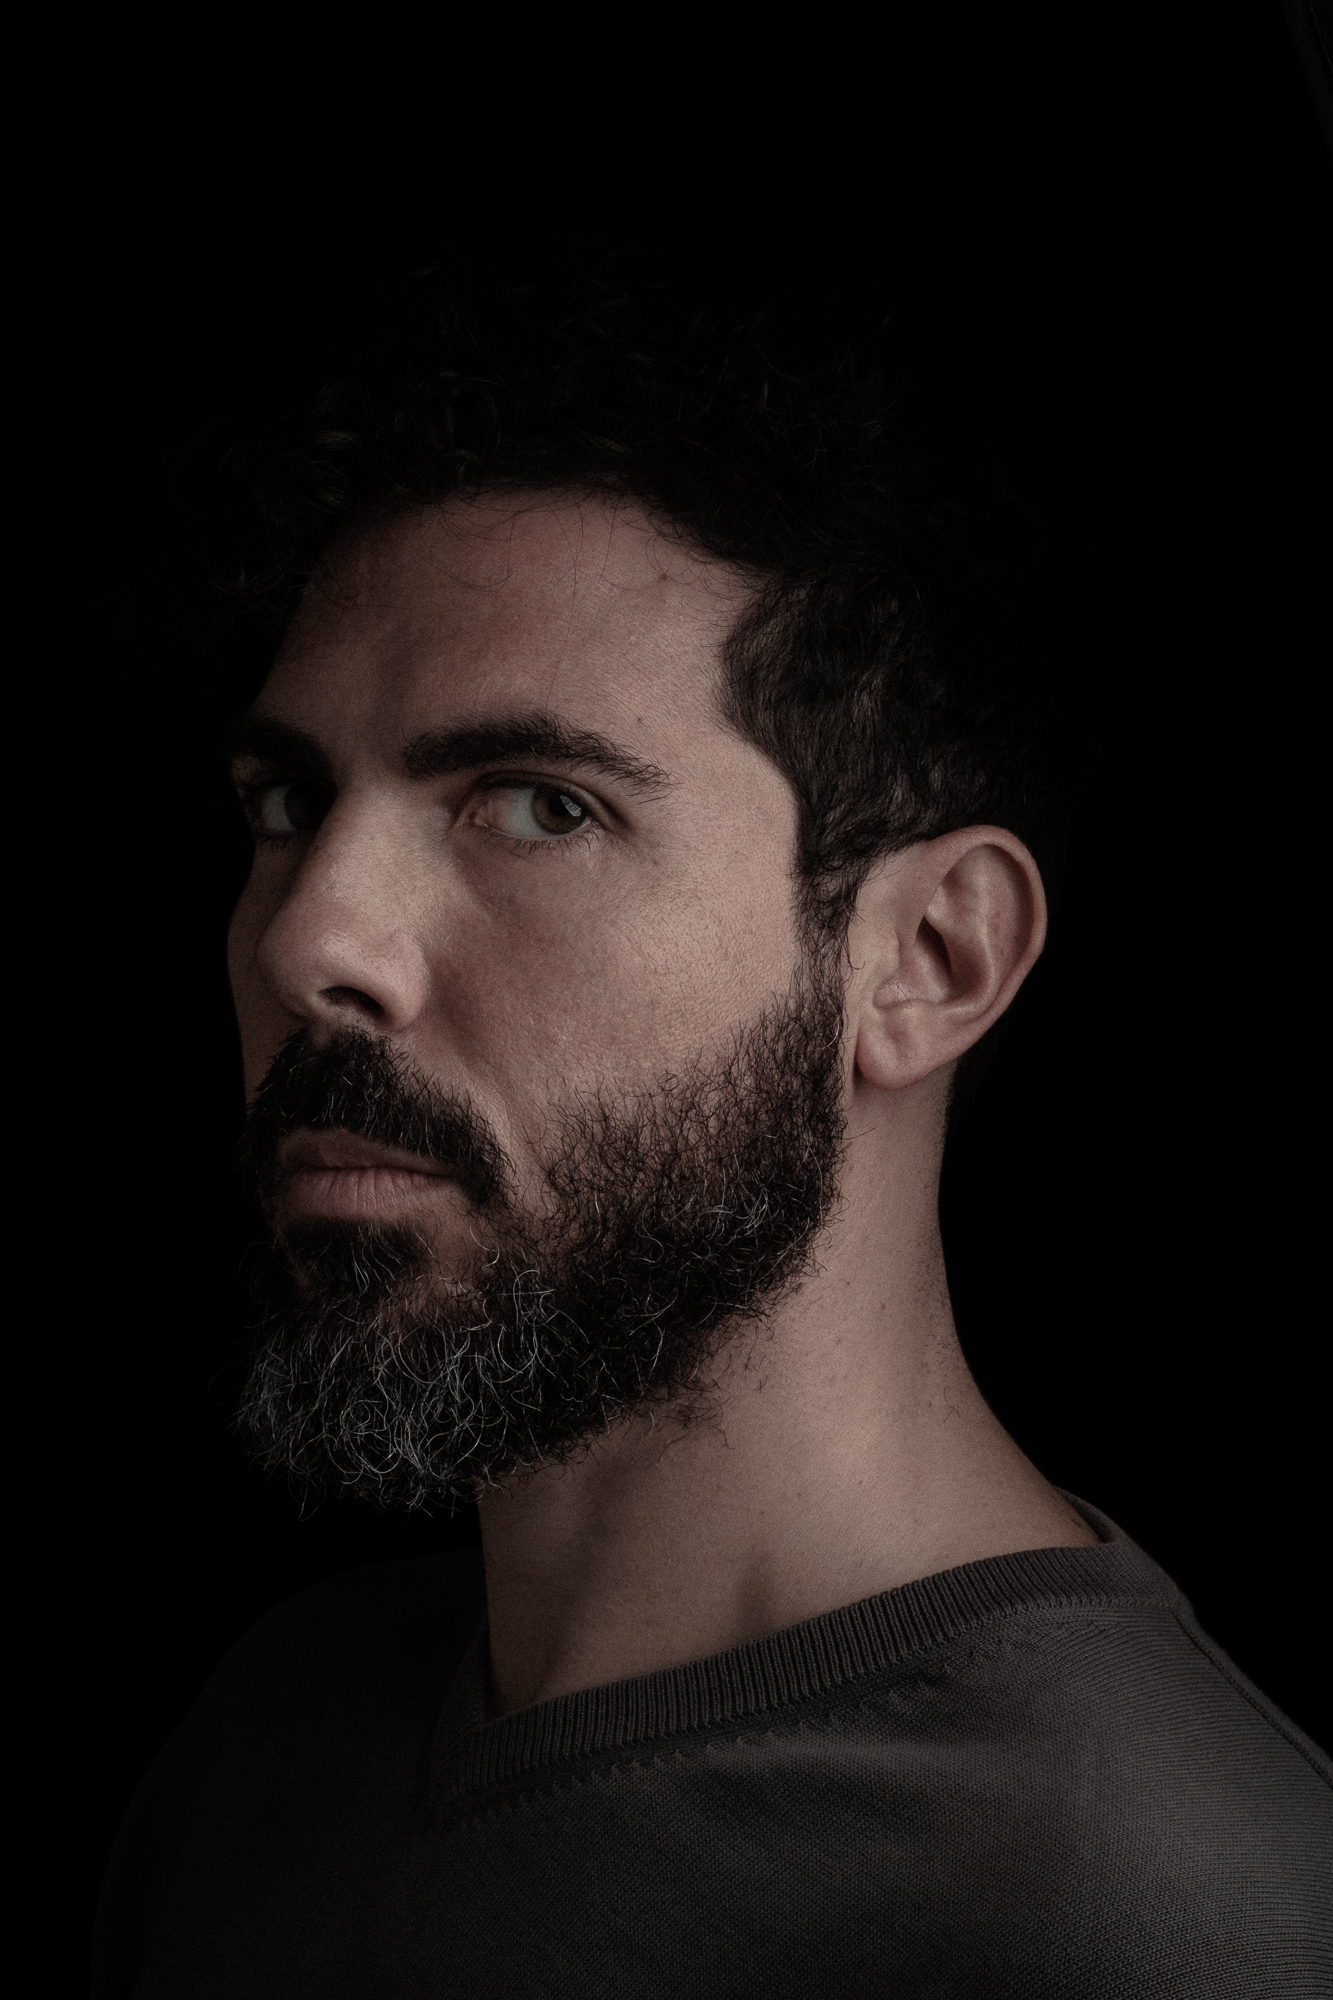
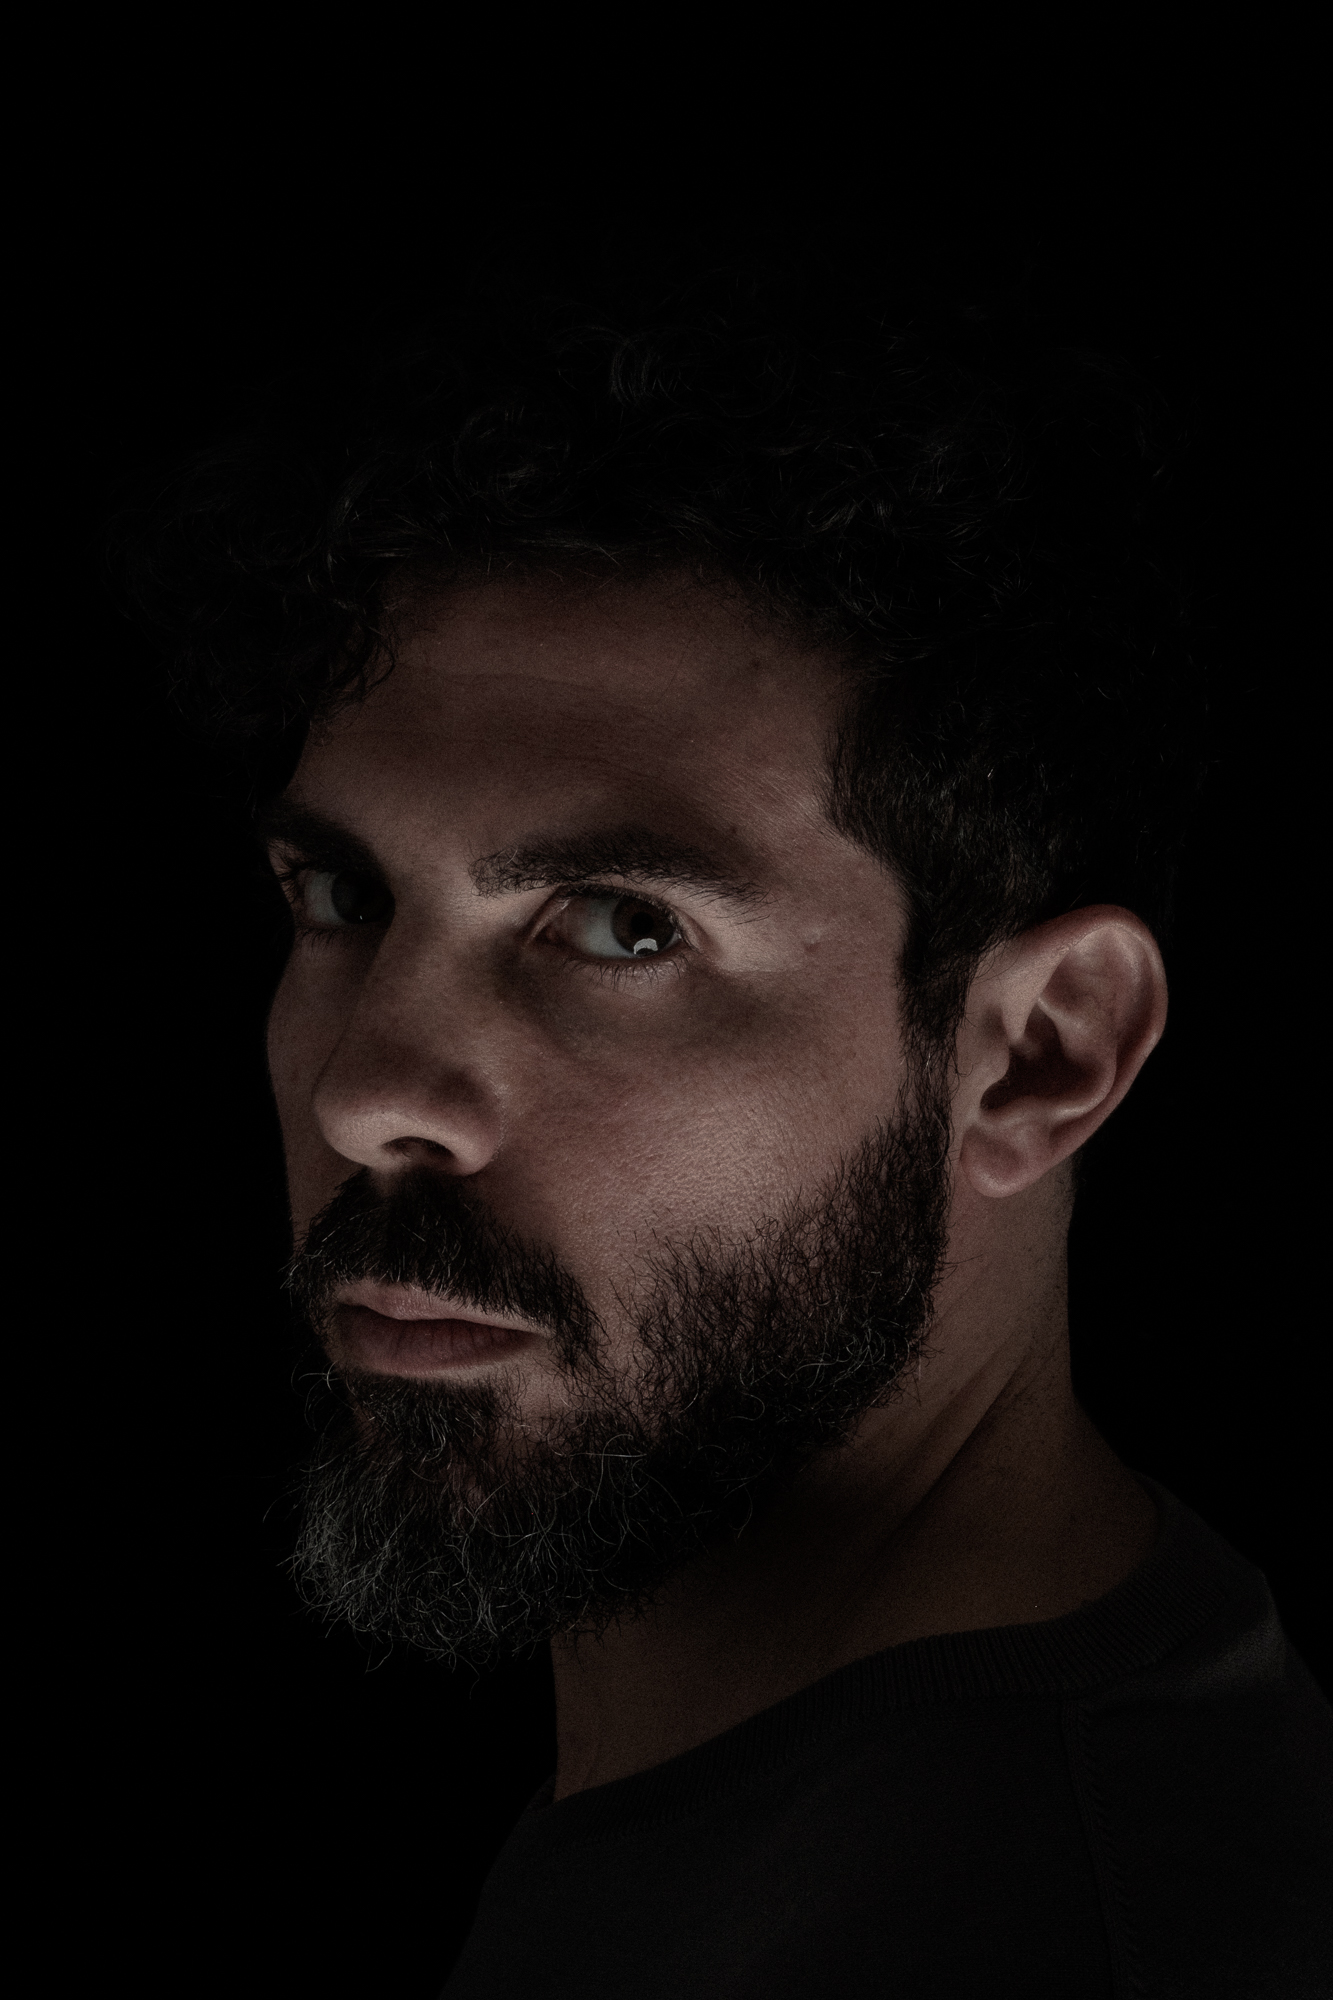
Then I decided to try a completely sideway lighting. At first I went for a full profile pose, having only one eye and one eyebrow visible. Again, the Camera Remote app is crucial to obtain this pose without several trial and errors. From this pose I then rotated slightly chest and head, so to get most of the light on the distant side of the face, while keeping just that little bit on the near side to show my eye.
By rotating a little bit more the eye went almost completely in the shade. So I raised my chin a little bit. That’s because eyebrows can cast shadows over the eyes (especially thick eyebrows like mine), and by raising the chin this effect is alleviated. This trick can be used both on “looking down” or on “looking up” poses, which end up having the same light but very different moods.


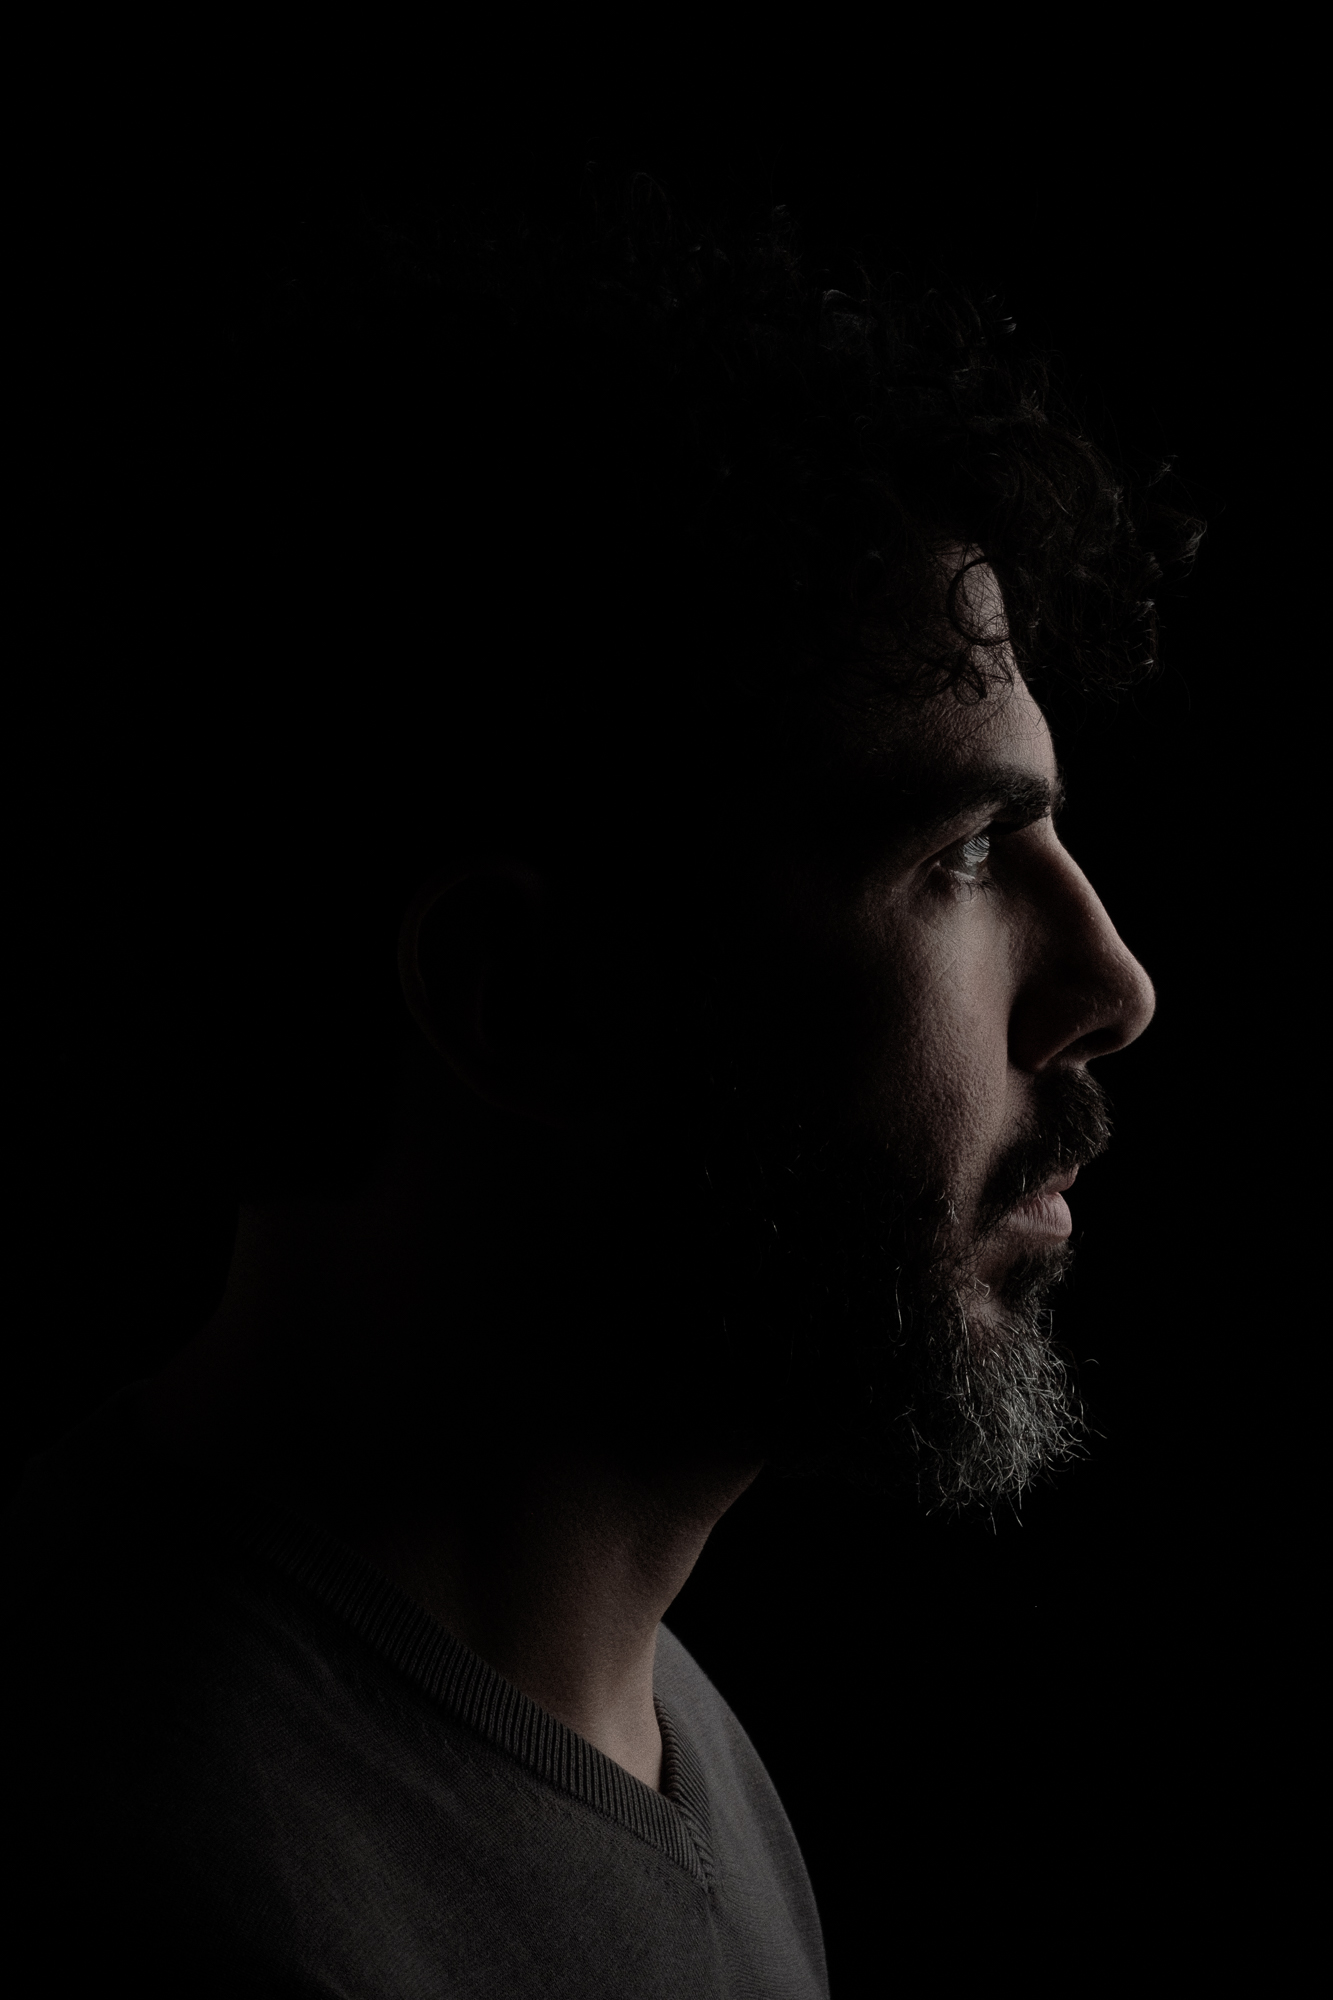
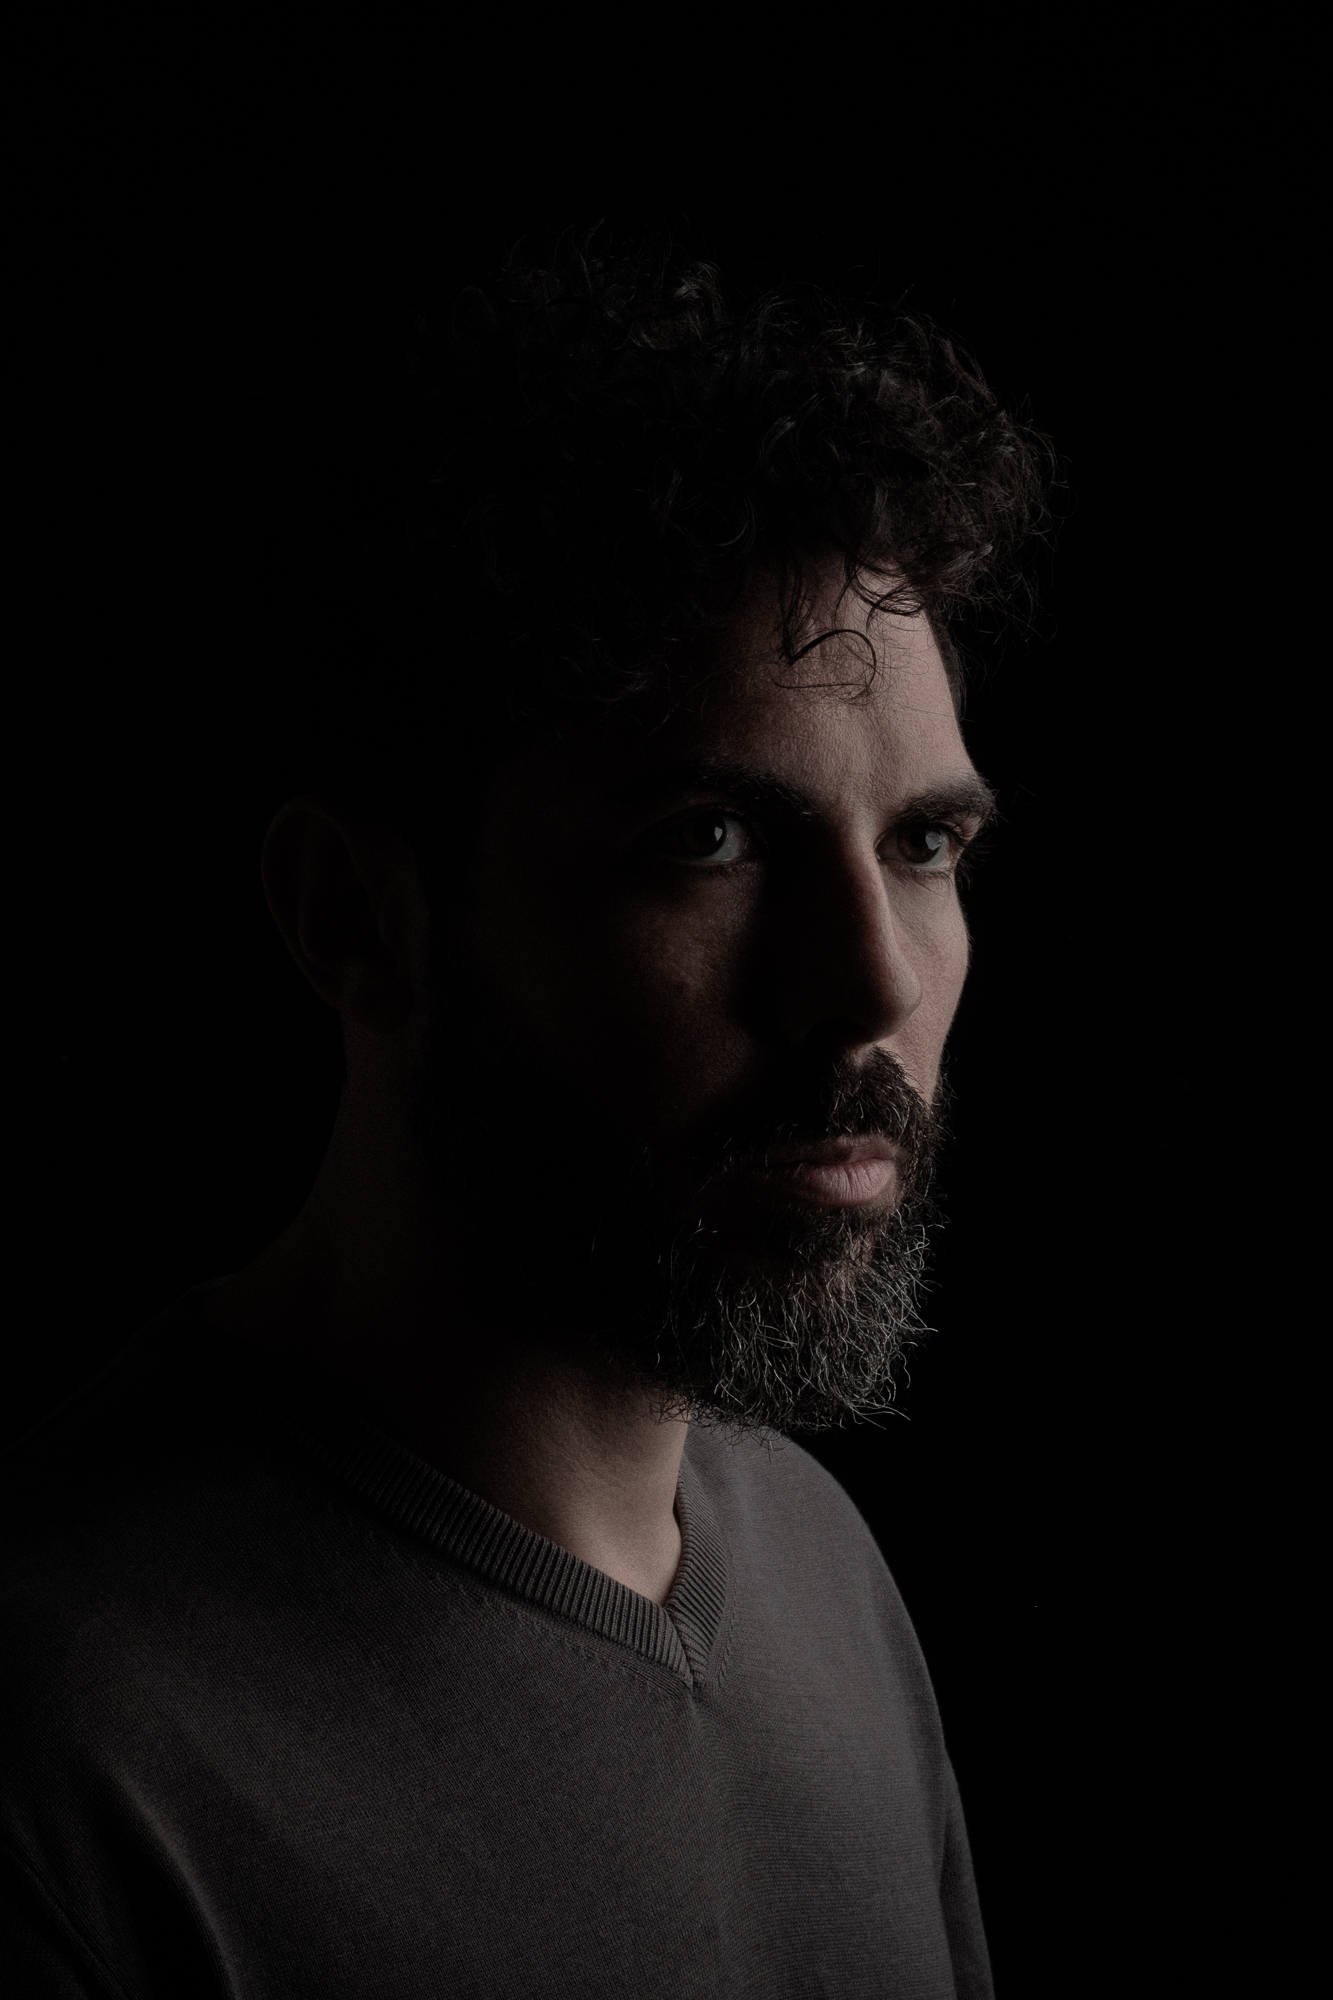
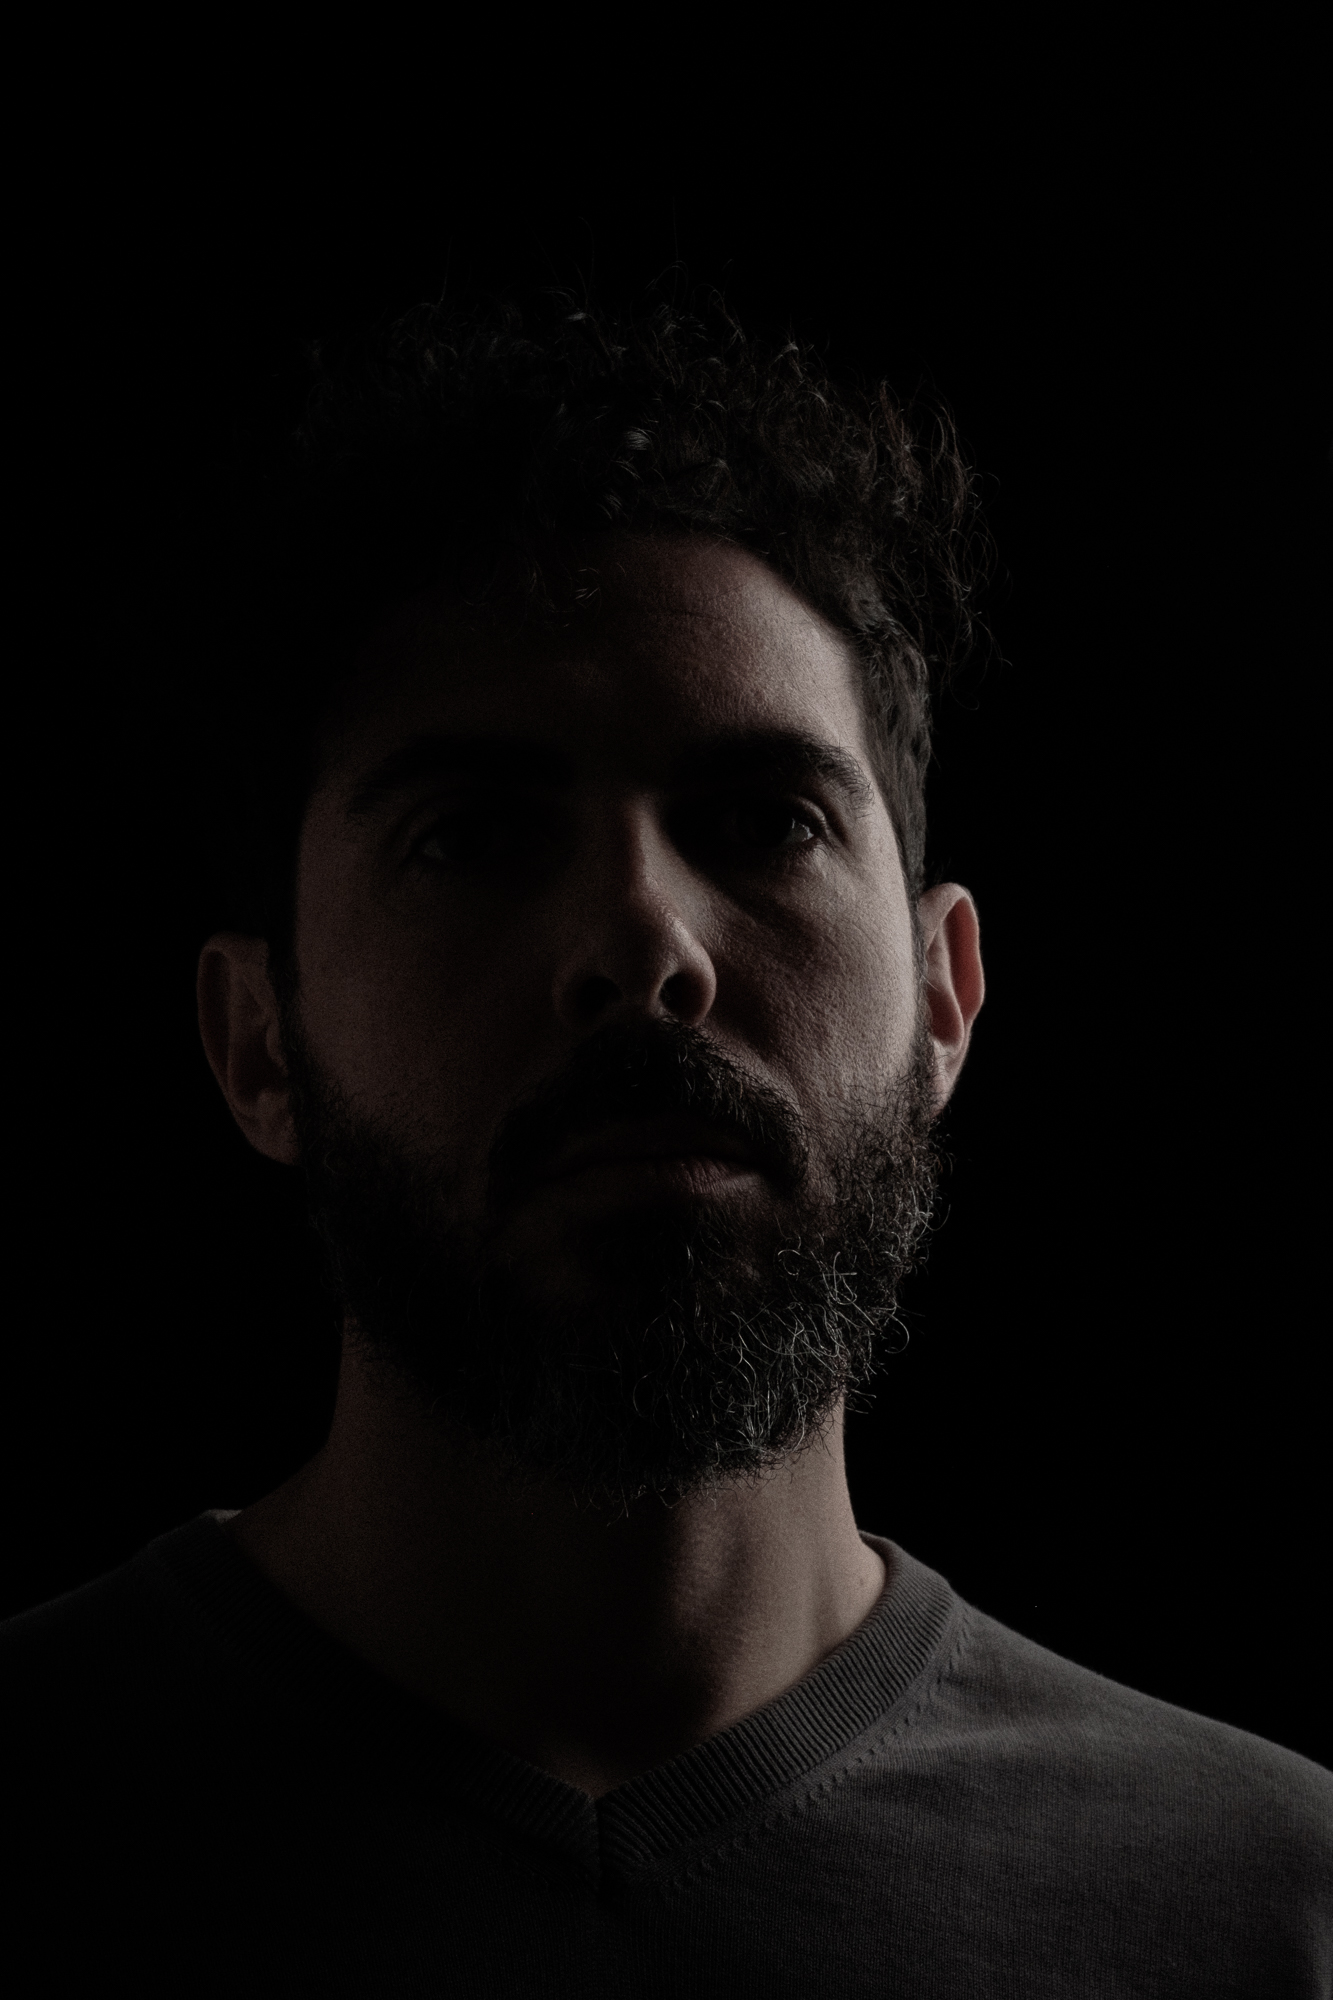
Then I placed the light behind me (still on the side). I went for a full frontal pose, where the light draws basically the shape of my head, neck, nose, and chin, slightly revealing only one eye. It delivers an uncommon result, with the face features are more concealed than exposed, but it’s dramatic and moody.
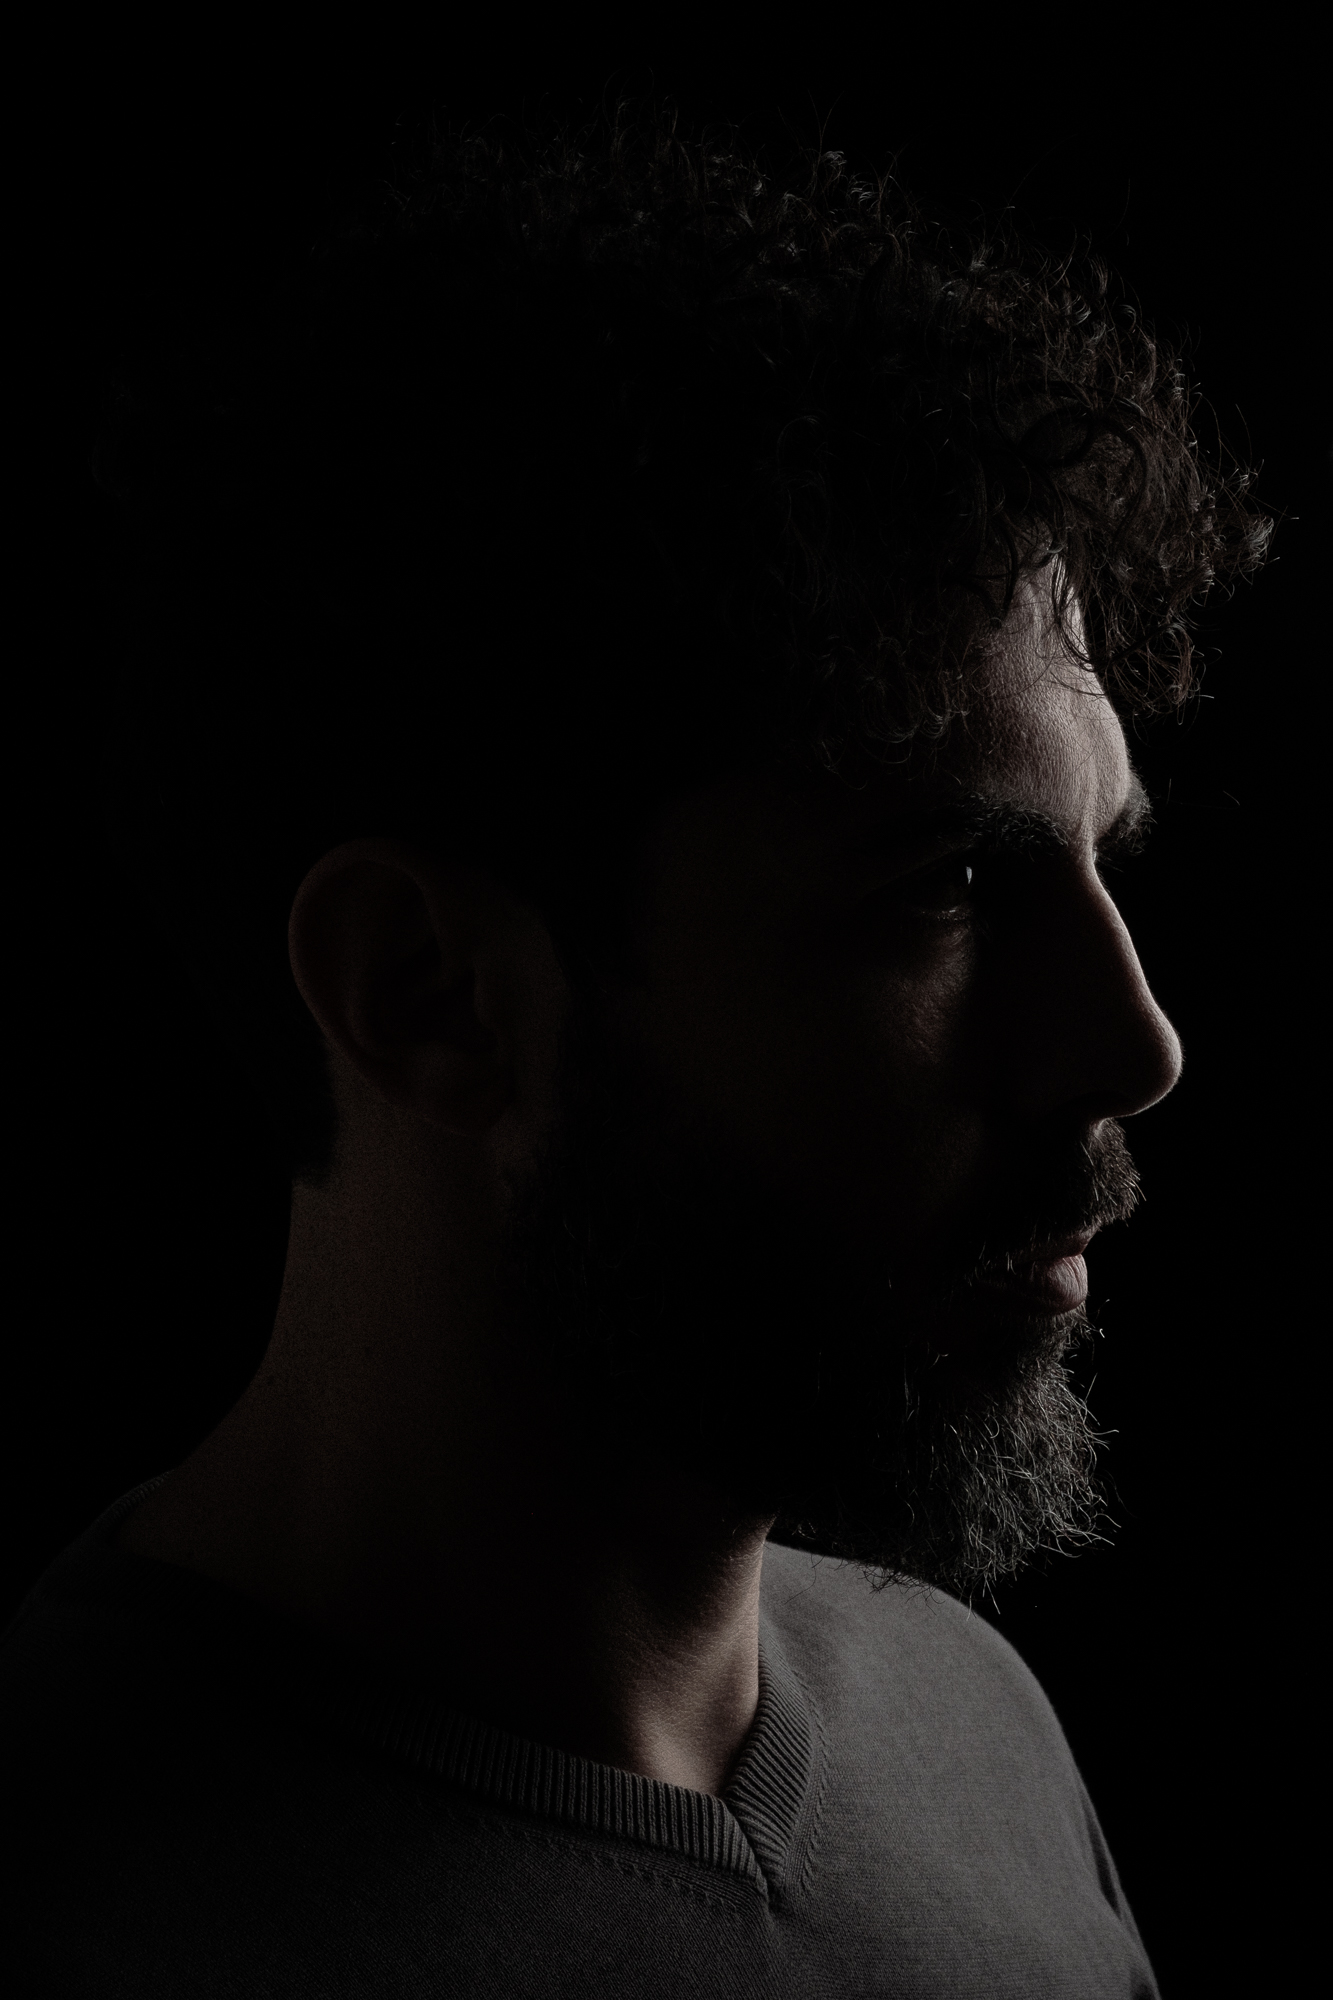
Then I tried the full profile again (well, this time a little less profile, you can see the other eyebrow). This scheme gives the skin a more metallic feeling, with a lot of textures and contrast. The eye appears as a shiny round pearl, with no features except for the reflection of the light diffuser.
The following scheme required a boom, since the flash and the diffuser need to hover over the subject’s head to get the “light from above”. This light tends to produce “panda eyes”, which is when the forehead and cheeks are illuminated while only the eyes are in the shade. To avoid that you need to be not under the center of the diffuser, but more towards the far end of it.

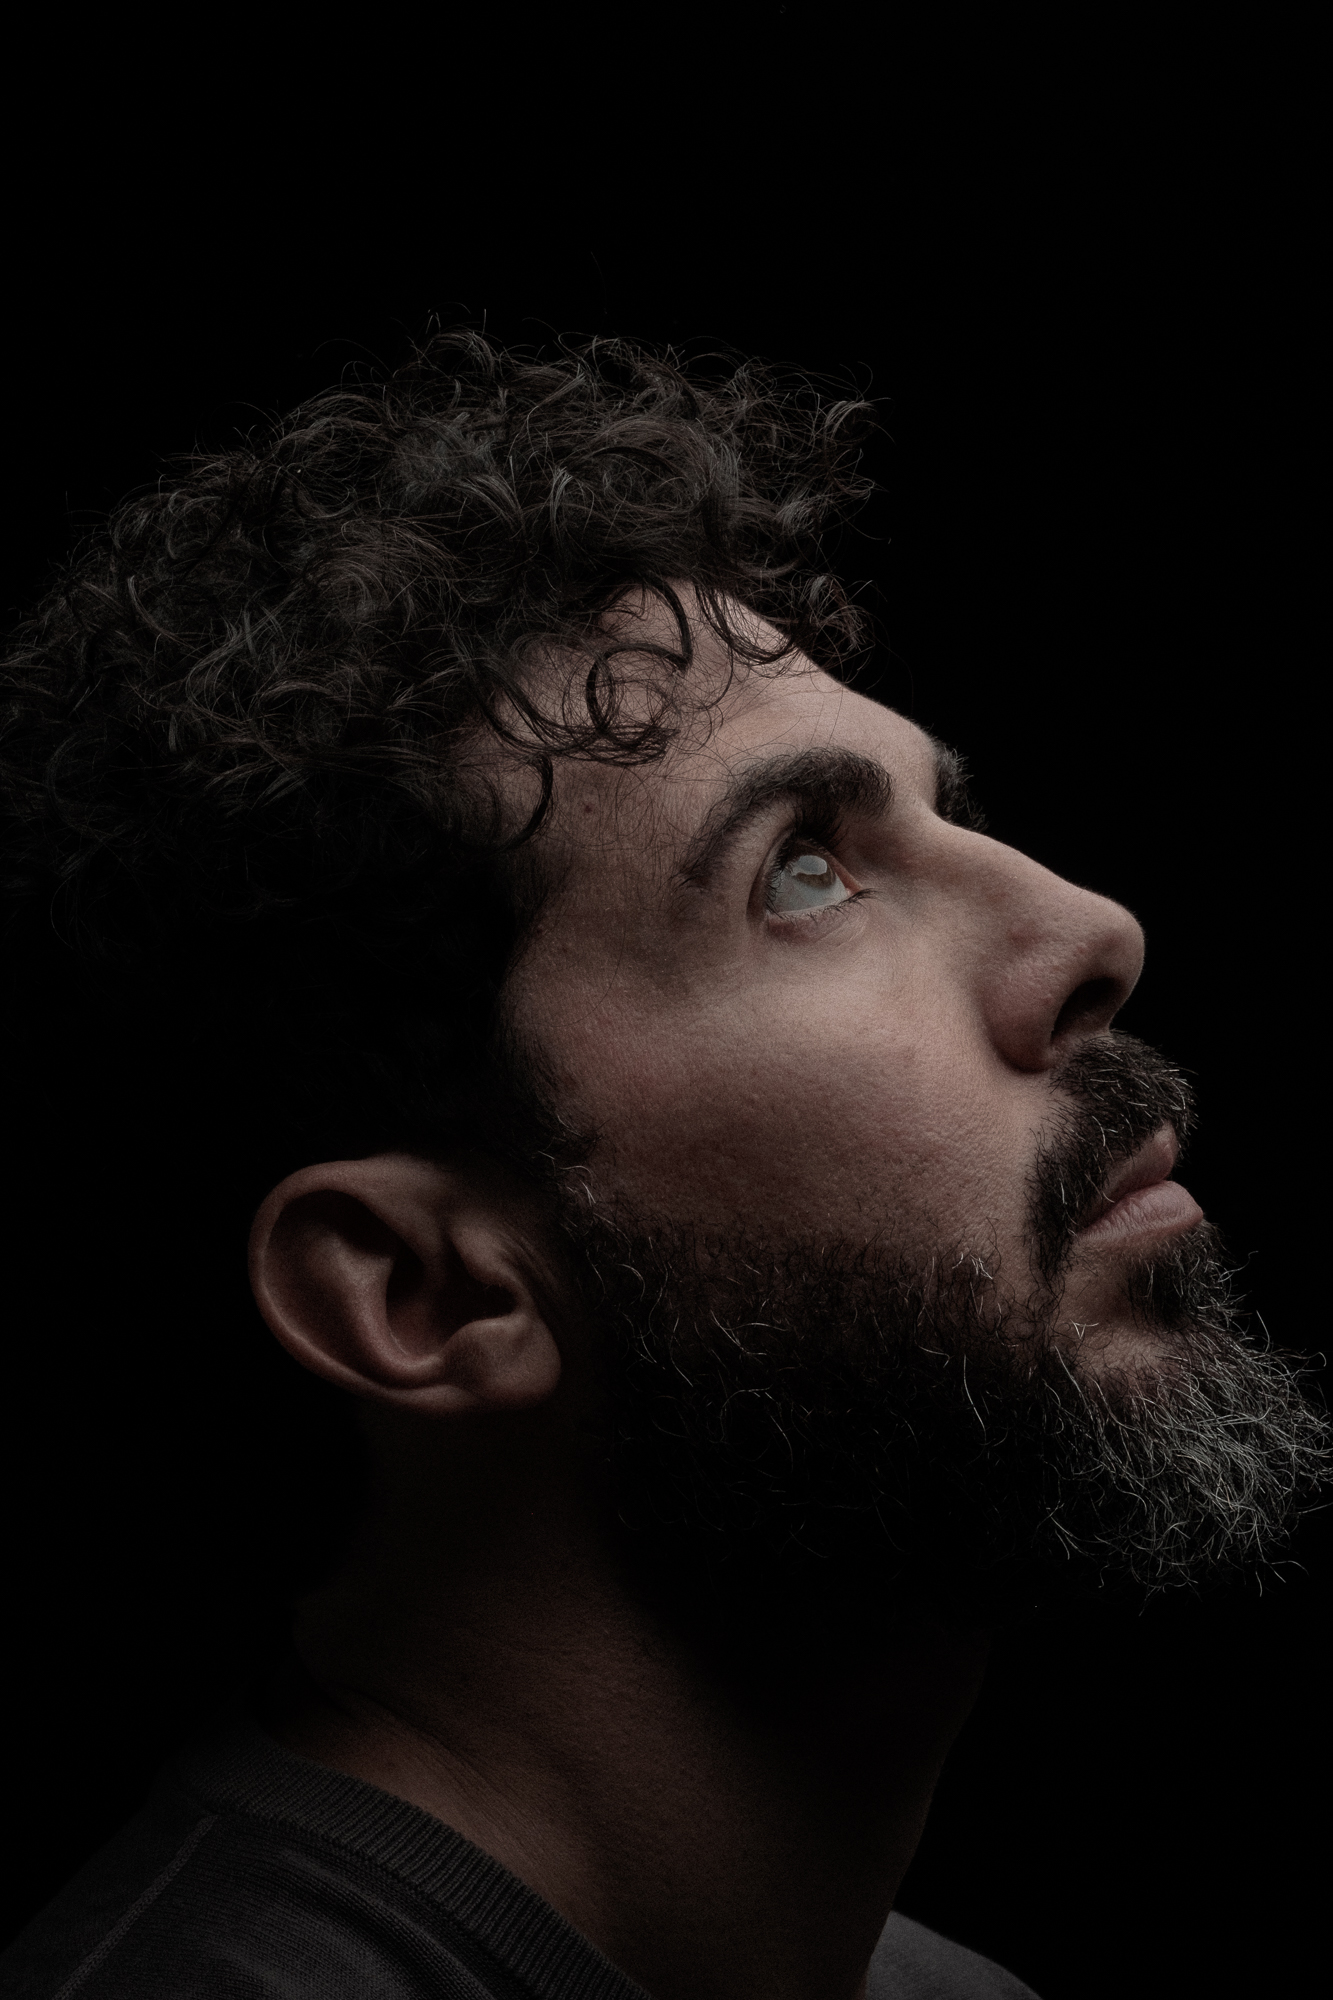
Looking at the photographs taken with this light scheme it is easy to understand why the light from above is also called “hair light”: my curly hairs are well visible and beautifully illuminated. The shadows on the neck are typical of this scheme, and can be reduced by adding a reflector. After the full frontal pose I went again for a profile, this time by tilting up my chin and looking straight to the light. The result is slightly mystical, with the light coming from above and the subject facing up at it.
For the last scheme, I went vice versa, and placed the flash below my face. Being the opposite of the previous scheme, the effects are the opposites too. The neck is lighten, the cheeks cast a bit of shade under the eyes, but the biggest effect are the spiky shadows cast over the forehead by the eyebrows.

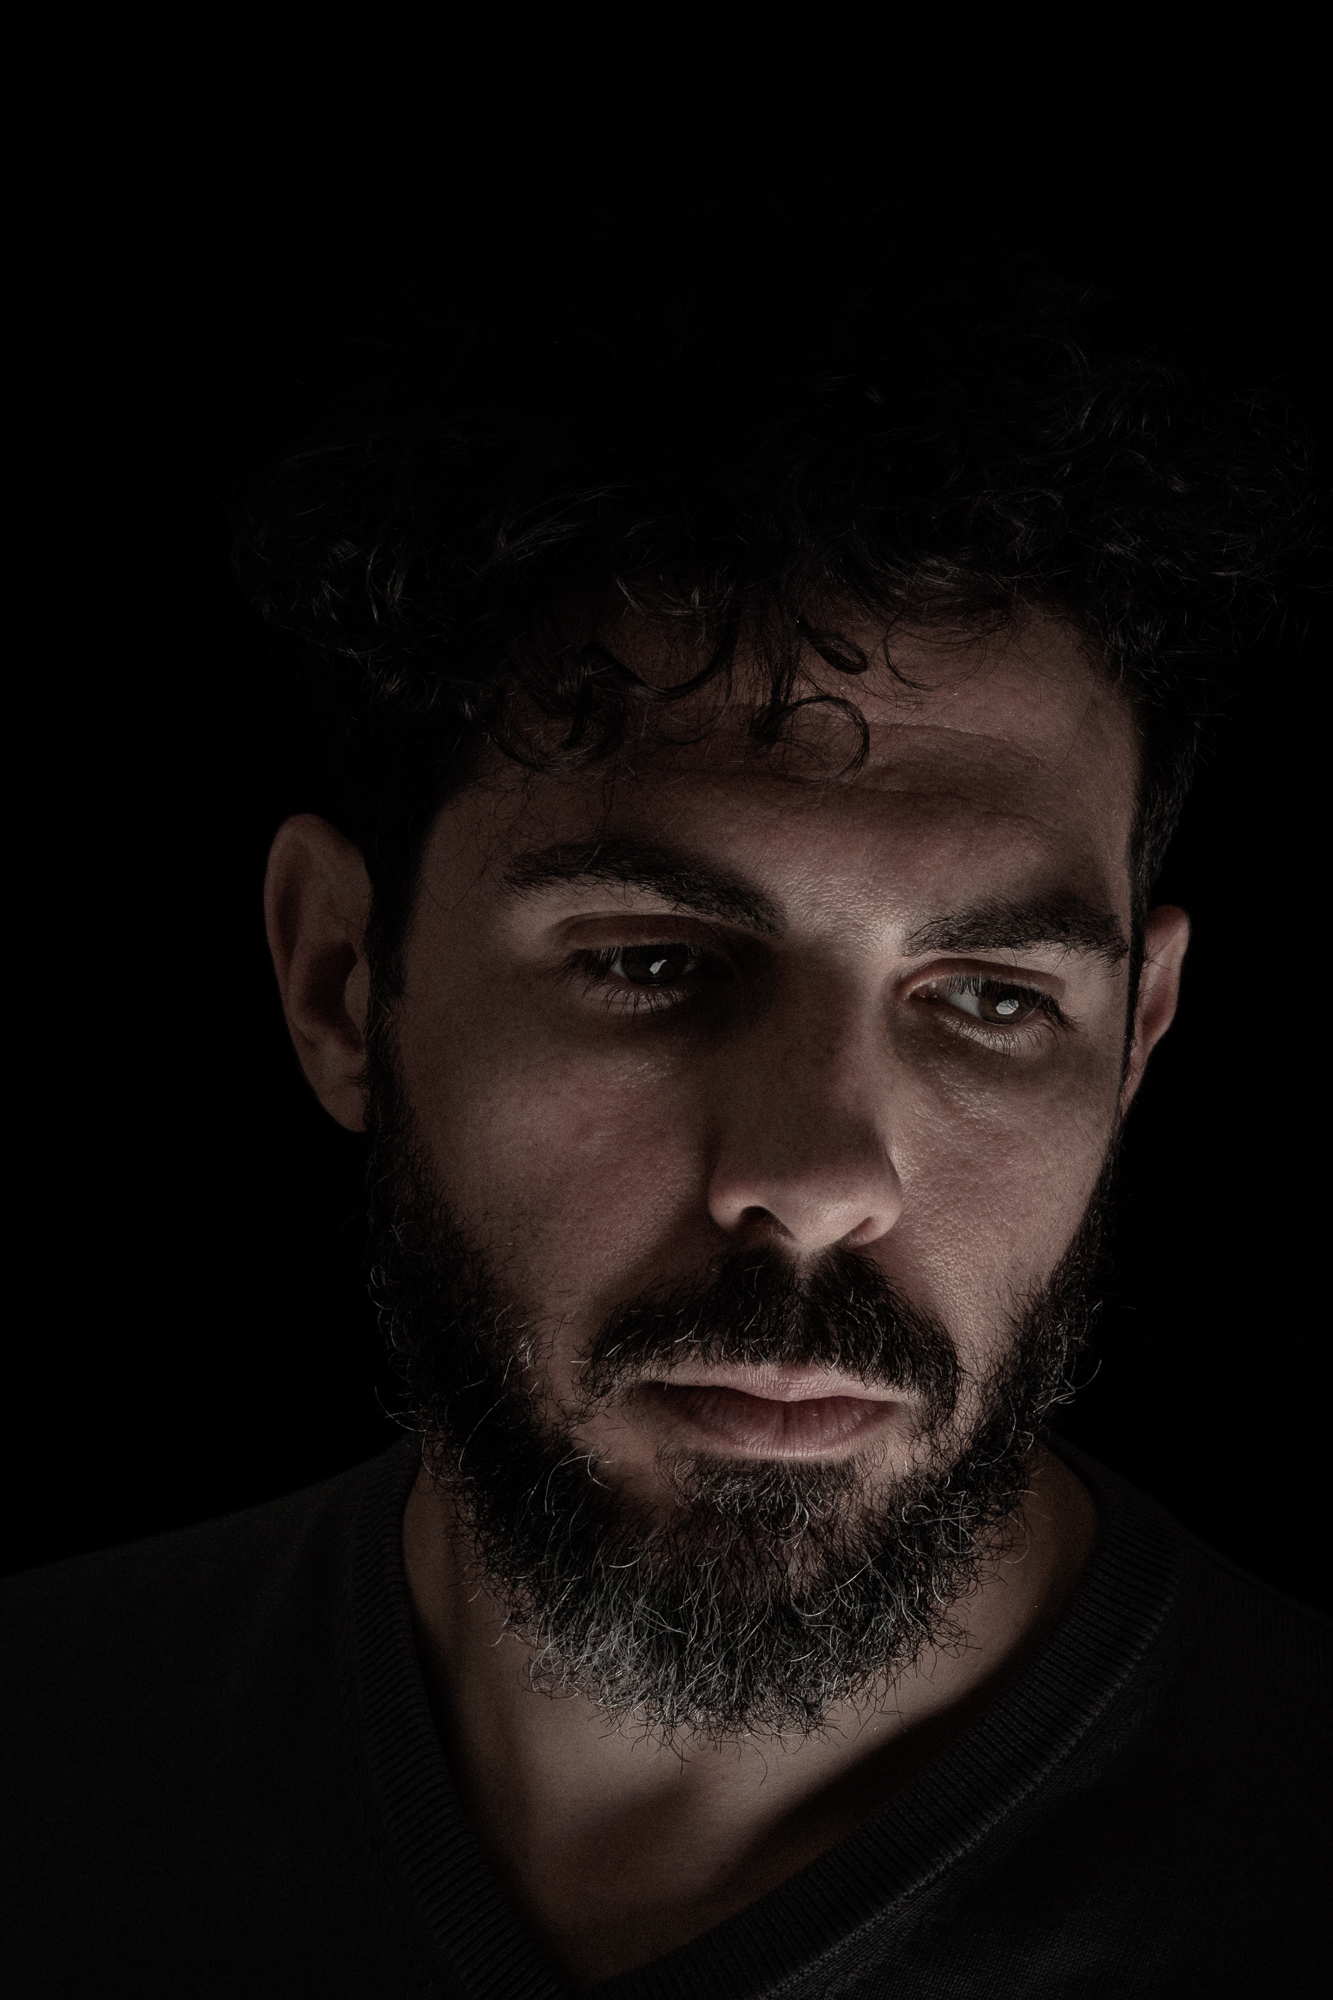
To avoid dark eyes, in all the poses I tried tilting slightly the head towards the light. The pose in the last shot shares a lot with the one in the first shot (the first image in this article). And yet the two photos produce a completely different mood. That’s the beauty of studio lighting, you just need to move the lights to change how people (and things) look.
I would suggest to any of you who has at least one flash and one diffuser (softbox, umbrella, beauty dish, etc.) to try this exercise, using the Fujifilm Camera Remote app to study the poses and control the camera, while changing the light scheme in order to appreciate the differences. I think it is one of the best ways to improve in studio portrait photography. And by the end of the day, you’ll have a few great new “selfies” too!