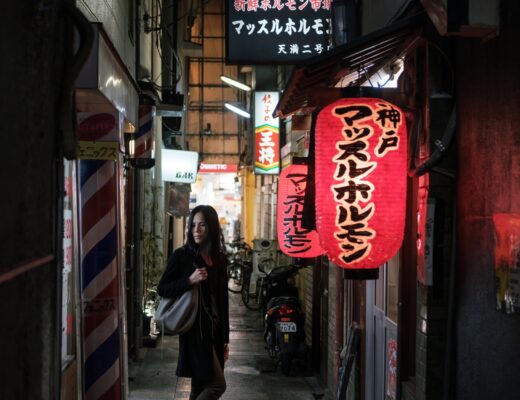
It was a little longer than a year ago when I shared with FujiLove my “Skin Mapping” technique. At the time I had just designed it for a client (a major international company) who wanted some special and unique kind of portraits of its guests during an opening event. It was all about using a digital projector to apply all sorts of different textures and patterns on the guests’ skin (and clothes), to transform them into weird entities. People had a lot of fun, the photos came out great, so much that in the last year I’ve been called to replicate the whole show for a few other international companies, all around the country.
Eventually I ended up getting my own projector instead of renting it every time, and, as with any other piece of equipment, having it in the studio had brought me to consider and experiment with different approaches to improve the original “Skin Mapping” technique. And since I shared here with you the details of the very first technique, I thought I’d owe you an update.
First of all, let me start by saying that the original “Skin Mapping” technique is all but outdated when talking about real-time portraits at events. There, I need to deliver the portraits within minutes, with my assistants screening, selecting and sending by email the photos while the event is still ongoing, so that the guests can see and share the results (which is a big part of the whole fun). There’s no time for (advanced) post production, let alone any Photoshop editing. Sure, I had refined a few things in the last year, but it’s more about the workflow than the technical details, so what’s in the previous article is pretty much all there’s to know.
However, the original “Skin Mapping” technique has some aesthetic shortcomings that prevented me in using it for more creative and high level jobs, such as fashion editorials. The lights, just to mention one, are plain boring because the projection needs to be straight frontal in order to cover the whole body with the textures. And there’s the issue with the clothes: not all the textiles nor all the colors behave the same when projected with images: some reflect back perfectly, others increase dramatically the contrasts, while a few simply tend to “disappear”. A big issue if you’re trying to sell the technique for a campaign to a fashion stylist.
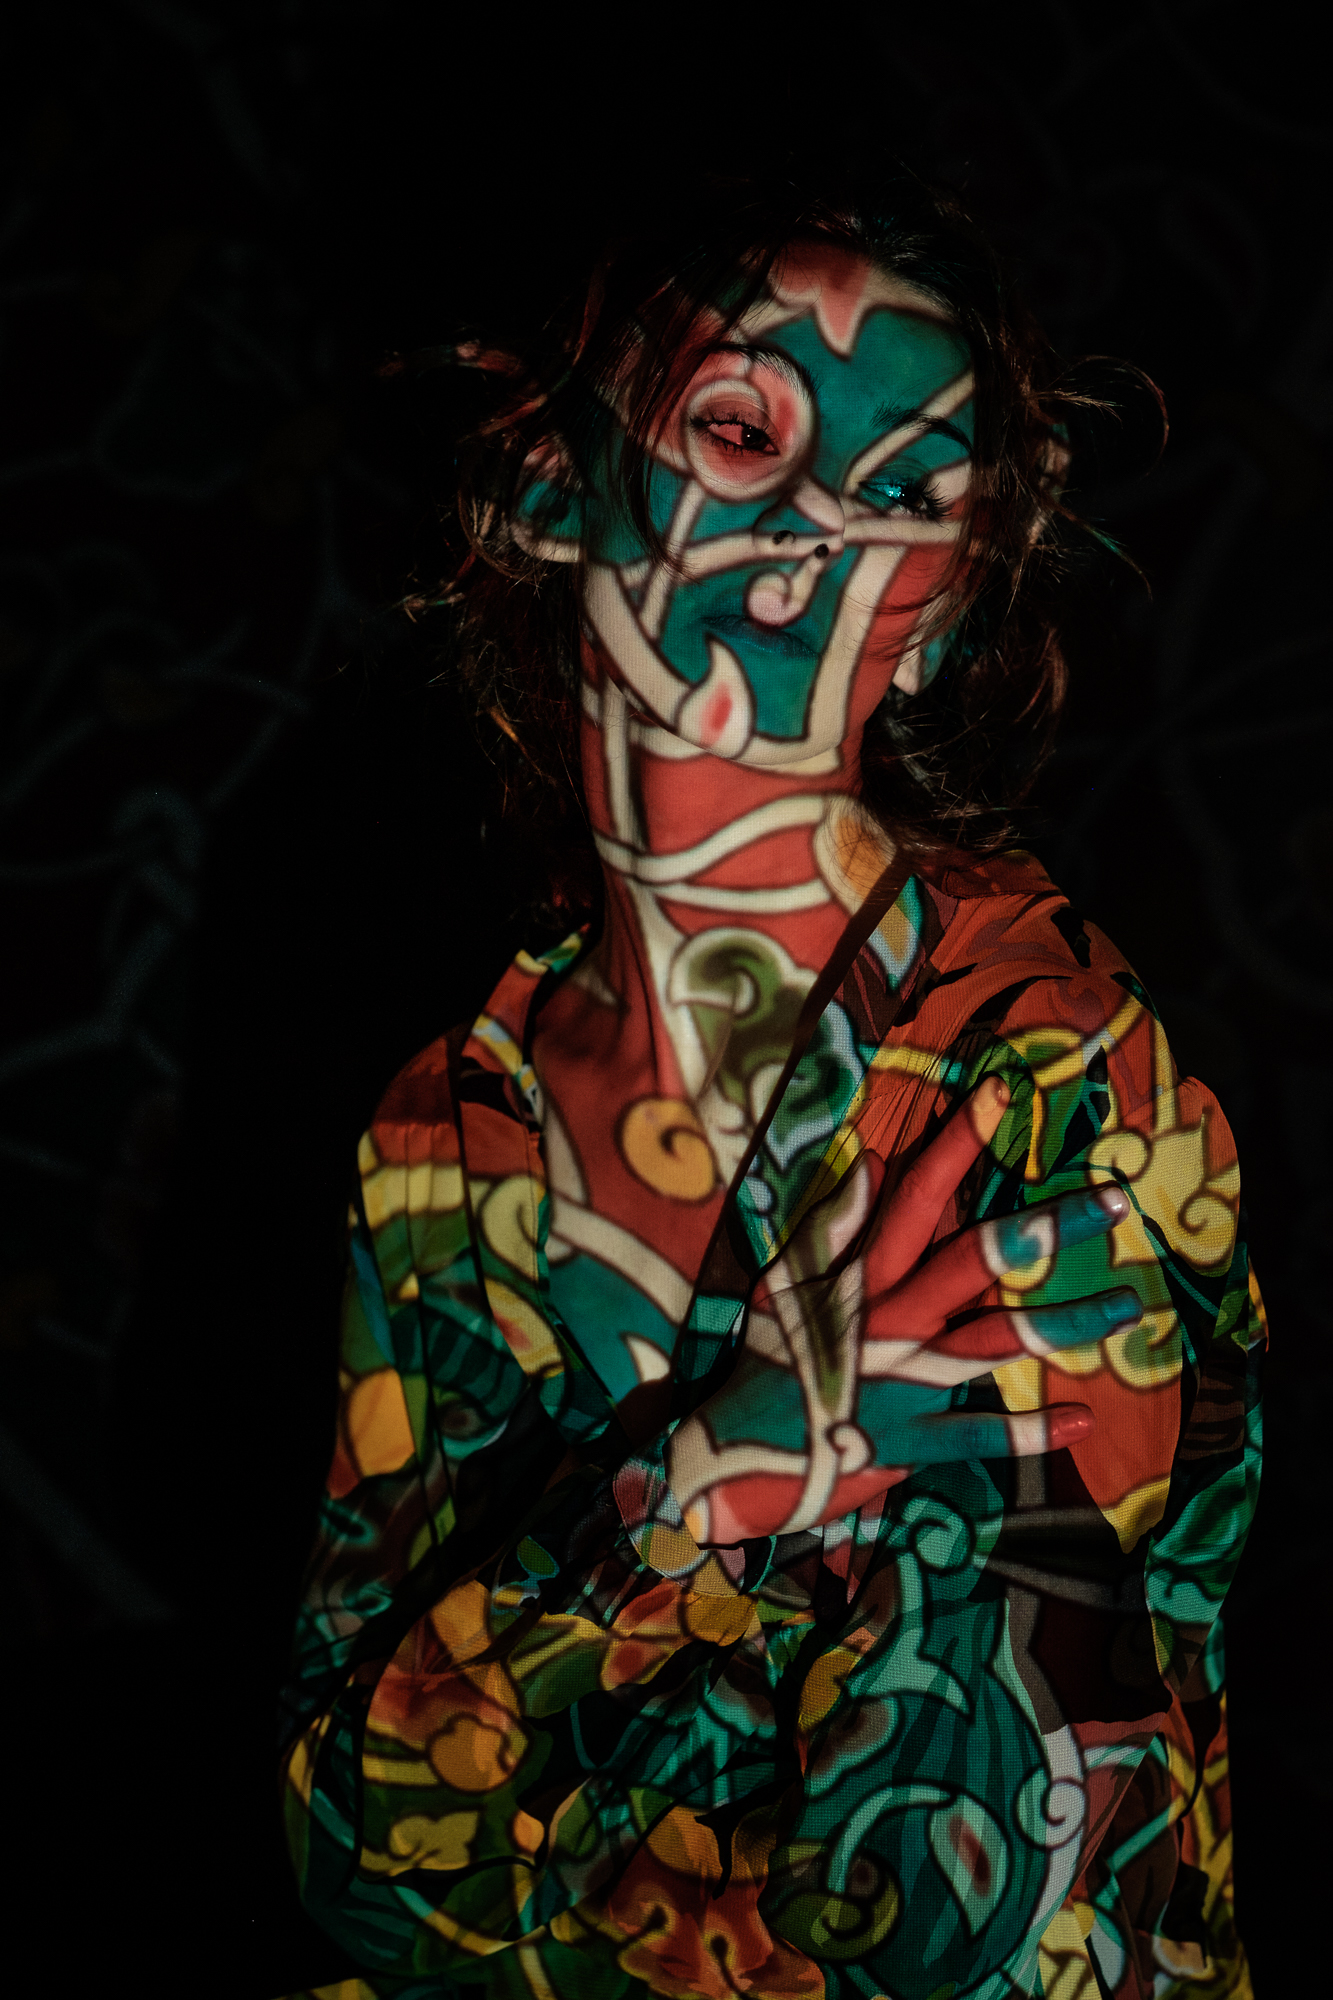
While trying to cope with these shortcomings I ended up playing with my compositing expertise and I designed a different approach, in which I basically shoot twice, once with the normal “Skin Mapping” technique, and once with the normal “studio lights” approach. Then, in Photoshop, I “layer-up” the two images in one final image, perfectly lit, organically textured, and with gorgeous clothes showing their real colors and features.
Let’s see what’s what. First of all, you need to understand the basics, which are, simply put, that you need to shoot, as fast as you can, two different photos: one with only the projector lighting the model, and one with only the flashes lighting the model. The model has to stay as still as possible in the whole process, which means that the camera and lights settings will have to be the same in both conditions (there’s no time to change them, otherwise the model will inevitably move that little bit that will make the successive compositing impossible or very hard at least) and that the only action you’ll take between them will be to cover the projector and let the flashes fire (which may seem little, but it actually requires more than a bit of practice).

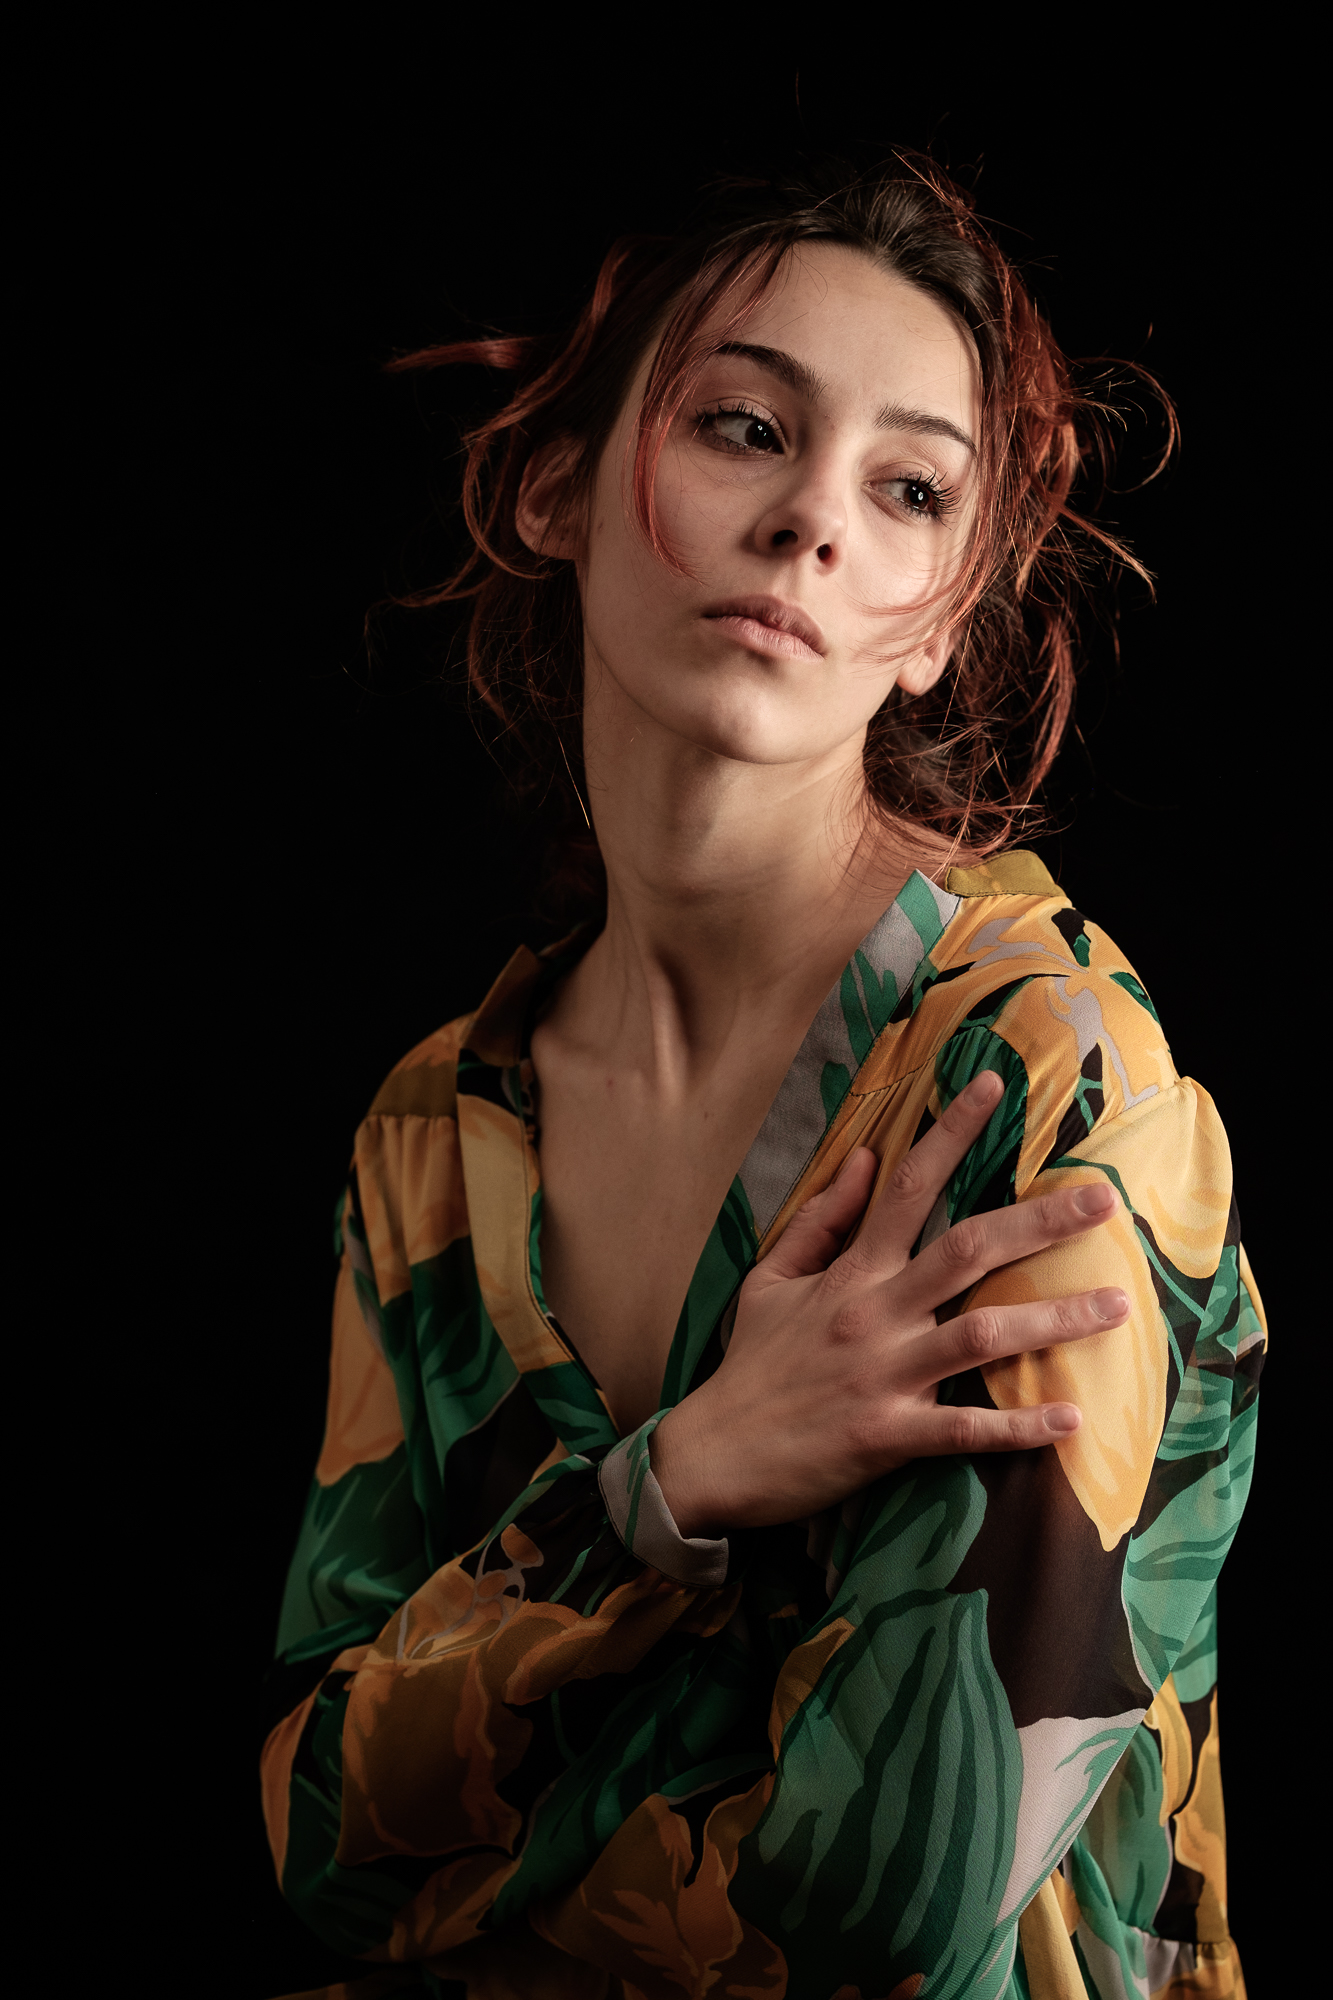
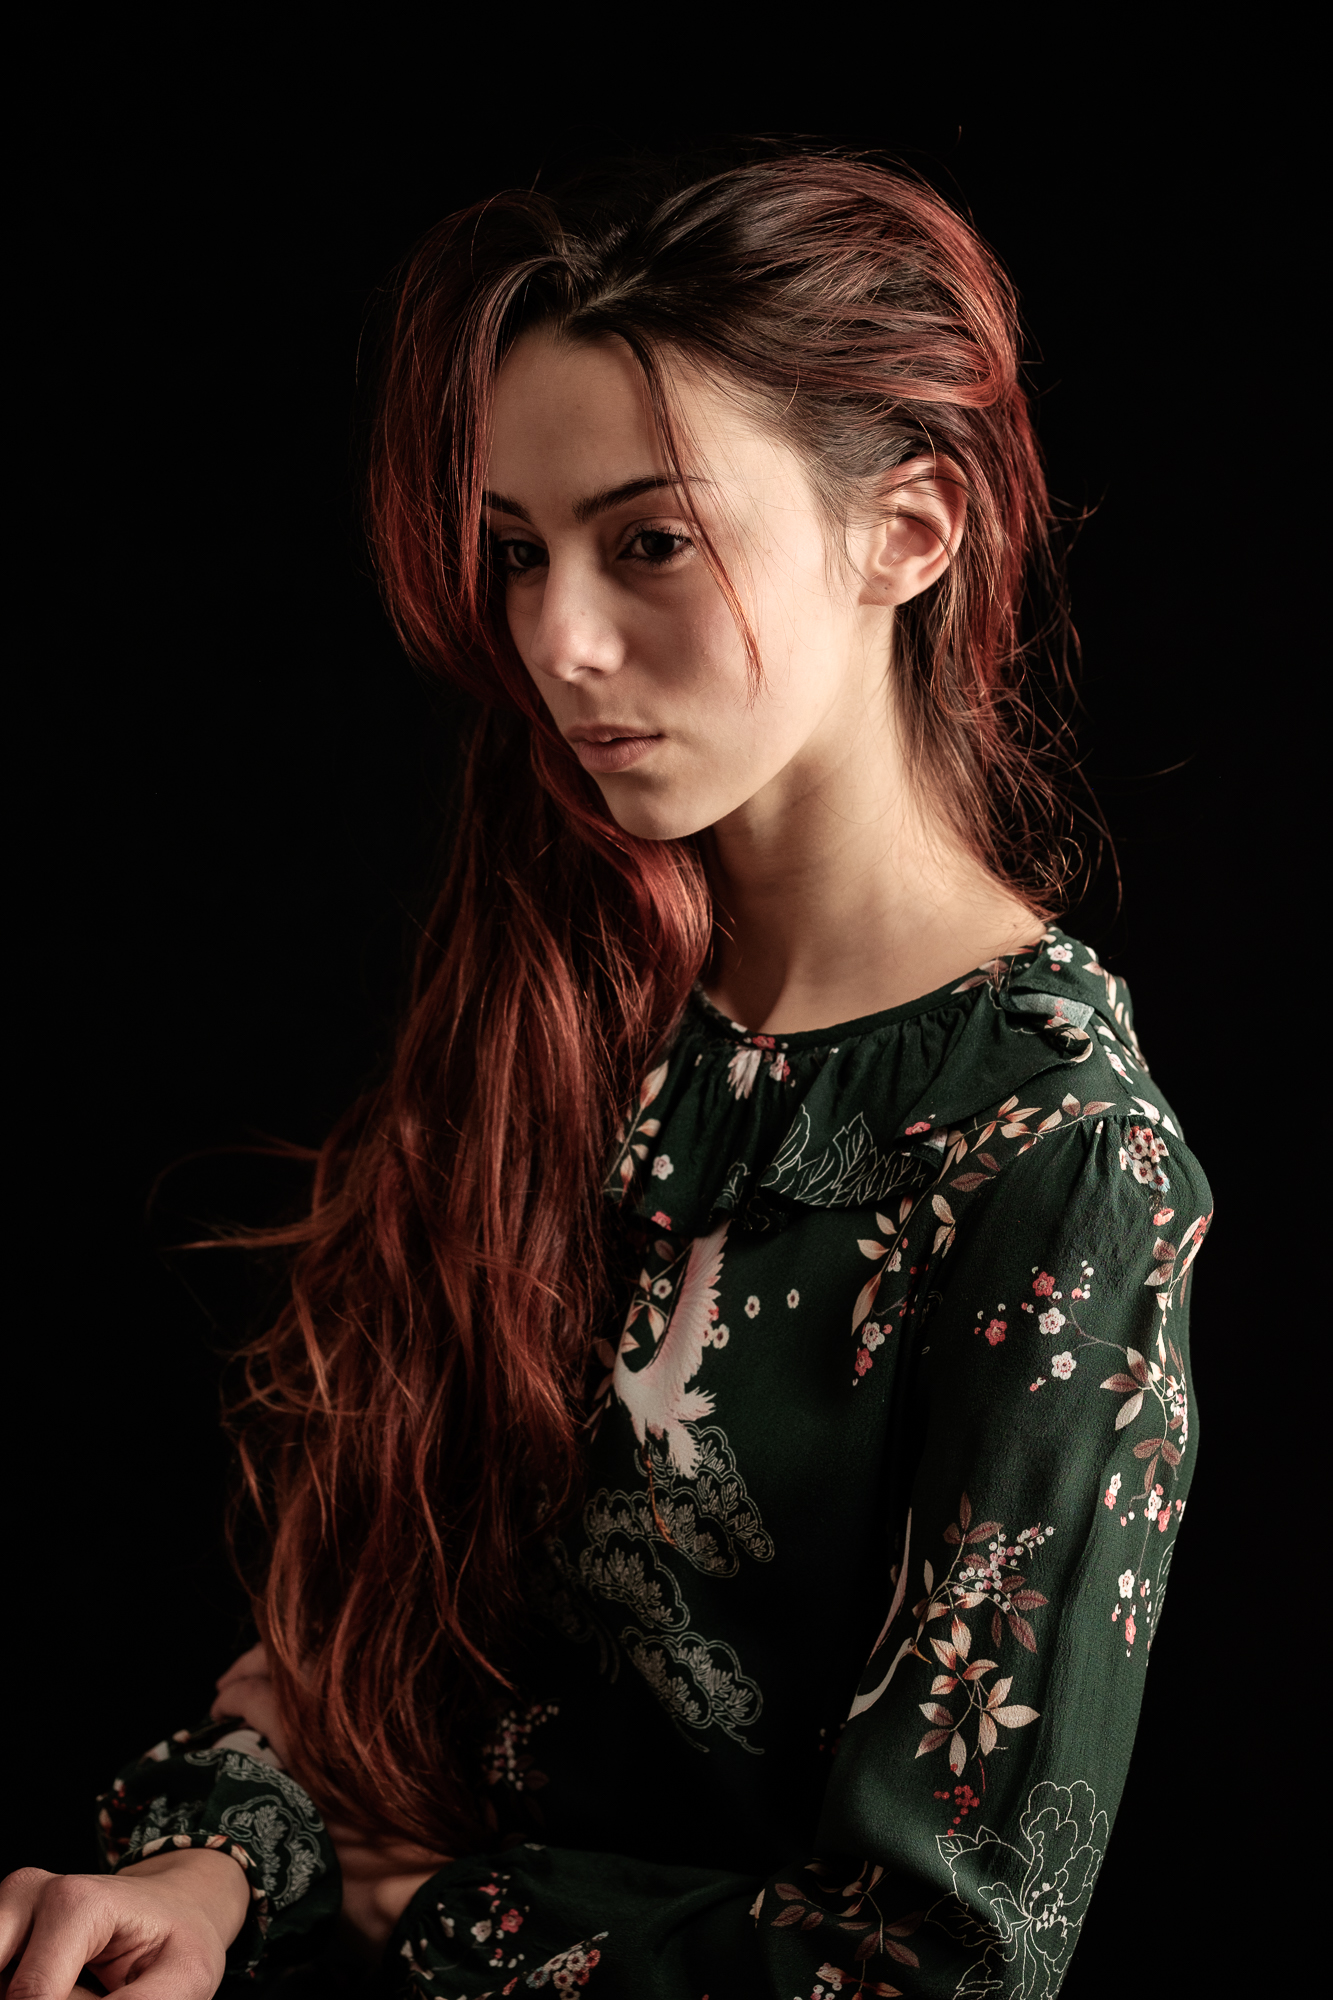
Now, you can increase the projector power only that much before putting the model in a very uncomfortable (if not harming) situation with the light hitting his/her face. To give you an idea of the output power I use, I set my X-T1 with the 90mm f2 at f2.8, ISO500 and 1/125th of a second. Since these settings cannot change when firing flashes, I had to work with the latter in order to have the “studio lights” shot correctly exposed. This simply meant setting my Godox AD360s to their minimum power (I used two of them, one over the other, to create a long and narrow softbox effect, with the upper light coming slightly more from the back than the lower).
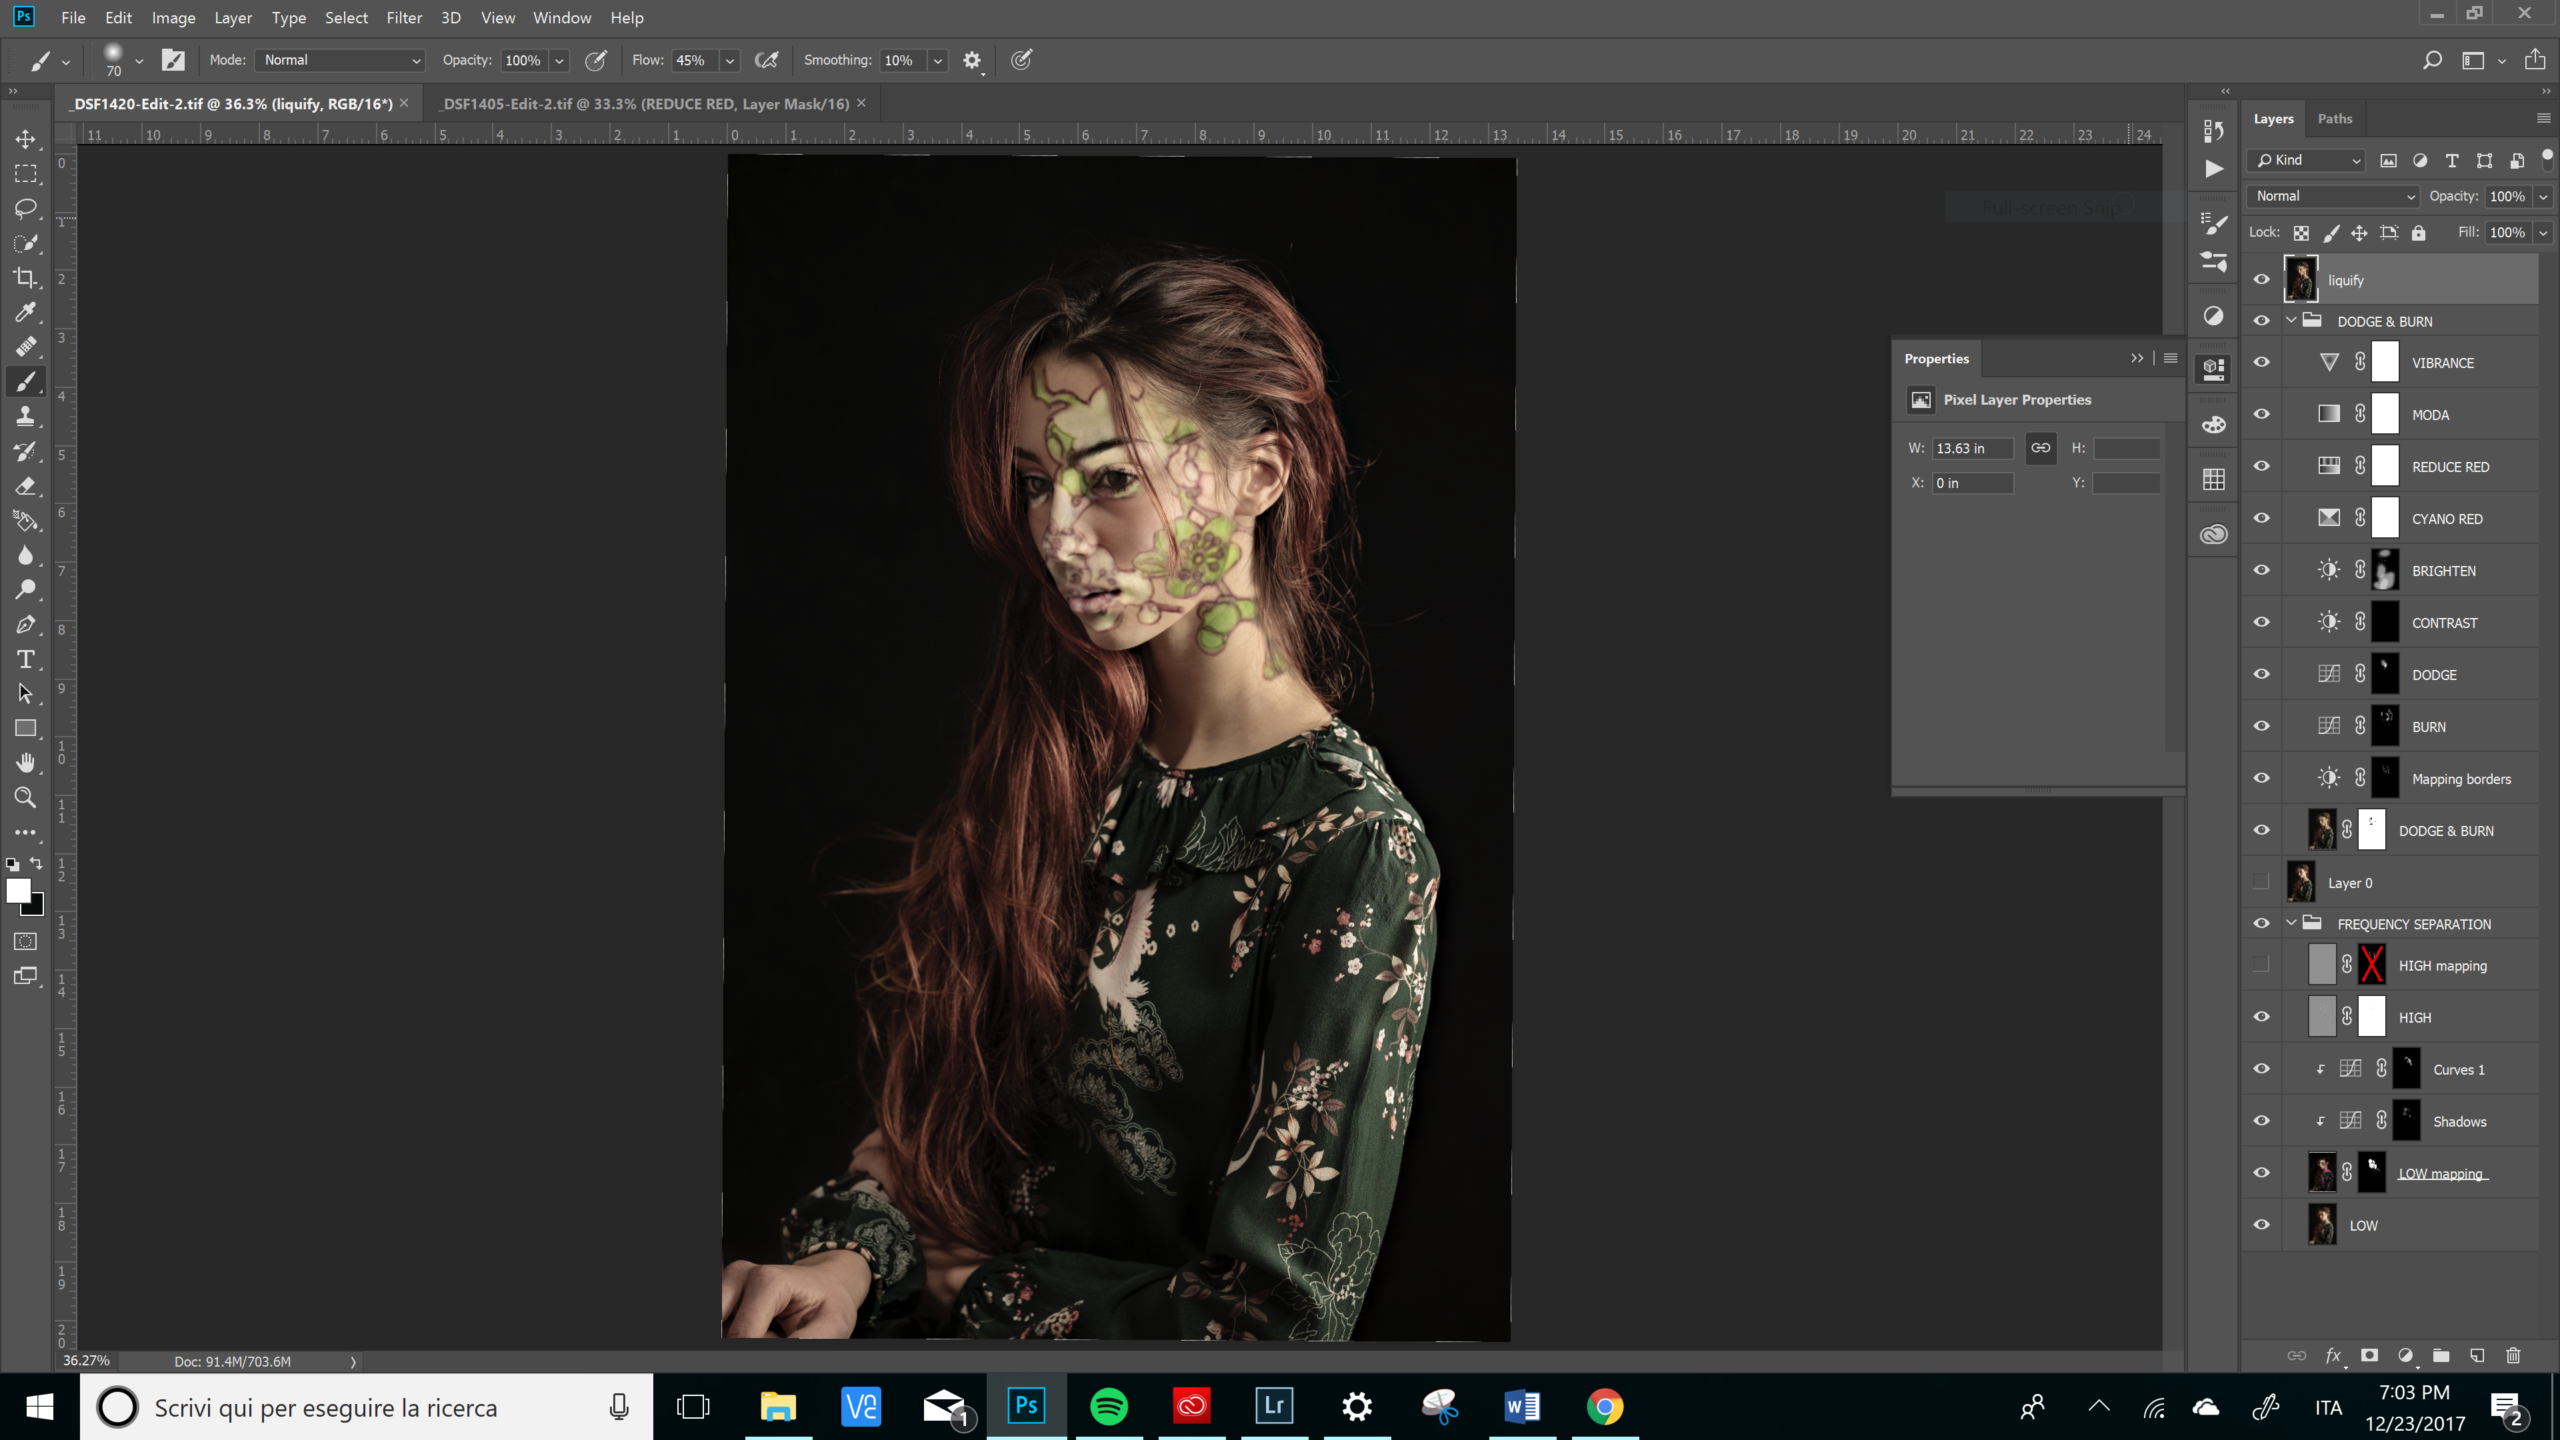
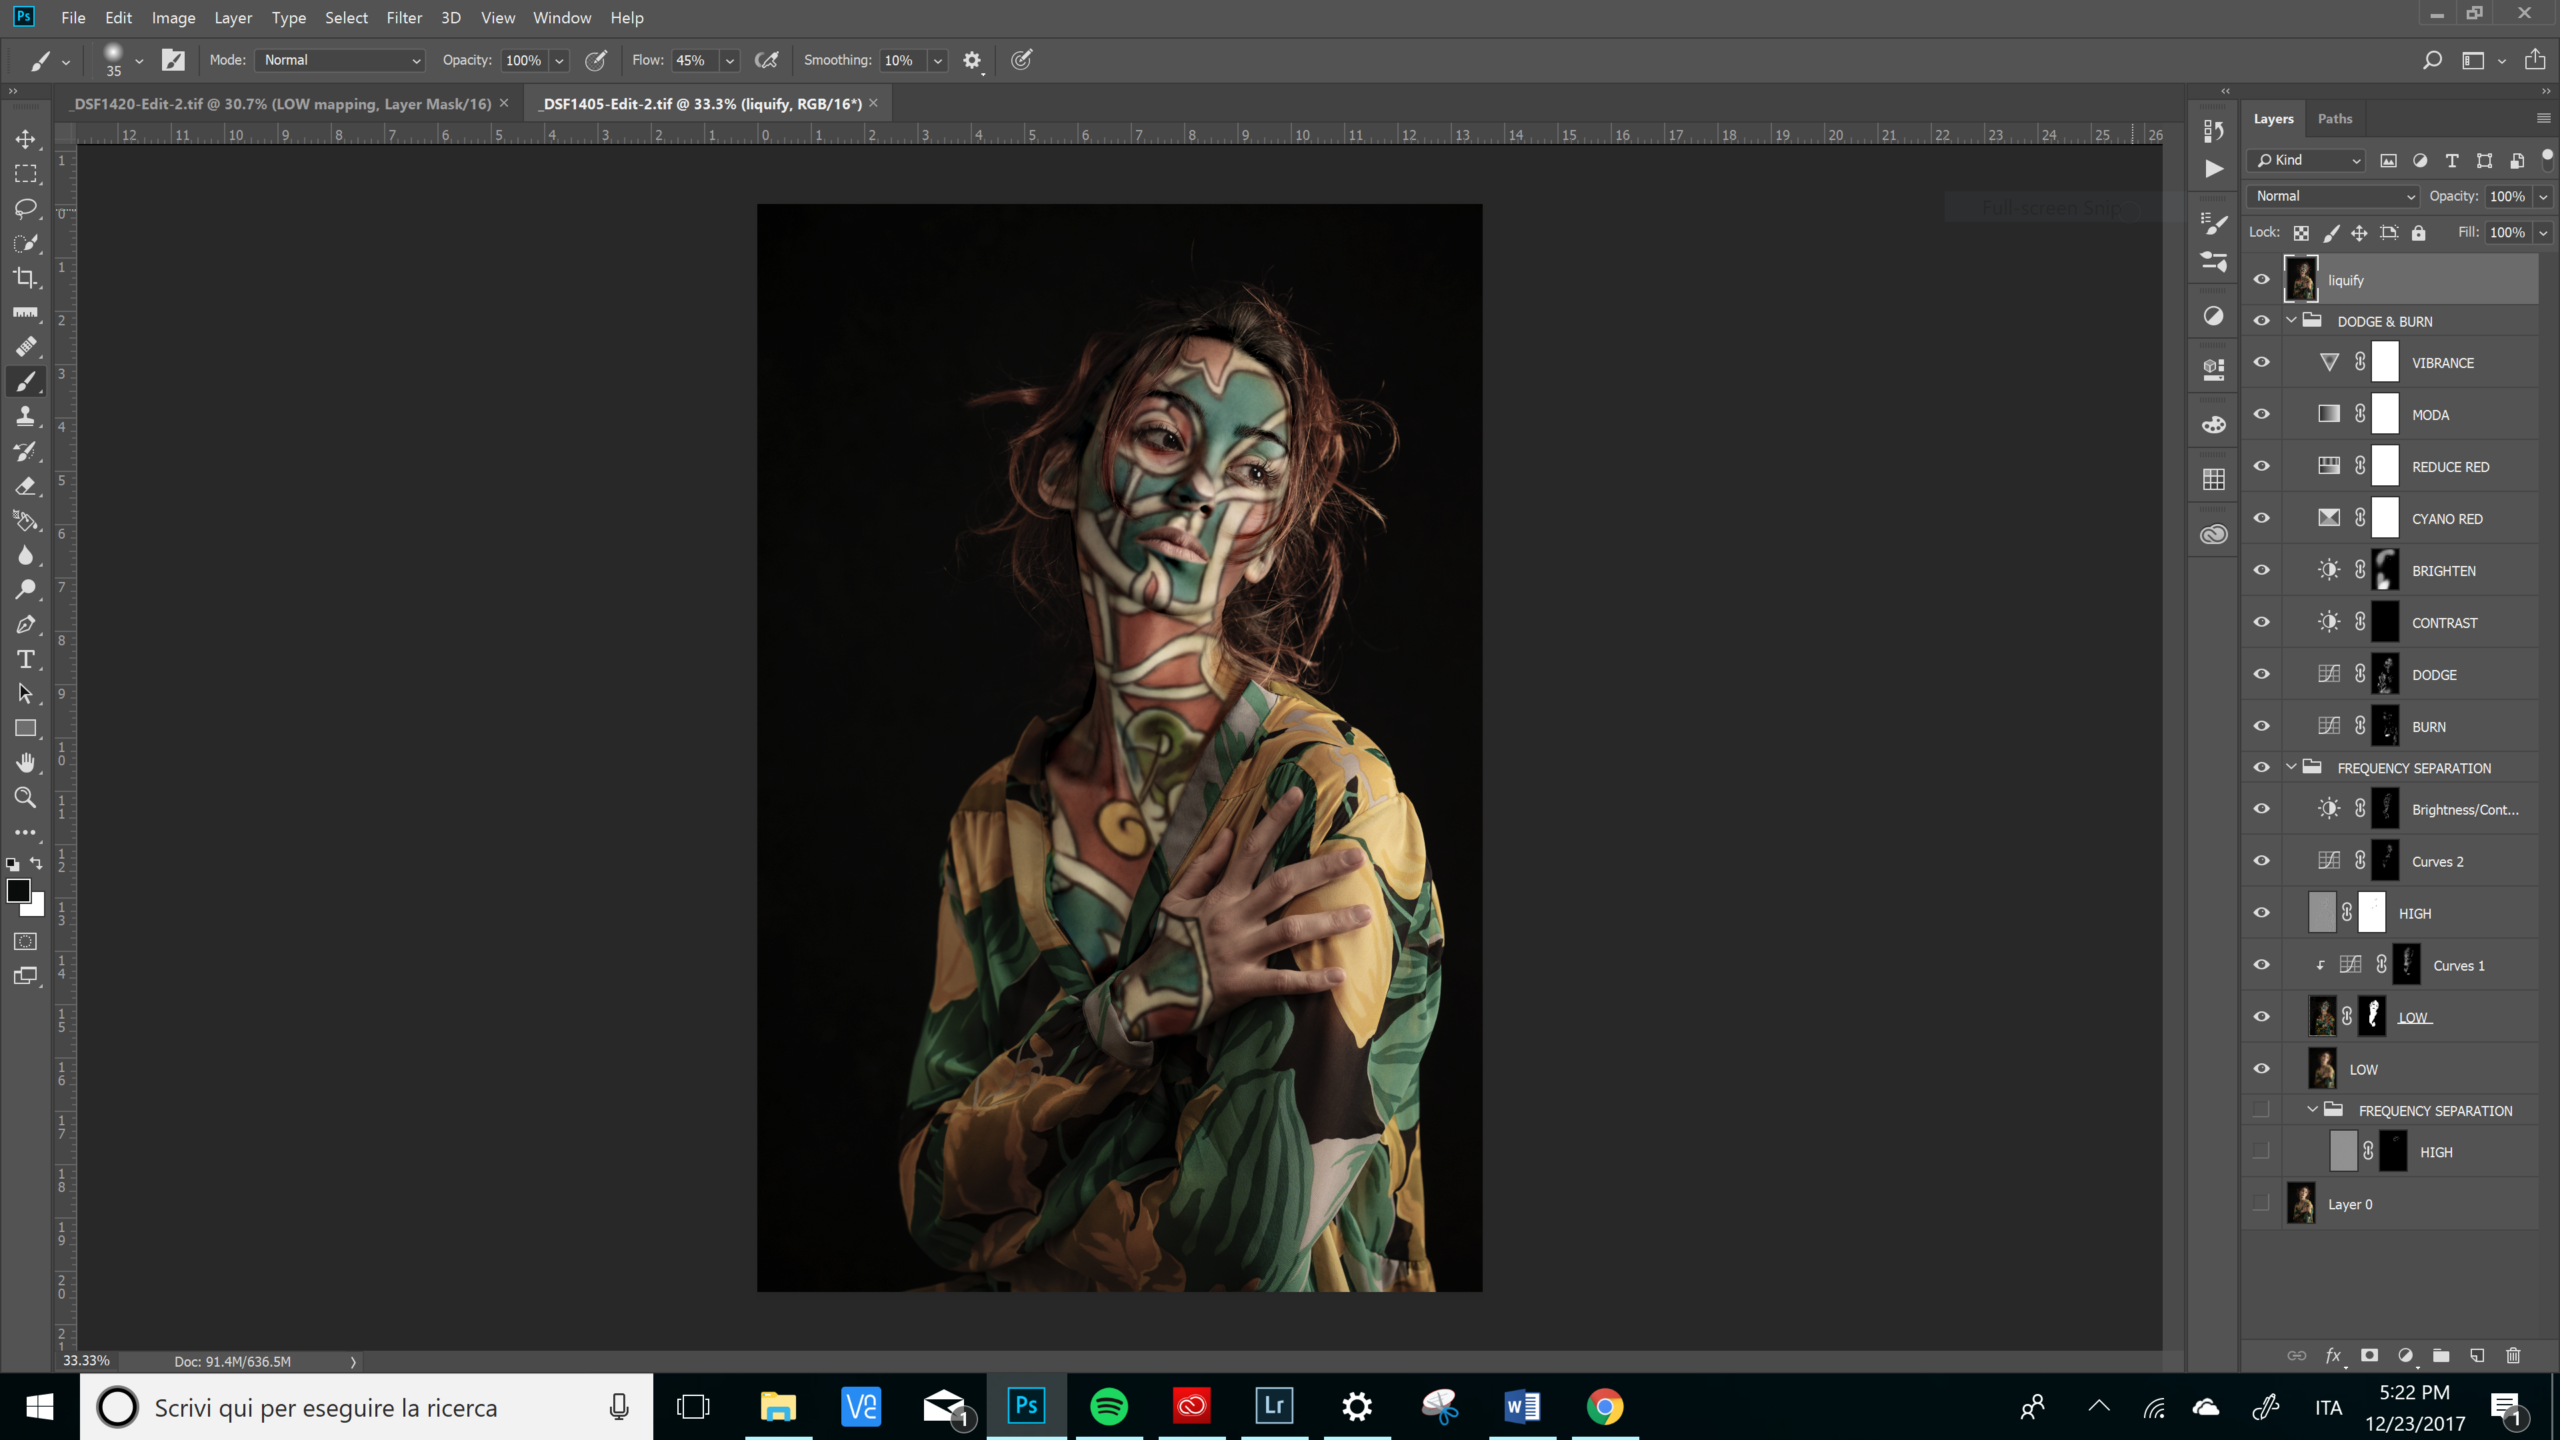
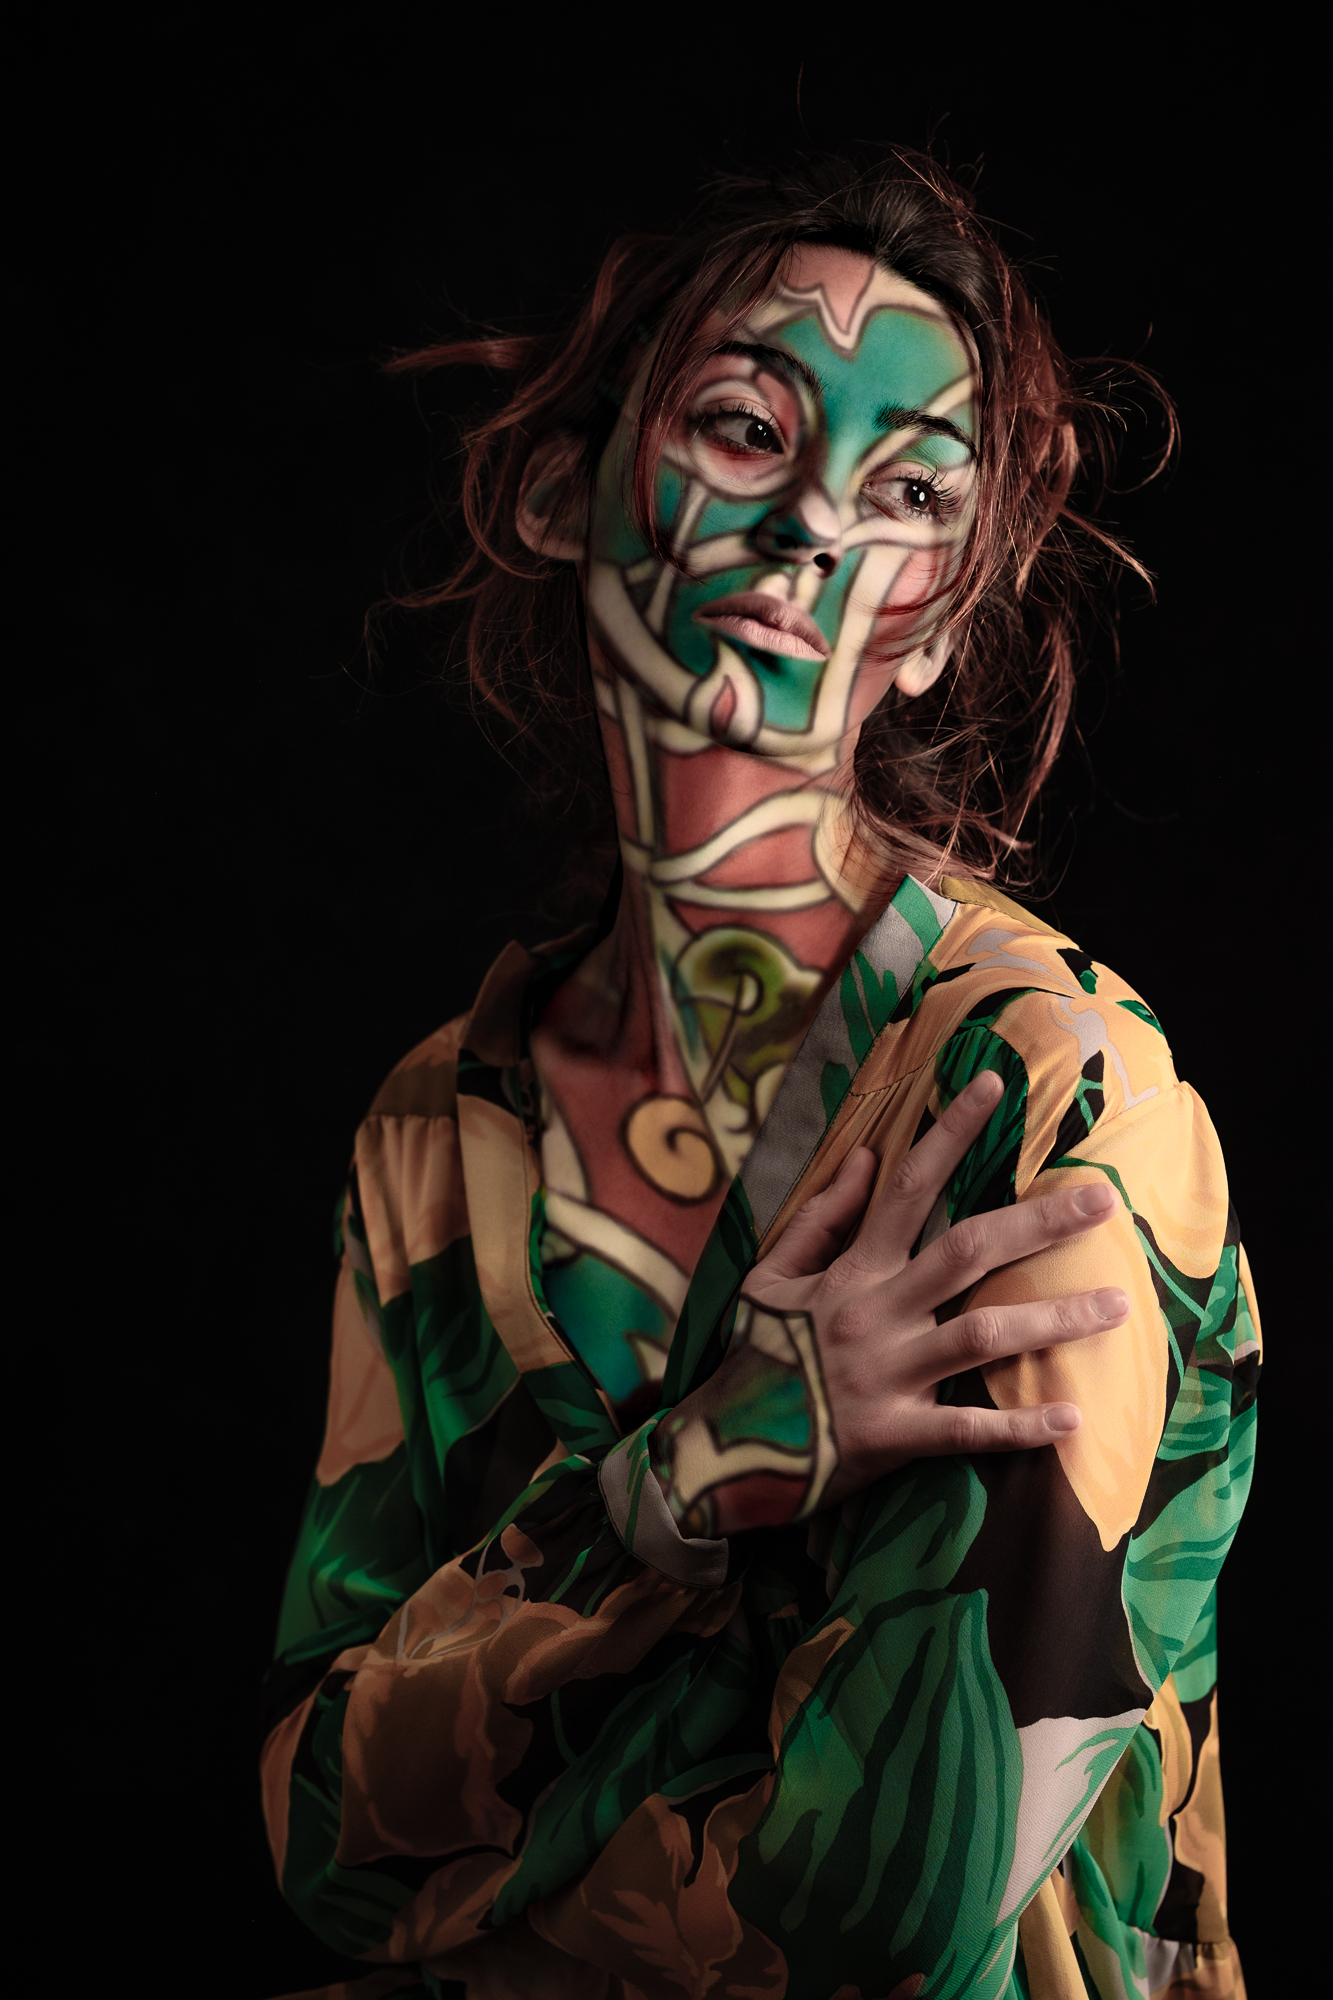
I had the model trying several different outfits, over which I tried several different textures, and here I’m sharing two examples of combinations. I tethered the X-T1 to my PC, a Wacom Mobile Studio Pro 16. This was very useful, since it is really difficult to “see” the results until you go on Photoshop and apply the projected textures on the model’s skin leaving the rest properly lit: having the photos automatically (and in the background, meaning while I was shooting) imported and developed in Lightroom, just one click away from Photoshop, was extremely convenient and time saving.
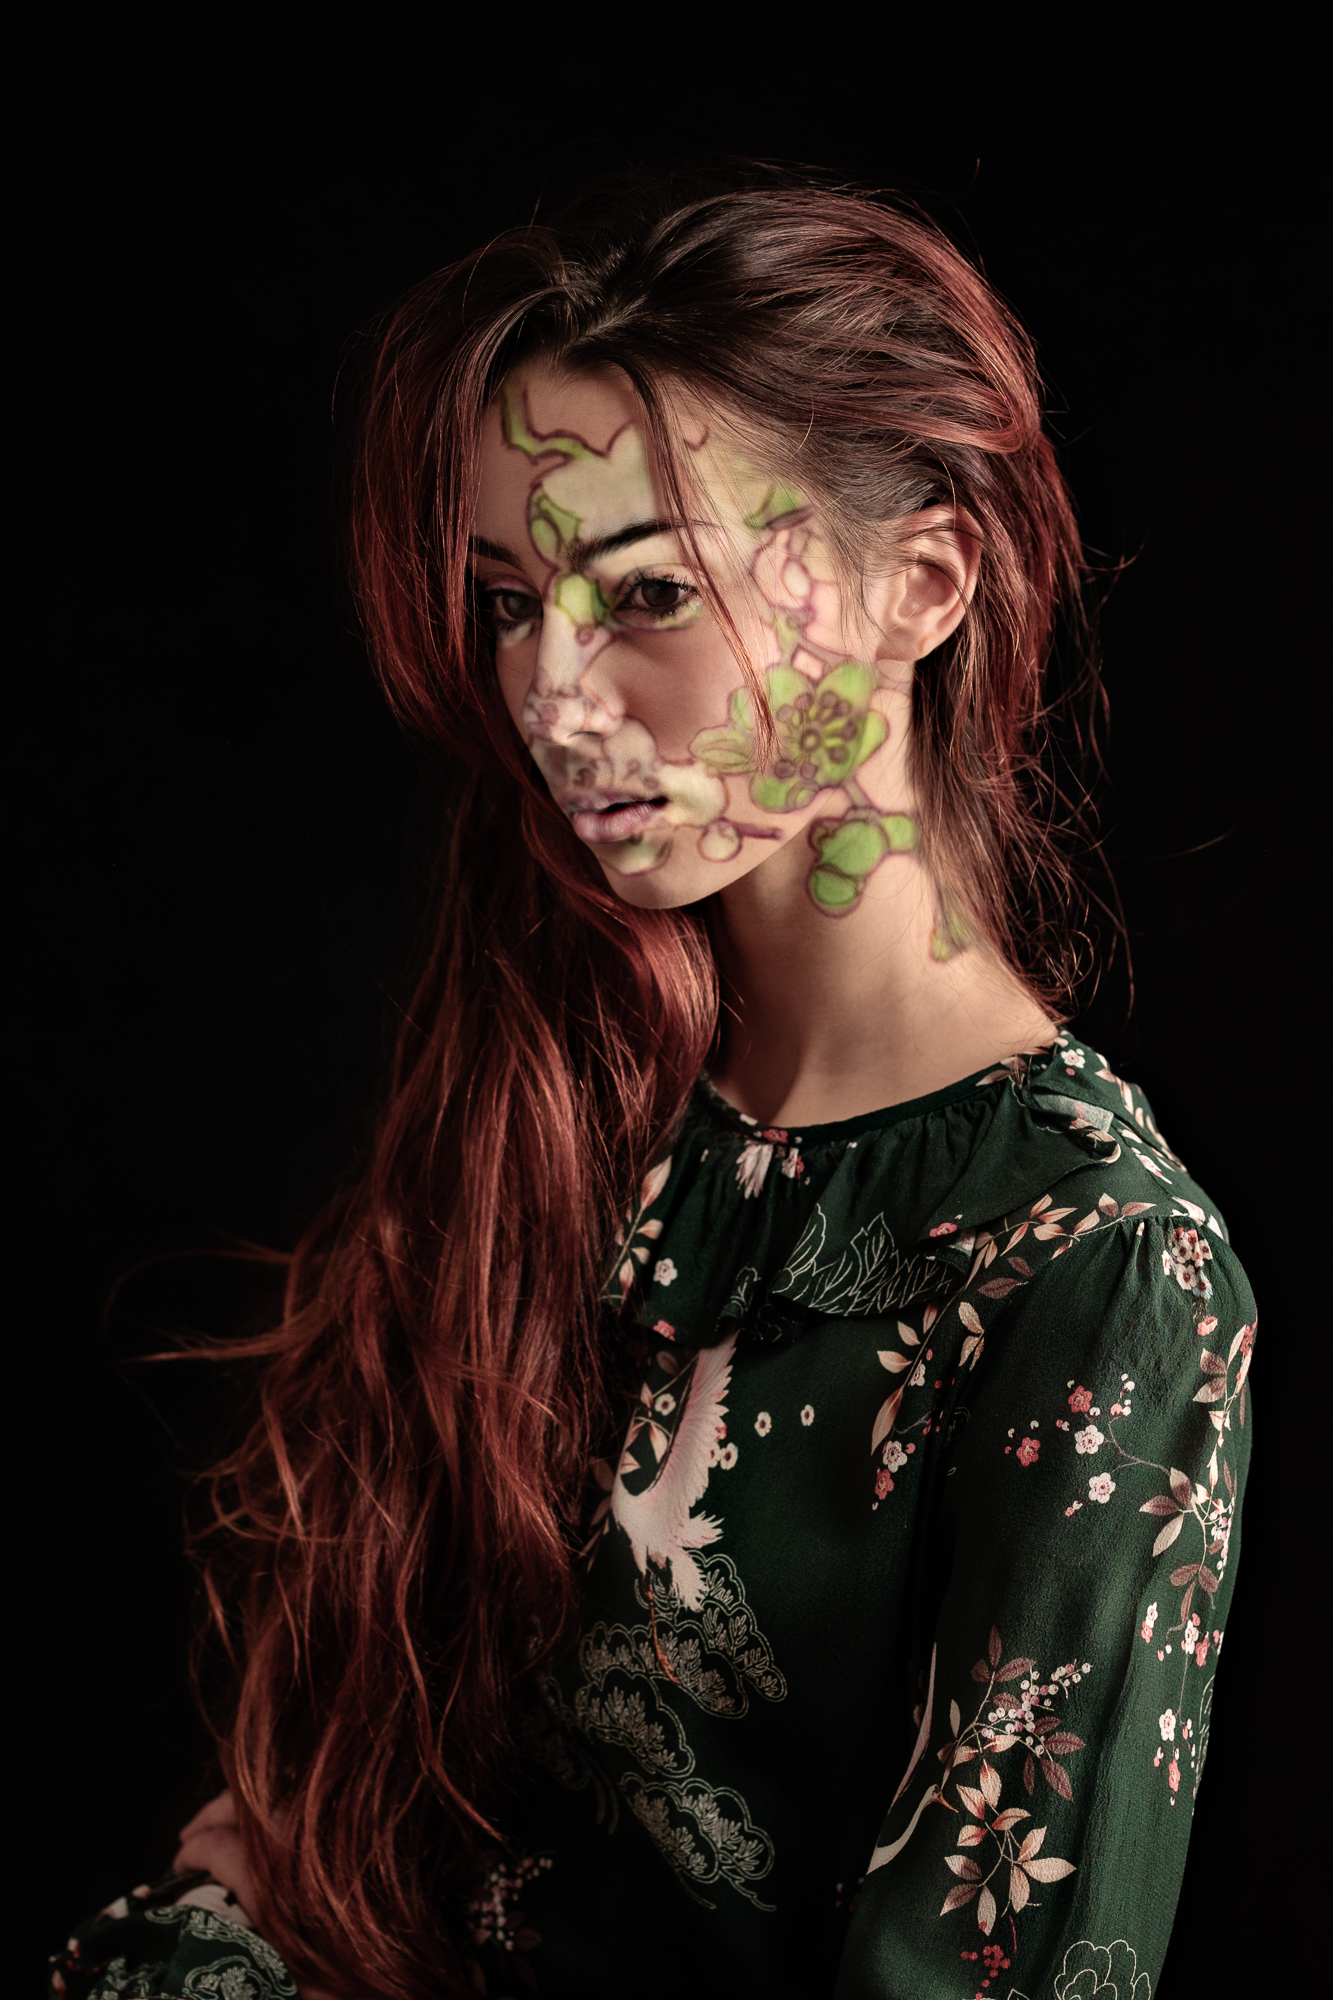
Once you have the two photos, the final step is simply to apply the photo with the “Skin Mapping” as a layer over the model’s skin in the “studio lights” photo. If the two photos are matching enough the process is just a breeze and the results are immediately quite something. If you want them to look even more natural, however, you’ll have to work with the frequency separation to separate the colors from the textures, and with the levels to apply the matching shadows and highlights. A bit more of work, but at the end it will be impossible for a viewer to see the difference between a “Skin Mapping 2.0” portrait and a normal studio portrait of a body-painted (or heavily tattooed) model. Then, how much you want to edit the portrait for an “editorial look” is a matter of taste (and skills).
That’s it for now, I hope you liked the new ideas and you’ll give them a try. I’m very happy with the results and I fell I now have a technique I can sell to clients and to magazines in the fashion industry. As it is, however, the “Skin Mapping 2.0” is not suitable for events’ portraits, because it is basically impossible to tell the guests to “stay very very still” while taking the two shots, and if the two don’t match then it is a mess. I’m still experimenting with other techniques and approaches to solve the issue, but if you have any suggestion I’d be happy to hear ?
CREDITS
Model: Elena Faccio
Clothes: La Jolie Fille Robe, Lanilla