Those of you old enough to remember the “film days” and the “everyone smokes everywhere all the time” days, will also remember this marvelous spectacle: you were in a room with a slide projector, most probably enduring the (many) holidays photos of your serious-amateur-photographer uncle, who was also a serious cigarette smoker, when you soon switched your attention from the pointless sequence of landscapes to the light effects produced by the projector light, streaming through the puffs of your uncle smoke. Those rays where so alive, changing in colors and shapes at every new slide, with the smoke snaking around them in an endless motion, that you still remember them as a great show.
I seriously don’t know why it took me so much to experiment with my projector and my smoke machine together to create those rays again…
The idea eventually came to me while I was working on the concept art for the cover of the new album of a jazz band. I’m still finishing it, the album isn’t obviously out yet, so I can’t say a lot about any of it, but I plan to write an article on the whole thing as soon as I can. In the mean time I can tell you that I was looking for some different light effect to create around an astronaut’s helmet, when I suddenly realized I could have this light rays sprouting out of the projector, if I just added a bit of smoke to the scene.
So I called one of my favorite models, Elena Faccio, and I asked her to model for it. At first I wanted to see and understand how the light rays where produced and how they were captured by the camera once a subject’s head was placed in between. So I set my projector (an Epson EH-TW5210 I got on Amazon on a Black Friday for less than 450 euros, by the way) to its maximum beam power, I placed Elena on a stool right in front of the projector, I added one flash on each side, both behind Elena, and I activated the smoke machine.
I had the camera set as for a normal studio shot, with a 400 ISO sensibility, an f/8 aperture, and 1/180th of a second for the shutter speed. The results where showing no signs of the light rays, obviously. I mean, now it sounds obvious to me, and yet I made the stupid mistake. What is it? When you have the privilege to work with a mirrorless camera, like Fujifilm, and you are using one or more continuous light sources, then you need to start from that (leaving out the flashes), because you can see the effects of over-under exposure directly on the screen or in the viewfinder without having the shoot a single photo.
When I switched to the viewfinder I realized I actually needed to raise the ISO up to 800, to open up the aperture up to f/2 (the max aperture of both my Fujinon 23mm and 35mm), and even slow down the shutter speed to a mere 1/60th of a second. Then I started seeing the rays in all their majesty. However, at this setting the AD360 Godox flashes were producing too much light even at the lowest possible power. Luckily, light reduces its intensity as the square of the distance, so by just moving them a little further I managed to furtherly and greatly reduce their power, until they matched the projector’s.

Now I was ready for the intended shot, so I placed the projector on the stool, in front of the background, and I had Elena kneeling just in front of it, so her head would cover it in the photos. Now, a normal projector, like mine, is actually a little larger than a human head, so you would expect it to show up in the pictures, but if you place it at the right distance (that is, not too close), and you use a wide angle (that is, anything wider than a 50mm equivalent), then you’ll get “projector-free” photos. However, if you try to get longer, maybe because you really really want that 135mm equivalent look for your portrait, then the projector will definitely show up. No way to hide it unless you physically hide it, trust me.

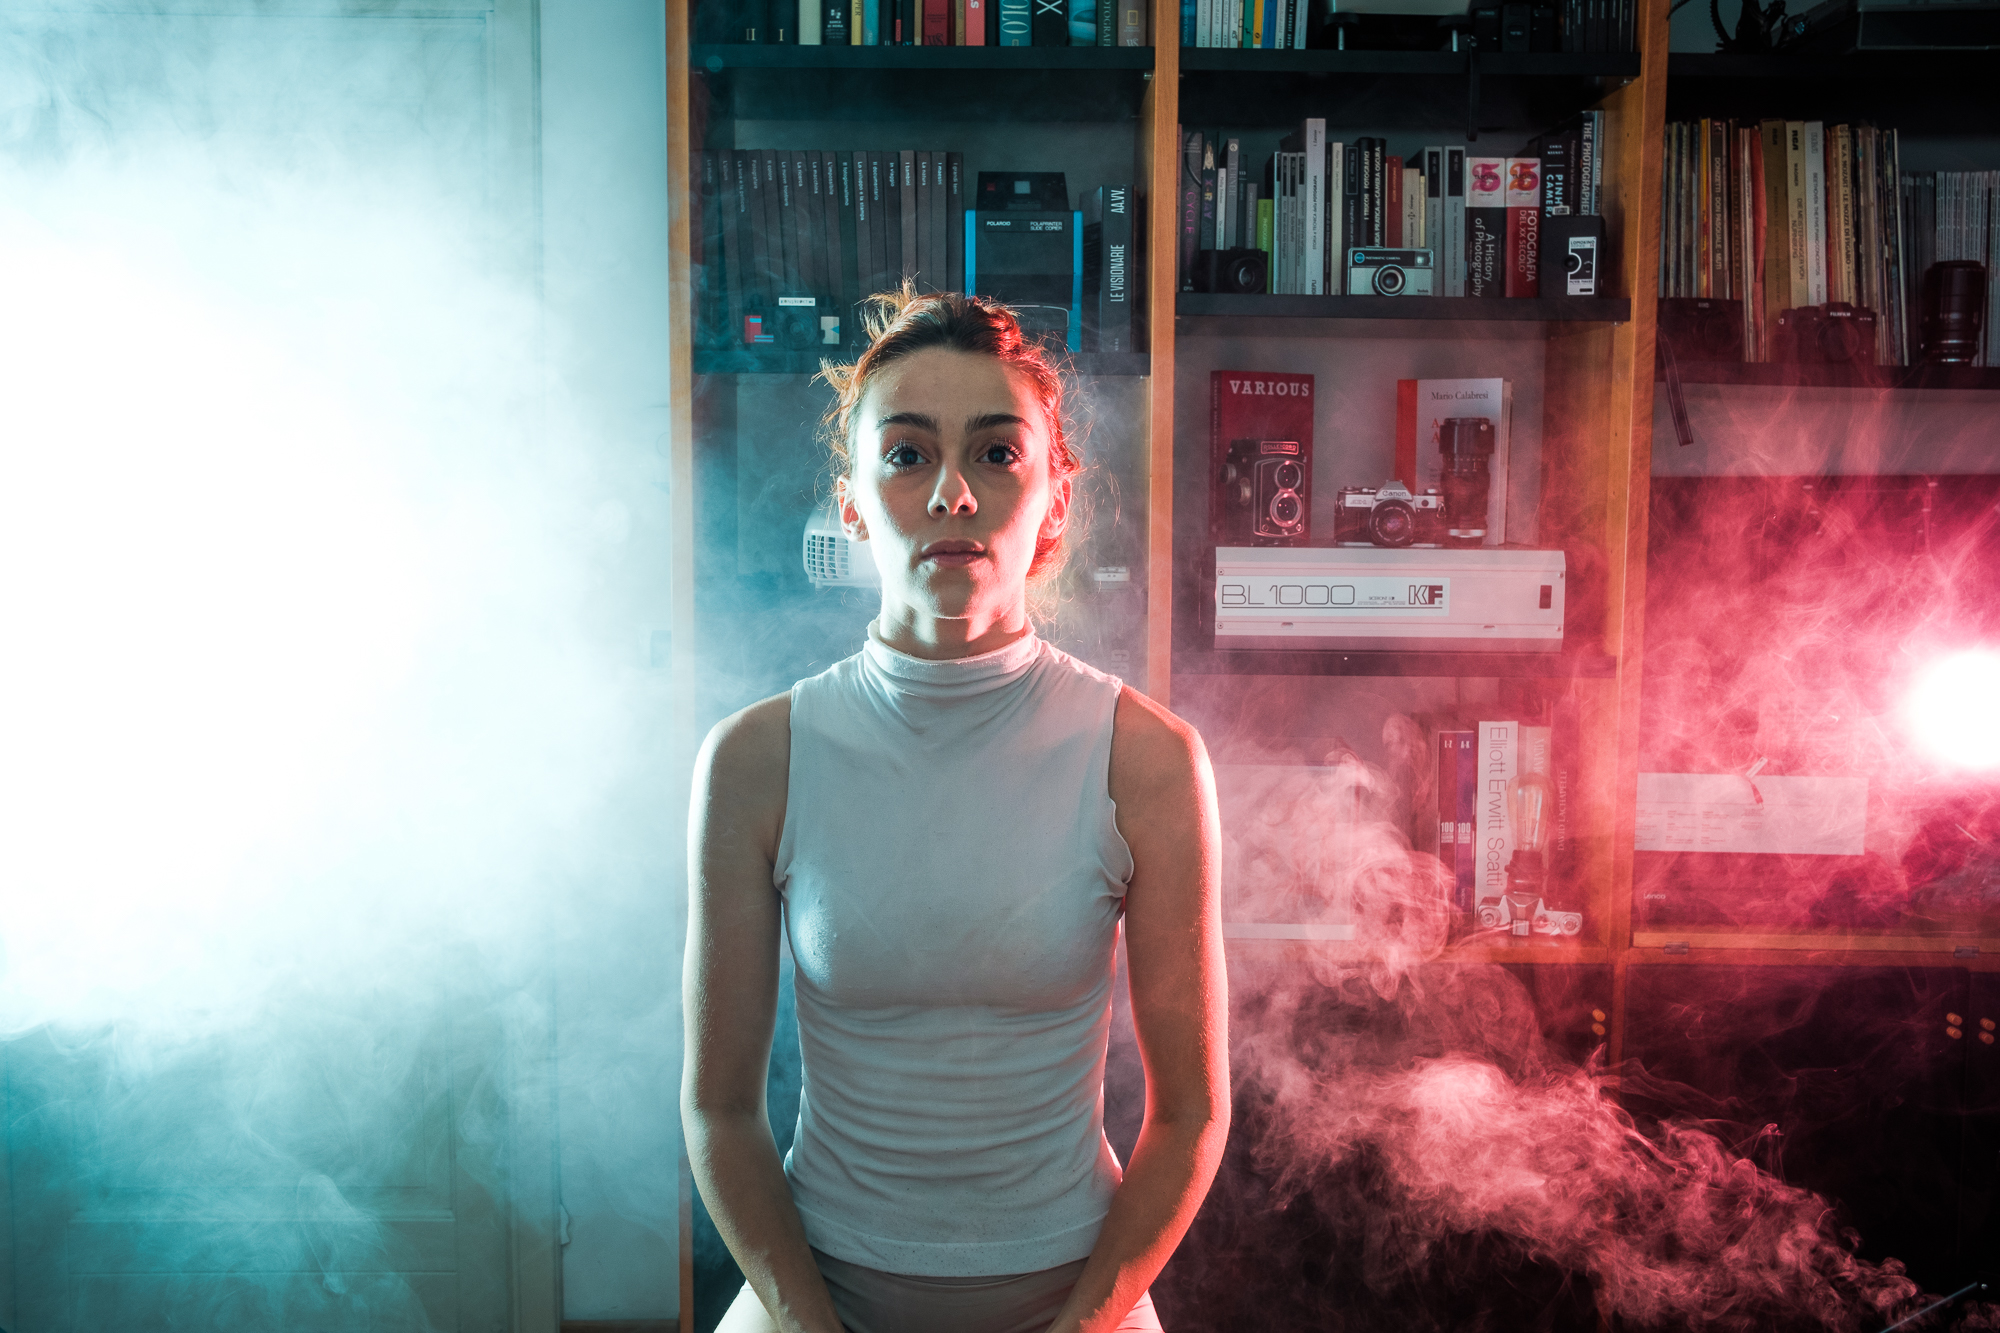
With the right settings, Elena and I worked for a good hour on the shot I needed for the album cover, but when we finally got it we still wanted to play a bit longer with the set-up, so we shot a little longer, and these shots I can share with you. I chose three of them from the overall production to show you the combined effects of smoke, projector, and flashes. Please consider that in all these examples there was already quite some smoke in the studio. Without it, there would be no light rays at all. This means that when you start the shooting, you will have to pump out a good deal of smoke before it can start creating the light rays. After that, you can pump out more smoke if you want to add the puffs and clouds to the scene, or stay as it is if you are only interested in the light rays.
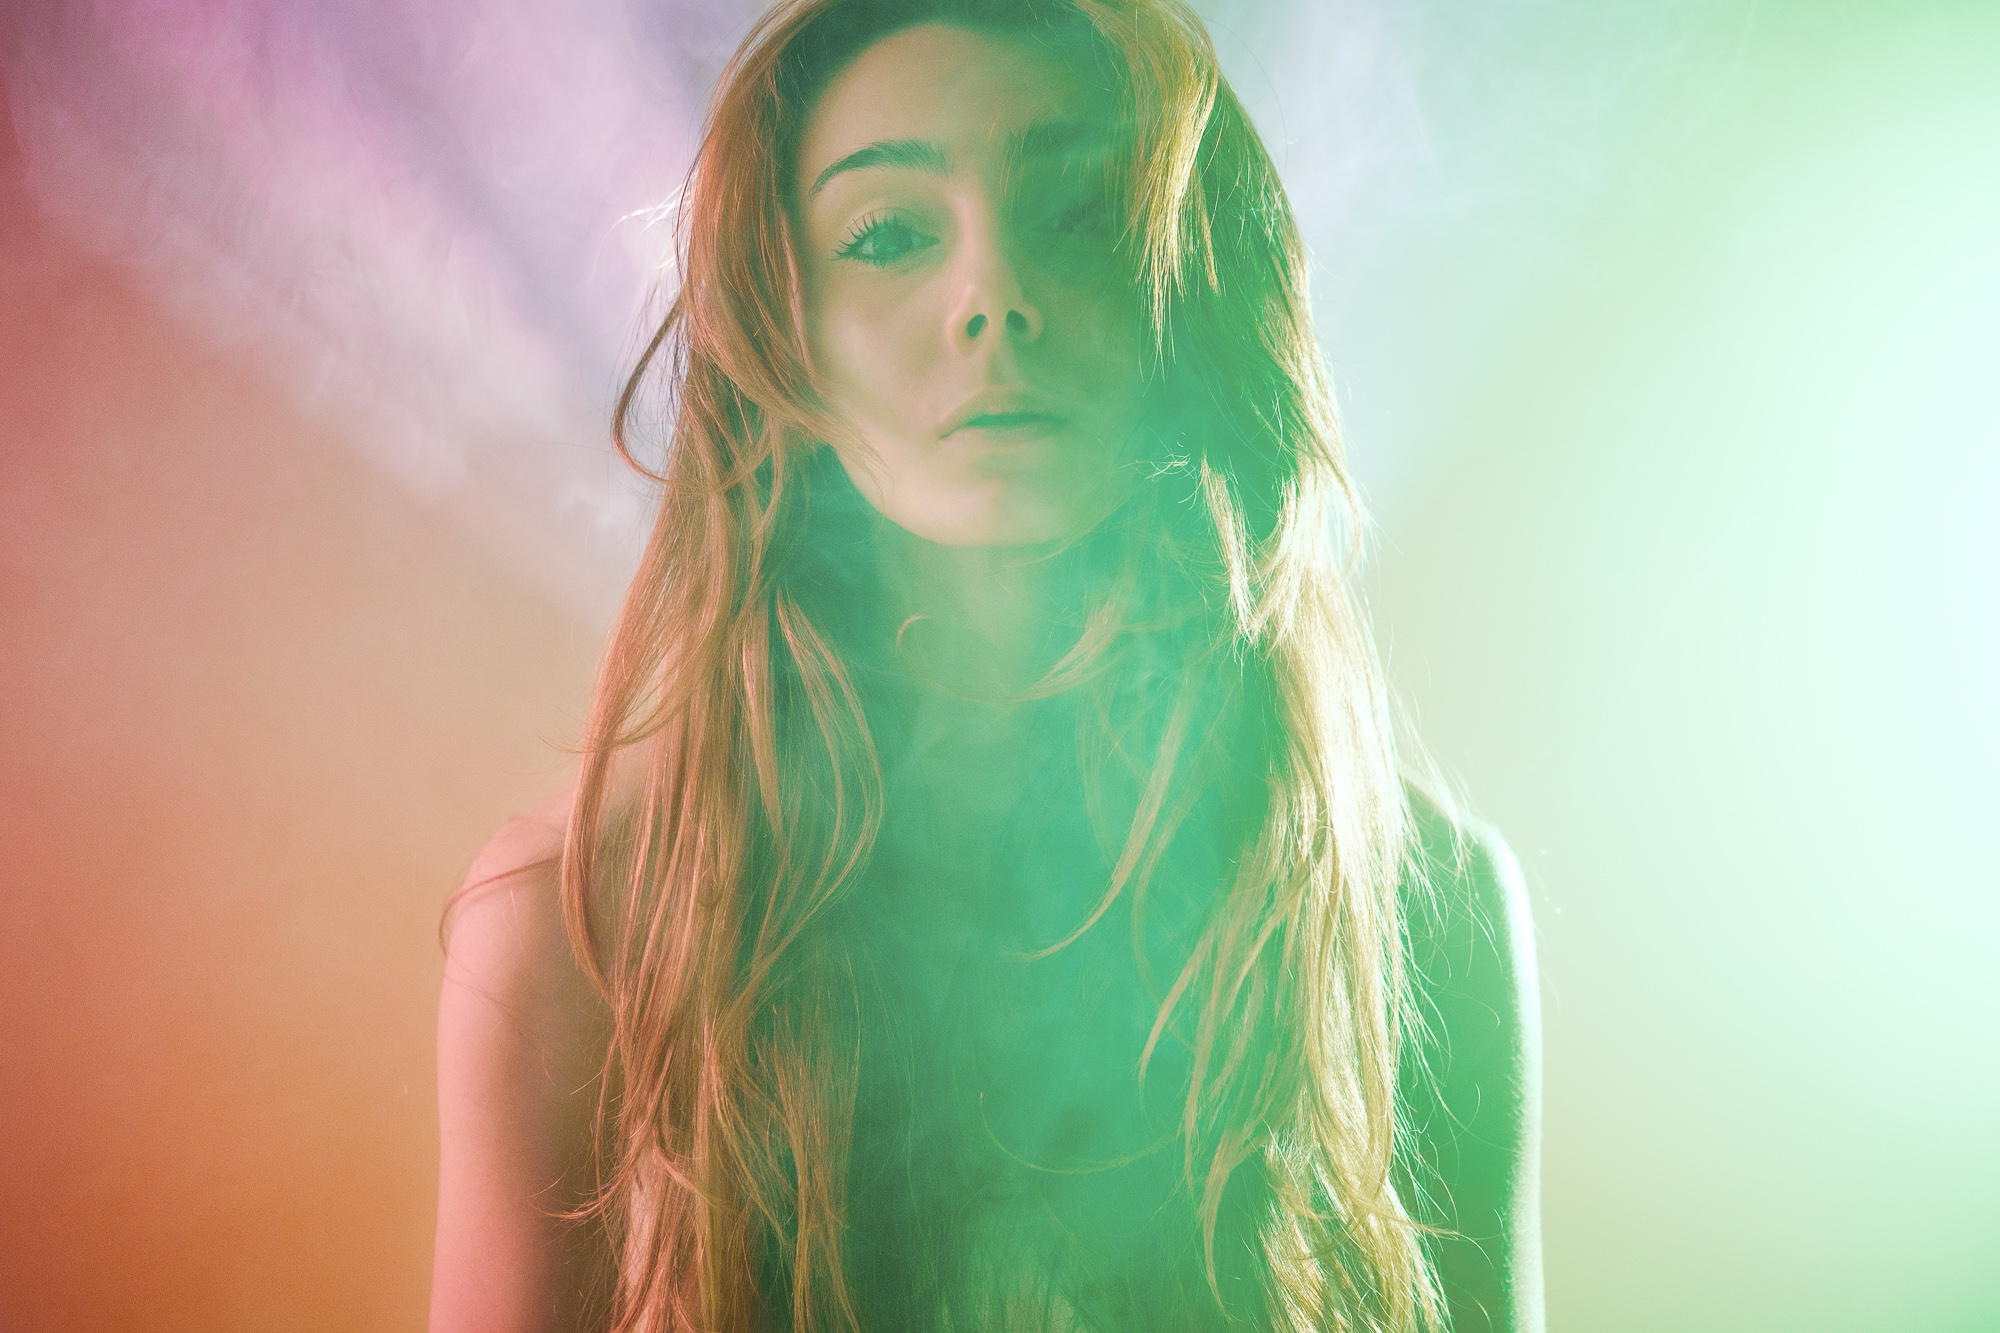
When you pump new smoke in the scene, you will have the cloud making its entrance: see how differently the light rays behave from left to right, and how differently the flash light is scattered. The rays are not well defined where there’s too much smoke, and the green flash light gets more scattered then the red one, resulting in a softer light, that lights up Elena’s skin even if the flash is paced behind her.
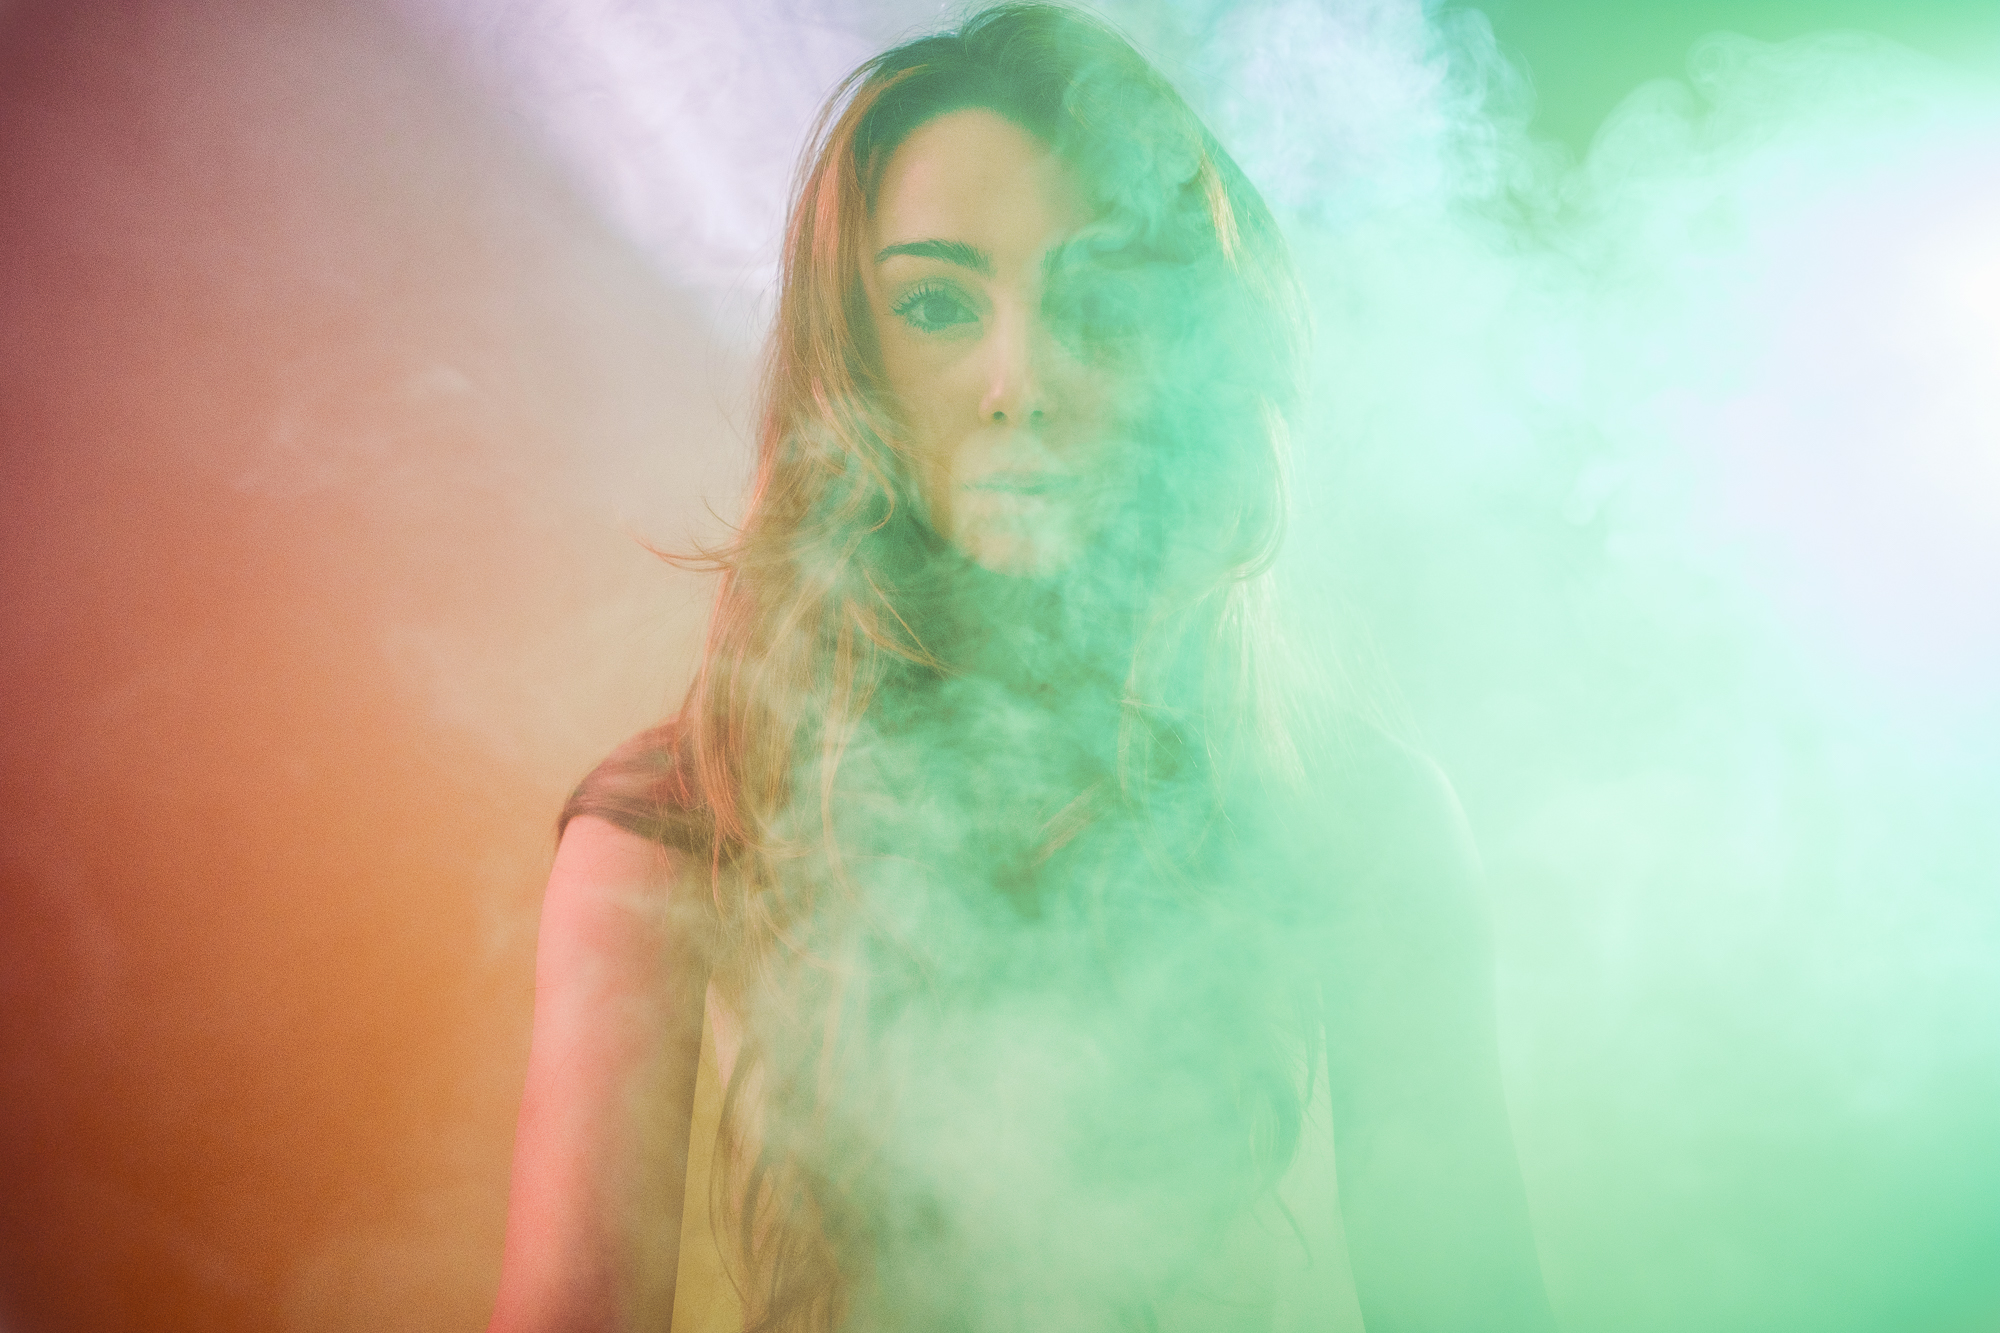
A few seconds later, the smoke cloud will have moved throughout the scene, covering everything. There will probably too much smoke for a good shot, unless that’s what you are looking for.
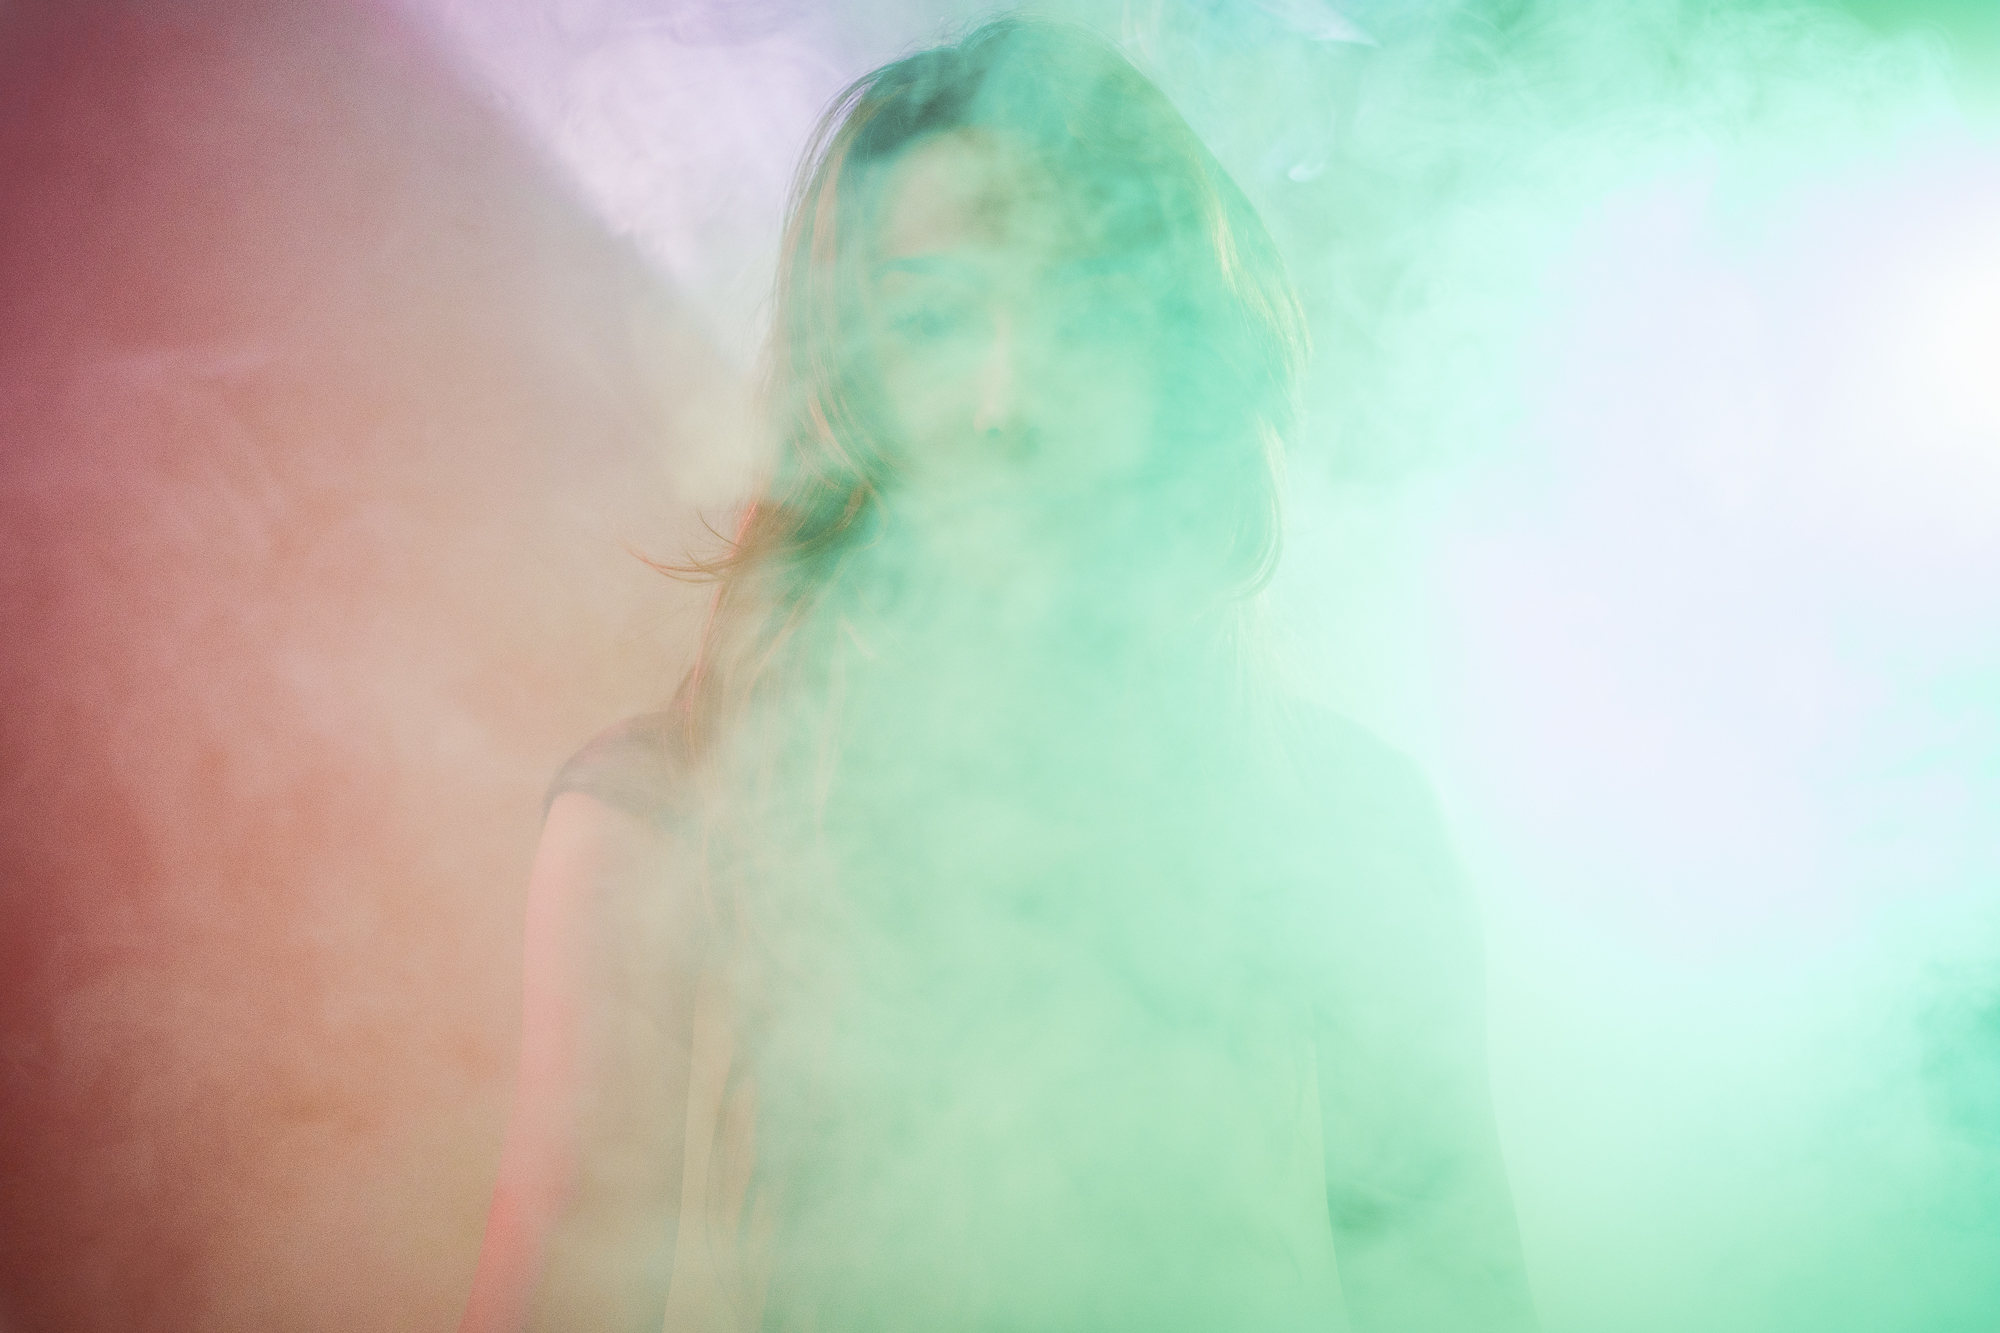
Wait just a little longer and the scene will come out again, and the light effects will now be consistent from side to side. Both the red and the green flashes now render a soft light, and the light rays are soft but there.
Keep on waiting, and you’ll get back at before pumping out the extra smoke. This means that you have smoke in the air, but no clouds or puffs. The rays get more defined, while the flash lights get a bit harder and add more contrast to the whole scene.

Now, the beauty of creating light rays with a projector, instead that with any other light sources, is that by changing the image you are projecting, you change the colors and disposition of the light rays. Since I wanted variety, I played a move (the last Star Trek movie, just to feel more astronaut-y) through my projector, so the beams would move around at every shot, and their colors would change unpredictably. However, if you are looking for a precise disposition and color of the rays, you can do that, it only takes a little work, but you can generate (or find) an image that, when projected through smoke, renders the light rays you want for your photograph. This is something I want to work on in the future, that’s for sure. Let me know if you accomplish it in the mean time!