I’m a great believer that when you have something that works, and works well, then don’t change it. And so it was with my post production software, where I have used Photoshop and Lightroom for many years and have got to know them really well. Then, about four years ago, I was persuaded to purchase Nik’s Silver Efex Pro for my black and white conversions and since then I’ve been using this as a plugin for both Lightroom and Photoshop, with excellent results.
So, all was well with the world when I received an invitation from Macphun software to try out some of their programs. Now, I must confess to not having heard of Macphun previously, maybe because I was happy with what I was using and therefore never looked for any alternatives.
While I wasn’t looking for a new software product, neither am I averse to trying something different, if for no other reason to convince myself that what I have works just fine, thank you very much! If I weren’t open minded, then I would still be using my DSLR and wouldn’t have discovered the wonderful Fuji X series!
So with this approach in mind, I was interested to hear about Tonality Pro, Macphun’s own software program for black and white conversion.
So just to be clear, this isn’t a test of all the B&W conversion software options out there (and there are many of them), but rather a test of Tonality Pro in it’s own right, which was released to the market in August 2014. Read on to see what I thought of it.
The first thing to do was install the software. It’s worth noting the Macphun only make software for the Mac, so this won’t be of much use if you use Windows. This software alone might be a good enough reason to consider Mac, if there weren’t multiple reasons already….!
The install was extremely easy and it recognised that I had both Lightroom and Photoshop already, so it offered to install as a plugin in both. It can also install as a plugin for Aperture and Photoshop Elements. This option is only available with the Pro version, but I suspect this is the version that wll be of interest to most serious photographers, so I’m only going to be considering the Pro version in this review. However, the ‘basic’ version has much of the same functionality at a truly outstanding price of only £9.99!
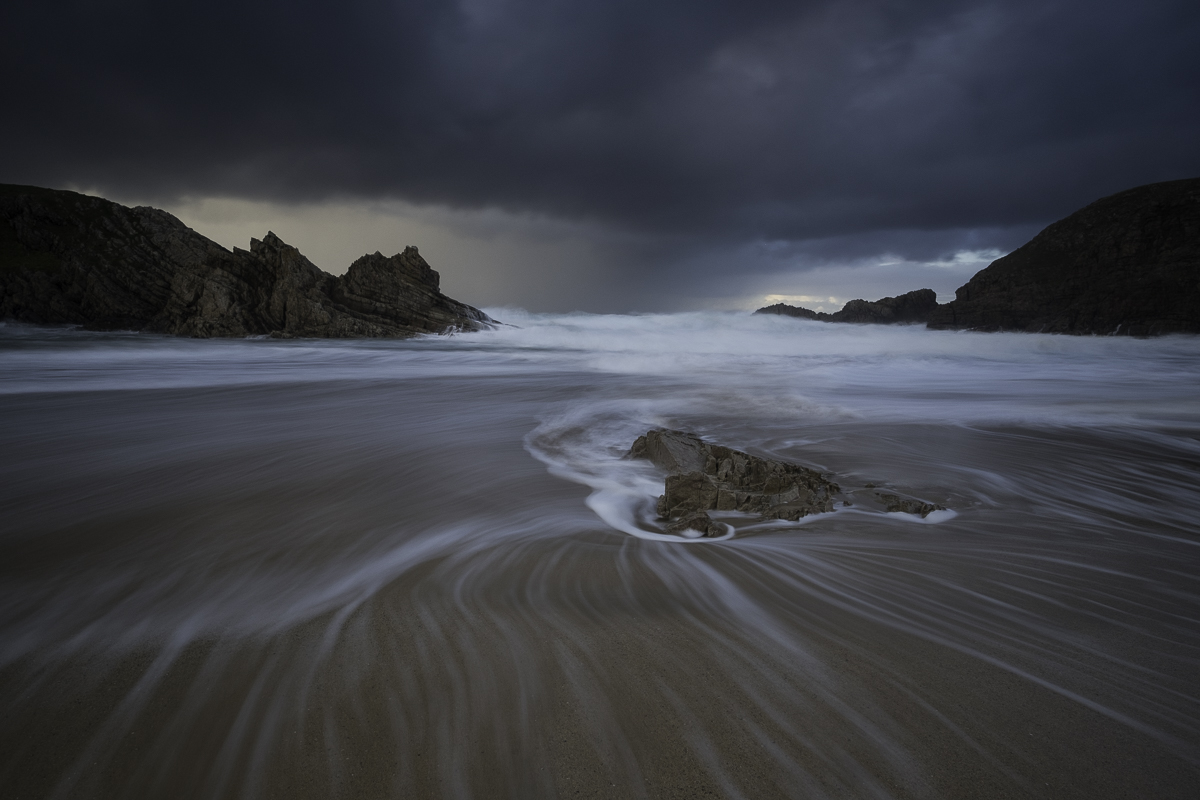
Once the plugin was installed, I went to Lightroom to look for some images to try in Tonality pro. I have a particular image, that was taken on my XT-1 and 14mm lens, which is not an easy one to process. It was shot on a wild and wintry night, there was little light left as the sun had gone down, but there was still an area of the sky, which was very bright. A challenge, not just for the camera, but for any post production software.
This is the colour RAW version, with no adjustments.
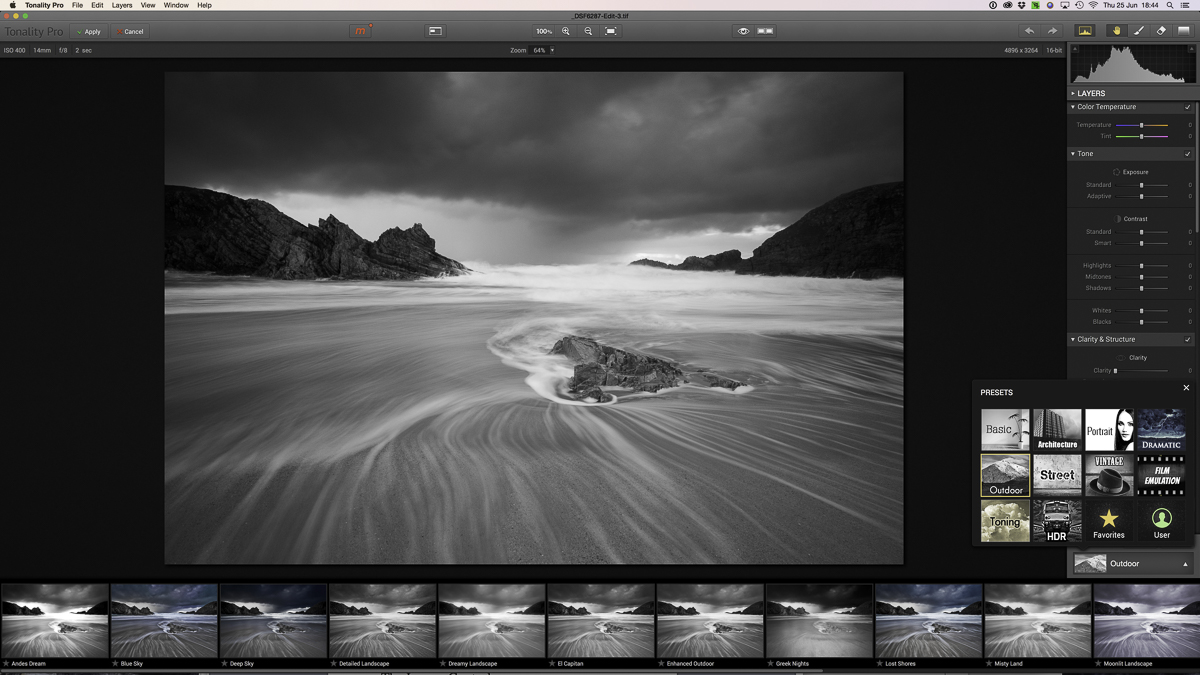
The first thing noticed about Tonality Pro is that it’s user interface resembles that of Lightroom. I spend a lot of time in Lightroom and have got to know it very well. Any other plugin, which has similar controls, is a great start as far as I’m concerned.
I stated by checking out the various pre-sets. These are grouped into Basic, Architecture, Portrait, Dramatic, Outdoor, Street, Vintage, Film Emulation, Toning, HDR, Favourites and User.
Looking at the Outdoor set, I had the choice of Andes Dream, Blue Sky, Deep Sky, Detailed Landscape, Dreamy Landscape, El Capitan. While some of the names are self explanatory, others seem an unusual choice to me. I would prefer them to give me some idea of the effect they produce, as ‘Greek Nights’ and ‘Lost Shores’ weren’t the most helpful. Not a big issue as you can try each of them and decide whether you like them or not and move onto the next one before applying any pre-set to your image.
I quite like the idea of pre-sets as I can normally find one I like as a starting point. I will almost always take this and modify it further to suit my own requirements, which is simple to do using the slider controls. If I get something I really like, I can then save it for future use as one of my personal pre-sets and it will appear in the User Group. I can even give it any name that I wish. No more ‘Hitchcock’ or ‘Forgotten Glory’!
Some other great aspects of this program:
- The fact that you can scale down any effect or pre-set from 100 right down to 0 using the Opacity slider, thereby making the overall adjustments as strong or weak as you like..
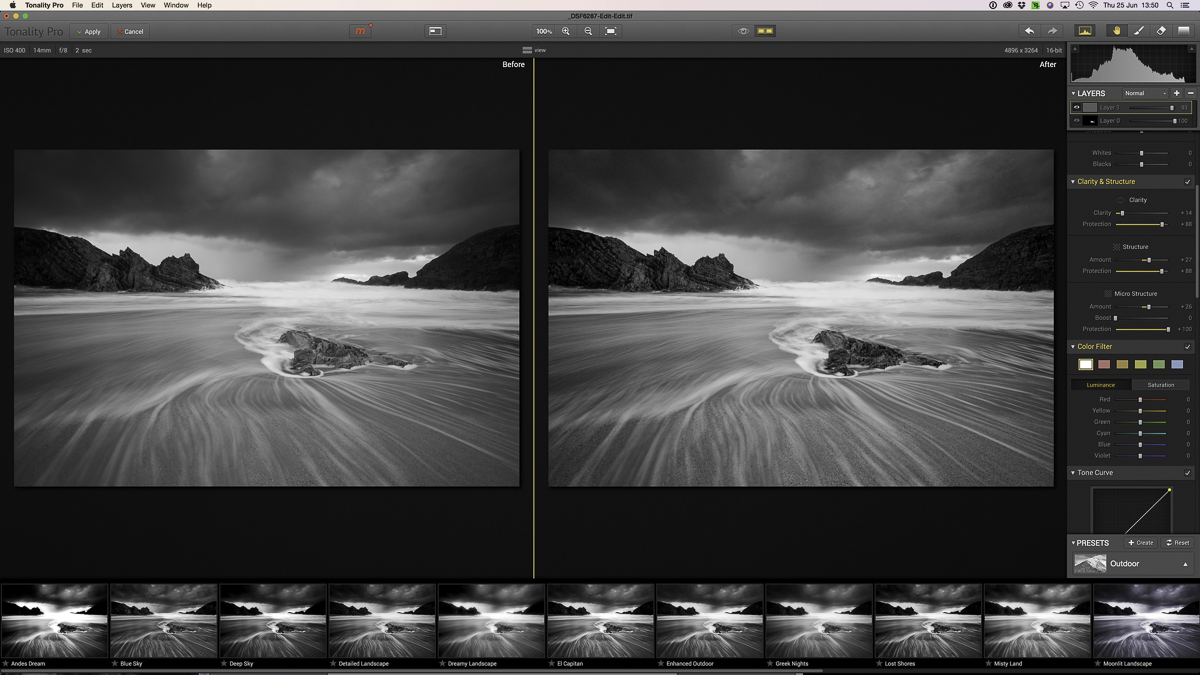
- Another great feature is the layers functionality. When you add a new layer, much the same as you do in Photoshop, you can then use this layer for a particular adjustment, say you want to dodge and burn the rock in the images, or add a gradient to the sky. You can selectively make adjustments to your image using the brush tool, the erase mask or gradient tool.
- Each layer has a visibility control (the eye icon) to turn on and off the effect of that layer on the whole image. Each layer also has the Opacity slider which controls the overall strength of the effect applied to your image.
Considering the main control panel on the right, at the top we have colour temperature and tint, exposure control and contrast. I really like what I can do with, for example, Smart Contrast or Adaptive Exposure, both of which are more selective about the areas they adjust and these effects will vary depending on the content of the image, so you need to try them out. I can also fine tune the highlights, midtowns and shadows.
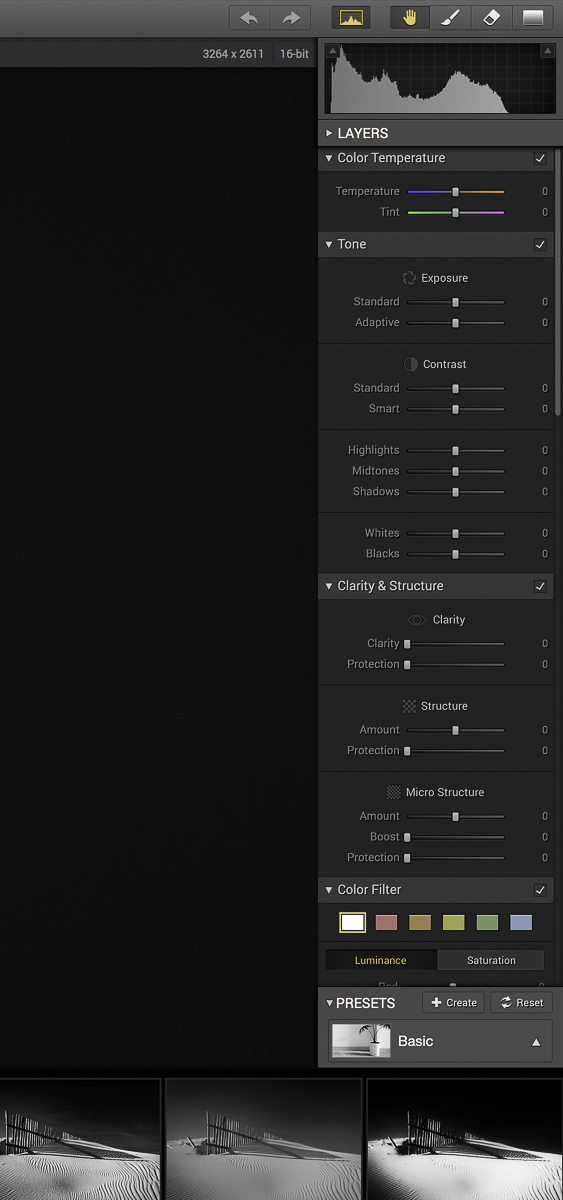
Also on the main adjustments panel, we have a range of clarity and structure adjustments. My view is that if you’re not careful, you can easily go too far here and constraint is needed as with all adjustments In post production. However, used sensibly, they give the option of selectively adding clarity or structure to part or all of the image.
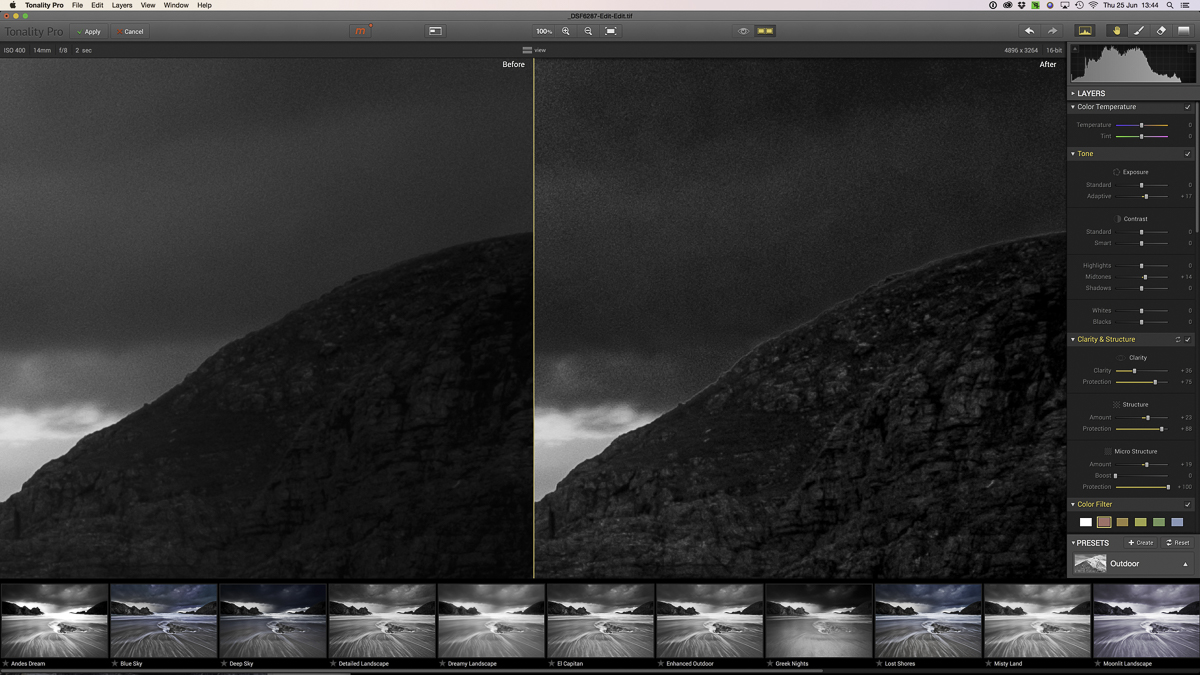
Which leads me to the Colour Filter panel. This allows you to replicate the colour filters we used to use on our cameras, such as red and orange, which can add drama to the sky, deepening the blues and increasing contrast. An effect that is often used by landscape photographers to give the image more ‘pop’. However, when I selected the red filter, I immediately noticed halos between the rocks and the sky on the image I had chosen as you can see below. I tried a number of other images and the same effect appeared on each of them. This was a disappointment as one of my pet hates is seeing images that have been processed badly, with these white halo effects between the lighter and darker areas of an image. `As such, I would urge caution if you want to try these filters and even when using the less strong orange, yellow or green filters, the effect was still there, albeit it to a lesser extent.
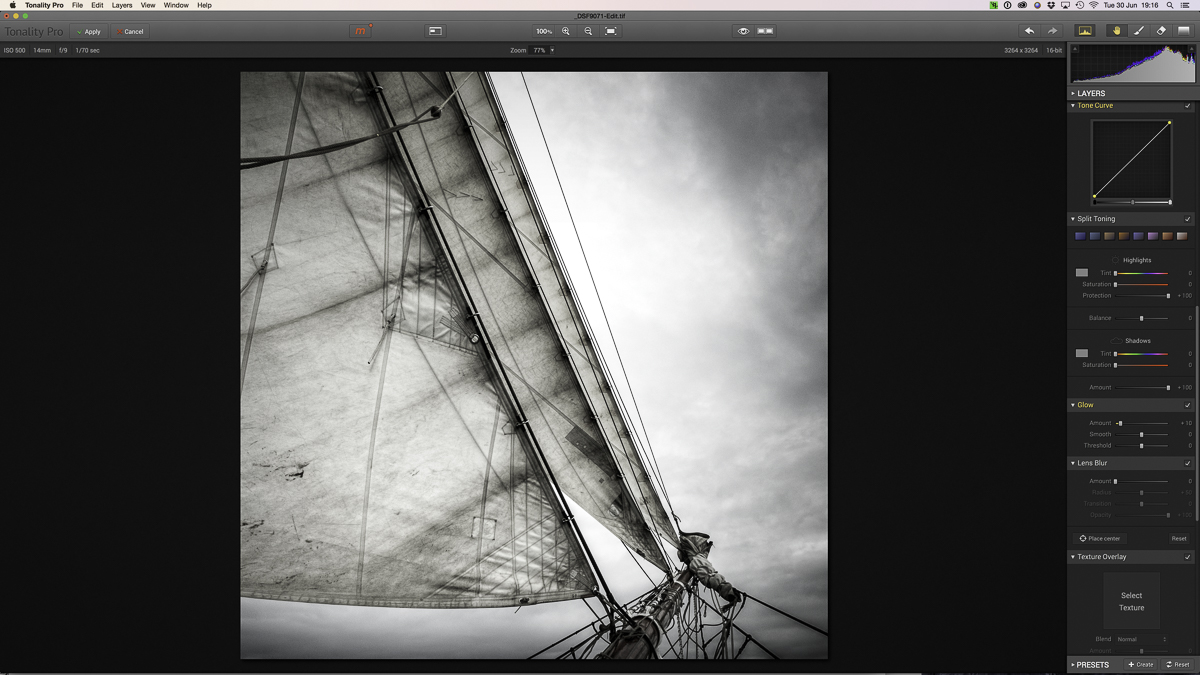
Moving down the controls, we have a tone curve for those of us who like this level of control. We also have split toning, glow and lens blur, a great tool that allows you to concentrate the point of interest in the image through blurring other areas of the photograph.
Textures allow you to overlay a range of textures, with a range of paper, metal and film textures preloaded and the opportunity to also load your own custom textures. These can sometimes be gimmicky, but can work very well on the right image.
We can also add vignettes, grain and frames to our image to suit what we’re trying to do.
When you have worked on an image, you can compare the changes you’ve made to the original you imported. Either click on the ‘eye’ icon on the top toolbar to toggle between both views or click the icon beside this which looks like two monitors side by side and it will show a side by side comparison of the before and after.
I tried working on a number of my images in Tonality Pro to see what it could do and whether I liked it or not. All along, I was trying to assess whether it did a better job than either Lightroom on it’s own or my old favourite, Silver Efex Pro.
Well, I’m pleased to report that I was very impressed with Tonality Pro. It gave a lovely feel and tone to my images and was a joy to use. Tonal changes were subtle and by spending time to get to know the program, you will be rewarded with a very powerful and creative tool. While I didn’t like the colour filters at all, it was’t an issue for me not to use these. I did check Silver Efex Pro for ther filters on the same image selection and the effect they created was worse to my eye.
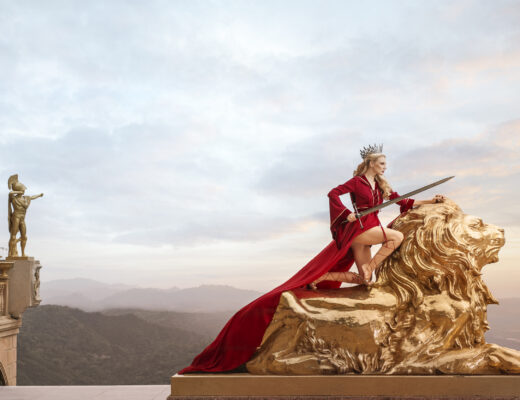
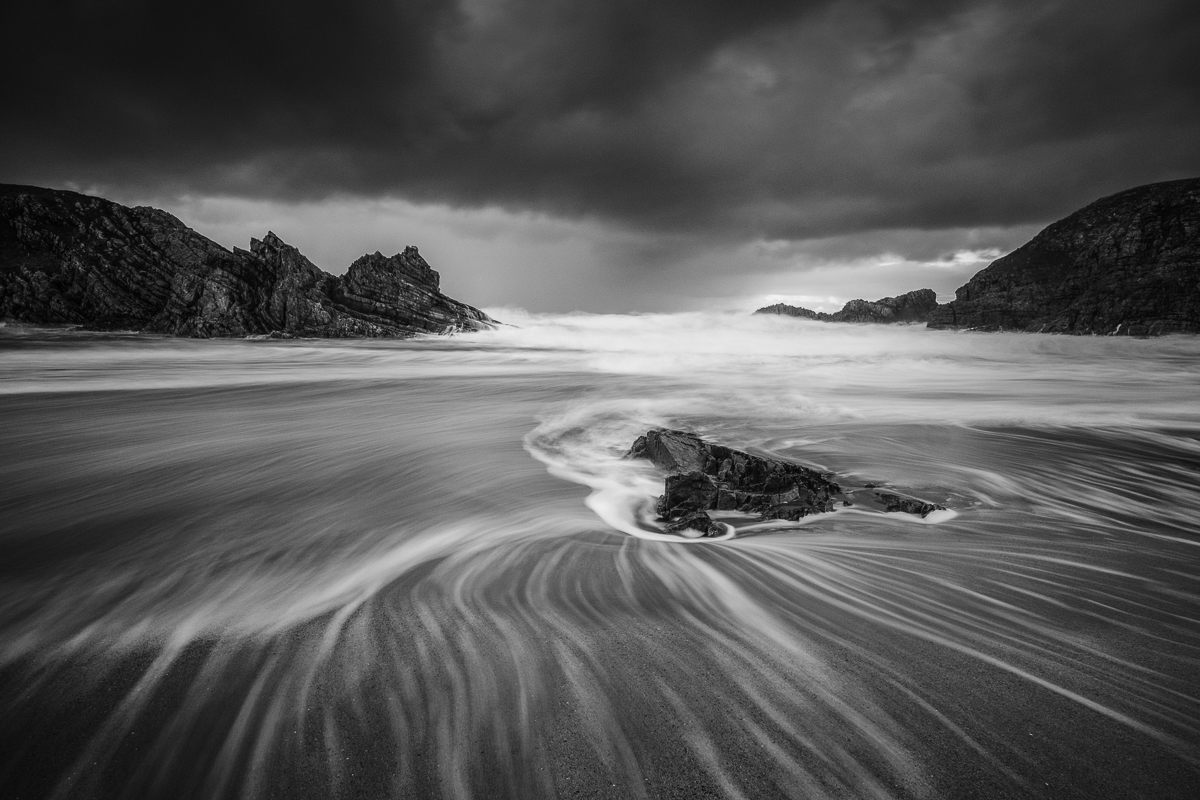
Maybe this is something the developers at Macphun can look at for a future version of the software. Personally, I can highly recommend it to anyone wanting the ultimate level of control for their black and white photography. And so to the final B&W version of the image we started with, Boyeeghter Bay in Donegal.
As with any review, people will ask if we’ve been incentivised to say good things about the subject. Well, Macphun sent me a free copy of the software to test, but that was all. Anyone who knows me, will know only too well that if I don’t like something I will tell it straight. Photography is my business and I only use products that help me deliver a better product to my customer. As such, I can say with no hesitation, that I intend to use Tonality Pro going forward as my main B&W converter.
If anyone is thinking of buing the software, Macphun have very kindly offered readers of Fuji Love a 25% discount by using the code JulySpecial25 at check-out. Please use this link to get to their site.