Autumn is here, with its rich earthy colors, colder temperatures, and shorter days, together with the need for the fashion brands to promote their autumn/winter collections with look-books and campaigns. This year, to offer my clients something different from the usual black/grey/white backdrops I have in my studio, I decided to give my carpentry tools a good spin and build my own wood backdrop.
The reason why backdrops are still so important in fashion and in portrait photography is that they allow you to work inside a studio, where the outside weather conditions are never an issue, nor the natural light, the time of the day, and, most importantly, where the photographer can place as many flashes, tripods, reflectors, props, etc., as he feels right without needing any permission.
On the other hand, after a while the classic black/white/grey backdrops can feel a bit dull, especially when working for some time with the same client: it is a natural thing to reach for little or major changes between one year’s and the next shooting, and the backdrop is usually on top of this list. Don’t take me wrong, I love my monochrome backdrops, and for as many time I used them there’s always something different I still want to do with them, but it is always nice to add more options to the menu, and clients always appreciate it.
Today’s market offers many printed backdrops to solve this purpose, and while they might work great in some scenarios (for example if you’re shooting headshots at wide apertures, hence blurring the background) I am not sure how they would do in a full figure fashion shot, where everything is in focus and all the details count. Plus, despite how obviously convenient they can be, printed backdrops (as all the photo backdrops in general, for all that matters) can be seriously expensive. Maybe even more expensive than “the real thing”, as at the end it was for me, (sure, if you don’t take into account all the time I had to invest in order to build the backdrop!). At the end of the day a wood backdrop is made just of wood and screws, so it all depends on the wood you want to use.
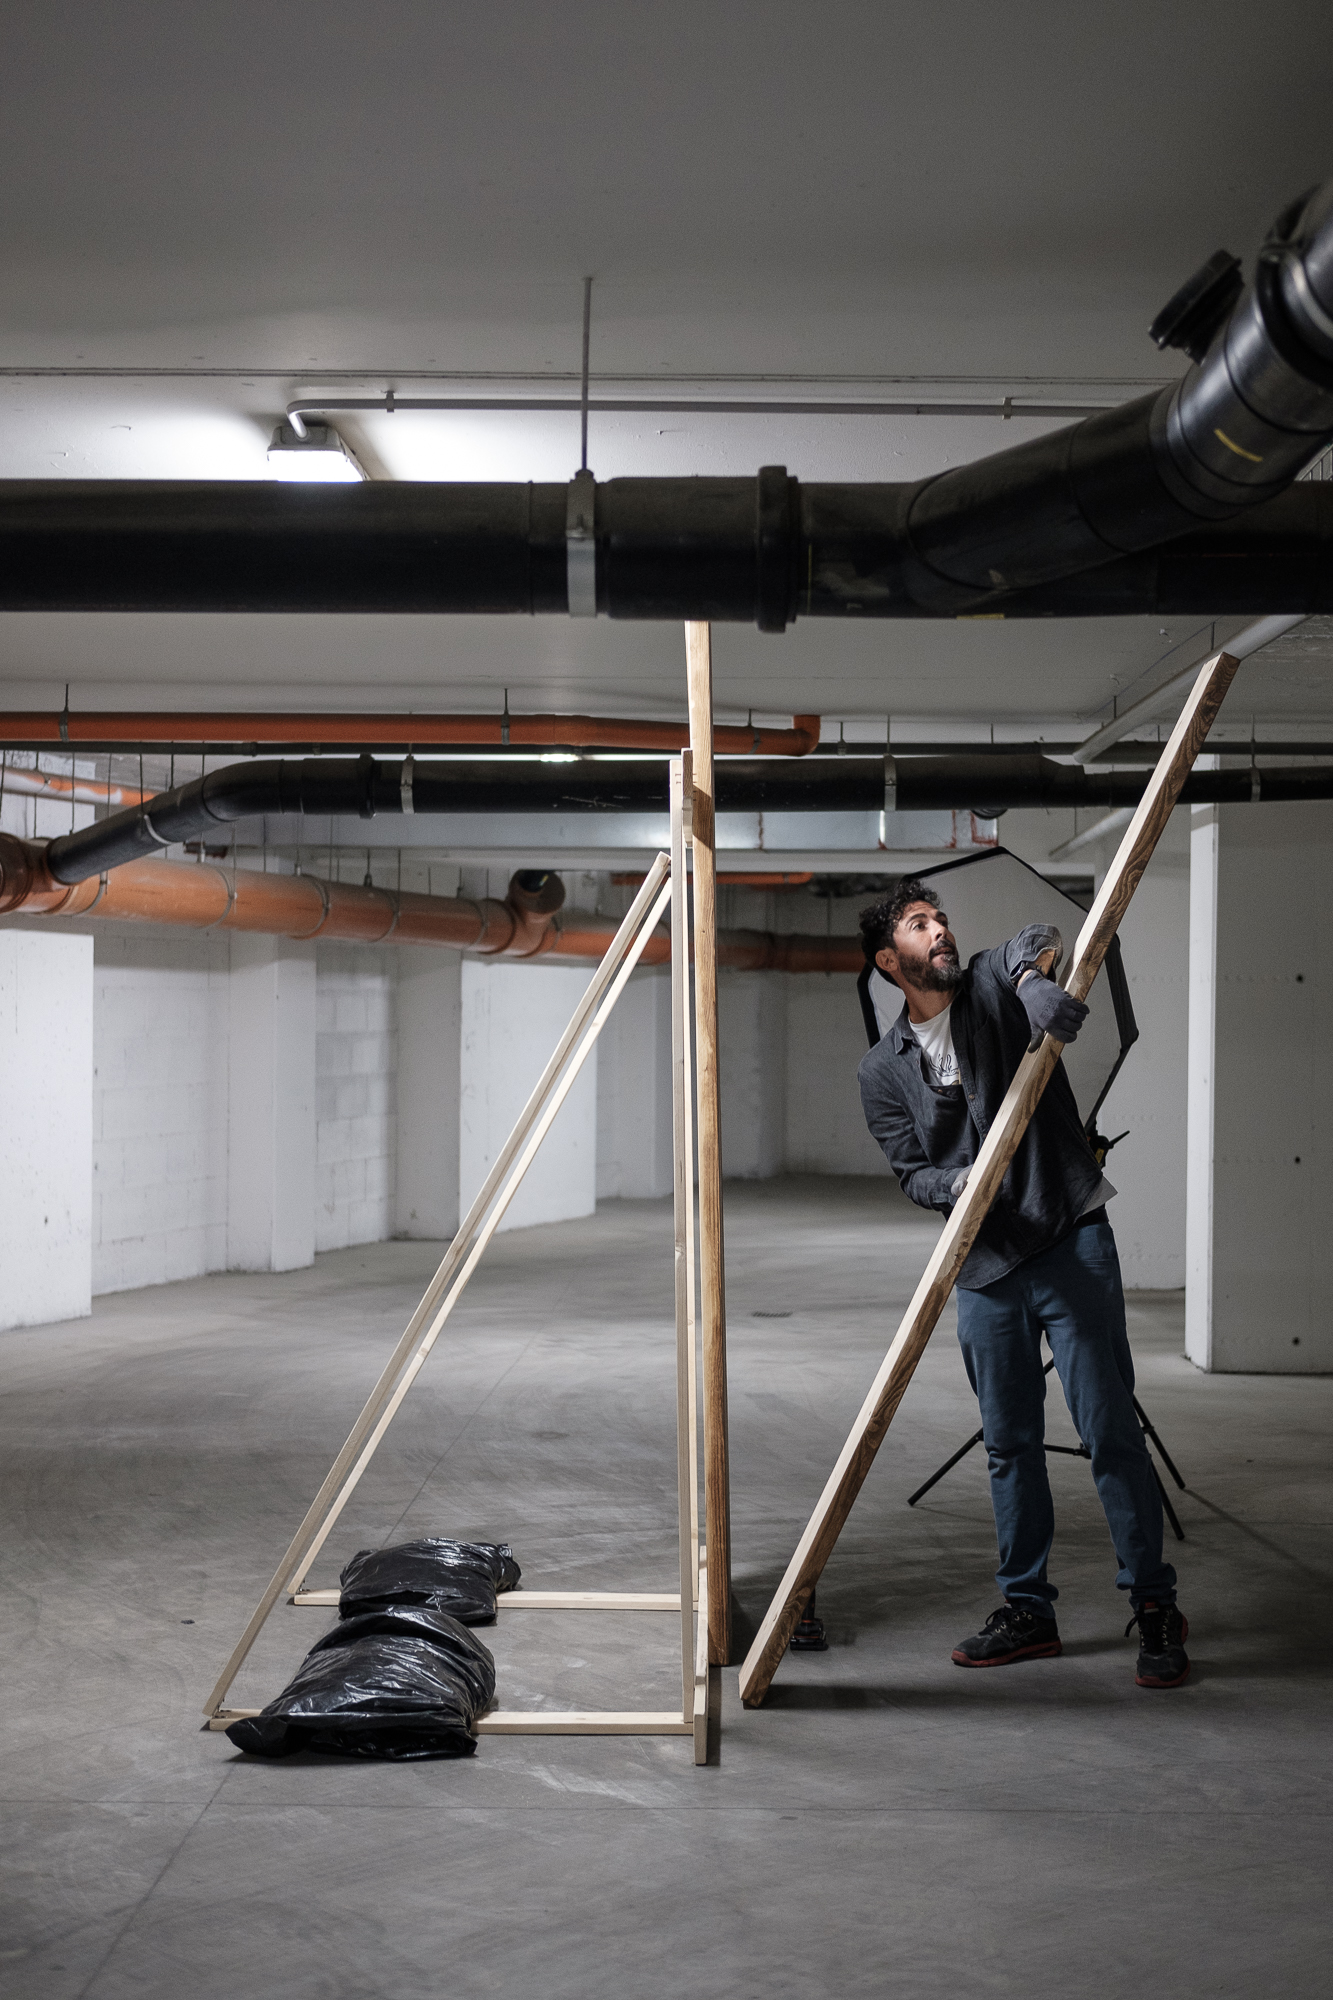
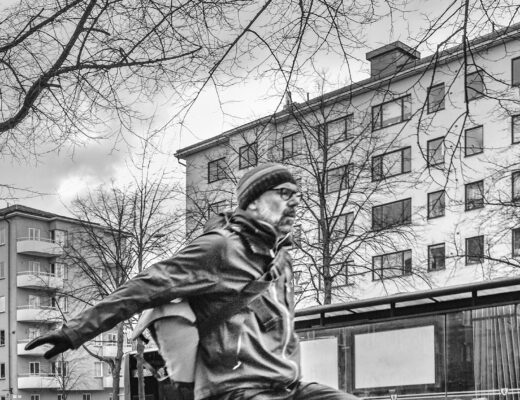
Photo by Giacomo Meiarini. Fujifilm X-T2, 35mm f2
I opted for the cheapest wood in the market: fir planks! The ones I could find in Rome were four meters long, 25 cm wide, and 5 cm thick. Now, I like the look of planks placed vertically more than horizontally, I don’t’ know if that’s because horizontal placement is too “chalet” looking, or because the vertical placement is more “industrial”, but whatever the reason I started my project already with the vertical placement in mind. Now, for as good as it would be to have a four meters tall backdrop, few studios could host it, and mine is not one of those for sure. So, I shortened the planks down to 2.45 m, leaving still plenty of height to work. Since I wanted the backdrop to be at least 2m wide, to give the model some space to move in, I had to get eight planks.
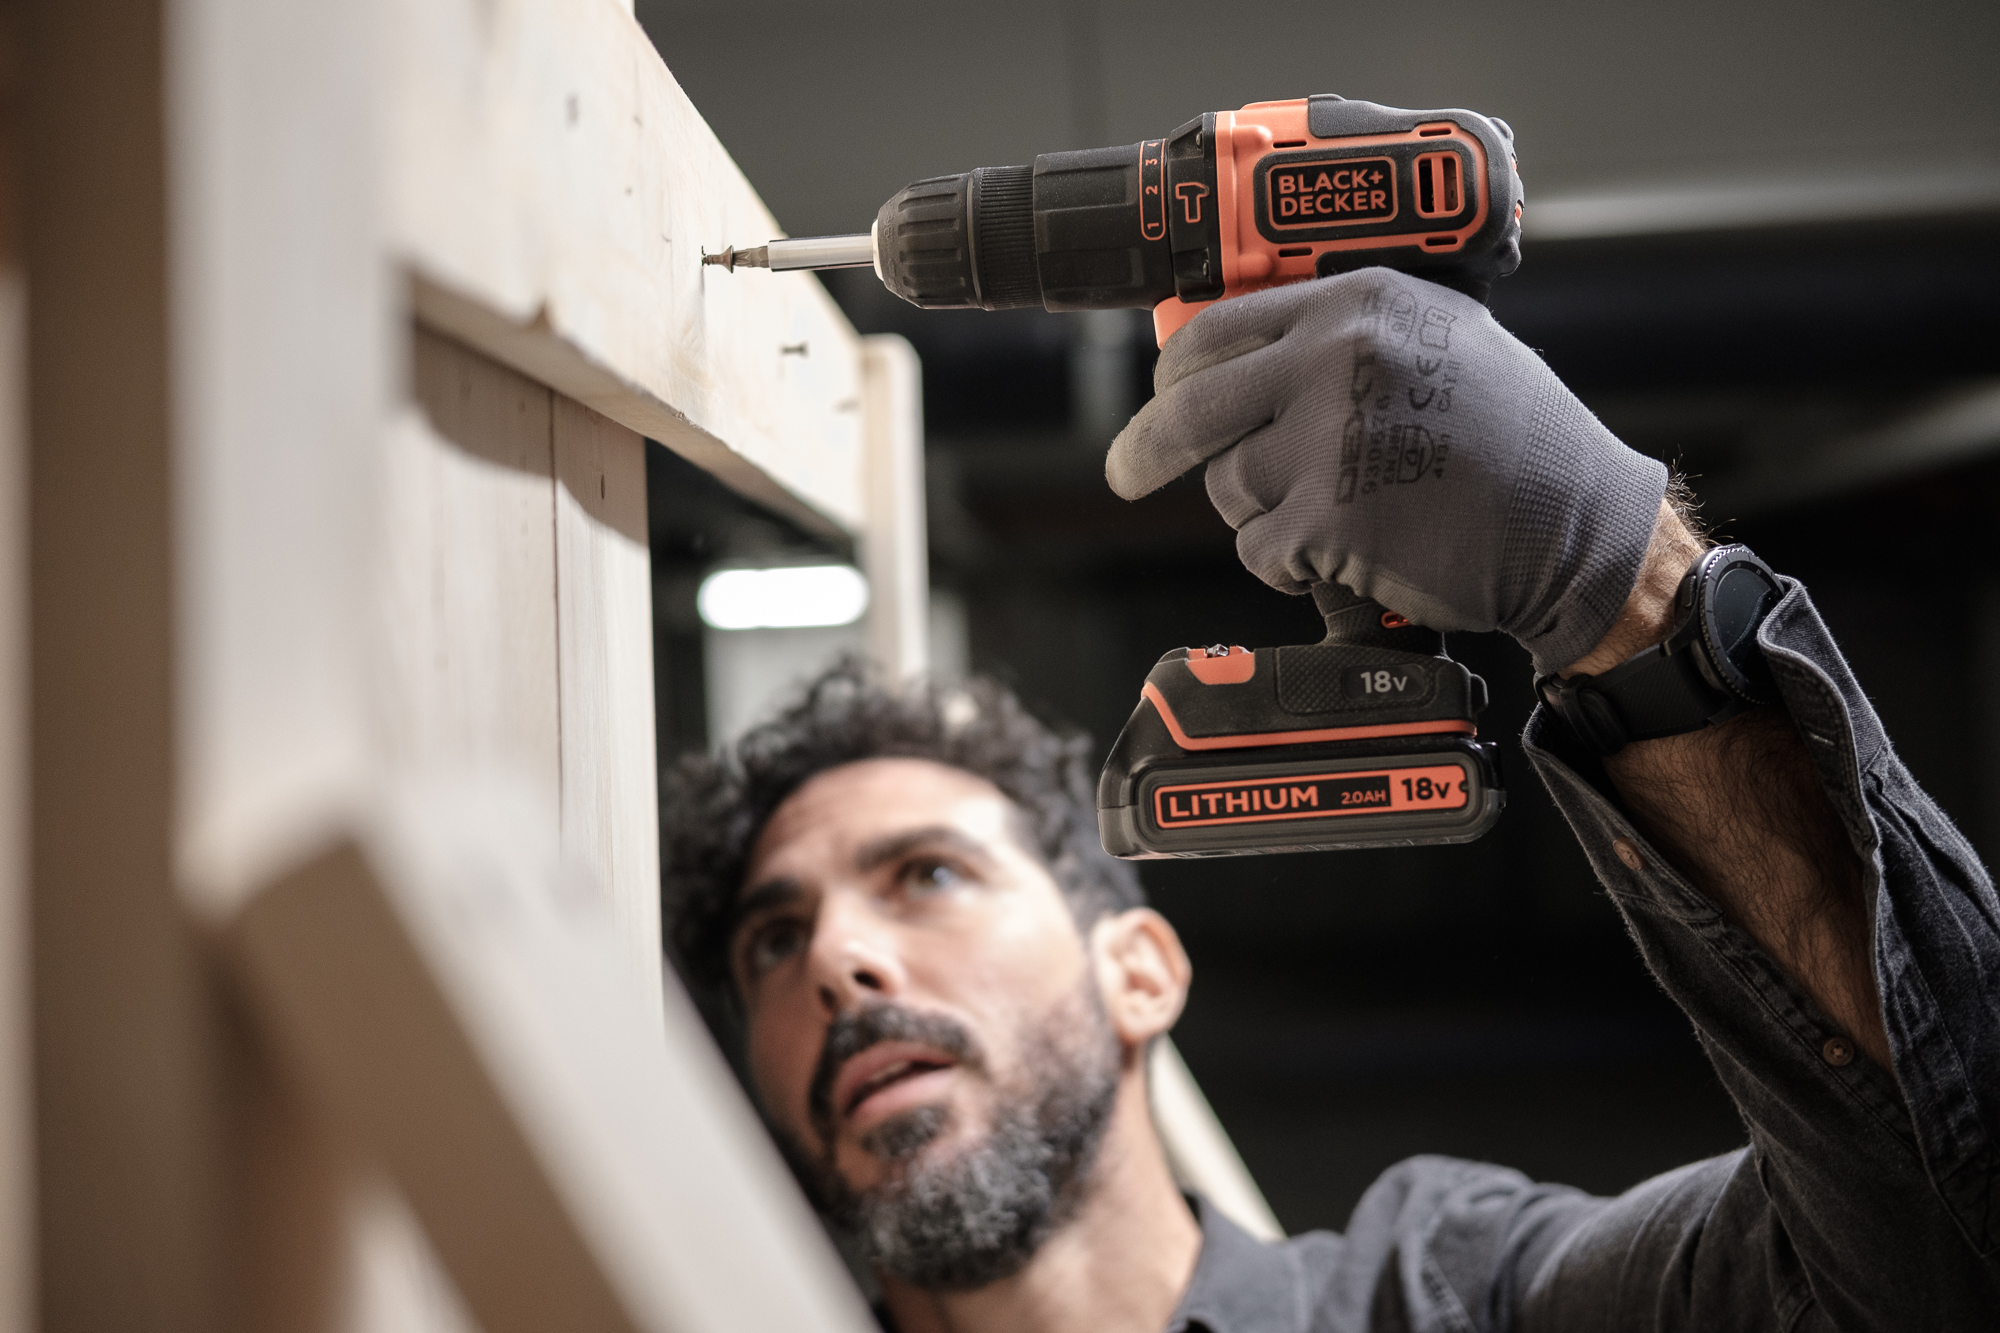
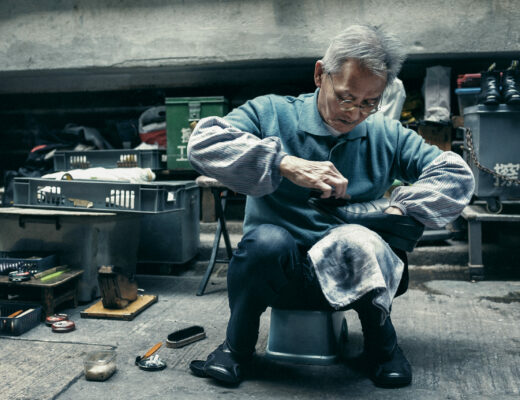
Photo by Giacomo Meiarini. Fujifilm X-T2, 35mm f2
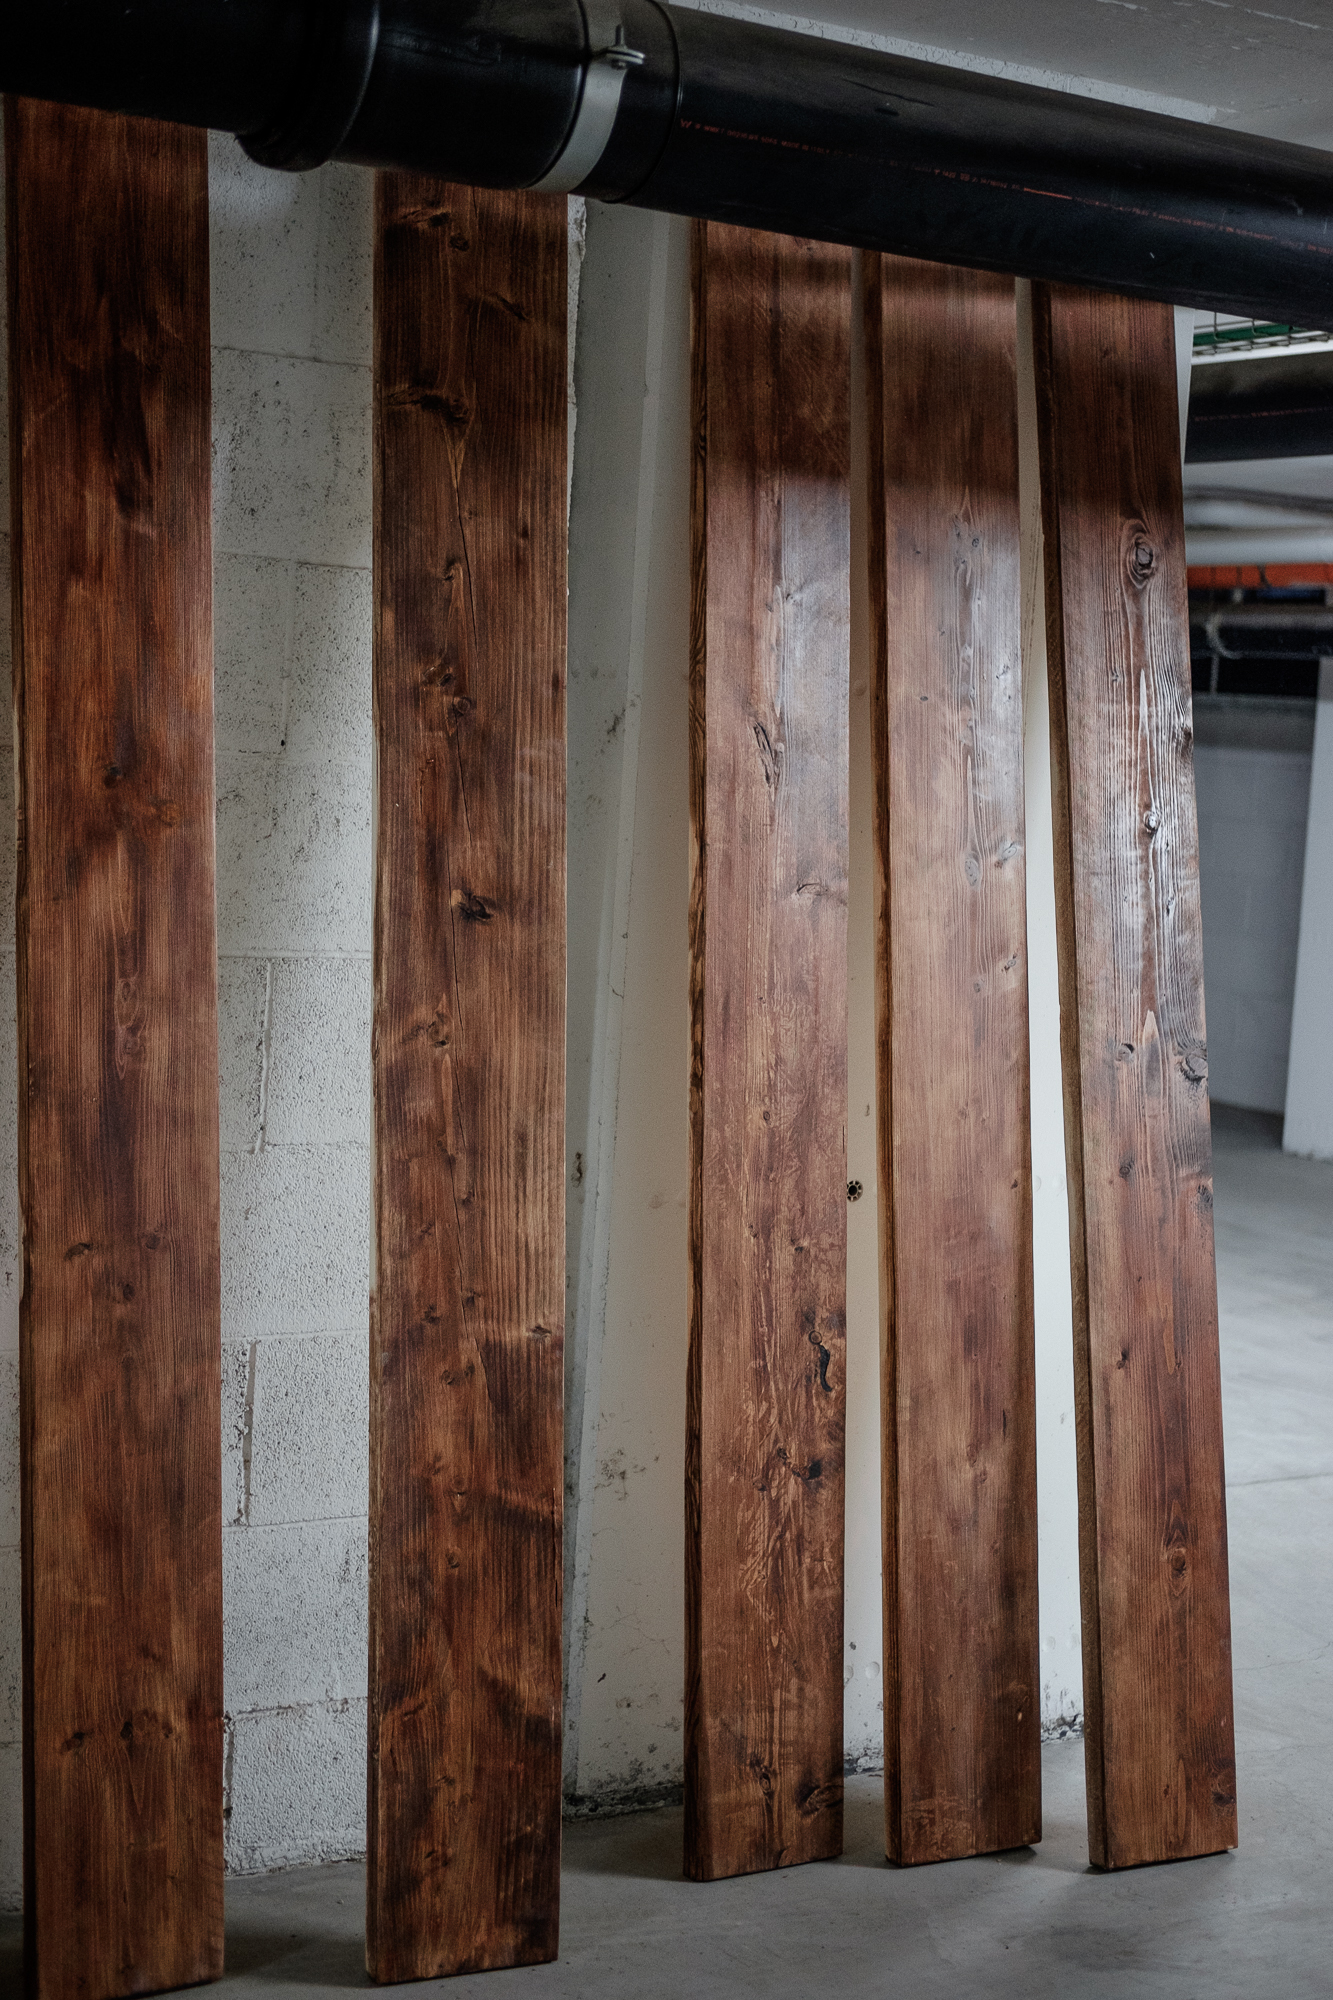
The next step was to “refine” the planks. Now, probably refine isn’t really the best word to describe the amount and the brutality of work that I had to do for two full days on the planks to bring them from looking like construction site waste to fine and elegant wood, but in the lack of a better word in my restricted English dictionary we’ll have to do with it. Sanding the planks down till the white of the fir came back, and till all the rough cutting signs were off, took me the vast majority of the total work and it was the hardest part of the job, but after it I had some beautiful wood in my hands, despite how little I had originally payed for the planks. Well, that plus the 12 sandpaper disks (80mg) I had to use to get to the bottom of the job (and to the surface of the nice wood).
After the sanding came the painting. I went for a paint designed for outdoor use, since they are usually more resistant, and as a color I opted for chestnut, because of its autumnal tones between brown and dark red, perfectly suited for the look-book shootings of this time of the year. I gave the planks just one hand, since I am not really interested in the durability of the color: it is a backdrop I built, not a dining table!
The natural white of the fir is a great feature for a wood backdrop, because you can paint it of whatever color without having to paint it white first. Should you grow bored of the color you used, or, more importantly, should the client ask for a different color, you just need to sand the planks down till the white of the fir shows up, and then you’re ready to apply a hand of the new color. This way in 24/48 hours (depending on how good and fast you’re in sanding and how dry is the environment) you can have a different colored wood backdrop ready for use.
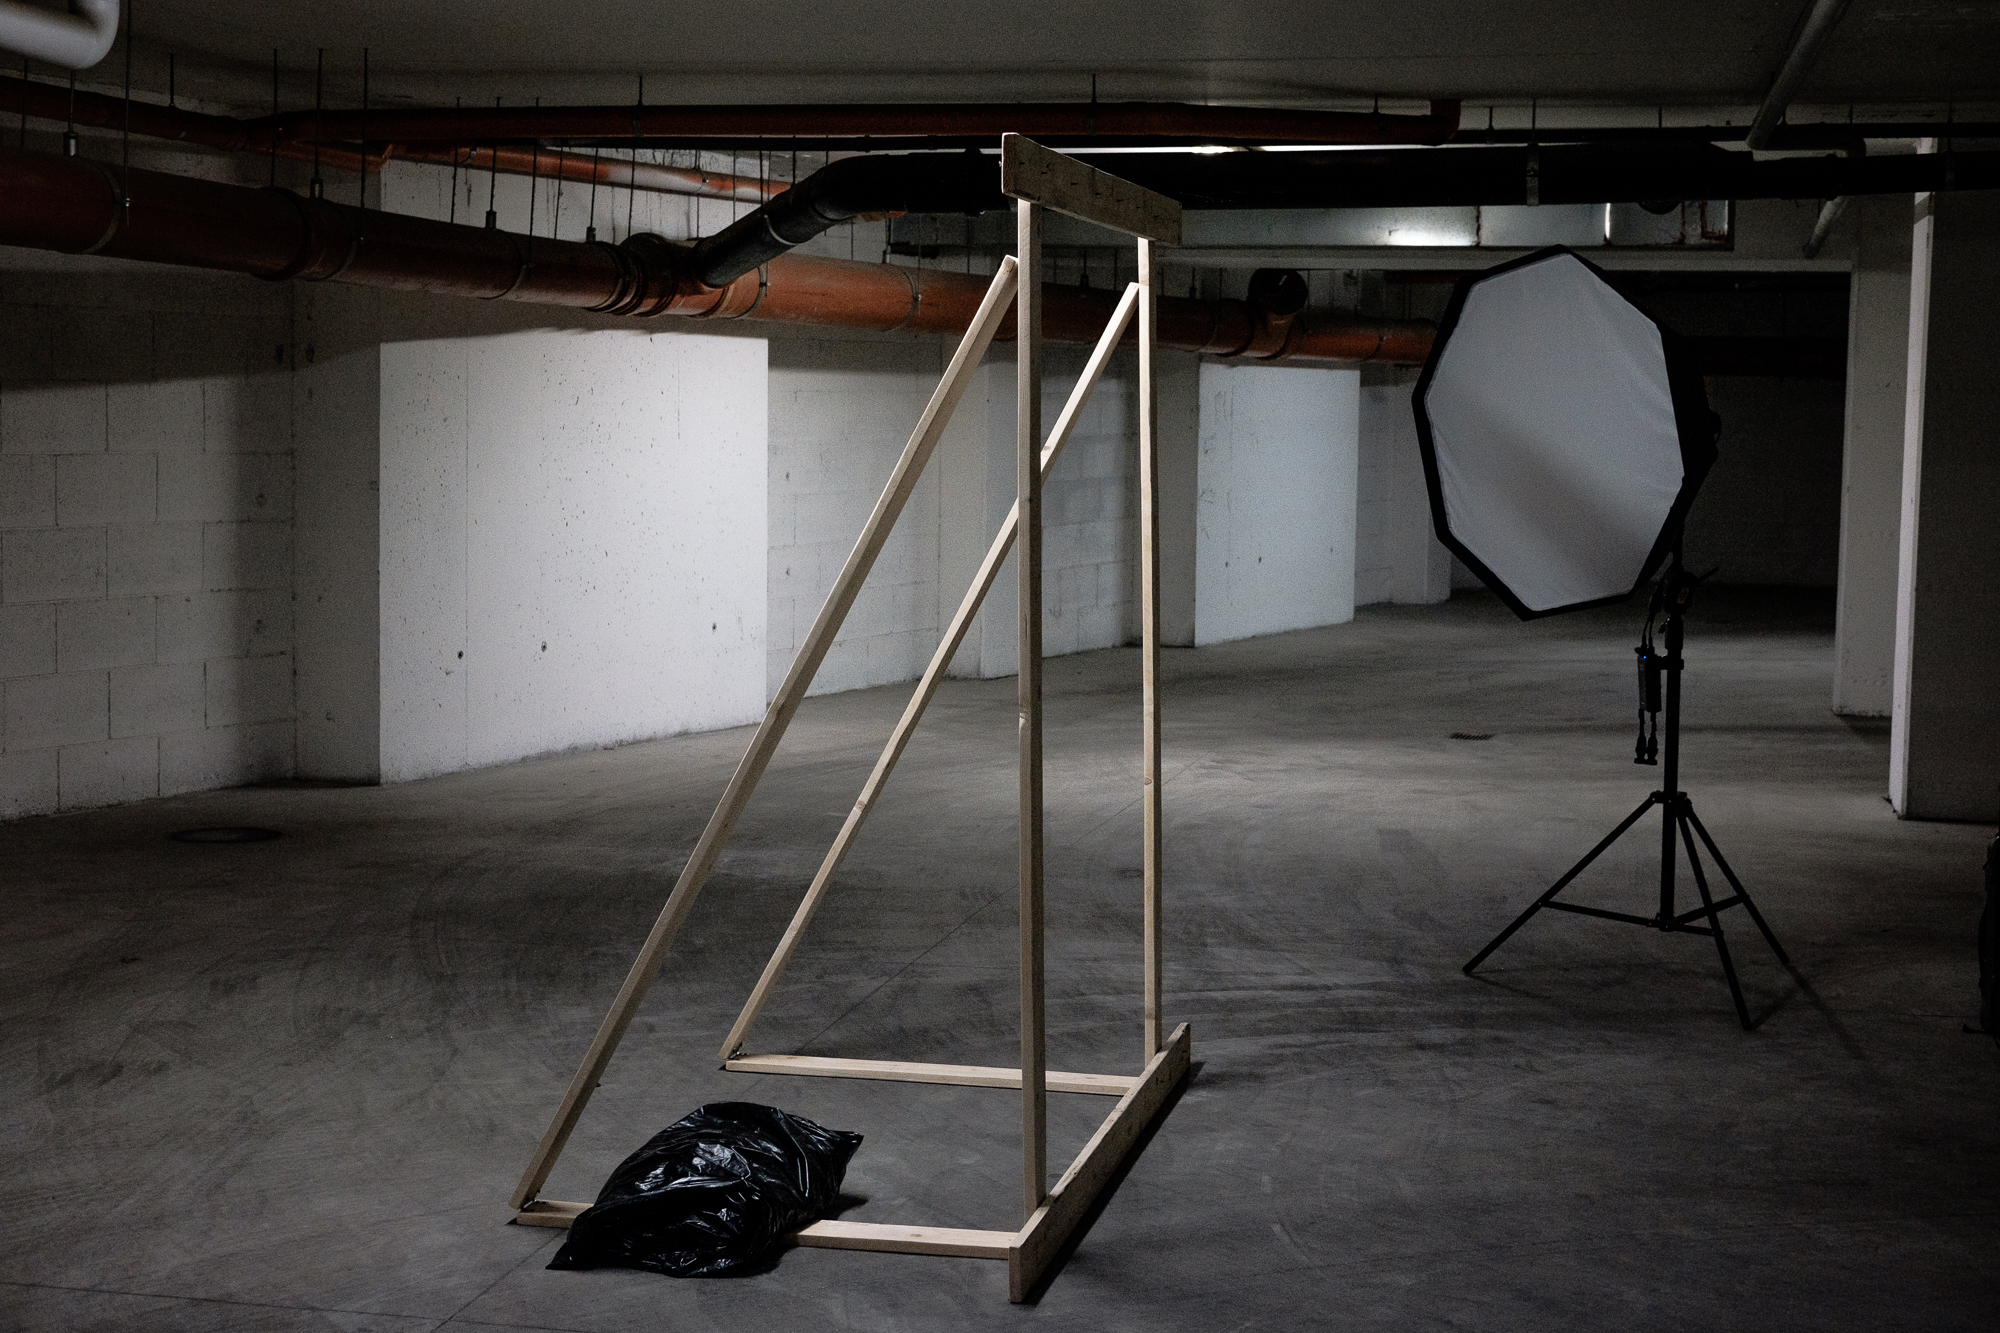
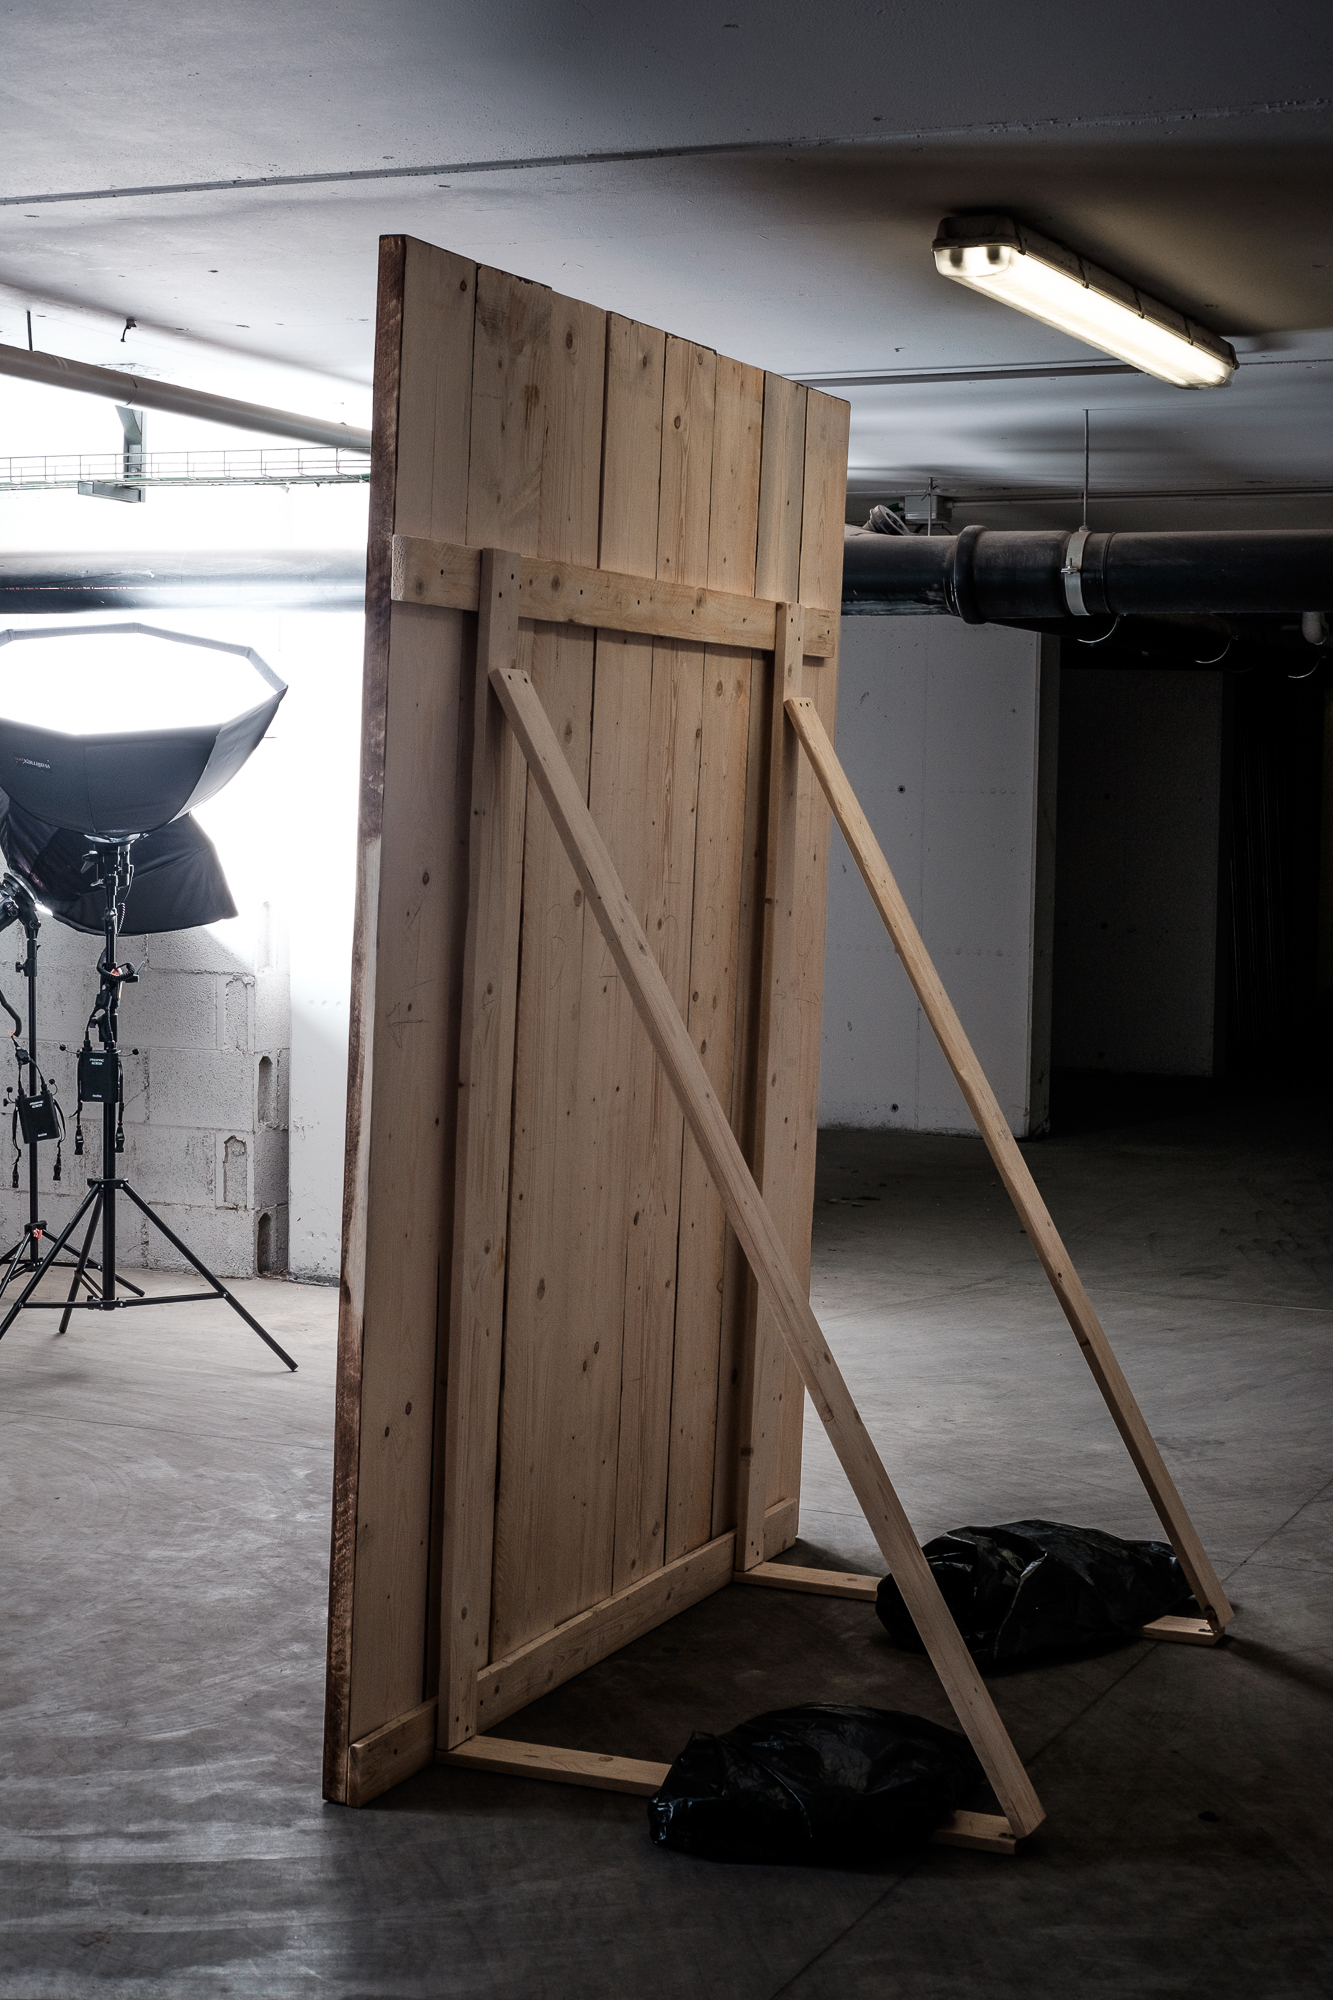
Finally, I had to create the “mounting structure”, that is, the thing that would keep all the planks properly placed and from crashing over the model. For this I had the help of a friend of mine, who works in constructions: he designed and built with me a structure very similar to those used in theaters to hold flat sceneries up, and suggested me to add two big sand bags (25kg each) to improve stability. The whole thing can be quickly dismantled (it is kept together only by screws) and packed. We made it out of smaller fir planks, here in Rome they come 4m long, 10cm wide, and 2.5cm thick. These I sanded just to take out the splinters, and I didn’t paint them at all. At the end, the whole “mounting structure” took less than one hour of work to create and assemble from the raw wood.
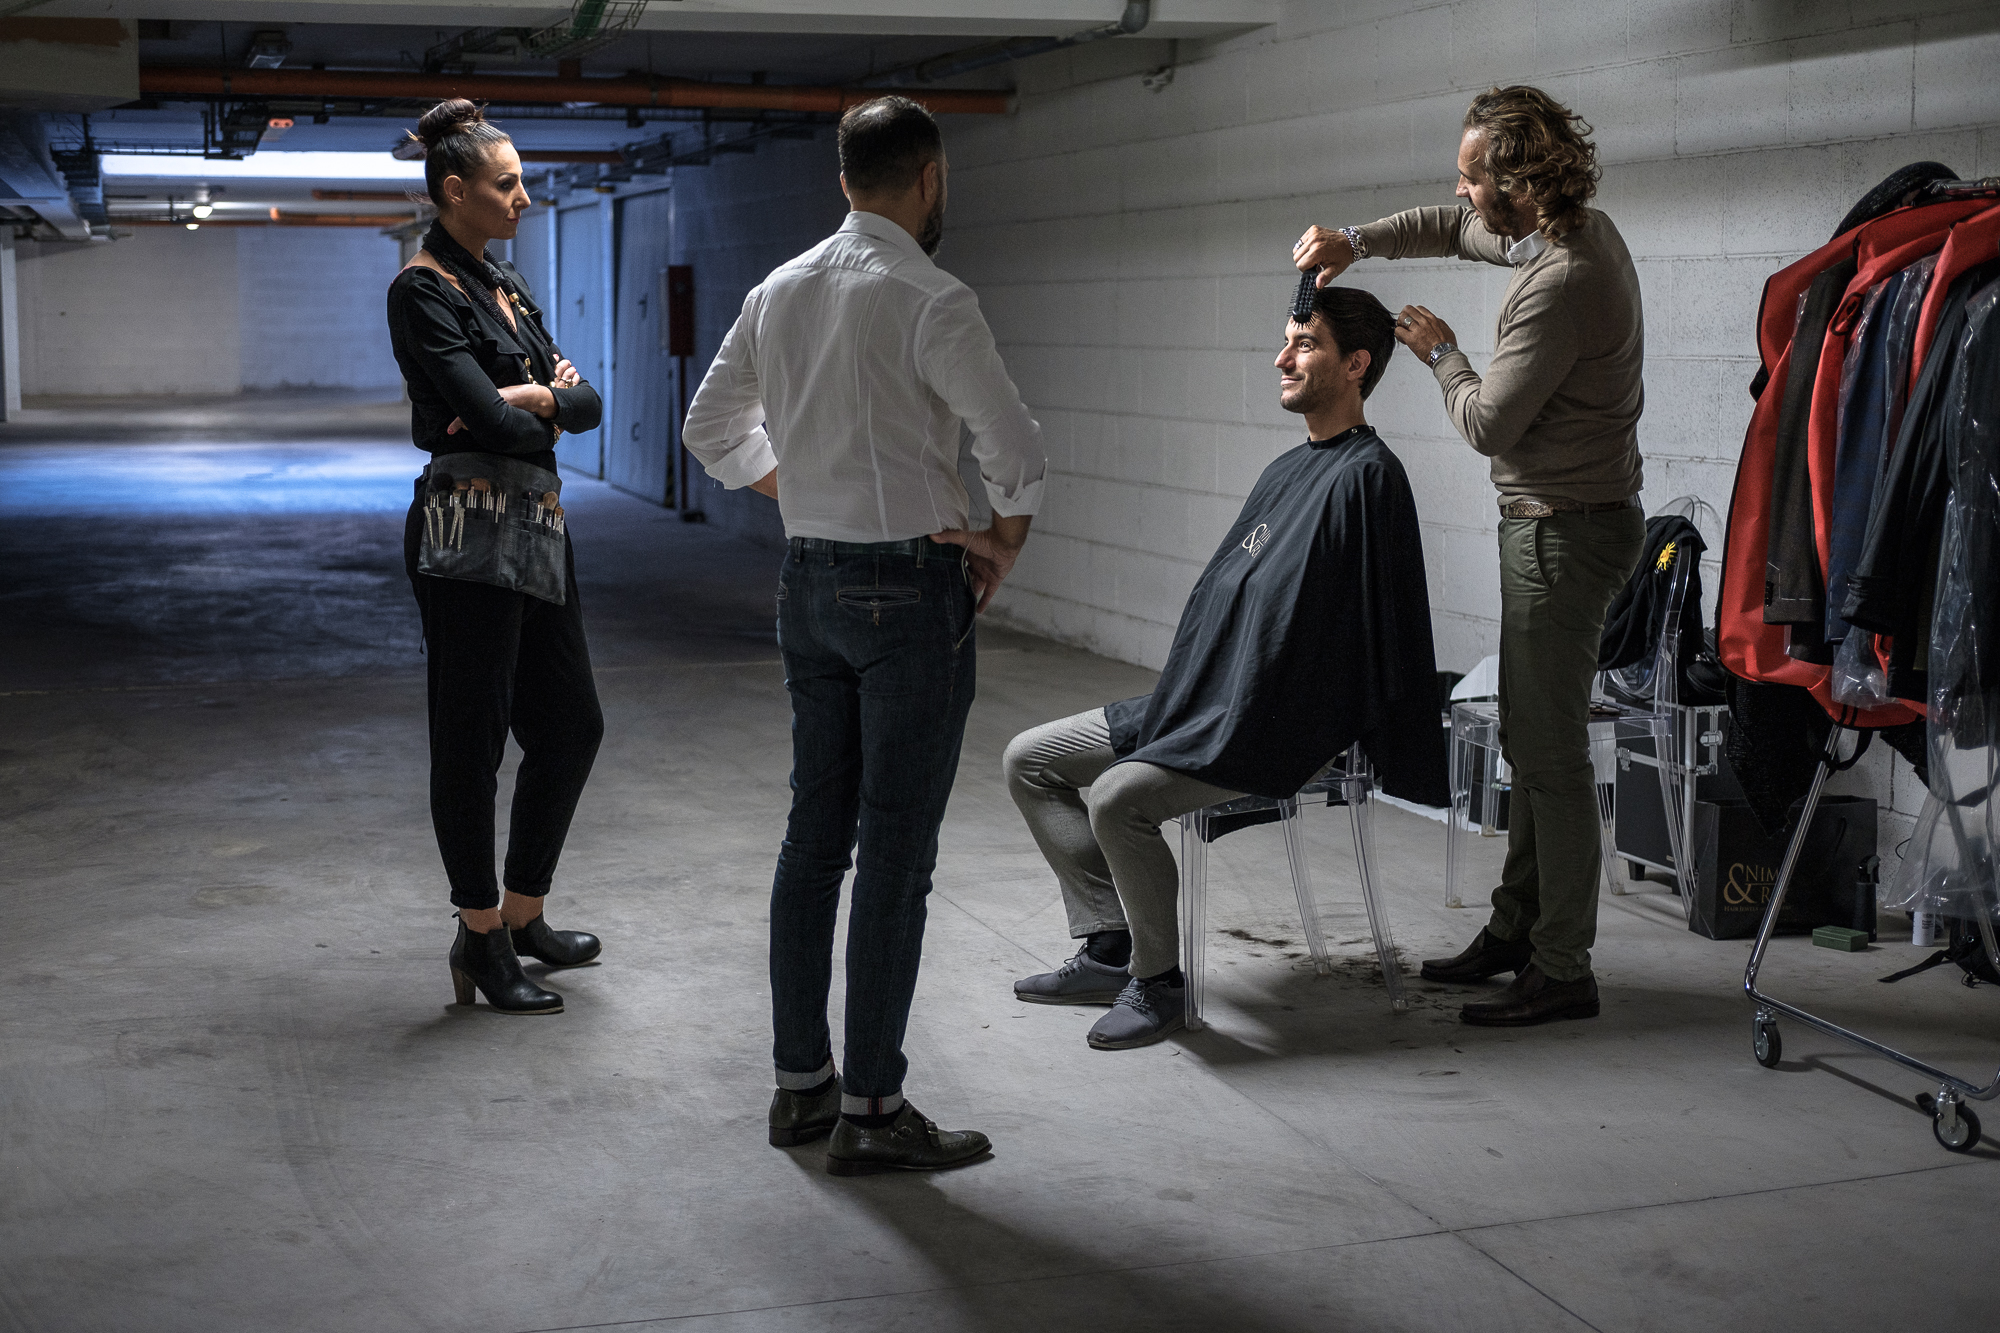
Photo by Giacomo Meiarini. Fujifilm X-T2, 35mm f2
When I want to use my wood background I just need to mount and place the structure where I want the backdrop to be (5 min.), then I place the sand bags on its two “legs”, and then I proceed to screw the planks, one by one, to the structure (5 min.). Once it is all mounted, it becomes really heavy and basically impossible to move, but dismantled it takes little space to be stored and each part is not heavier that what I can handle alone. I can even pack the whole thing in my car, should I want in the future to place the background on a different location.
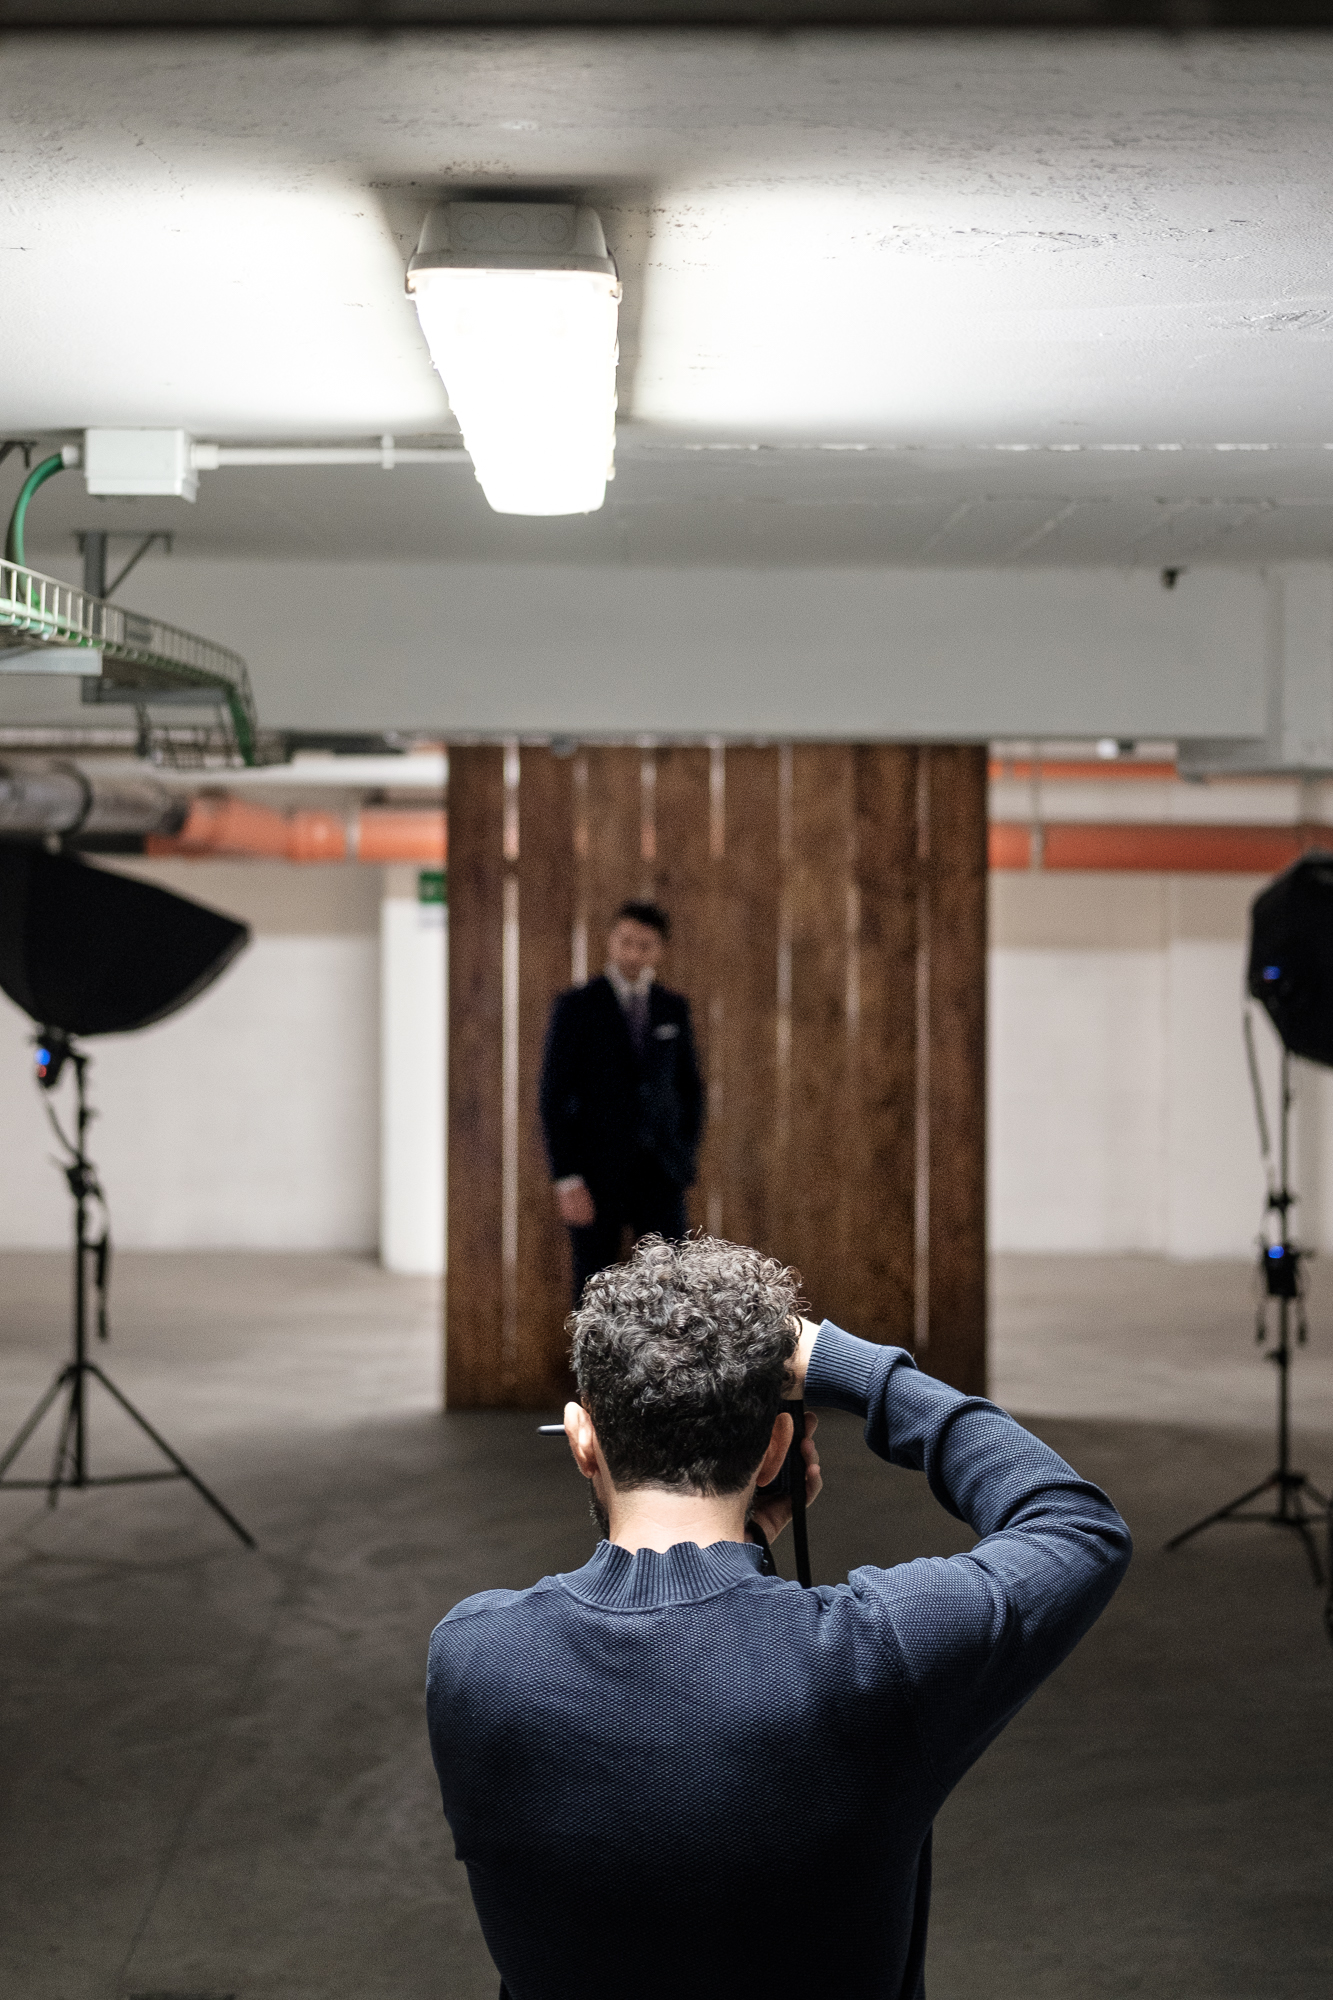
Photo by Giacomo Meiarini. Fujifilm X-T2, 35mm f2
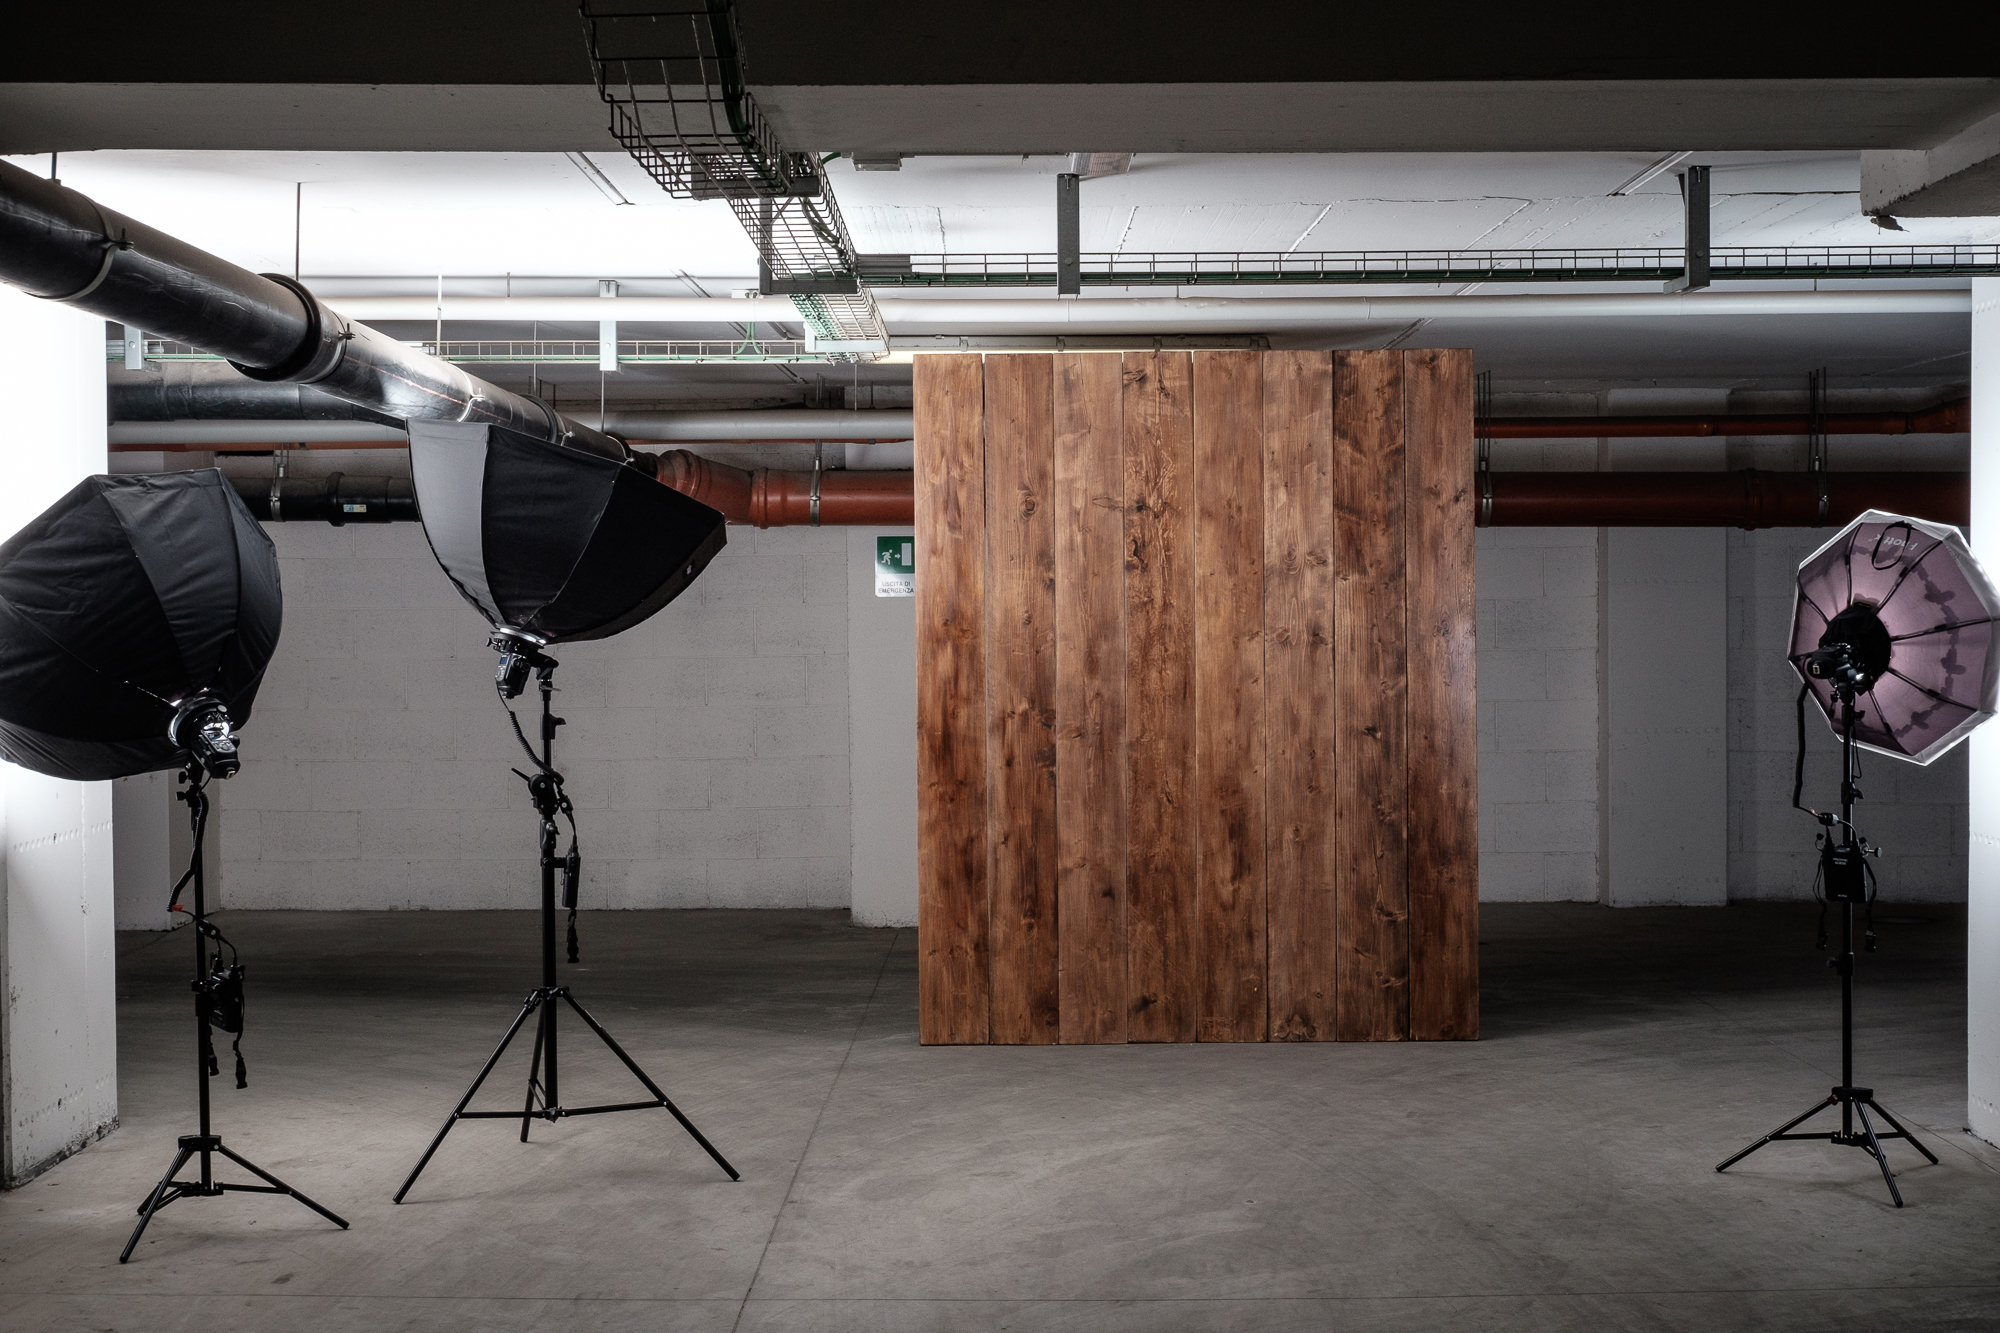
I recently christened my wood backdrop with my client Battistoni (you’ve already heard of him in two of my previous articles, one about location shootings, and one about studio shootings). All the photos in this article come from that shooting. I decided to place the backdrop in my garage, so to mix the rustic feeling of the wood with the underground, rough and industrial mood of the grey-cement floor. I placed the flashes on both sides, with the left ones creating more than twice the light of the ones on the right. I used the largest softboxes I have to soften the light, but I also had to face the flashes towards the white walls and roof of the garage to get to the natural and smooth kind of light I wanted.
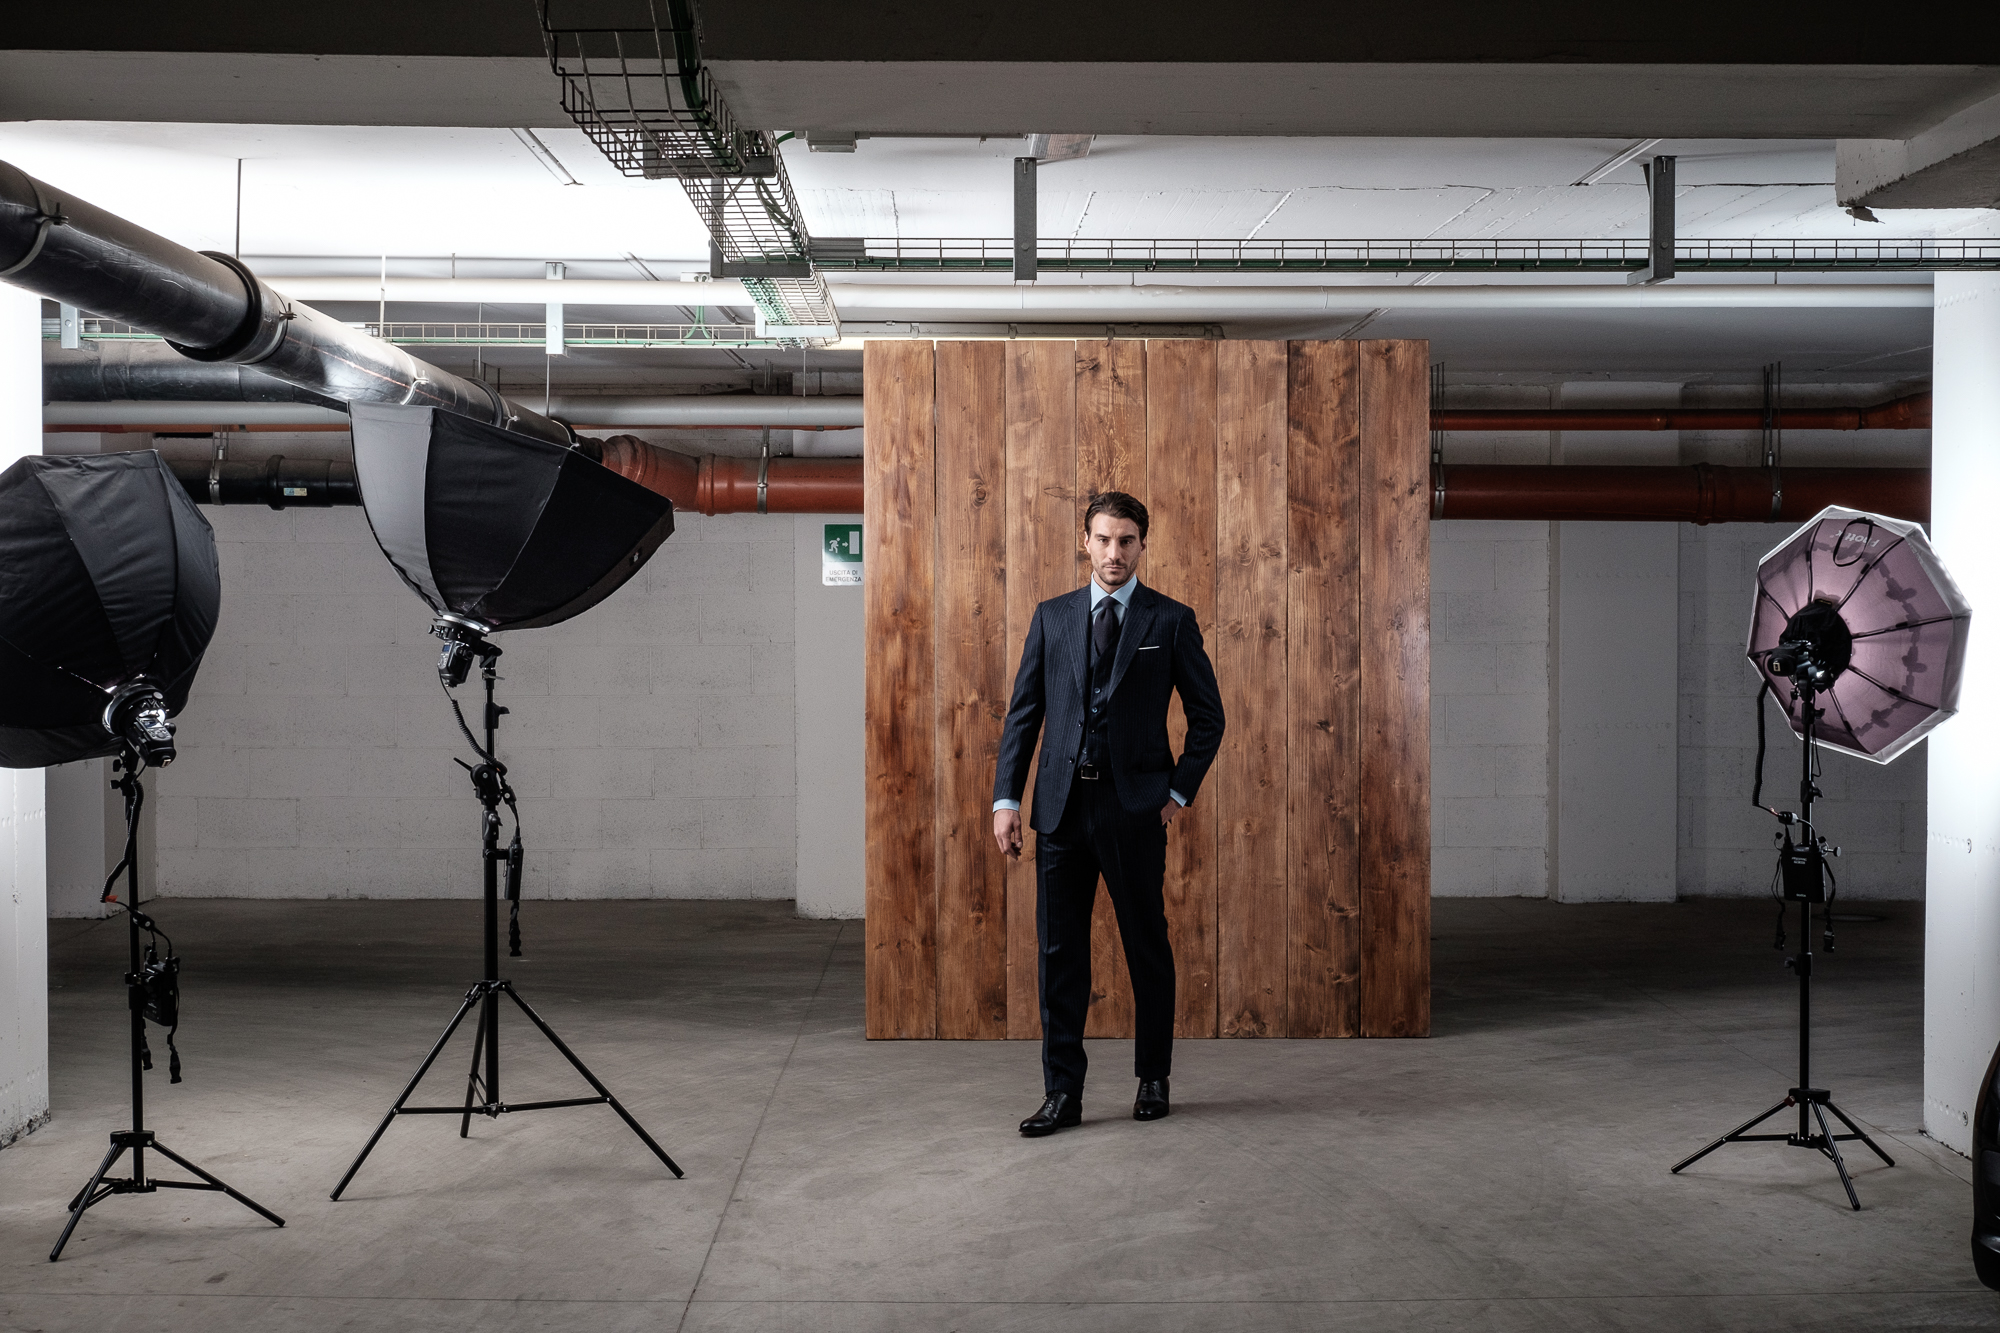
My biggest problem was that the backdrop was slightly lucid, I don’t know if that was because the paint wasn’t enough dry (planks didn’t seem “sticky” though), or if it was the quality of the paint I used, but this “lucidity” forced me to smoothen up the light more than a proper matte wood finish should have had. However, once the light was right, the whole thing worked like a charm. The stylist, the coordinator, the model, we all worked incredibly well with the mood produced by the wood background coupled with the cement floor. I used for most of the look-book shots the Fujinon 90mm f2, which, by “flattening” the scene, helped me keeping the 2.45m height of the backdrop inside the picture.
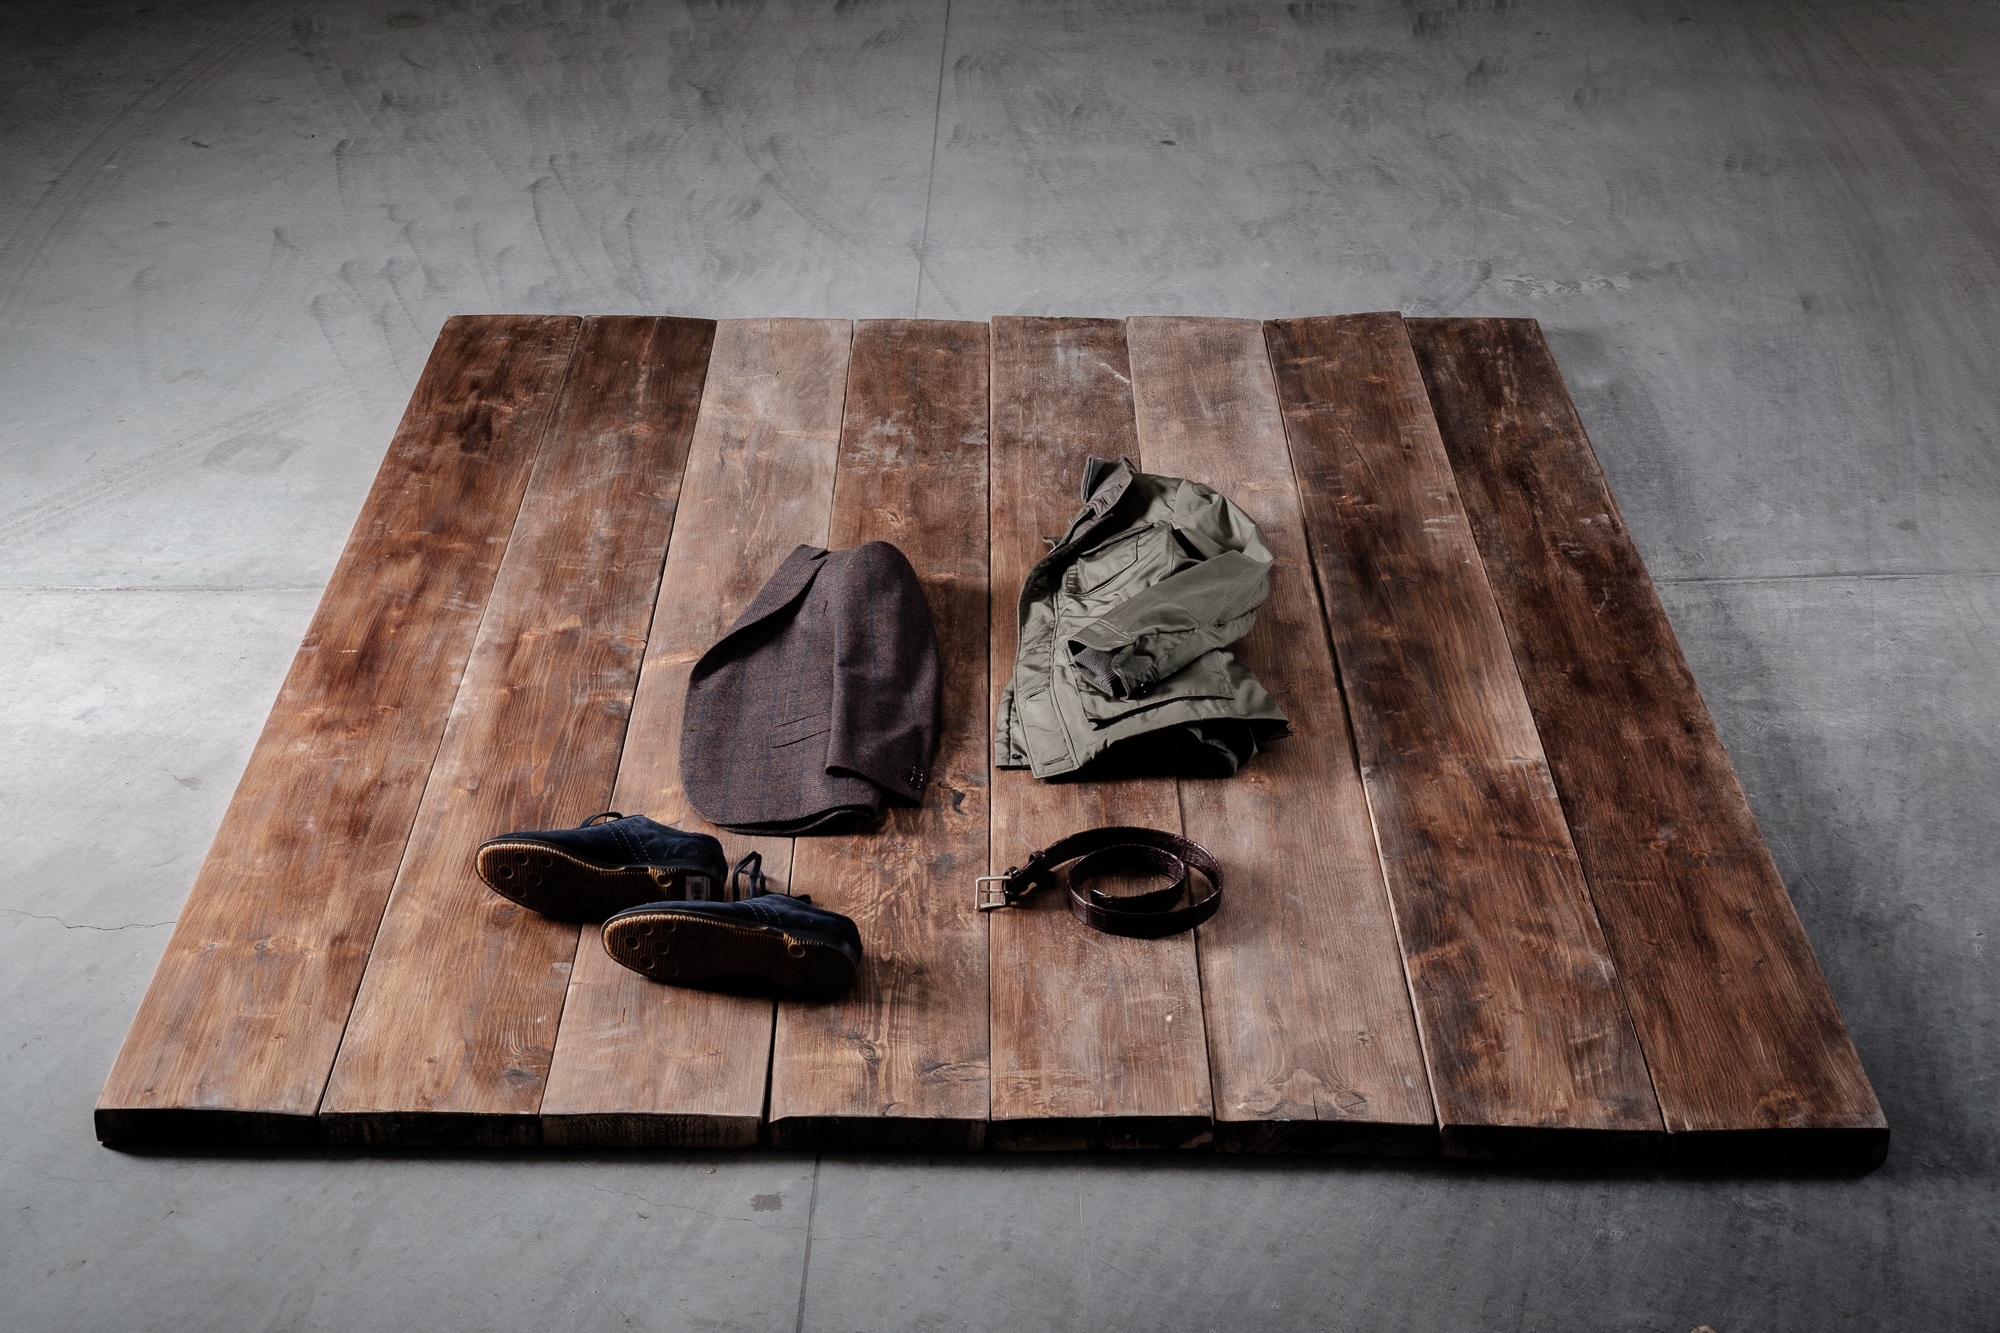
After the session with the model we worked on the still-life. I unscrewed the planks and placed them on the ground, so the stylist could arrange the clothes directly on them. With the help of a short ladder and of the 35mm f2 I elevated my point of view so to frame the whole setting from straight above. I lowered the flash to match the new position of the planks, but I kept them facing the white walls for max light softness and smoothness.
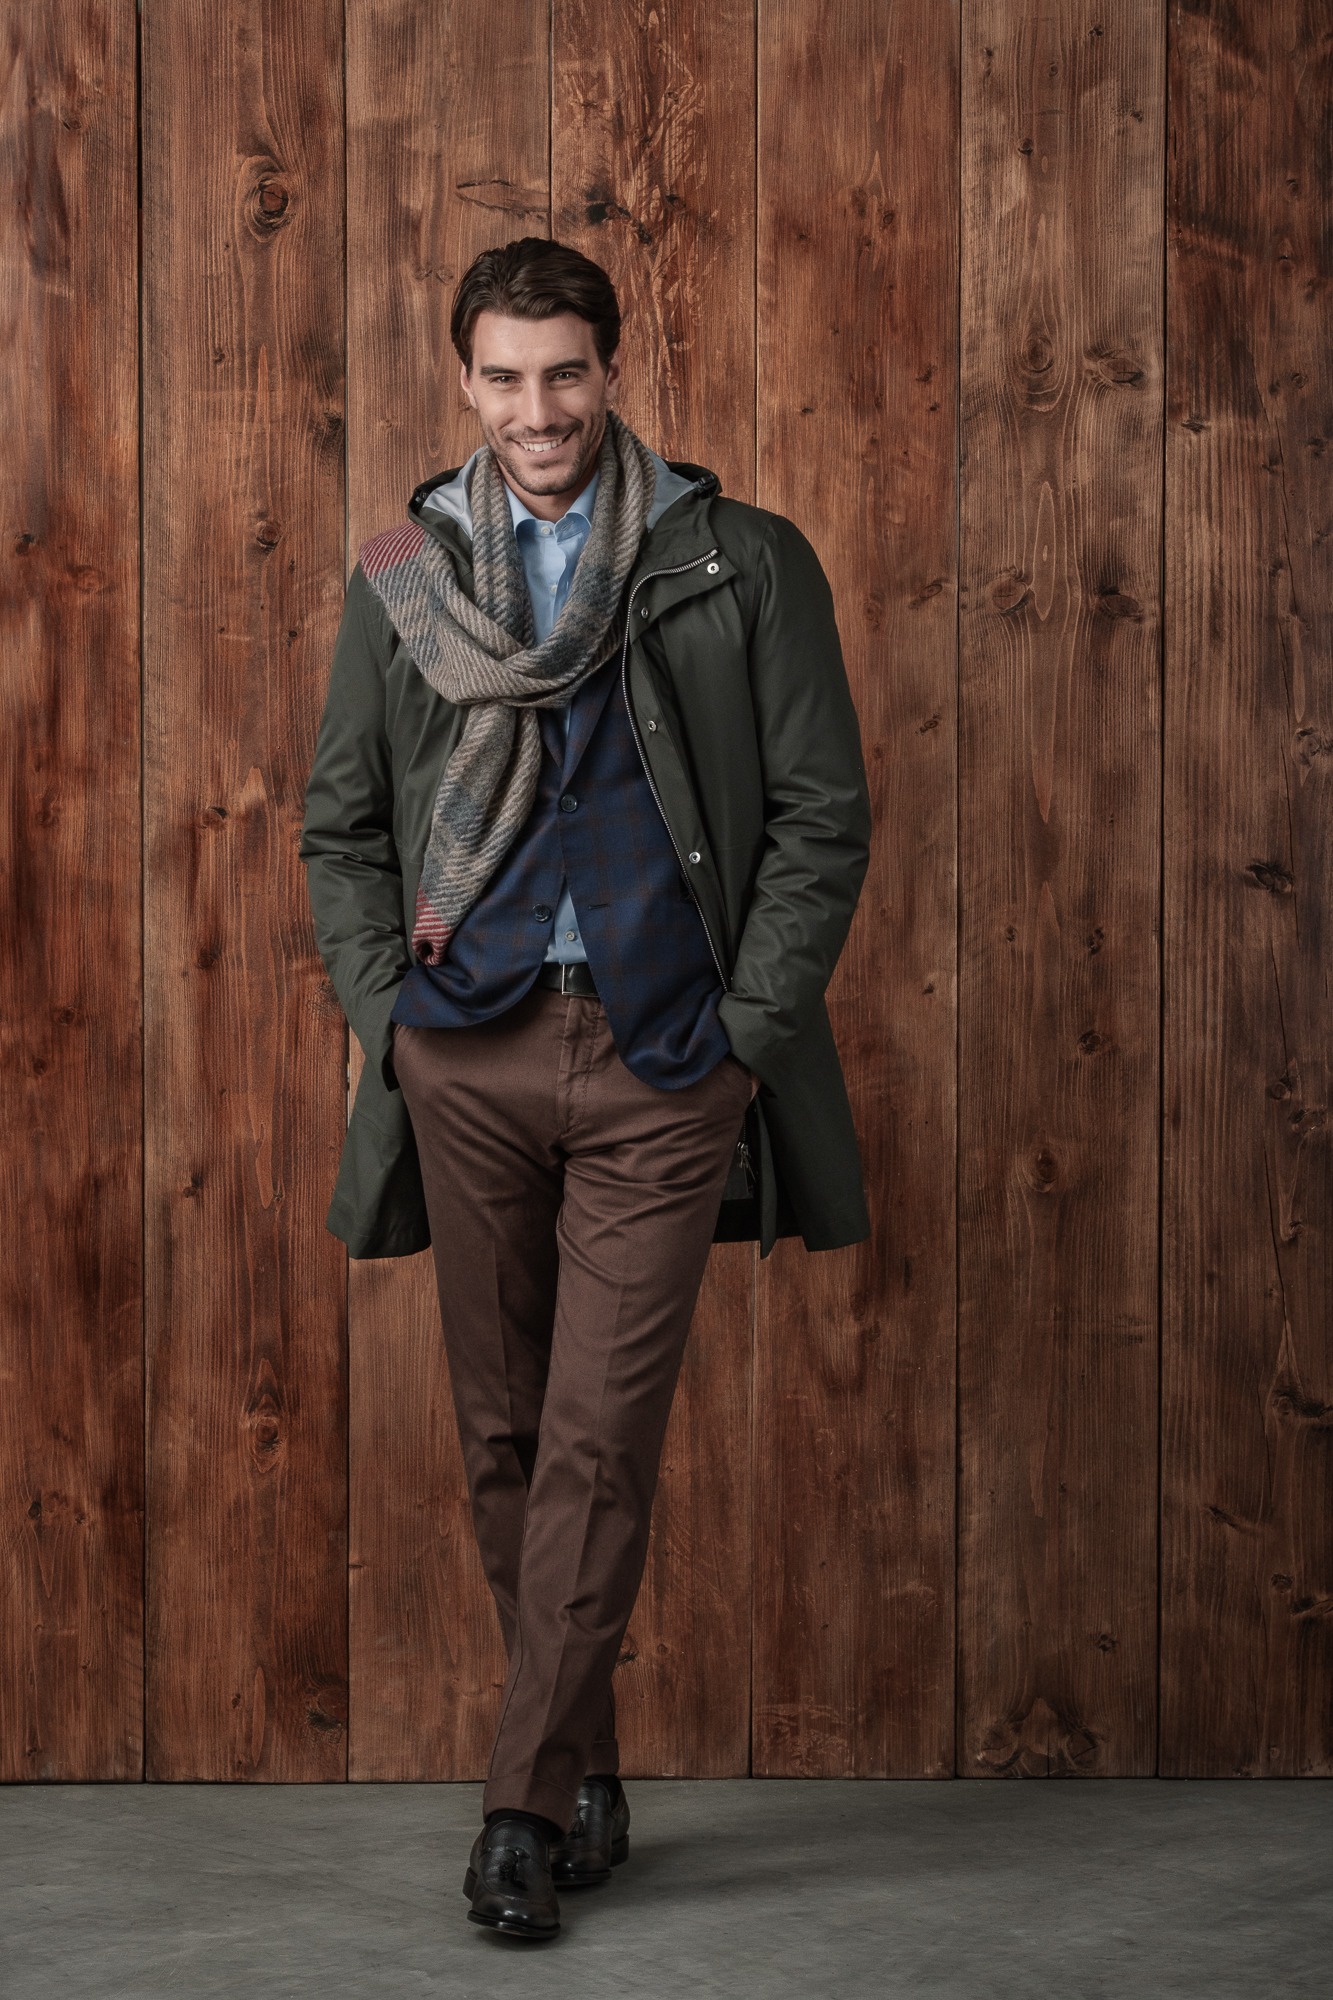
Since we just shot this session, I can’t yet share the final results with you (at Battistoni they haven’t chosen their finals, I haven touched them up, etc.). However, their coordinator, Mina Quinto, has been kind enough to let me share one shot, the one they had alreadyrequested for immediate delivery for a campaign gone printing while you’re reading this. It perfectly shows the final result of the wood background with the soft and smooth light shot with the 90mm on my Fujifilm X-T20, so I think it is really more than enough to get a grip of what you can get by building your own wood background.
Regarding the shooting, let me list some credits:
Client: Battistoni
Stylist: Willian Ruffino
Coordinator: Mina Quinto
Model: Gonzalo Cabo Prieto
Hairstylist: Manuele Bragagni
Make-Up Artist: Mary Fashion Make-Up
Photographer: Luca Rossini
Assistant Photographer: Giacomo Meiarini