

On a recent trip to the Garden Route in South Africa I decided to explore the historical Montagu Pass over the Outeniqua Mountains. This pass was built by 250 convicts under the Australian road engineer Henry Fancourt White. Construction started in 1844 and opened to the public in December 1847. What used to take 3 days by ox wagon via the Cradock Pass could now be done in 3 hours (today it is a 15 minute ride by car, but to enjoy the view and capture the beauty you need to plan for a 1 to 5 hour outing!).
The pass is a very narrow gravel road pass and the original stone wall still exists all along the pass.
For those of you not familiar with the South African geography, let me first explain what the Garden Route is as this definitely does not refer to the back yard. The Garden Route is part of the south-eastern coast of South Africa which stretches from Mossel Bay in the Western Cape to the Storms River in the Eastern Cape. The name refers to the diverse flora and numerous lagoons and lakes dotted along this part of our beautiful country.
The Montagu pass is on the Mossel Bay side of the Garden Route.
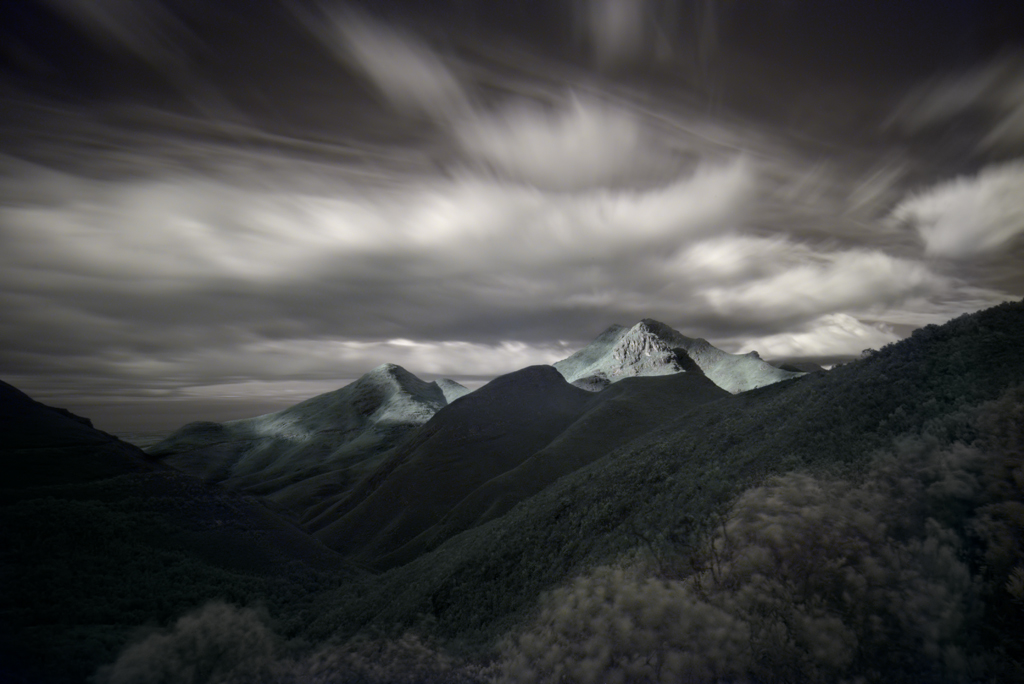
A view of the Montagu Pass from the top. Fujifilm X-T1; 14mm lens; F22; 27sec
I published an article about this morning’s trip on my own website here. After this long introduction I need to mention that this article is actually not about the Montagu pass, but about long exposure infrared photography! You see, at some point that morning I realised that the clouds are moving in from the sea side at a reasonable fast pace and decided to photograph the movement of the clouds. Although I do have a “normal” 10 stop ND filter, I was already in infrared mode (using my infrared converted Fujifilm X-E1 camera) so I decided to use my 720nm infrared filter on my normal Fujifilm X-T1 body as a means of slowing down the shutter speed. And I liked the results.
In the next couple of days I reverted back to this technique whenever I wanted to photograph movement.
Not everybody is versed in infrared digital photography, so let me give a quick rundown of the “What” and “Why”.
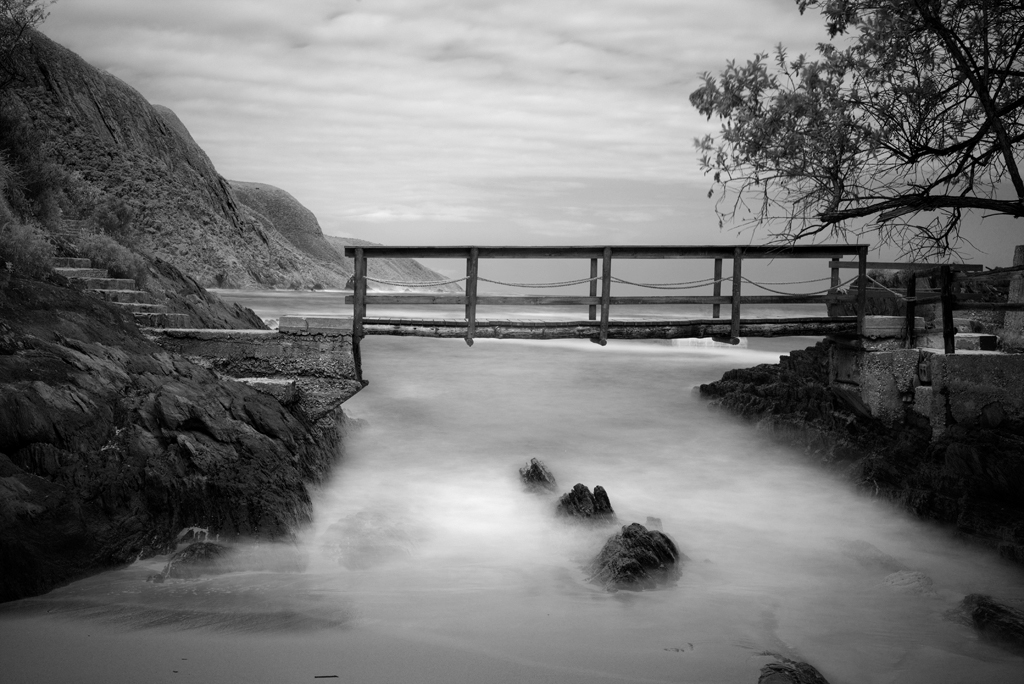
The foot bridge. Fujifilm X-T1; 35mm lens; F8; 8.5sec.
Most digital cameras try to filter the light that reach the sensor to be only visible light (the light with a wave length between approximately 390 (Violet) to 700 nm (red)). Infrared light starts just beyond the visible red. To prevent this light from reaching the sensor, the camera manufacturers put a filter in front of the sensor. This filter is known as a “hot mirror” filter. Although these hot mirror filters reflect infrared light away from the sensor, they vary in their effectiveness and with enough perseverance (long enough exposures) some infrared light will still make an imprint on the sensor. By adding an infrared filter in the light path we can prevent normal visible light to reach the sensor, and by keeping the sensor open long enough, we can record only the infrared light that passed through the infrared filter and through the hot mirror. Quite neat, I think!
So with this knowledge we can use an infrared filter in the same way we could use a ND filter, with the added benefit that it will only record the infrared light, thus producing an otherworldly view of the scene.
There is another caveat though; not all lenses play nice with infrared light. You see, the lens manufacturers generally optimise their lenses to produces the best quality images for visible light with just enough saturation and contrast by using special lens elements and coatings, and some of these added coatings will create undesirable effects when you look at the not-visible-light captured images. Specifically we see a tendency of a brighter and less contrasty area in the middle of the lens, and it is more visible at small apertures than when the lens is wide open.
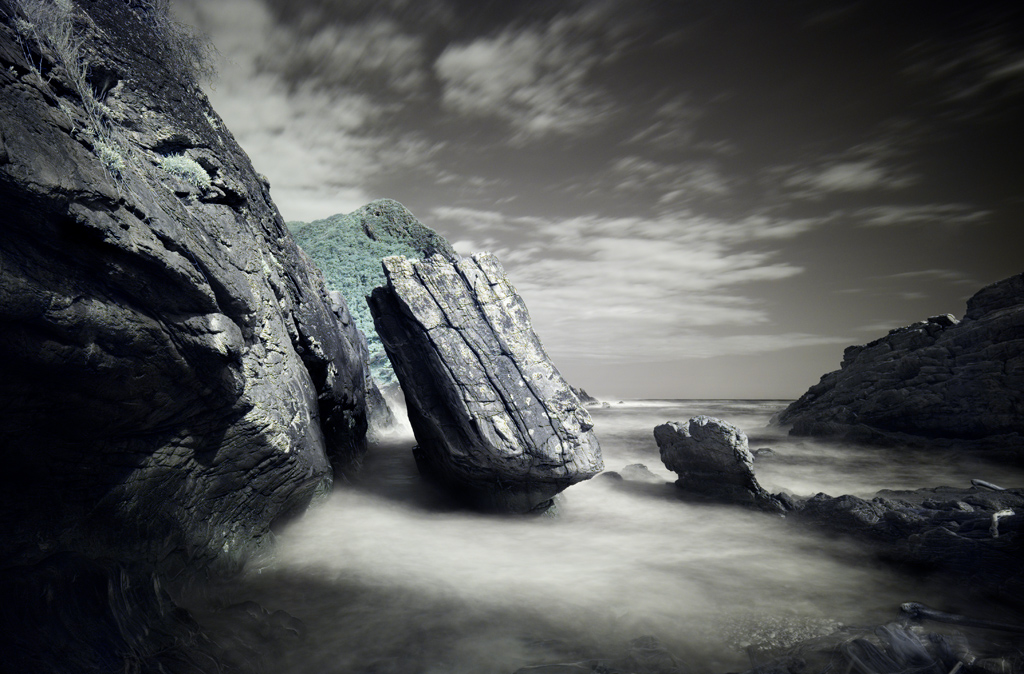
This is a famous rock on the Storms River Mouth hiking trail called “Peet se Rots”. Fujifilm X-T1; 14mm lens; F8, 13sec.
I found that my 14mm, 35mm and 55-200mm Fujinon lenses can be used with success for infrared photography. Luckily for me, the 14 and 35mm lenses are my favourites.
When using the 720nm filter and by creating a custom white balance it is possible to record very interesting colour shifted images. My current custom white balance has a tendency to create a very subtly sea-green to green colour on foliage while the sky and rocks gets a monochromatic purple hue. I find this combination very attractive and in many cases I keep it to those colours rather than trying to get more realistic colours or to convert it to monochrome.
That being said, some scenes, especially long exposure seascapes just look much better in monochrome, and will eventually end up as a monochrome photo. In some cases (the monochrome photos included in this panel) I used the Fujifilm mono +R setting to create more contrast.
All photos included in the panel were taken with a Fujifilm X-T1 with the 14mm F2.8 and 35mm F1.4 lenses.
For more on my Fujifilm endeavours, visit my site at http://johann.vdwalt.net.


