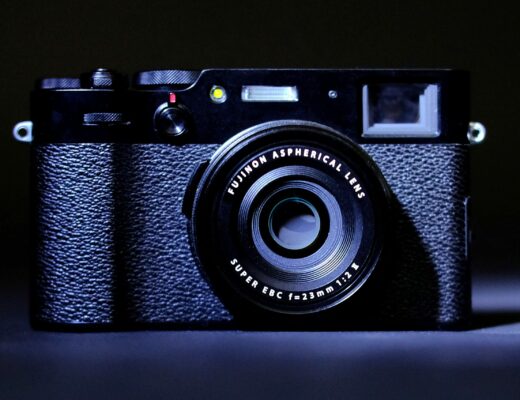
I like to tinker and experiment with my gear. I’ve been photographing long enough to know there’s no one camera, lens, or film that can create that one look. It’s always the combination of the three (and sometimes more) that gives that aesthetic signature we’re all looking for. For instance, I know my Ricoh GR-1 looks best with Tri-X, while my Minolta 9xi with the 35mm f/1.4 looks best with Kodak E100 slide film. It’s no different with digital cameras. When the new X-Pro3 came out, I liked everything about the body, but I was just as excited about the new film simulation, Classic Neg. Since this was the most film-like simulation that Fujifilm’s engineers created thus far (shall I call them digital chemists instead?) I was curious which lens would work best with this combination. Billy Luong of Fujifilm Canada told me many company insiders were saying the XF 35mm f/1.4 looked great with Classic Neg. I’ve seen some results and they do look amazing.

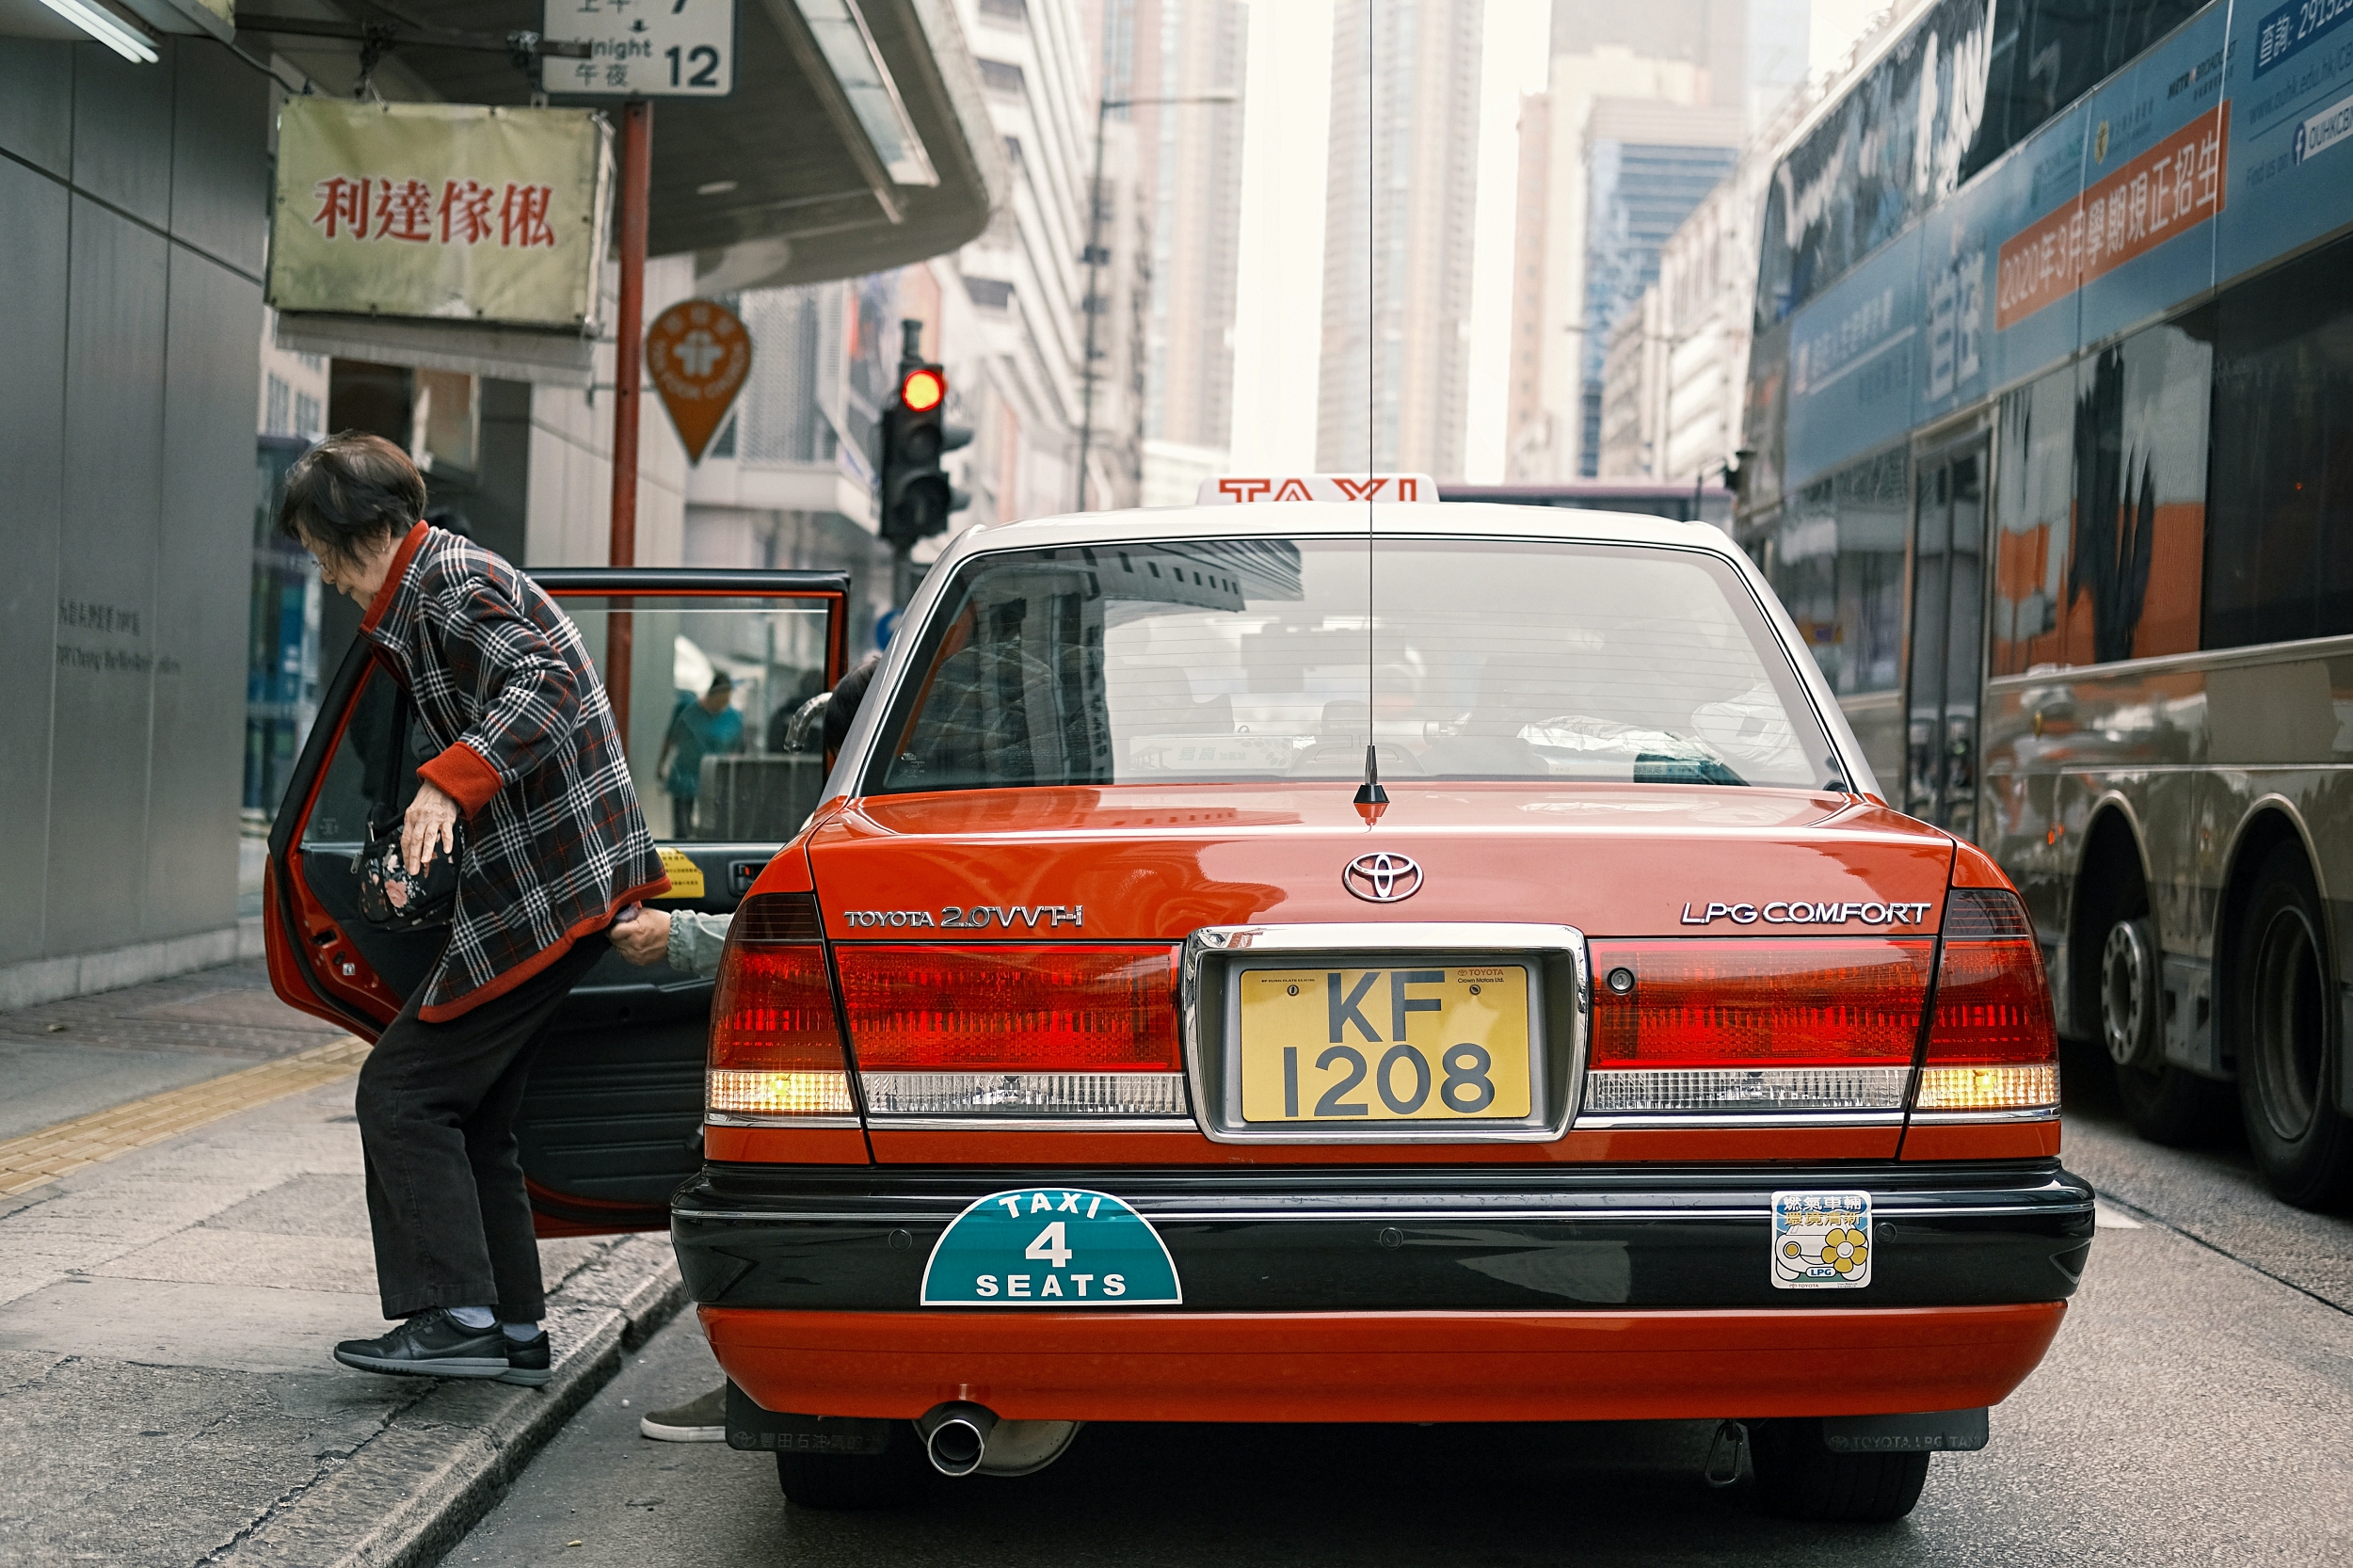
While preparing for my first work trip for 2020, I already knew the X-Pro3 would be my primary digital tool. I also knew that Classic Neg simulation would be the profile to use in a city like Hong Kong, since I knew the combination of the film-like look with punchy colours would work great in this city. The only major decision would be the lens I would use as my daily carry. I knew I would be bringing my XF 10-24mm for video and some architectural work, but which lens will be used 80% of the time while I’m wandering through the streets of my favourite city? I decided to bring with me the XF 35mm f/2 R WR, the first Fujicron. In fact, I helped launch this lens back in 2015 right here on FujiLove while I was in Hong Kong!
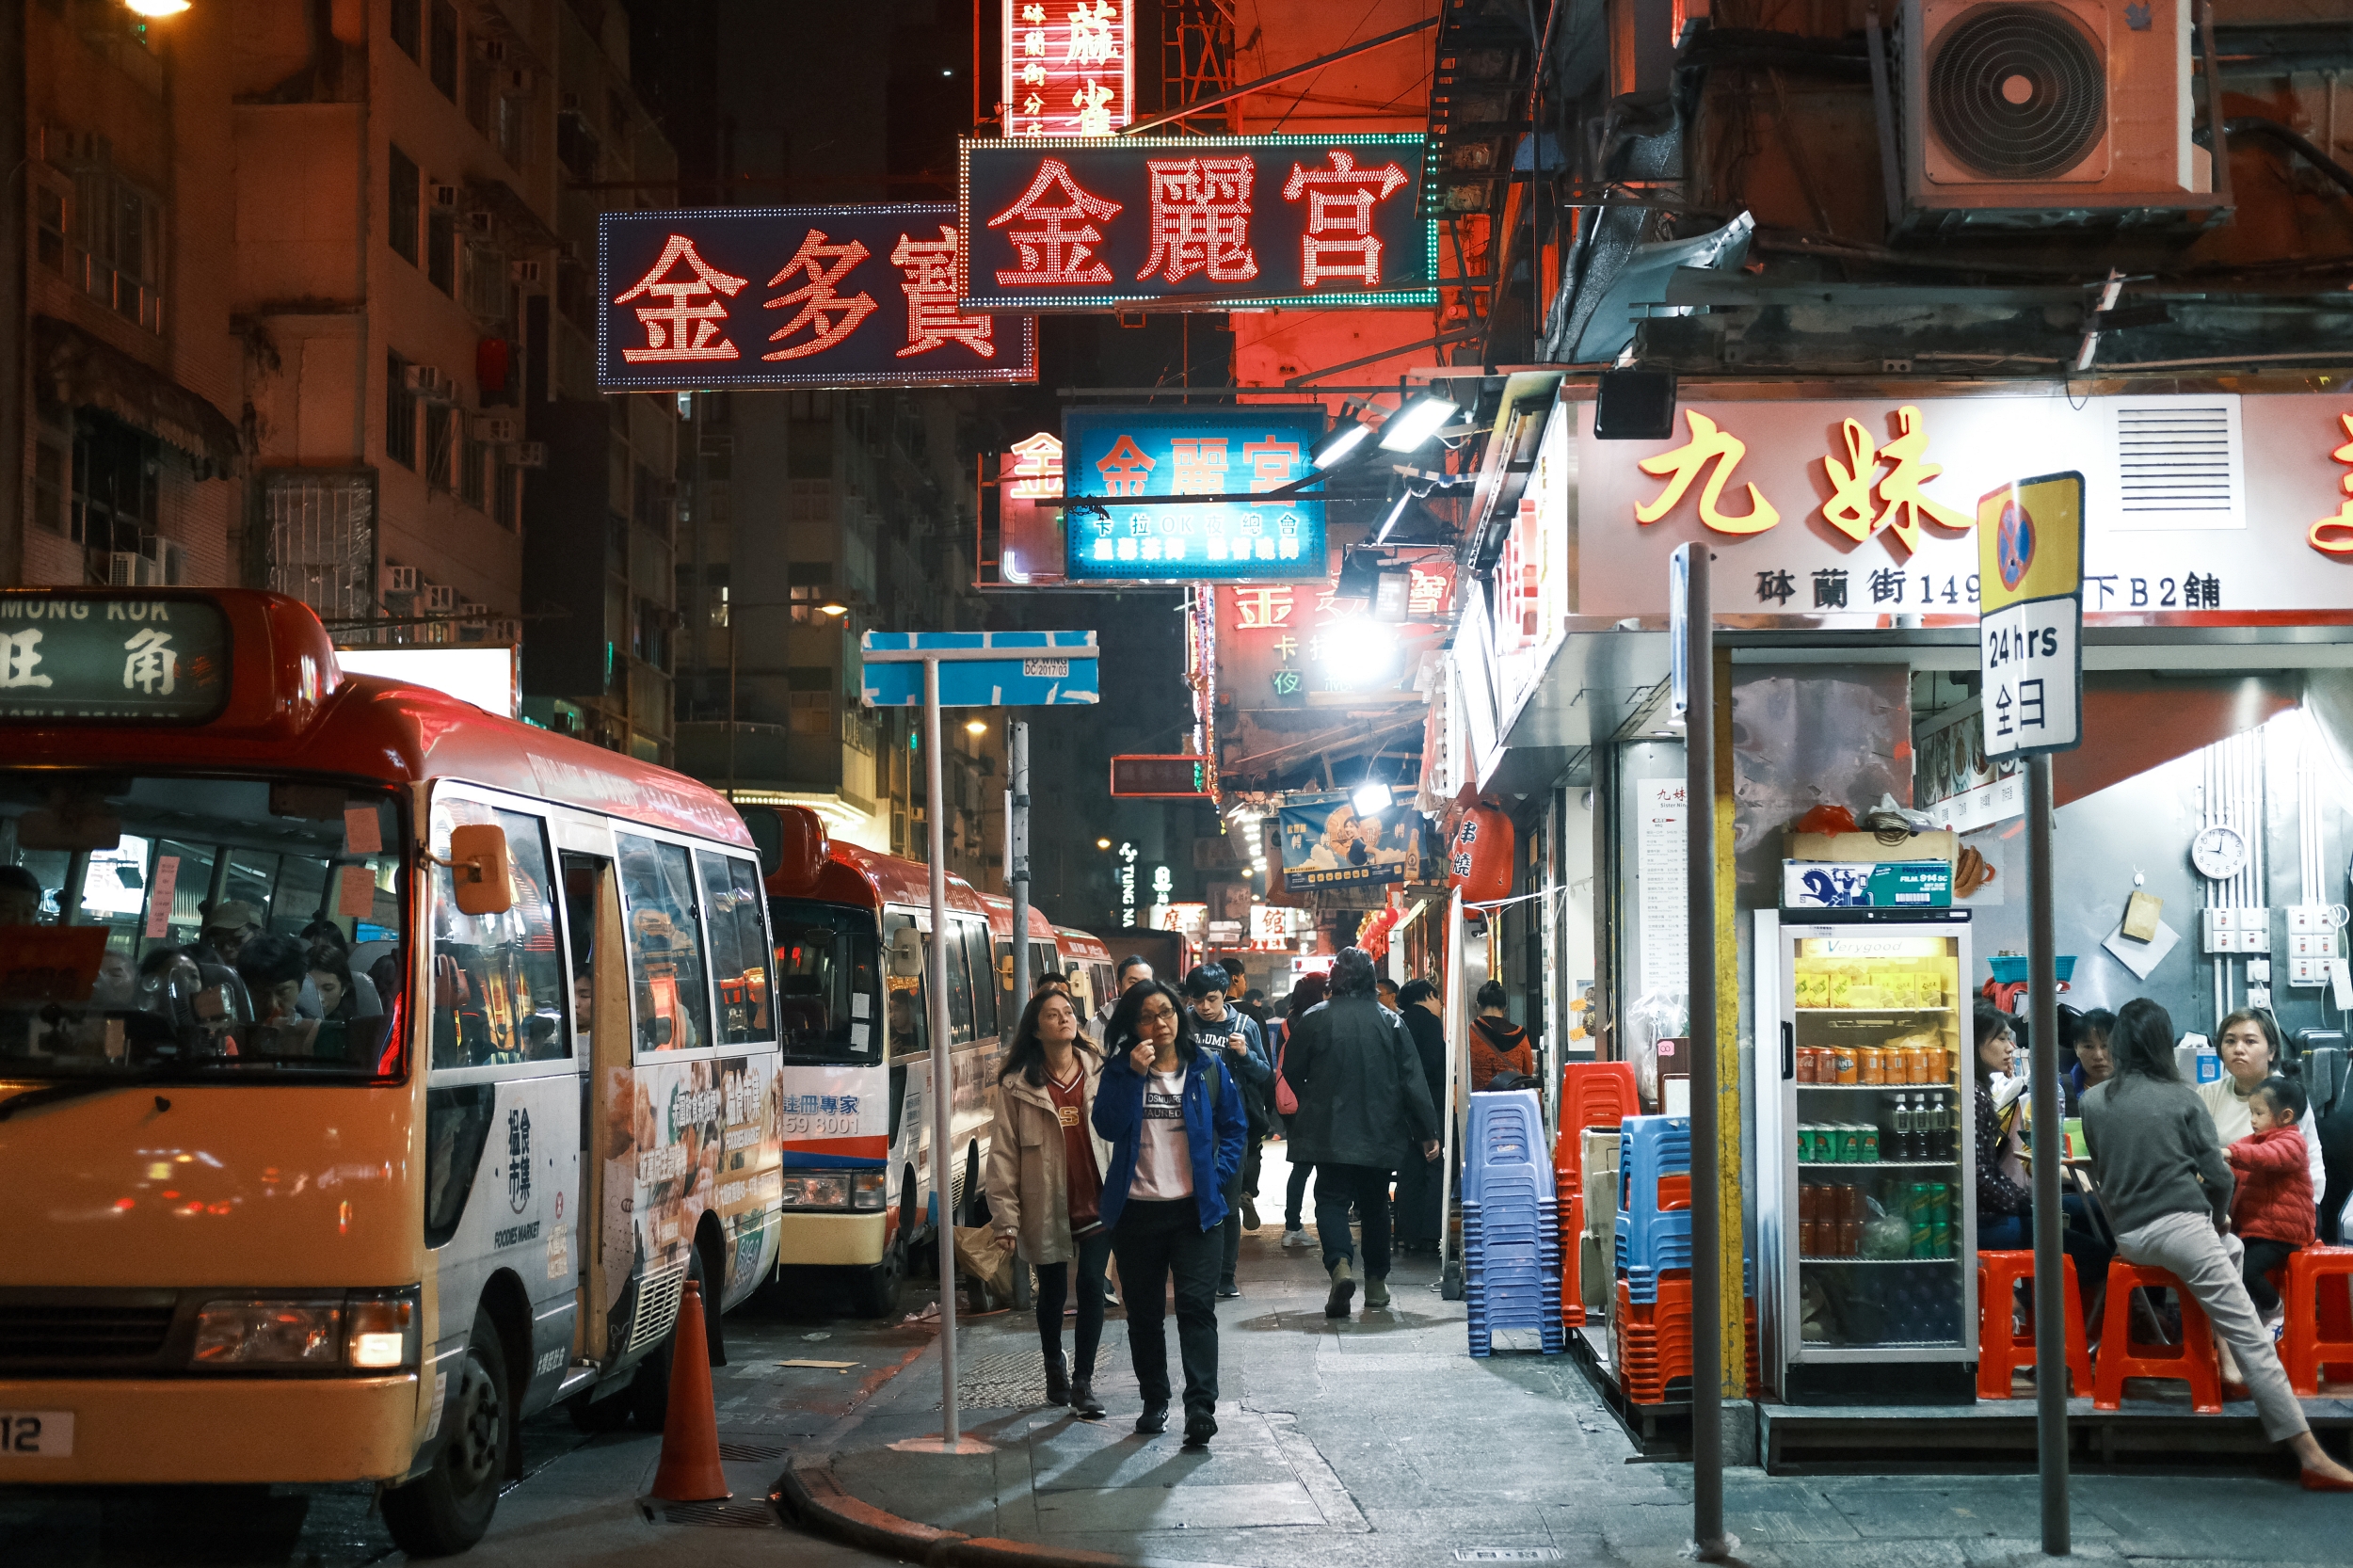
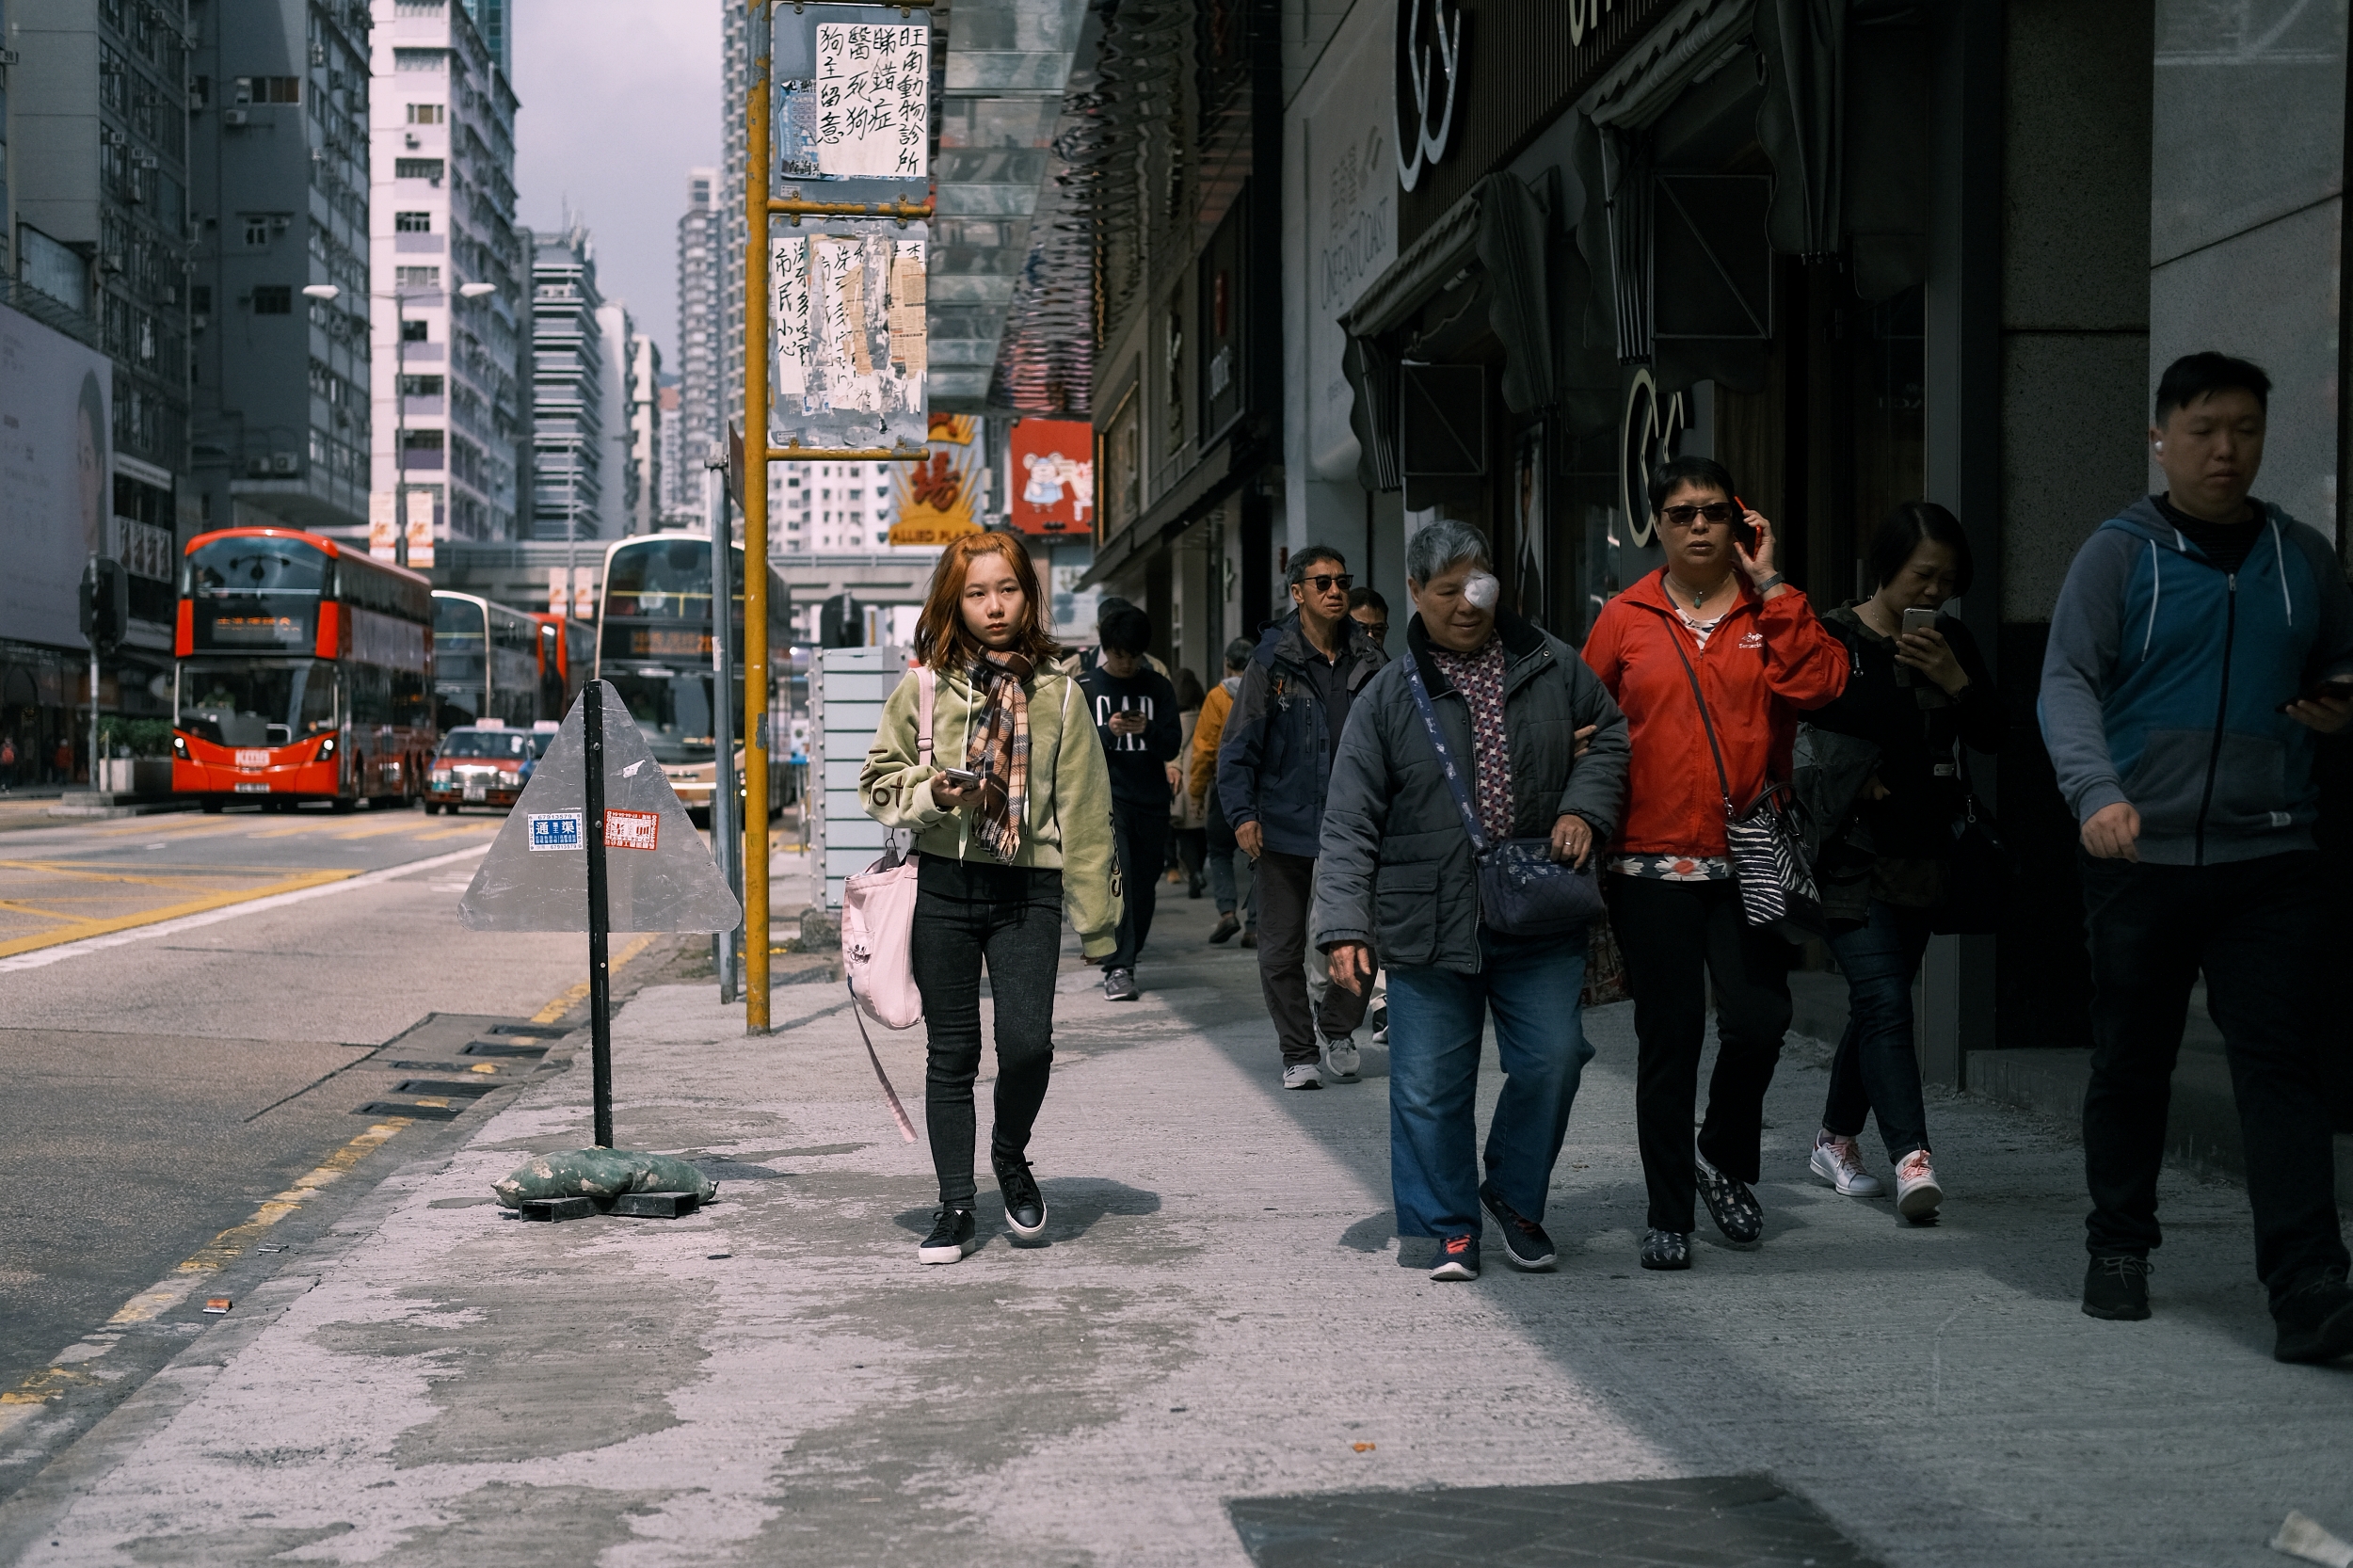
Aesthetically and functionally the 50mm equivalent lens is a great combination with the X-Pro3. The XF 35mm f/2 R WR is compact, light, quiet, fast and accurate autofocus, weather-sealed and reasonably priced. The problem with this focal length in Hong Kong is that this is a very compact and dense city. Shooting with a 50mm equivalent feels more like a 75mm or 90mm as people and cars and buses come at you quickly and randomly. Just as you perfectly frame your subject, someone blindsides you by walking in between you and your subject. You don’t have the same problem with a wide angle lens as you narrow the distance between you and your subject as you fill your frame. The only way to avoid this is by shooting in optical viewfinder mode so you can see outside the frame lines, or you shoot in sport-mode with a similar feature but with a slight crop in the image.
However, like any new body+lens+film+city combination, I had to adapt and find my zone. The images I typically capture with my previous kit weren’t possible with this new kit, so I tried not to let it bother me when I missed the shot. Instead, I started looking for new shots, new subjects and new scenes further out than my previous comfort zone. For me the 28mm equivalent is the standard wide street photography lens, although I actually enjoy going wider in a city like Hong Kong. But I refrained from switching to my XF 10-24mm lens except for vlogging and architectural and kept working at the XF 35mm. I think after a couple of days I was getting a handle of this lens and how it works in Hong Kong.
As for the Classic Neg simulation, I find it a bit too magenta and warm in many situations. In my Auto White Balance setting, I have it custom set to -1 Blue and -1 Red, moving more towards green. I also find that it doesn’t look great for every single scene; or at least not as versatile as my previous favourite film simulation, Classic Chrome. This is why I shoot in both RAW and JPEG, although every image captured for this article are all the original JPEGs. I found the simulation looks the most film like during the day when there’s a good combination of highlights and shadows. At night, it’s tricky, depending on what type of light you find yourself in. I found that I was doing custom white balance more often versus other film simulations. I made some custom white balance settings for the various lighting situations in Hong Kong and made sure I had White Balance as one of the custom function button settings. Moreover, Classic Neg is trickier to white balance than other film simulations, but when you get it right, it’s magical.
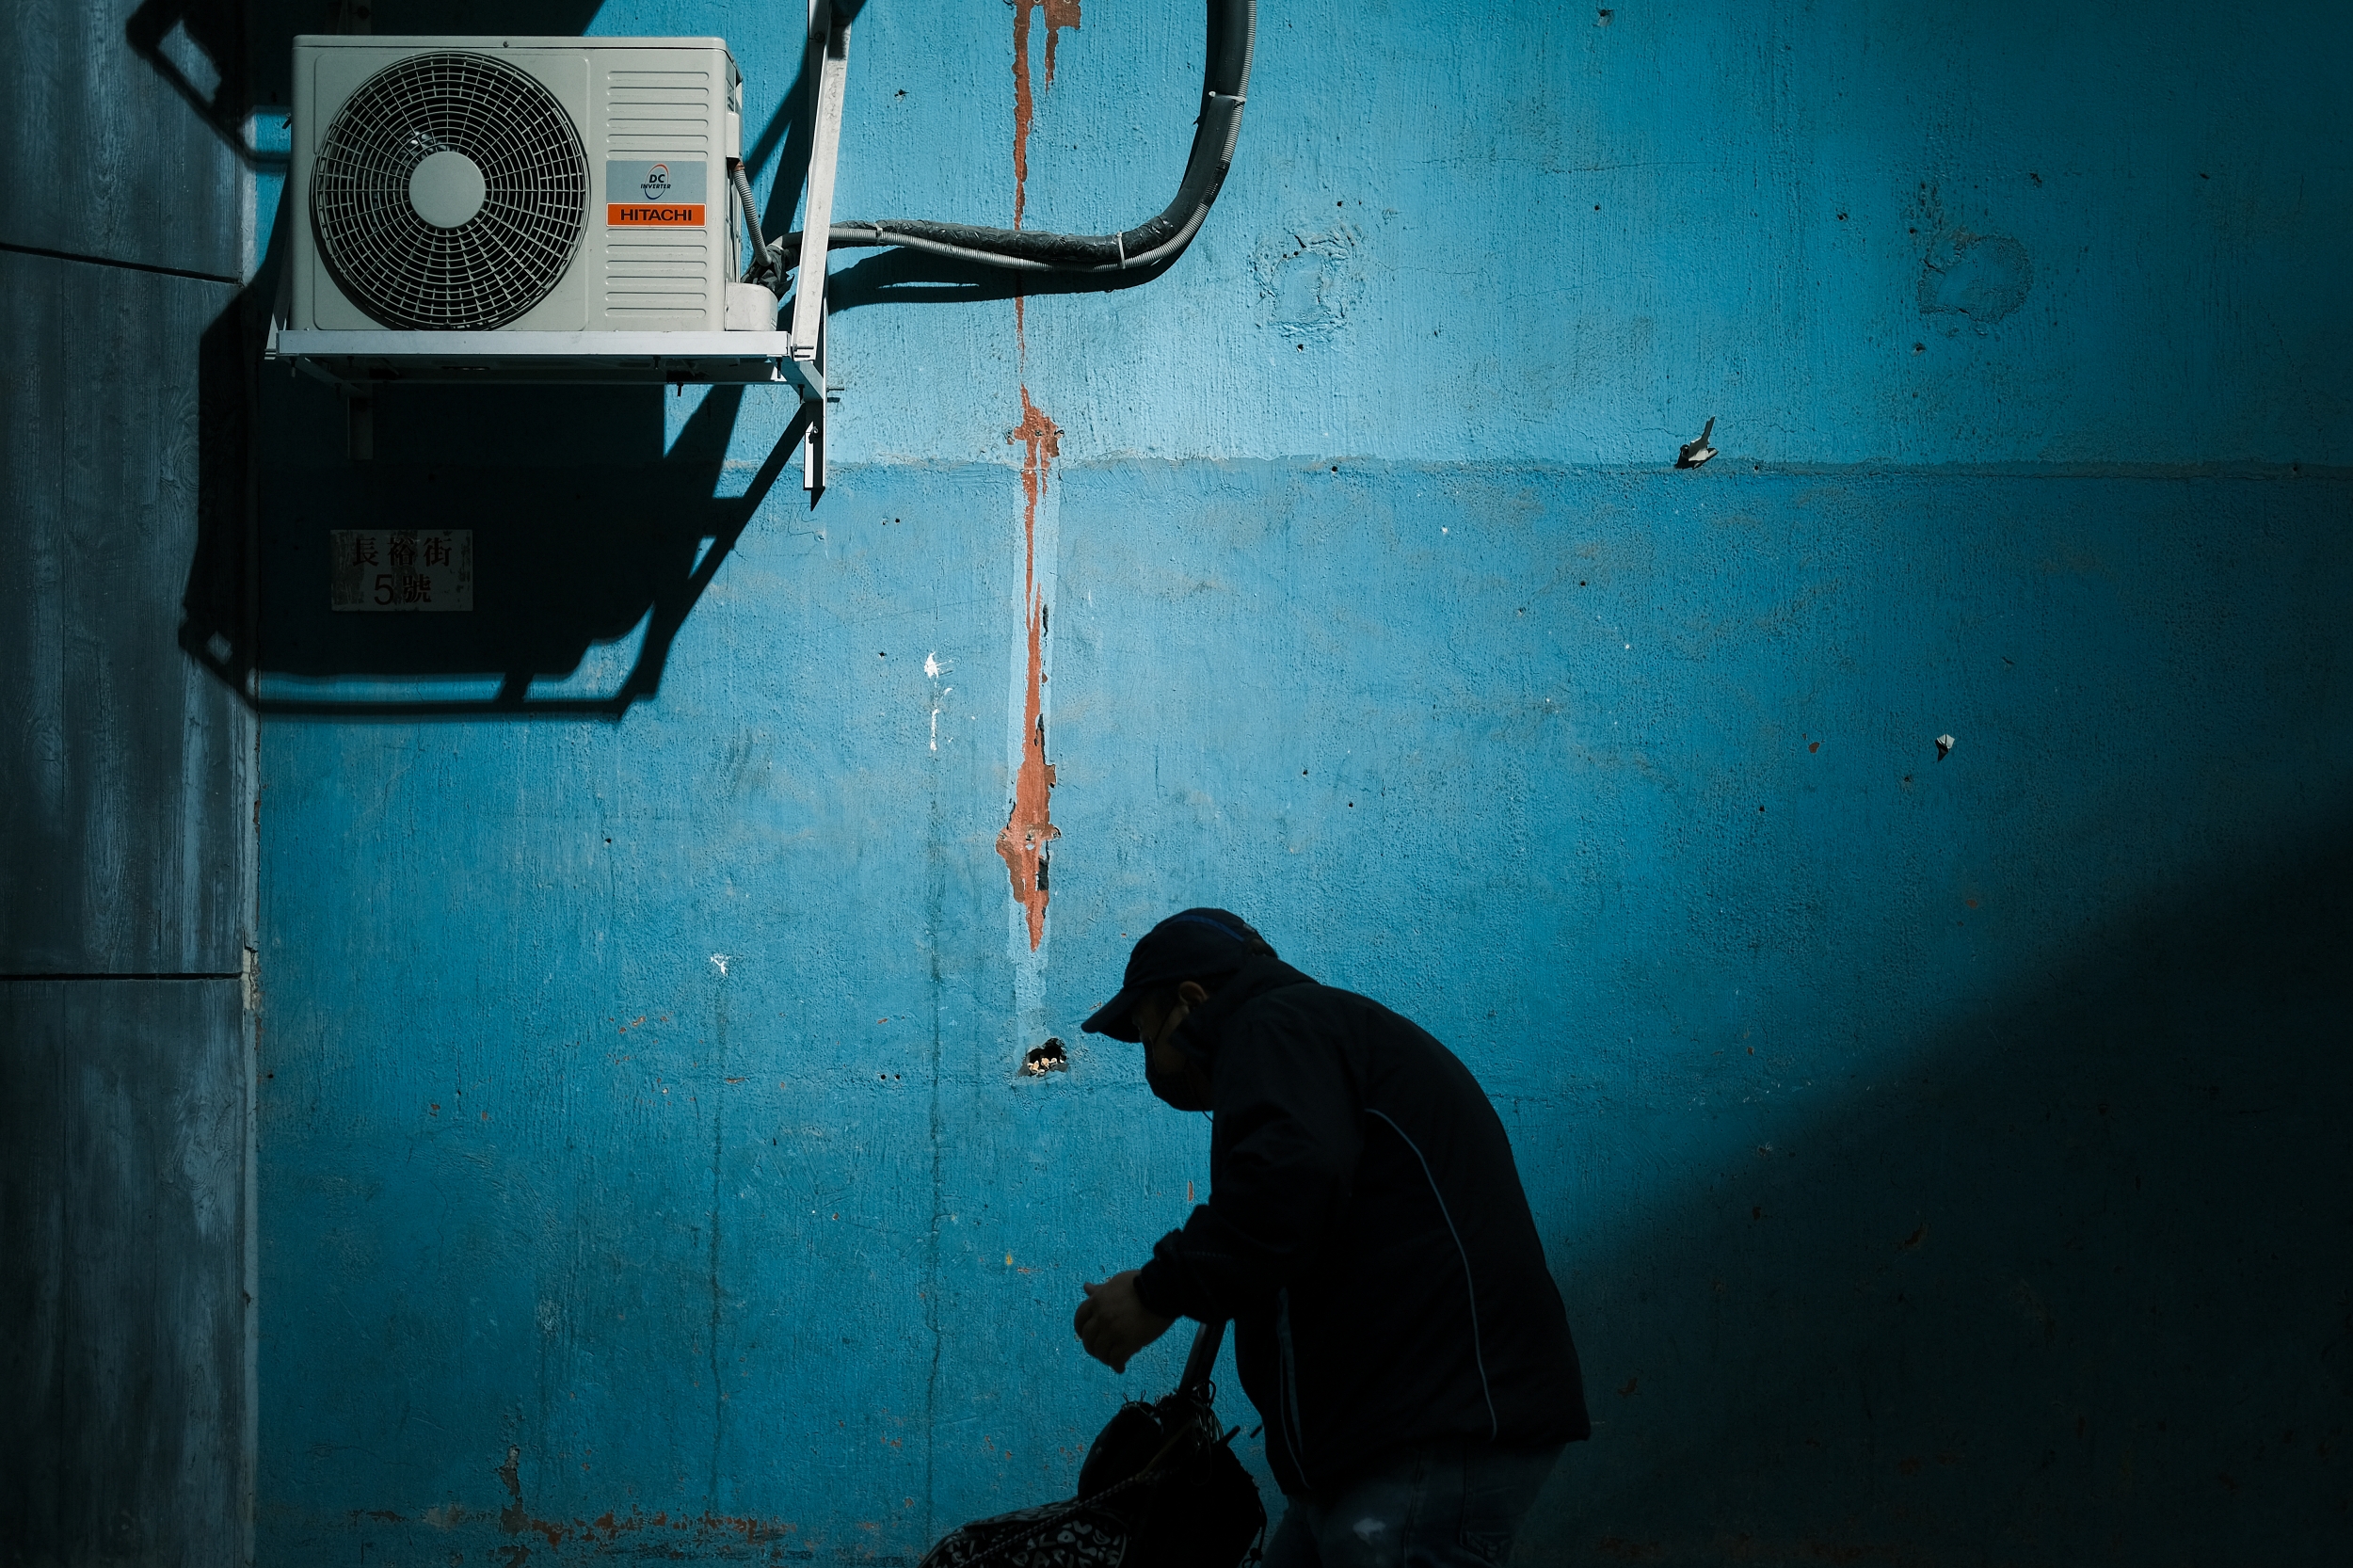
 I also recommend if you enjoy using Classic Neg as your default film simulation, use one of the custom buttons as your Auto White Balance lock. I’m currently using the AE-L/AF-L button for this feature. Also play with both the Color Chrome Effect and Color Chrome FX Blue settings. In general I like both in the ‘strong’ setting, but sometimes the blues and reds can become overpowering. However, the opening image has the Color Chrome FX Blue set to strong and you can tell. Look at the saturation in the blue, and yet there’ still lots of details in the texture of the wall in both the shadows and highlights. I also find that I like the images slightly underexposed, which helps with colour saturation.

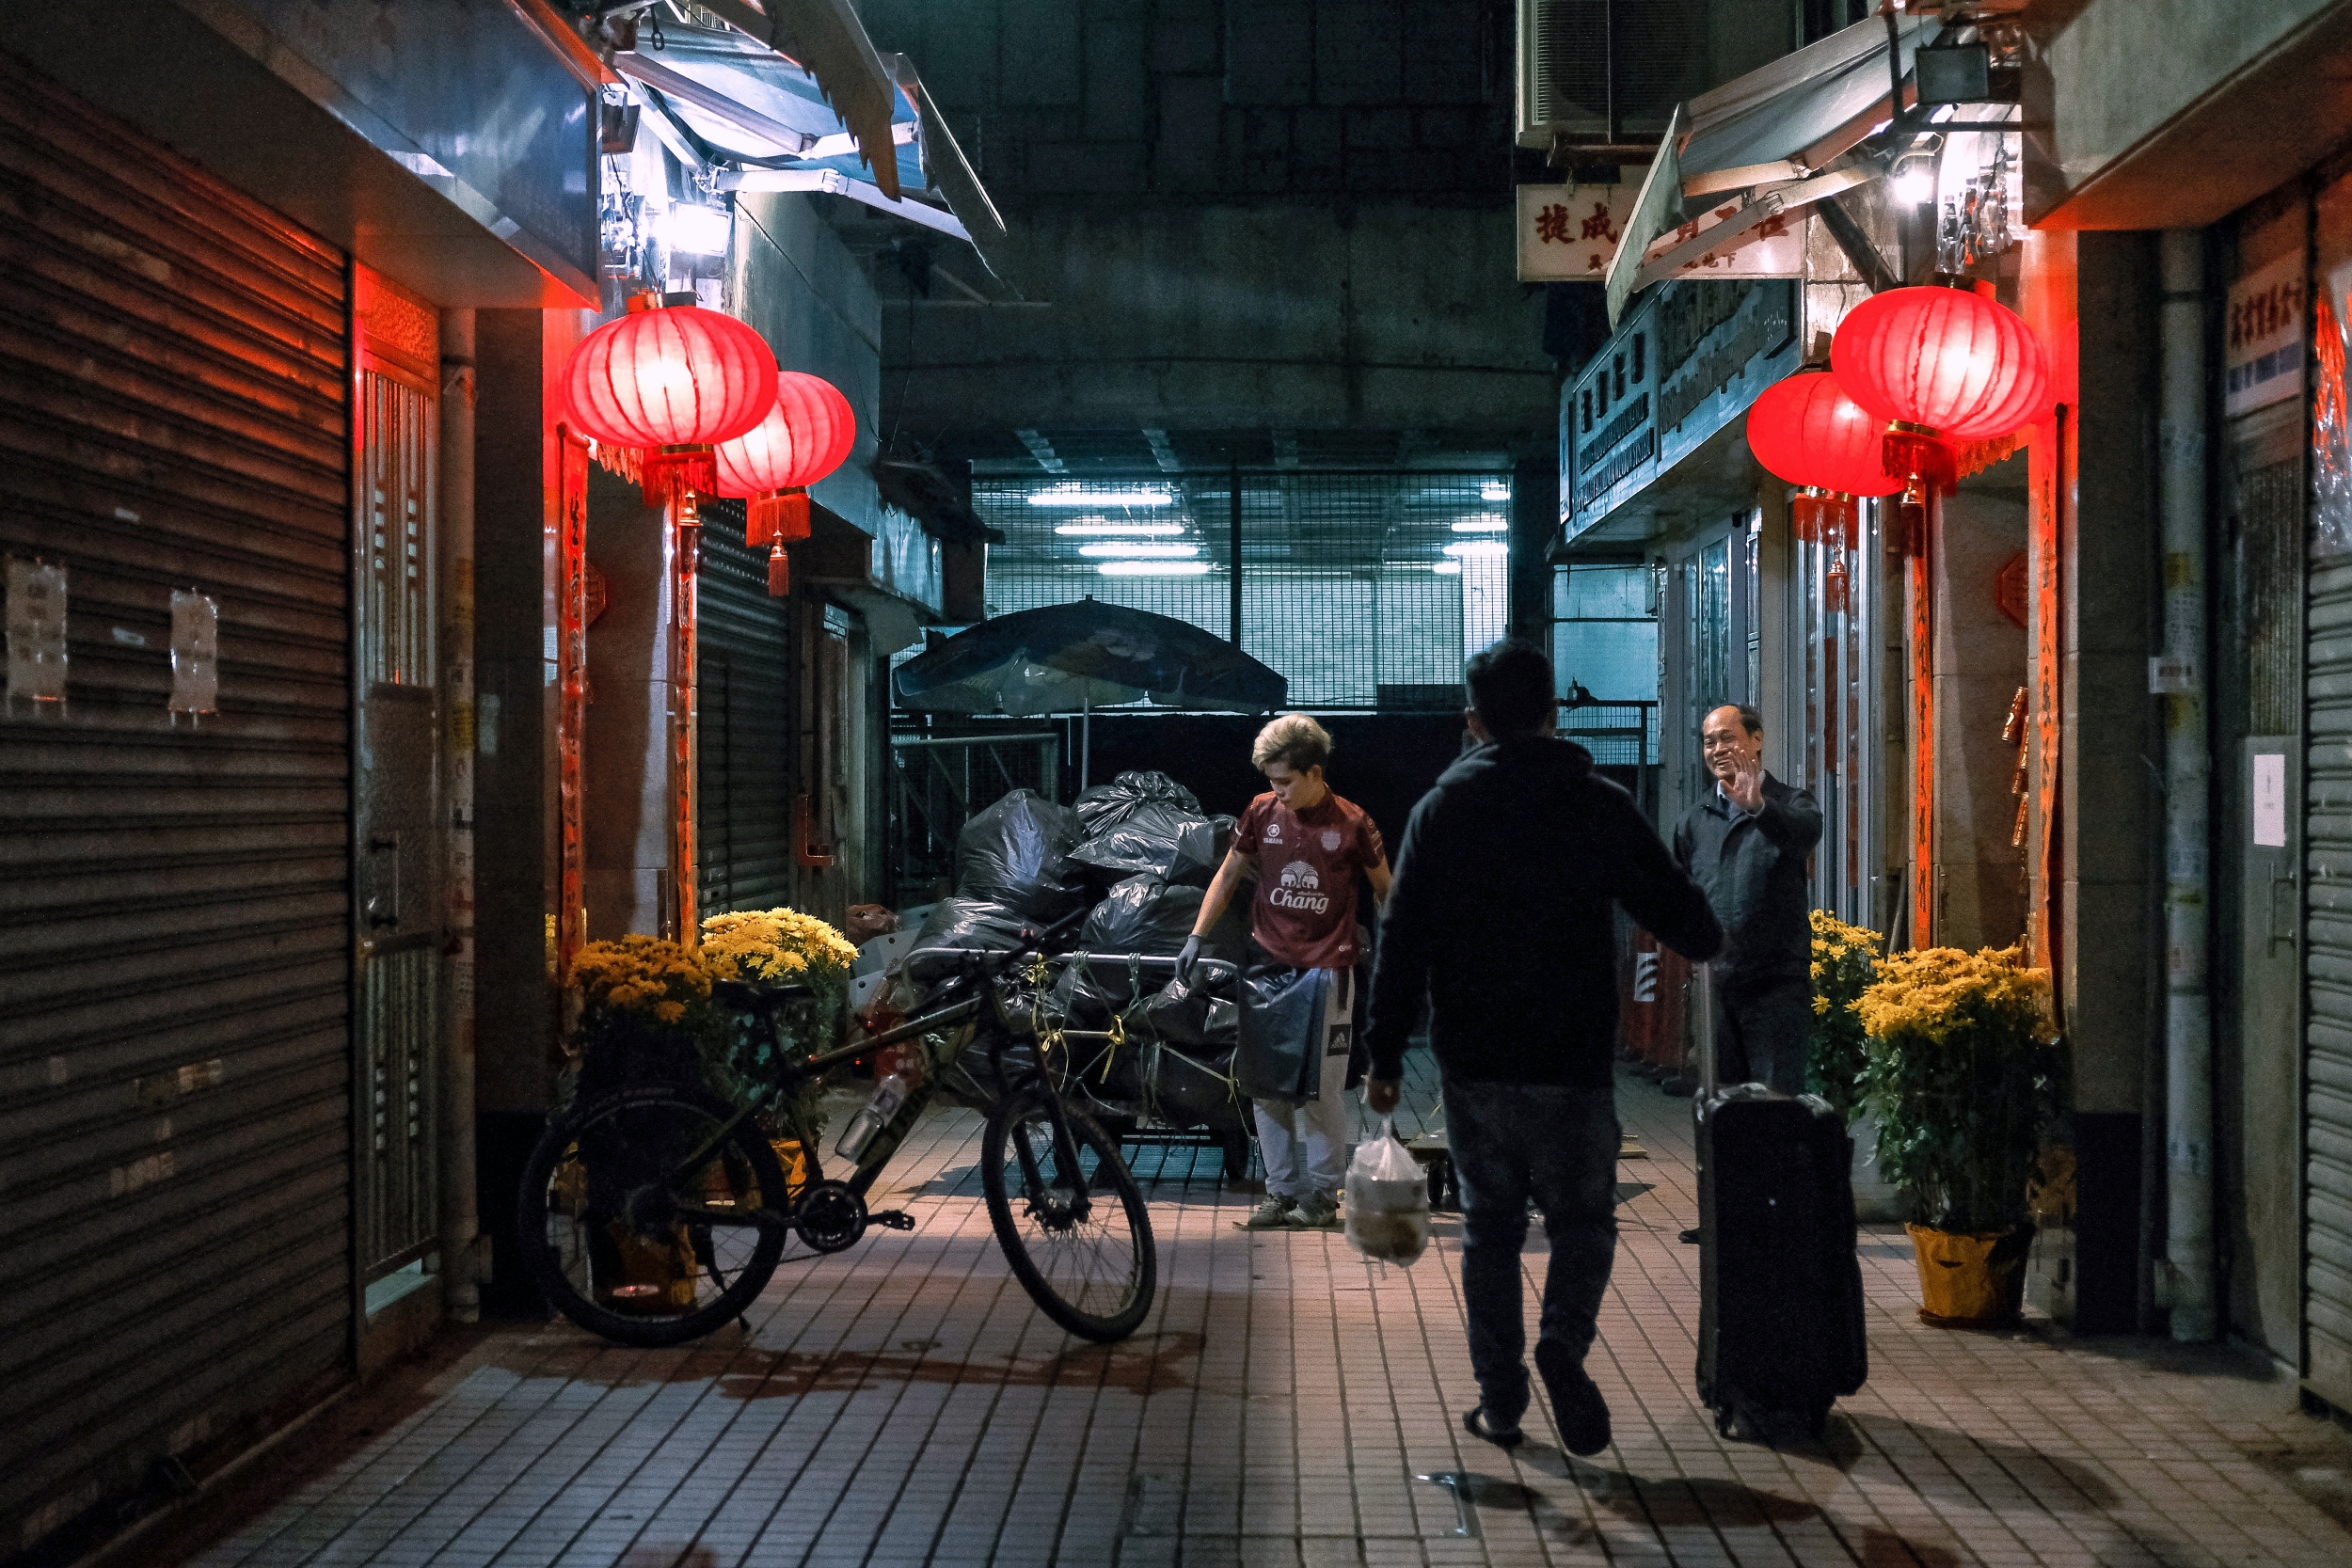
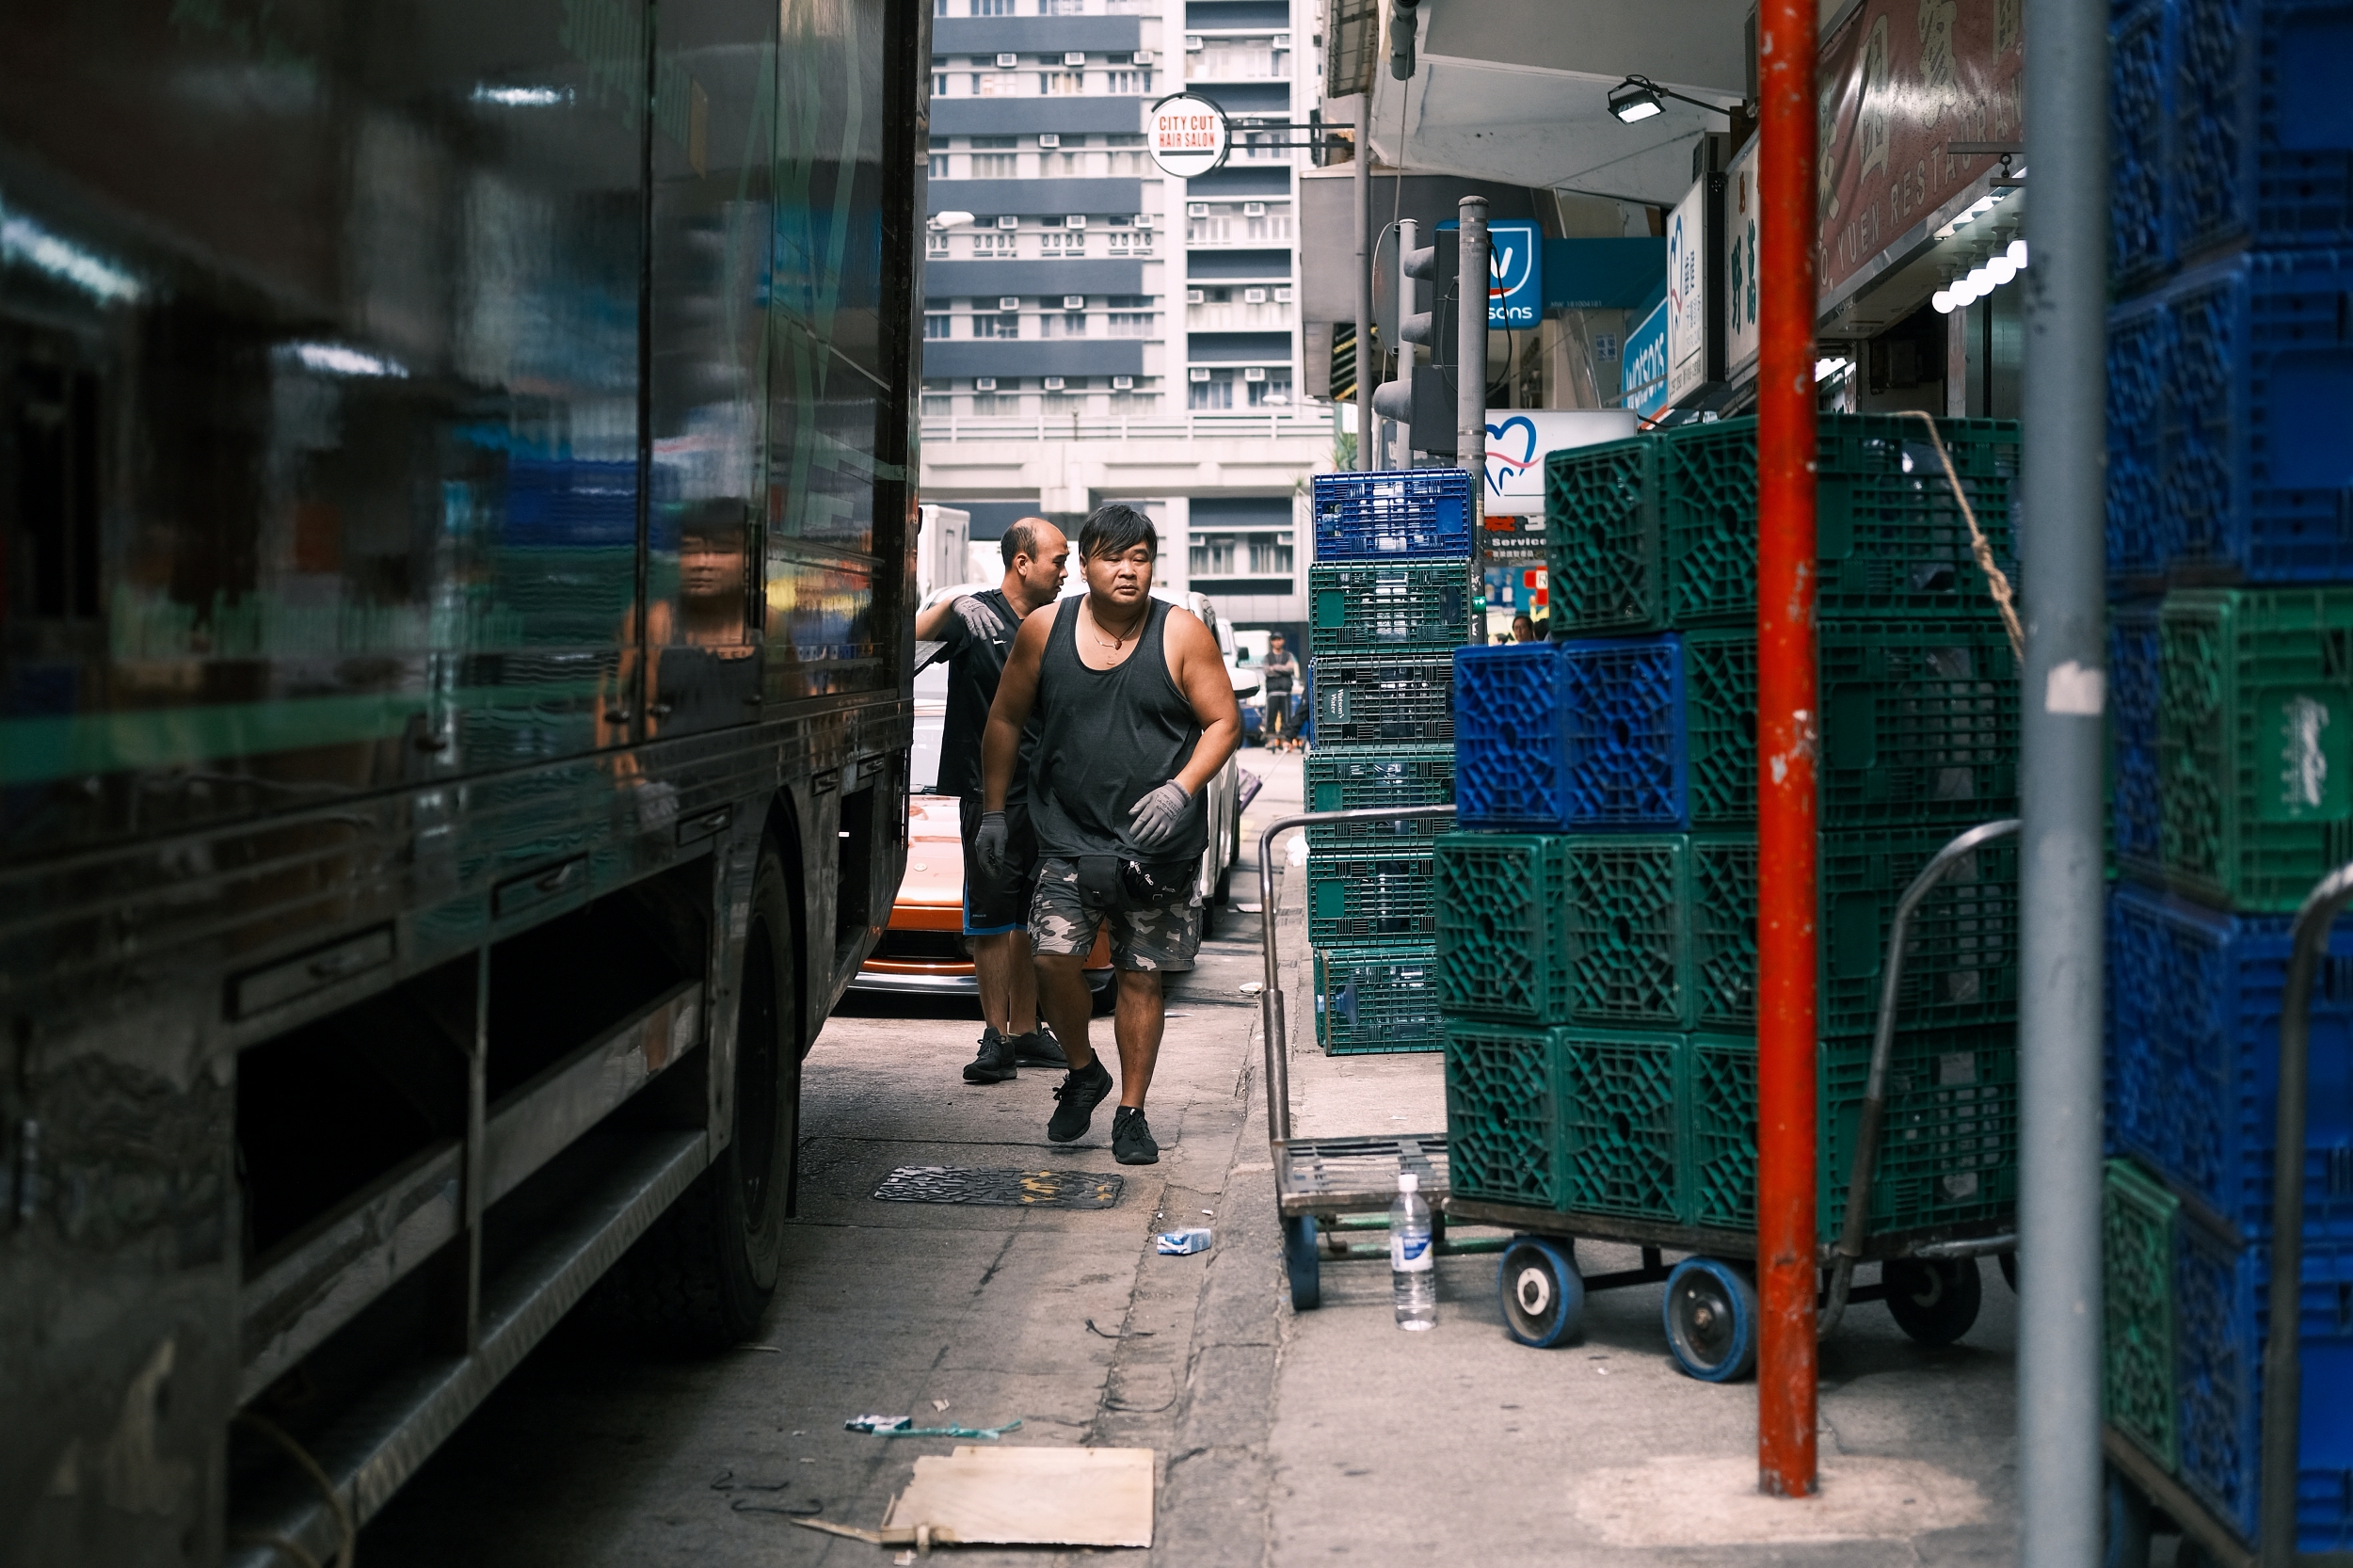
Finally, most of these images were captured at f/2, giving that Japanese all-in-one rangefinder look à la Minolta Hi-Matic and Canon QL (most of these cameras also had a 40-45mm f/2 lens). In general I shoot at f/5.6-8 on the street, but with the combination of shooting with the X-Pro3 and the XF 35mm f/2 R WR, hitting focus at f/2 was pretty easy. Remember the autofocus on the X-Pro3 is currently the fastest and most accurate within the X-Series camera line-up, so shooting blindly without using the LCD or EVF is possible. The above picture of the bbq shop was captured from the second level of a bus without me looking through the viewfinder. I just held the camera next to my face and pointed downwards as I kept clicking, knowing I would nail the focus.
My final thoughts on this combination of the new X-Pro3 + XF 35mm + Classic Neg film simulation in Hong Kong? I really enjoyed it. It was different from what I’m use to (wide lenses with deep DOF and Classic Chrome) but I guess that was the point. I enjoy challenging myself and I like to find new combinations to see the type of textures, tones and colours I get. The Classic Neg works for me because I’m a film shooter. I also had my Leica M7 with my 28mm Summicron with me most of the time. Going back and forth between the Leica M and Fujifilm’s X-Pro felt very natural to me. As a film shooter I can confirm the X-Pro3 feels intuitive in the hands, especially when in combination with a prime lens. I hope to bring the XF 23mm f/2 R WR on my next work trip (yes I purposely left that lens at home because I knew I couldn’t resist shooting with it if I brought it), as well as the older XF 35mm f/1.4 R. I also look forward to adapting other lenses to the X-Pro3 in combination with the Classic Neg film simulation, such as my older MD Rokkor lenses and Leica glass. As I keep tinkering, I’ll keep sharing my results. Let me know if you currently own the new X-Pro3 and what you think of the new film simulation, as well as the lens combinations you’ve tried and had success with. Thanks for reading and happy shooting!