This was about the time the GFX 50S was making its rounds among the X-Photographers before its release. The team at Fujifilm Middle East was kind enough to loan me a unit for a day to execute this shoot.
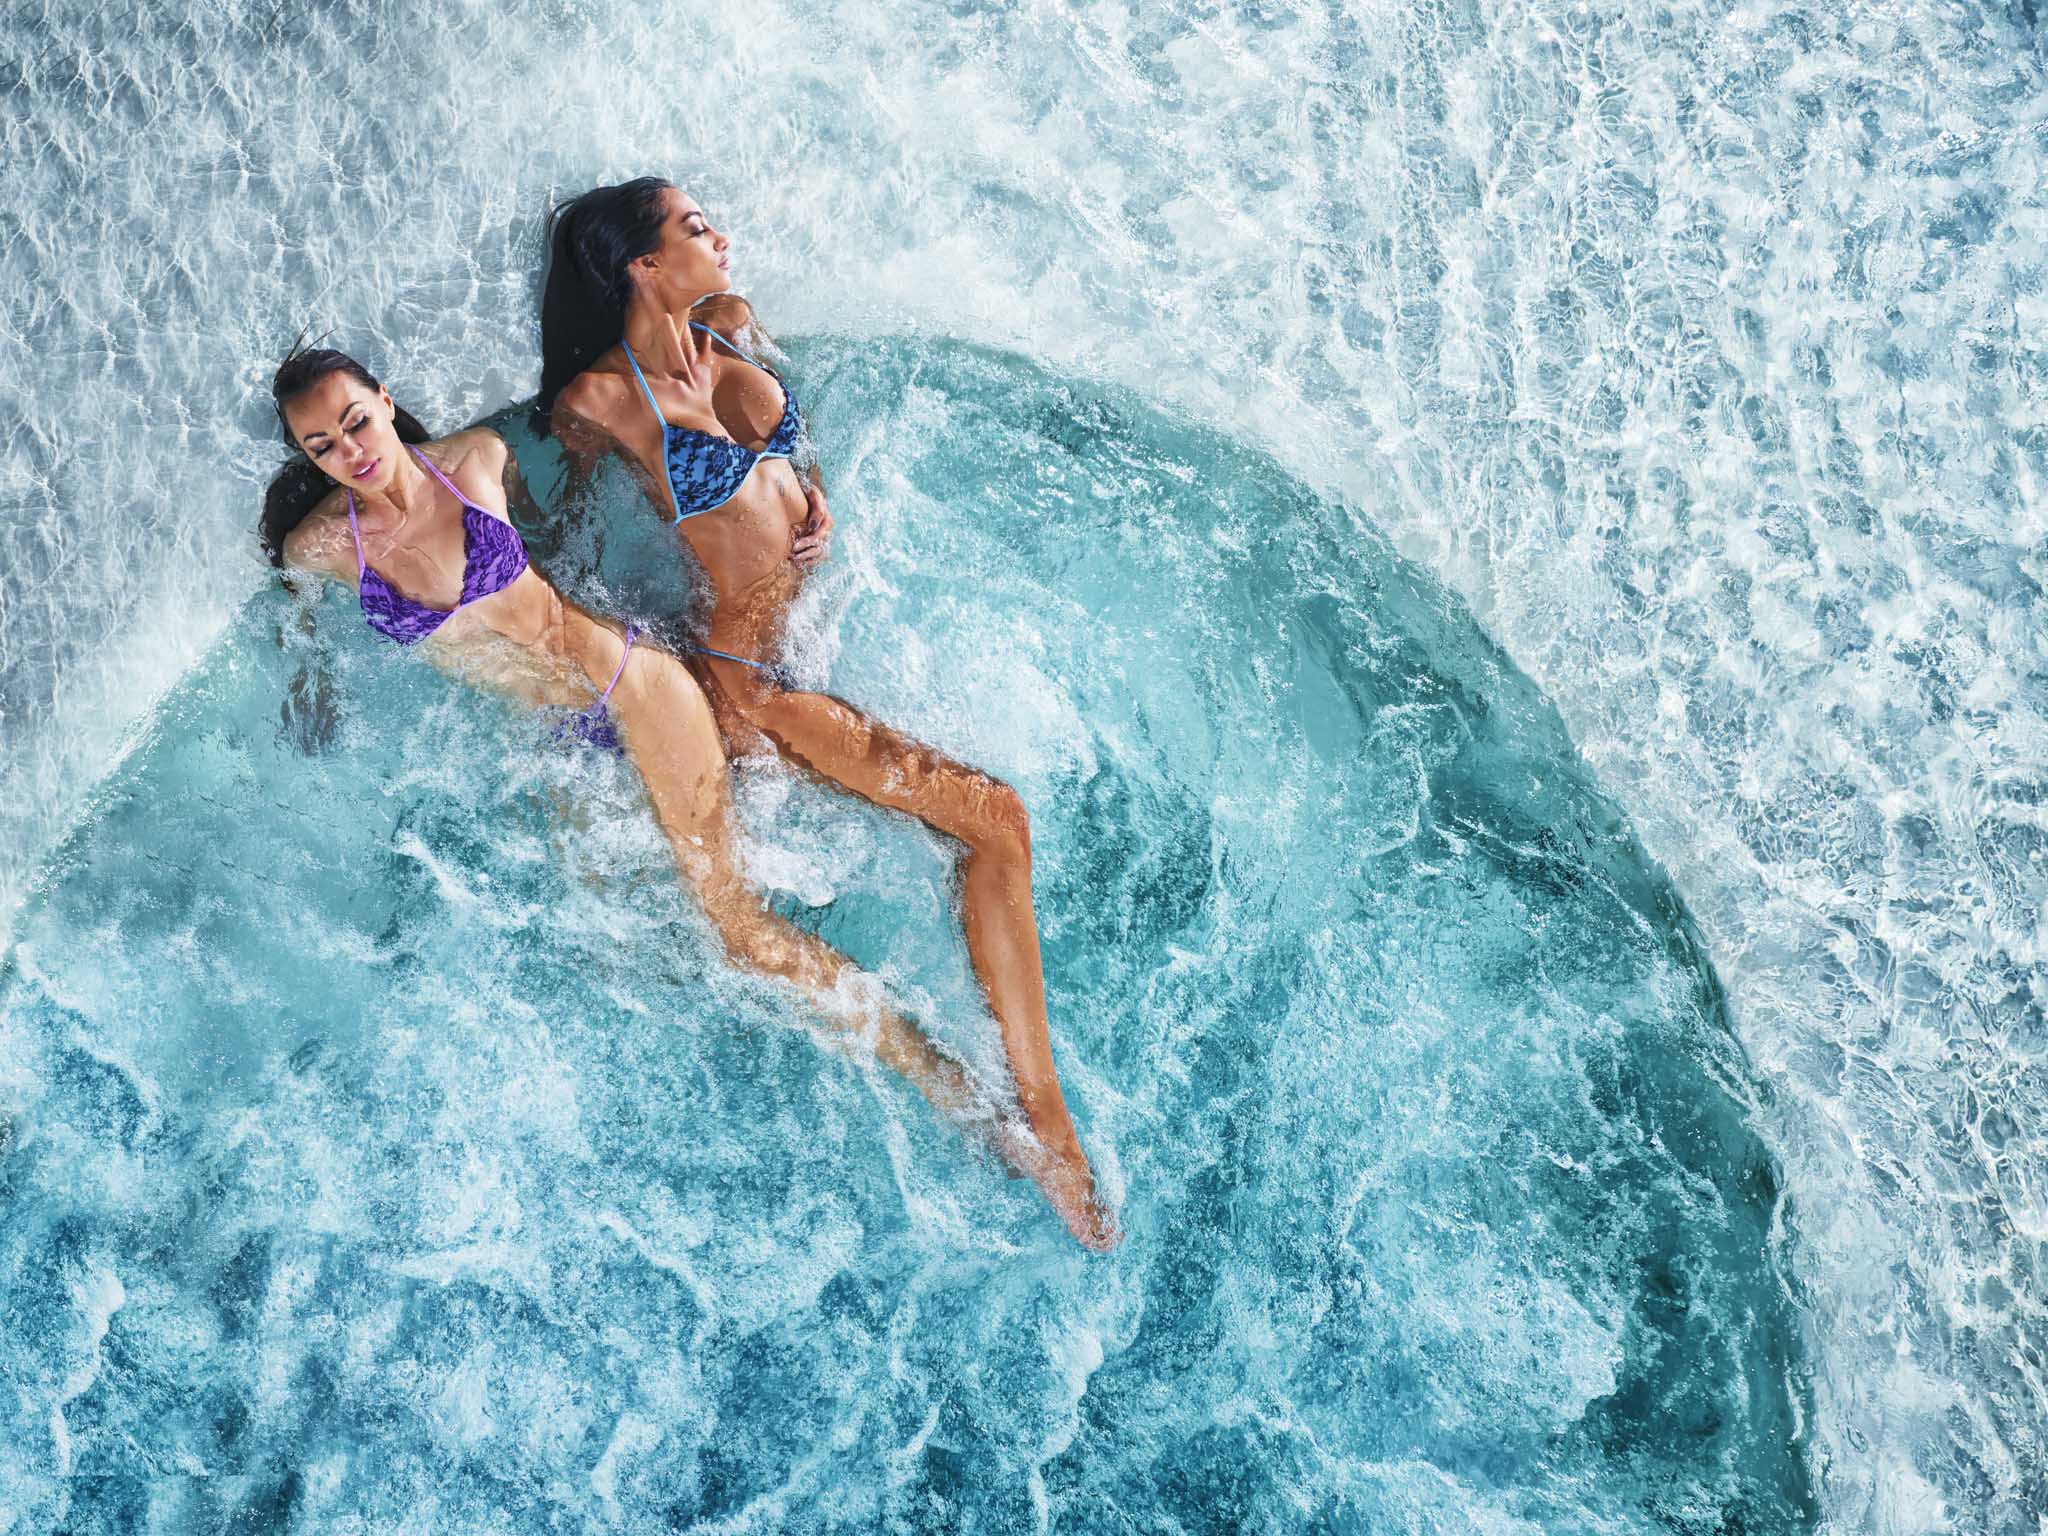
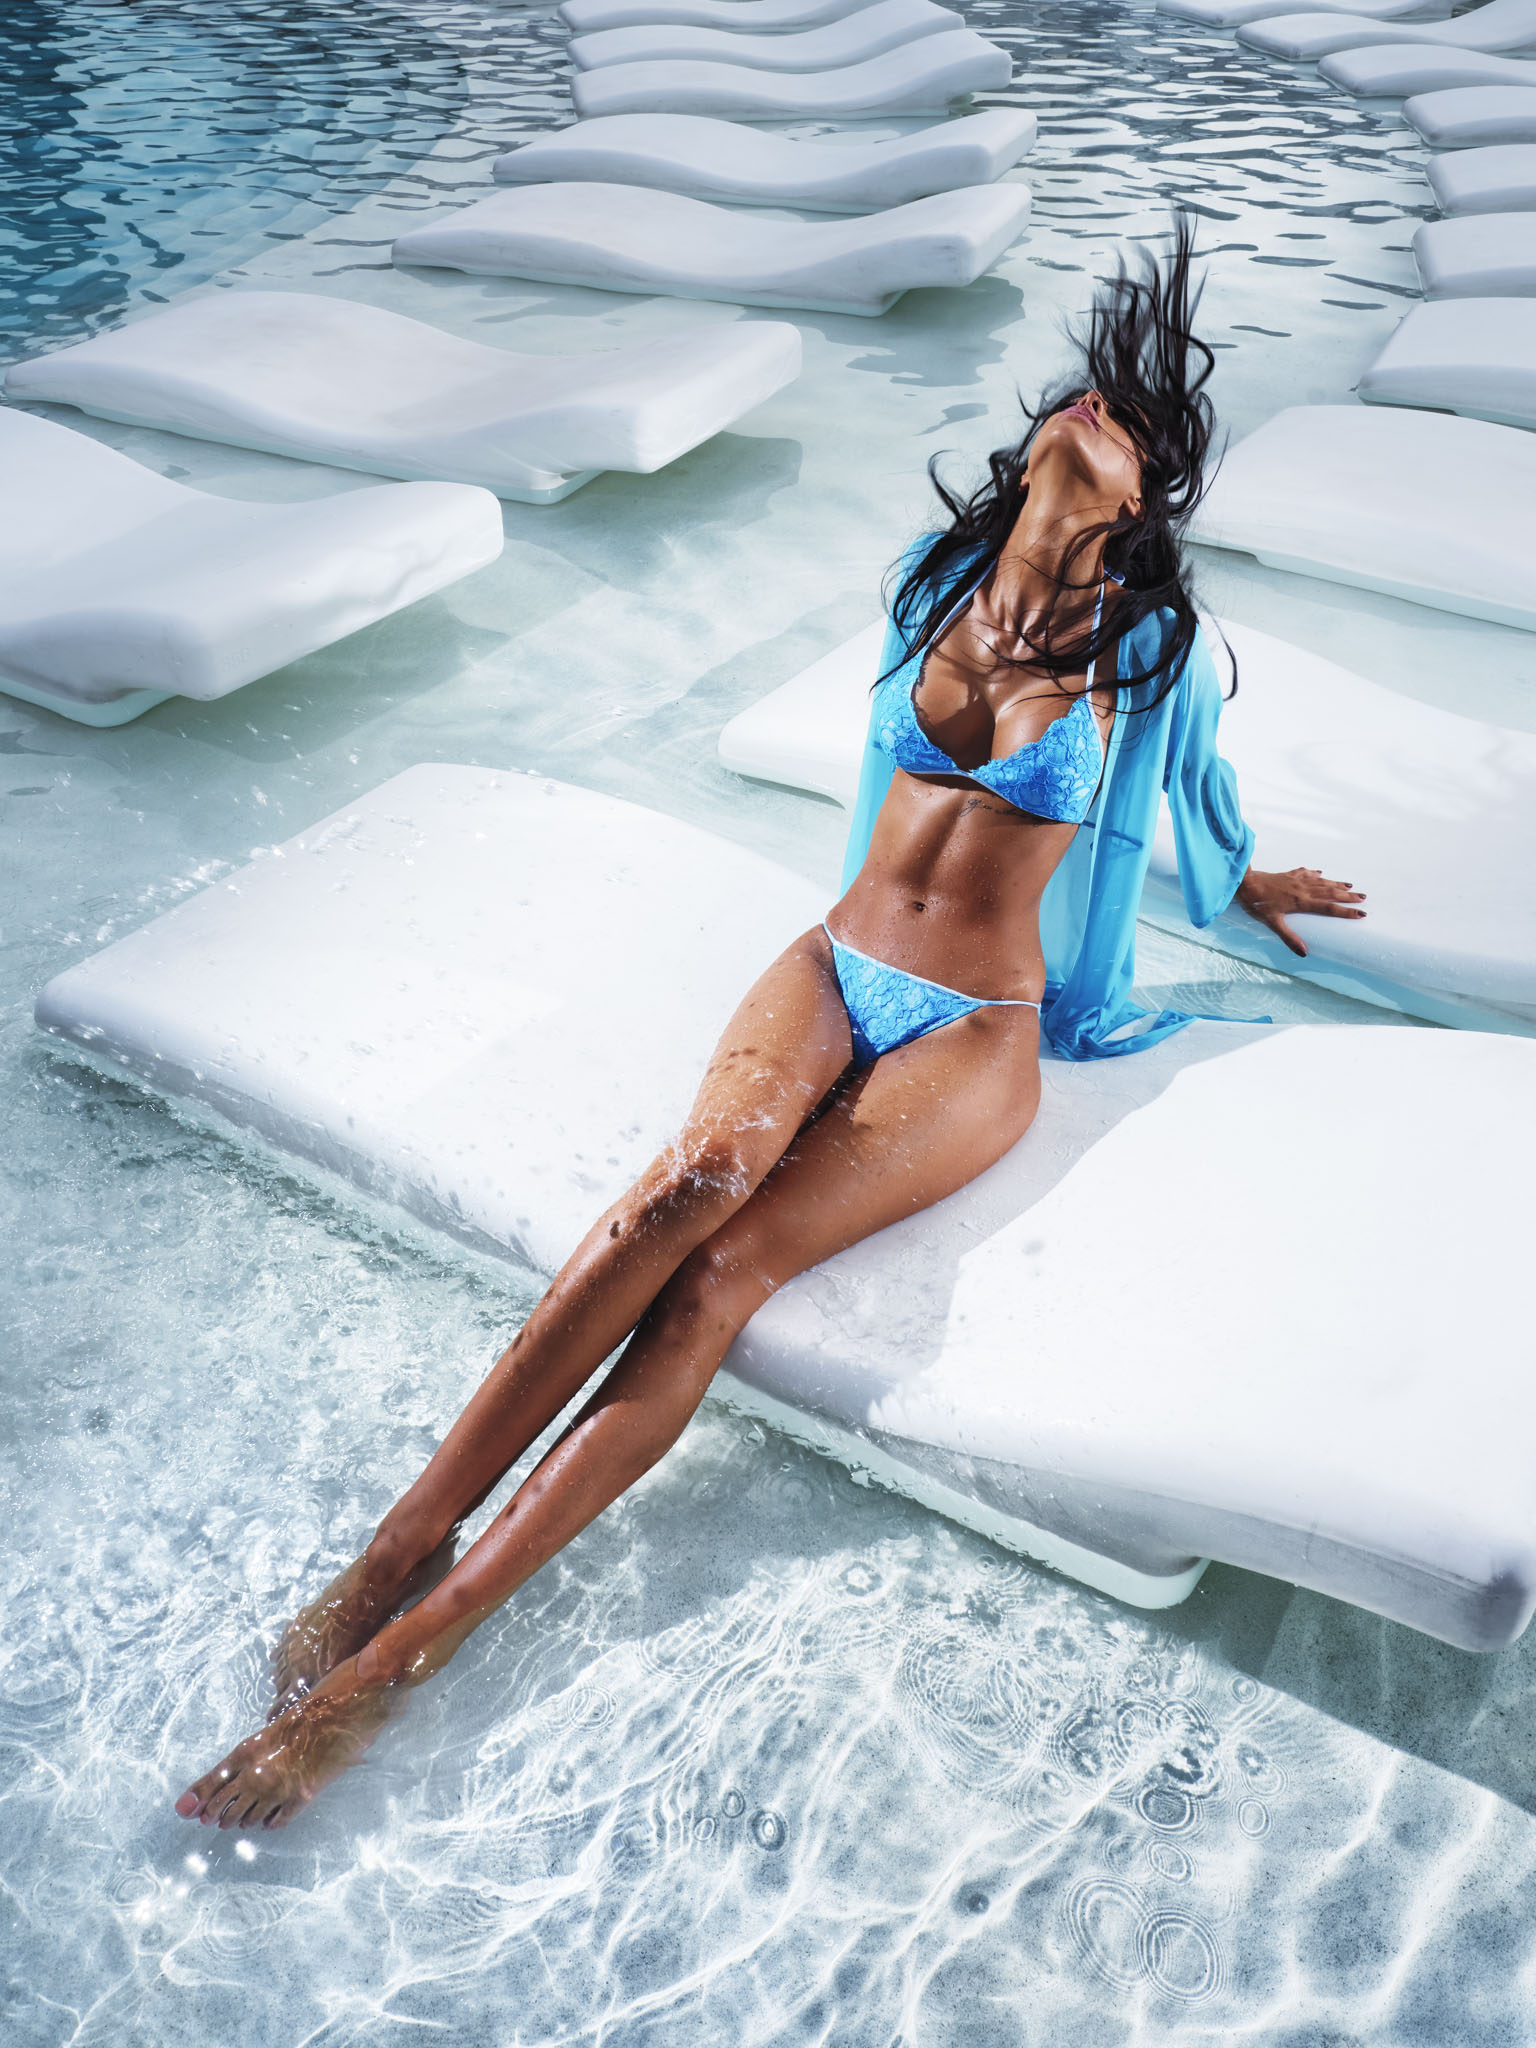
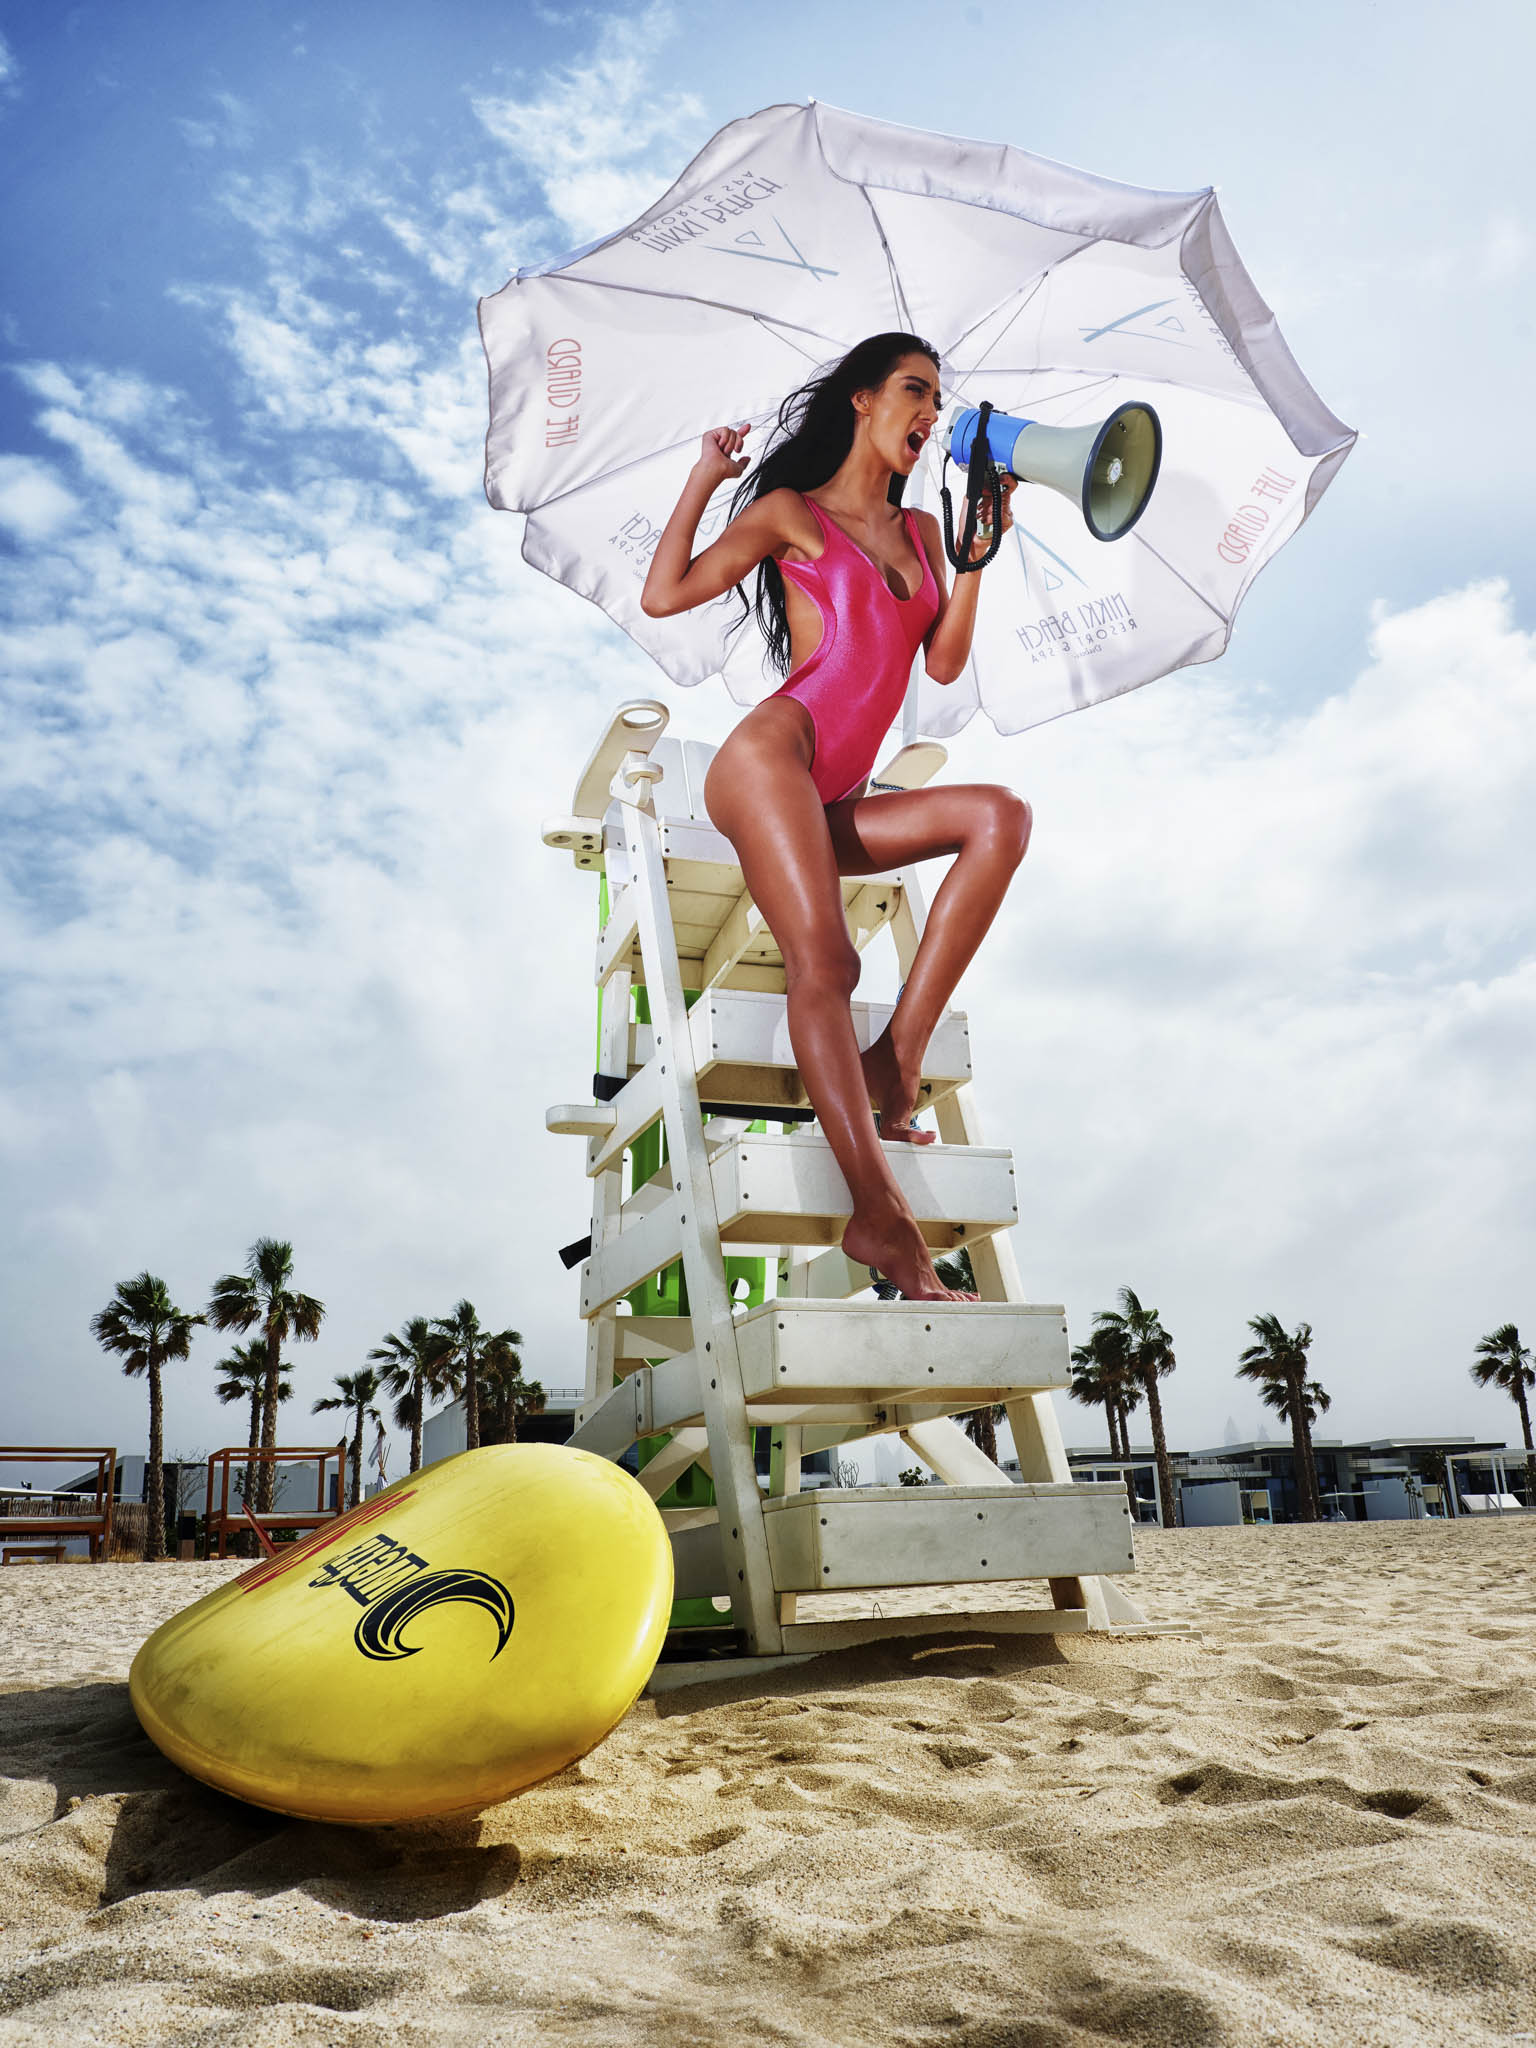
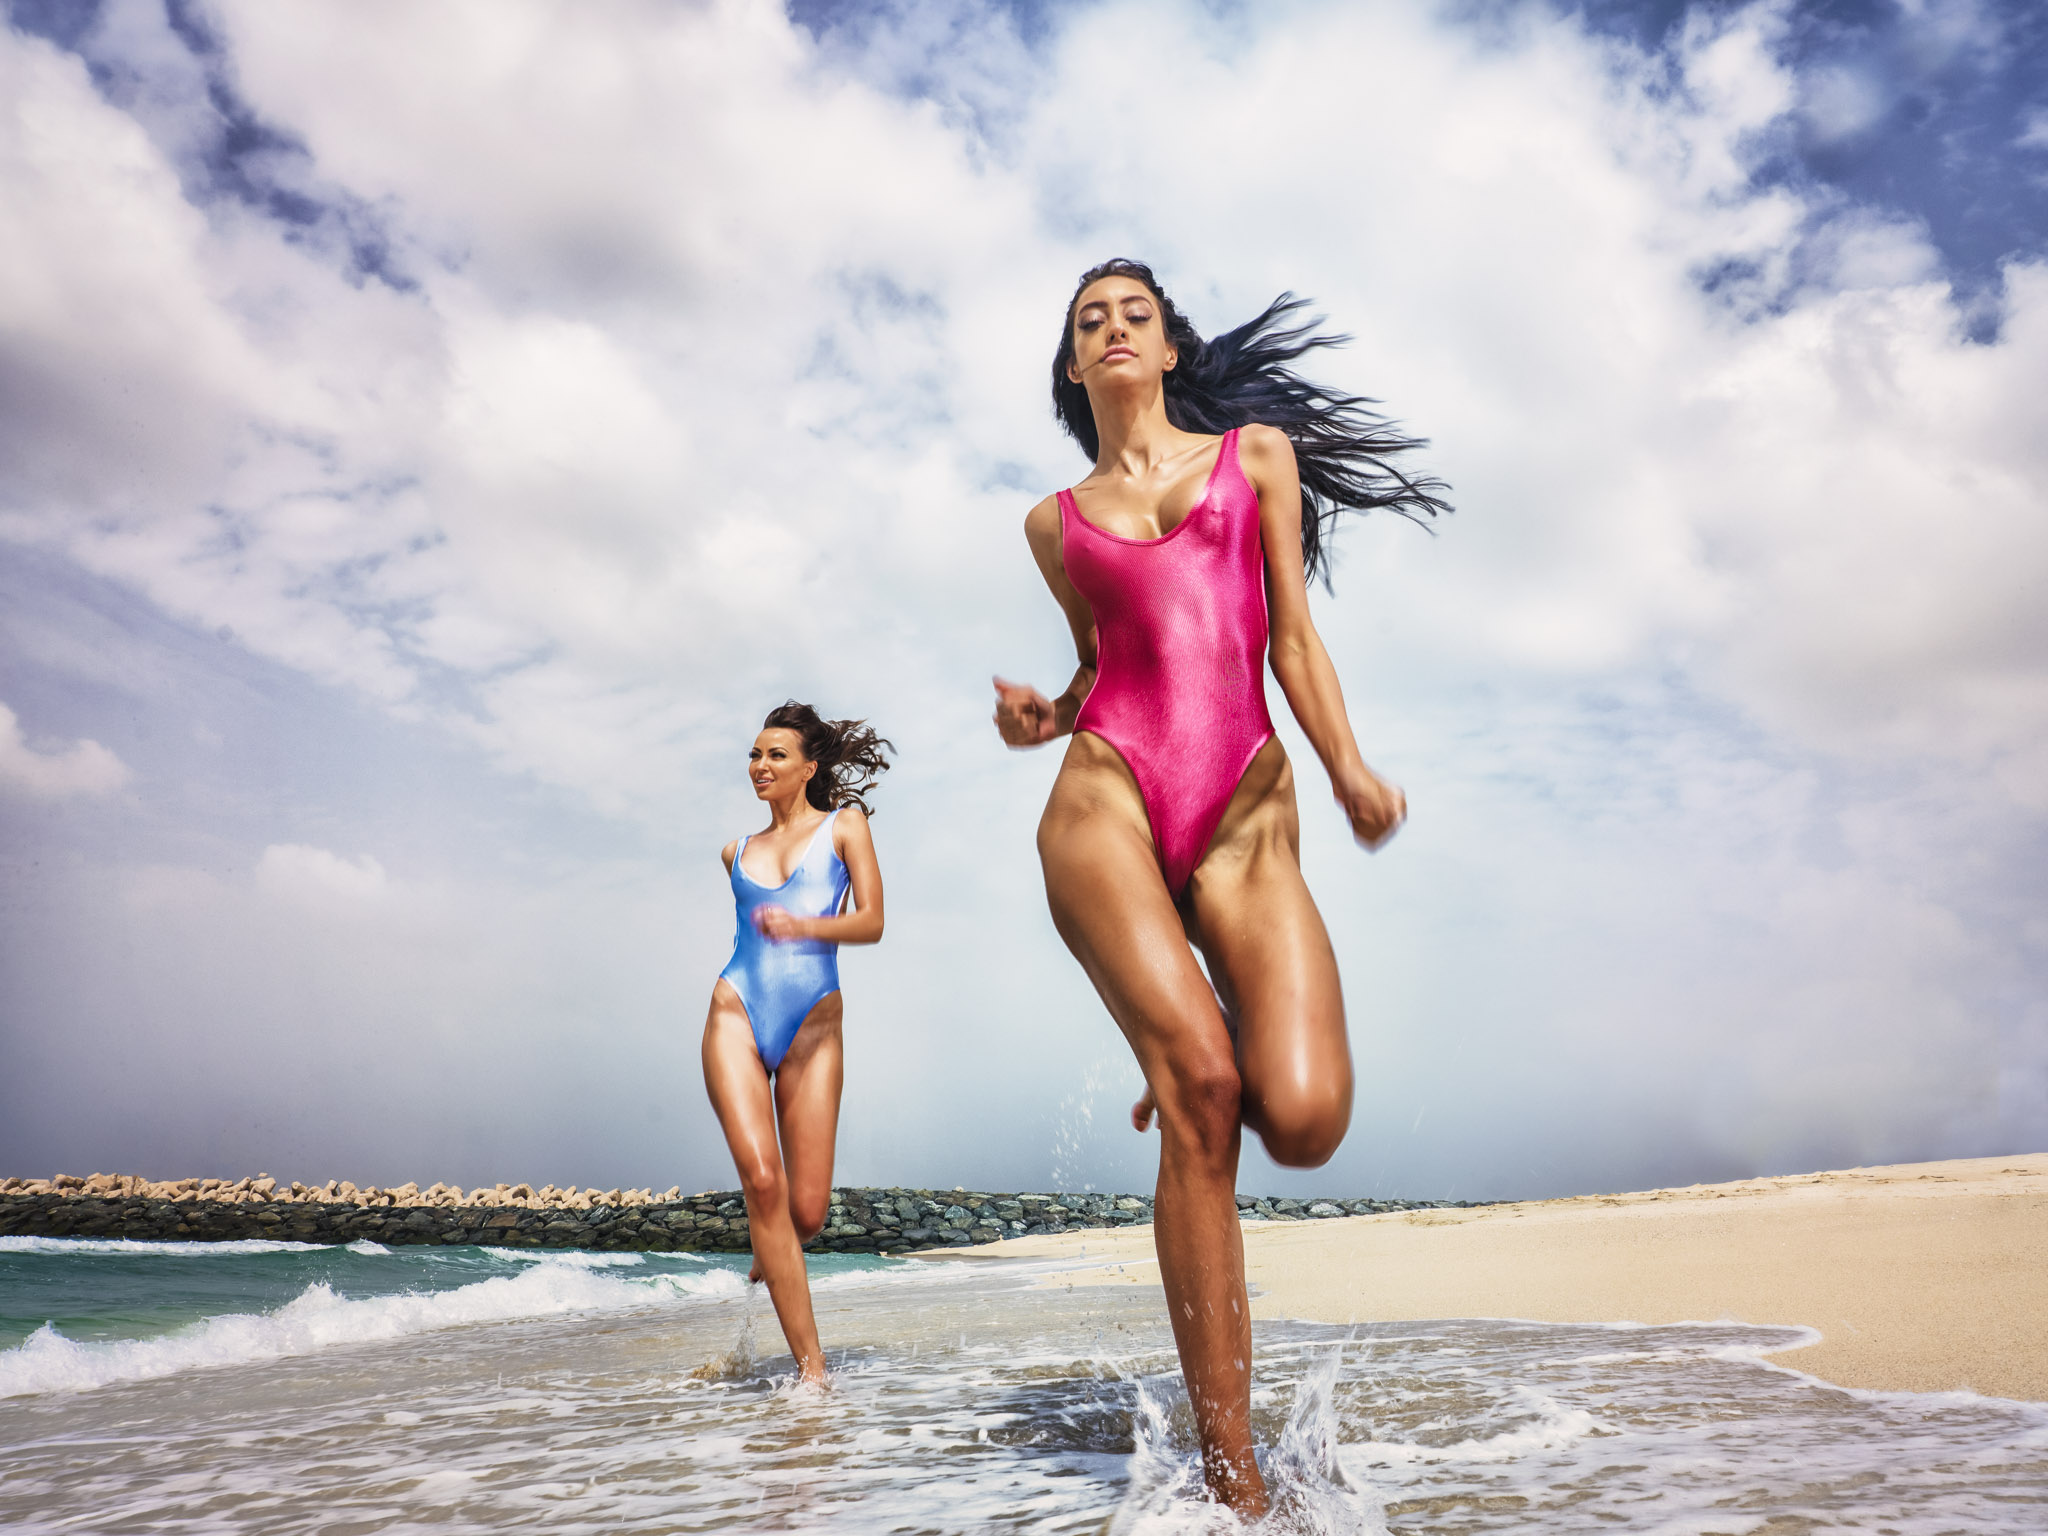
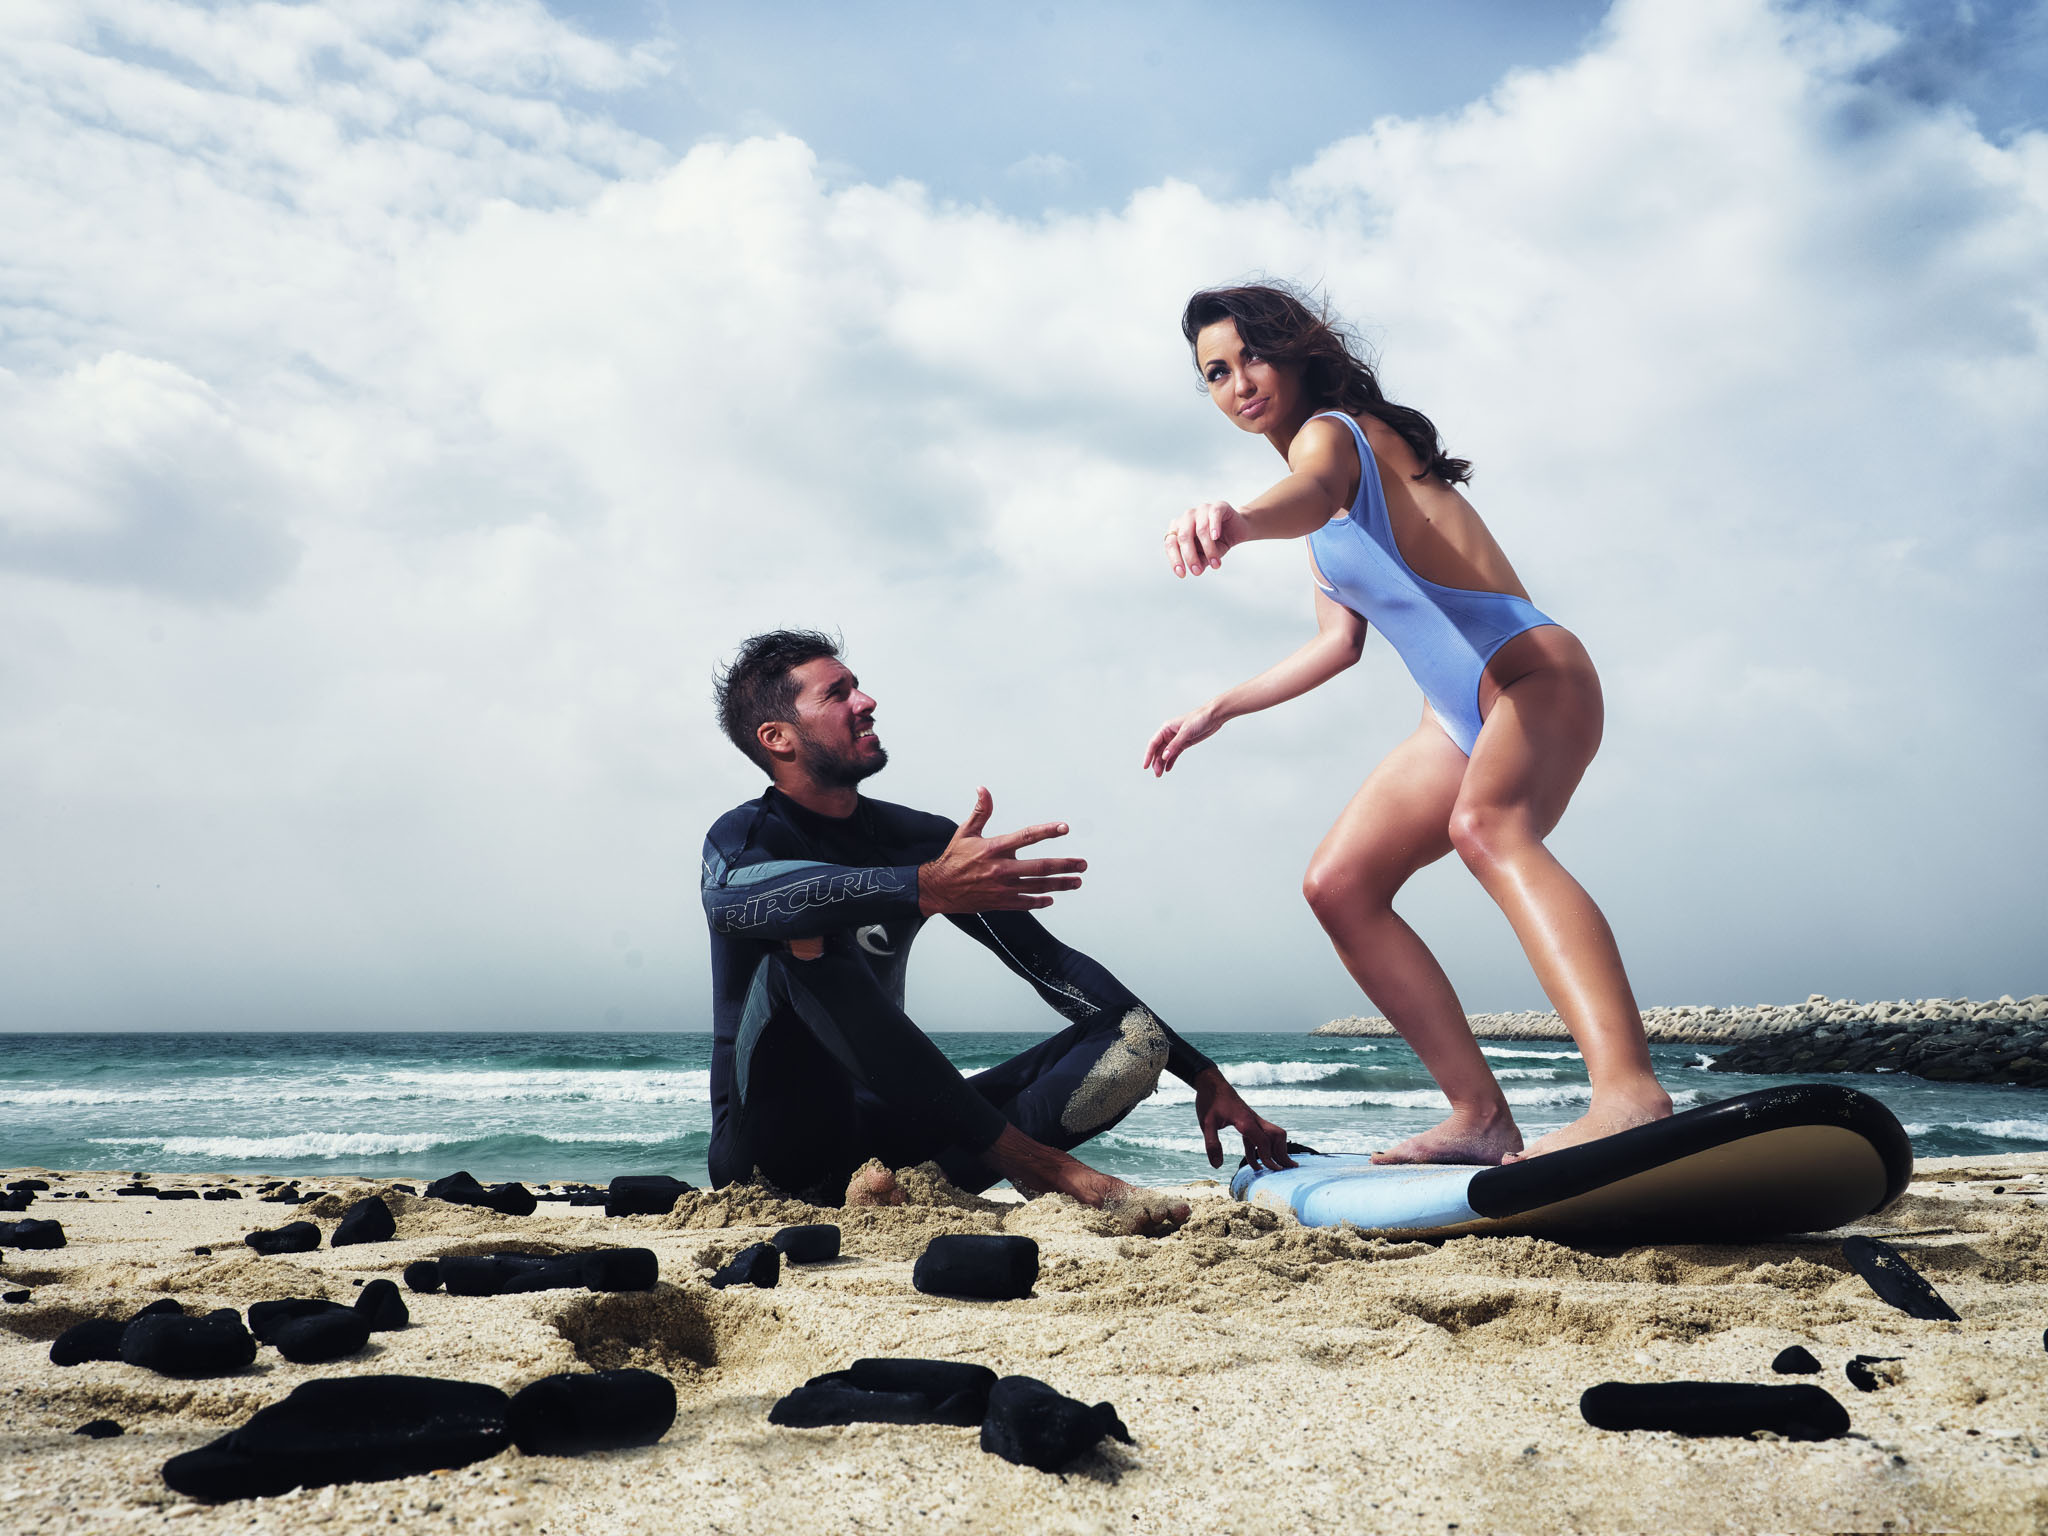
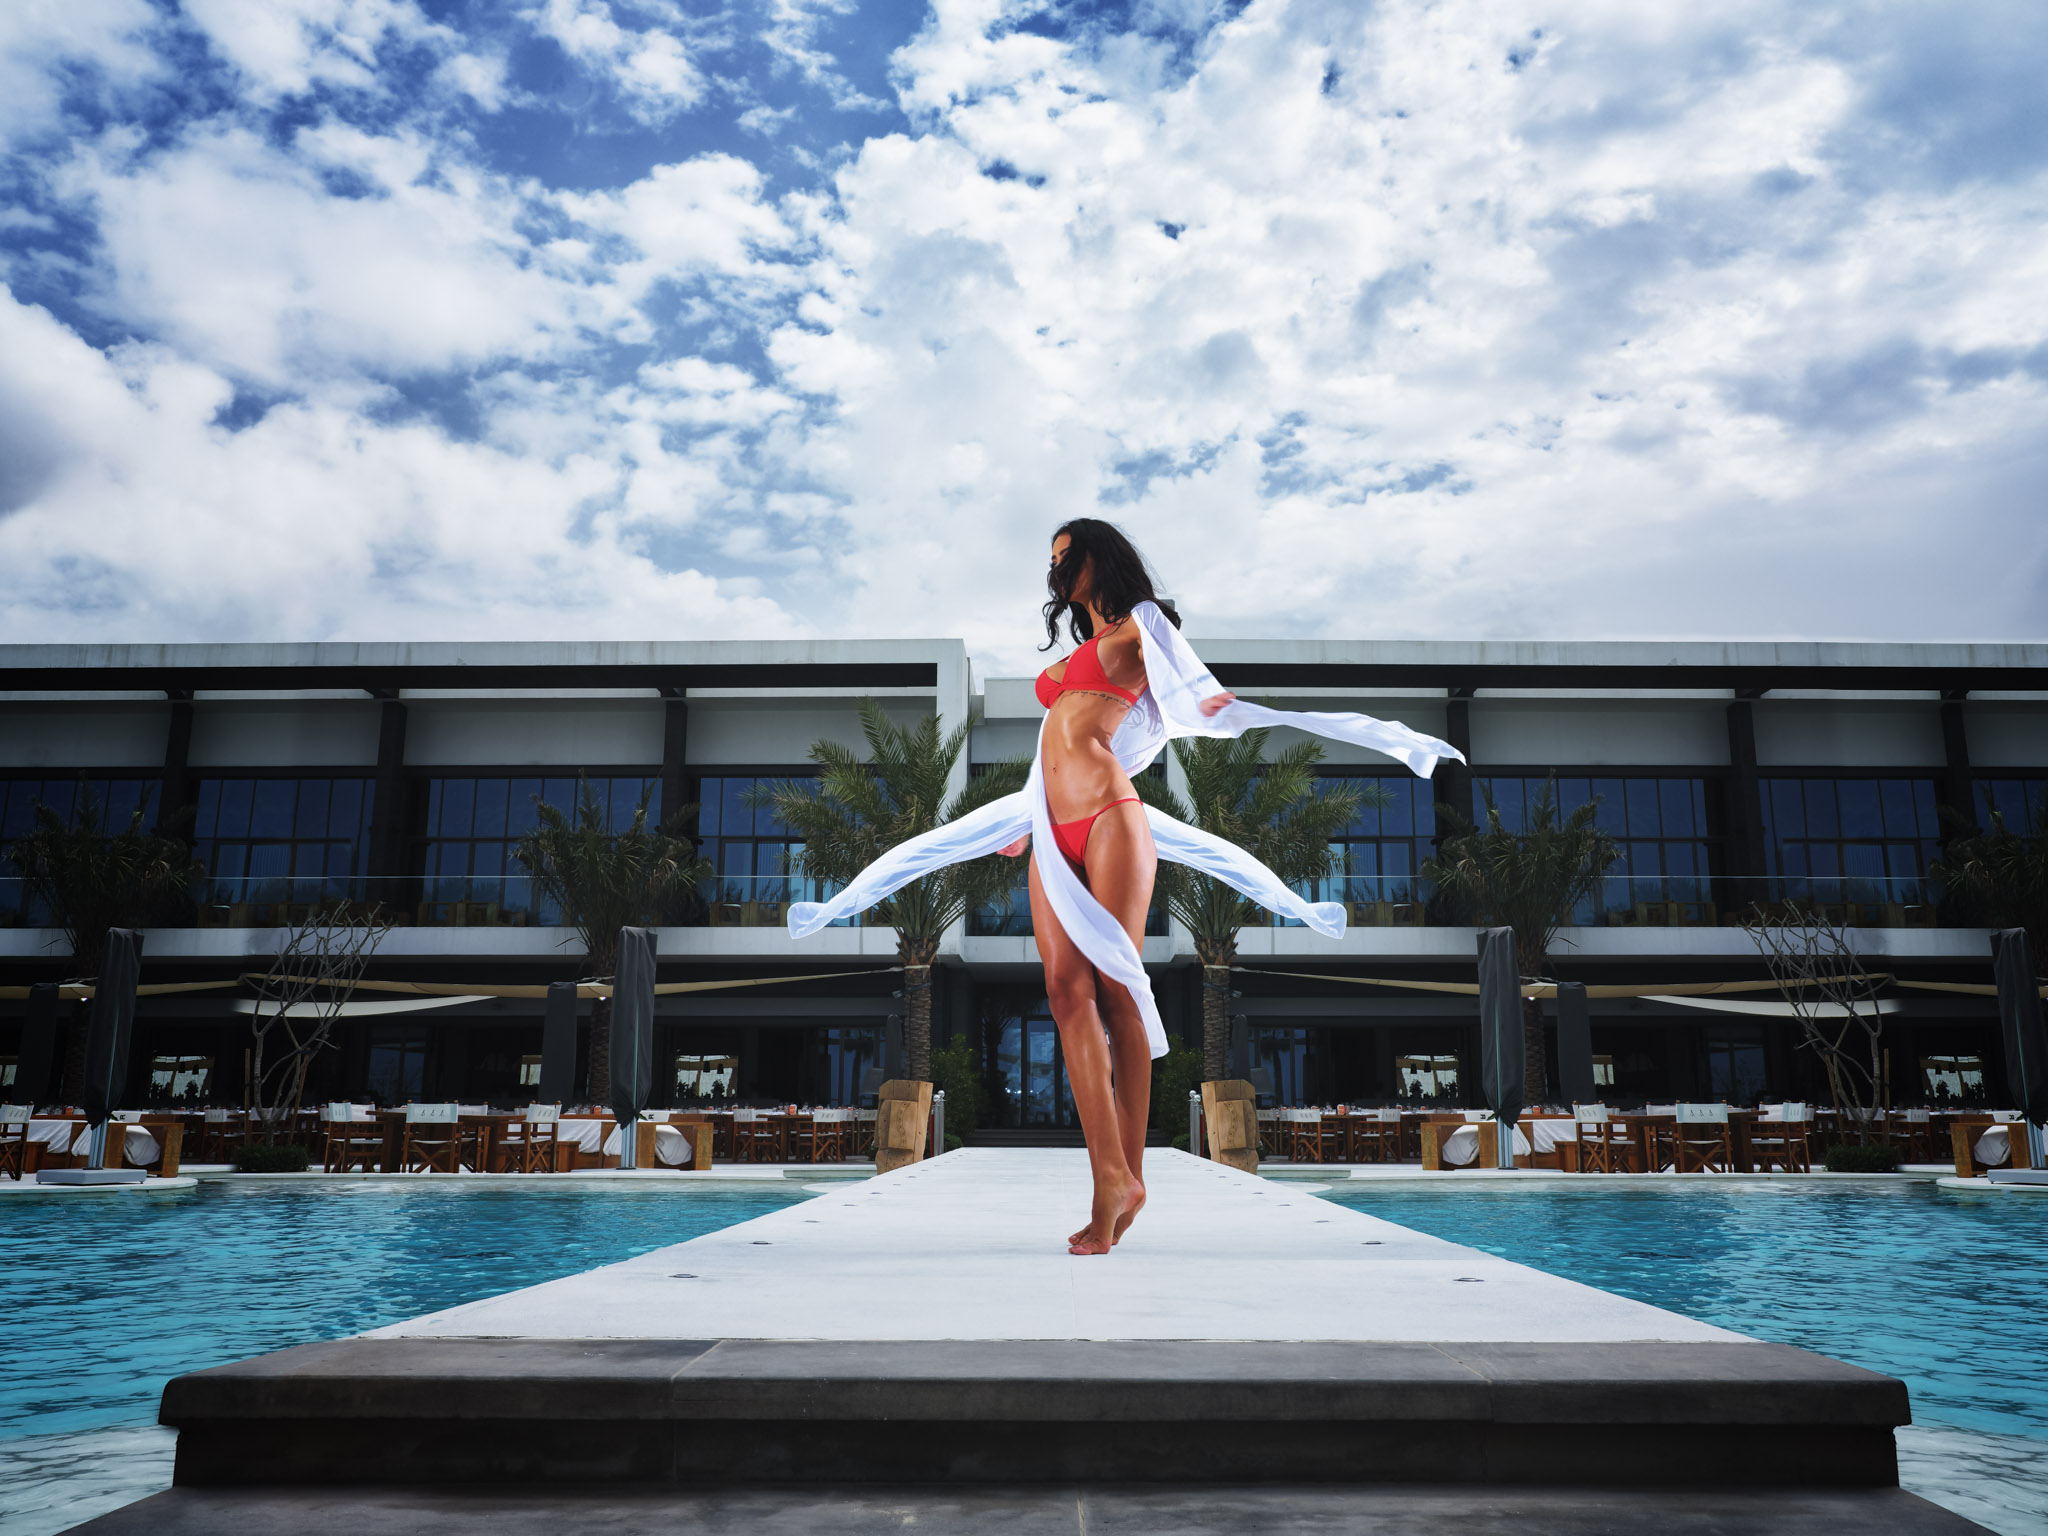
Before we get into the camera review, allow me to say a few words about this project. Traditionally, swimwear marketing would feature an industry standard (ie tall and slim) model in provocative poses. There’s been a recent shift in the industry where brands and designers have been using plus size models to showcase their pieces and make it more relatable to the general public. For this project I wanted to find an area in between were we still used industry standard models while posing them in a more “action” oriented way.
Thoughts on the Fujifilm GFX 50S
Let me start of by saying that I’m not a medium format shooter. The GFX 50S would be the first one that I’ve tried so this is by no means a comparison between it and cameras in the same category. So here are my thoughts.
The Pluses
- Layout and Controls: My main camera is the Fujifilm X-T2 so the first thing I noticed was how the layout of the controls and menu was so familiar. I didn’t spend a lot of time figuring things out
- The weight was a pleasant surprise. I expected it to be heavier given its size. This makes it less of a hassle to carry around
- The vertical tilt screen is just so key. I said that when I first got the X-T2 and I’ll say it again now. Why aren’t the other manufacturers jumping on board with the vertical tilt screen? Its so convenient.
- The focus point is small enough to be able to regularly use autofocus. I heard from other medium format shooters that the autofocus point on other cameras is so large that you usually have to resort to manual focus. Plus, its got face/eye detection to make your life that much easier
- Double tapping the touch screen on a photo zooms right into wherever the autofocus point was. Super handy to quickly check if you nailed the focus or not.
- The file size didn’t actually slow down my computer as much as I thought. Lightroom and Photoshop handled the RAF files just fine and it was quite a breeze to edit. Even with the heavy editing I did my photoshop files didnt exceed 1gb per image.
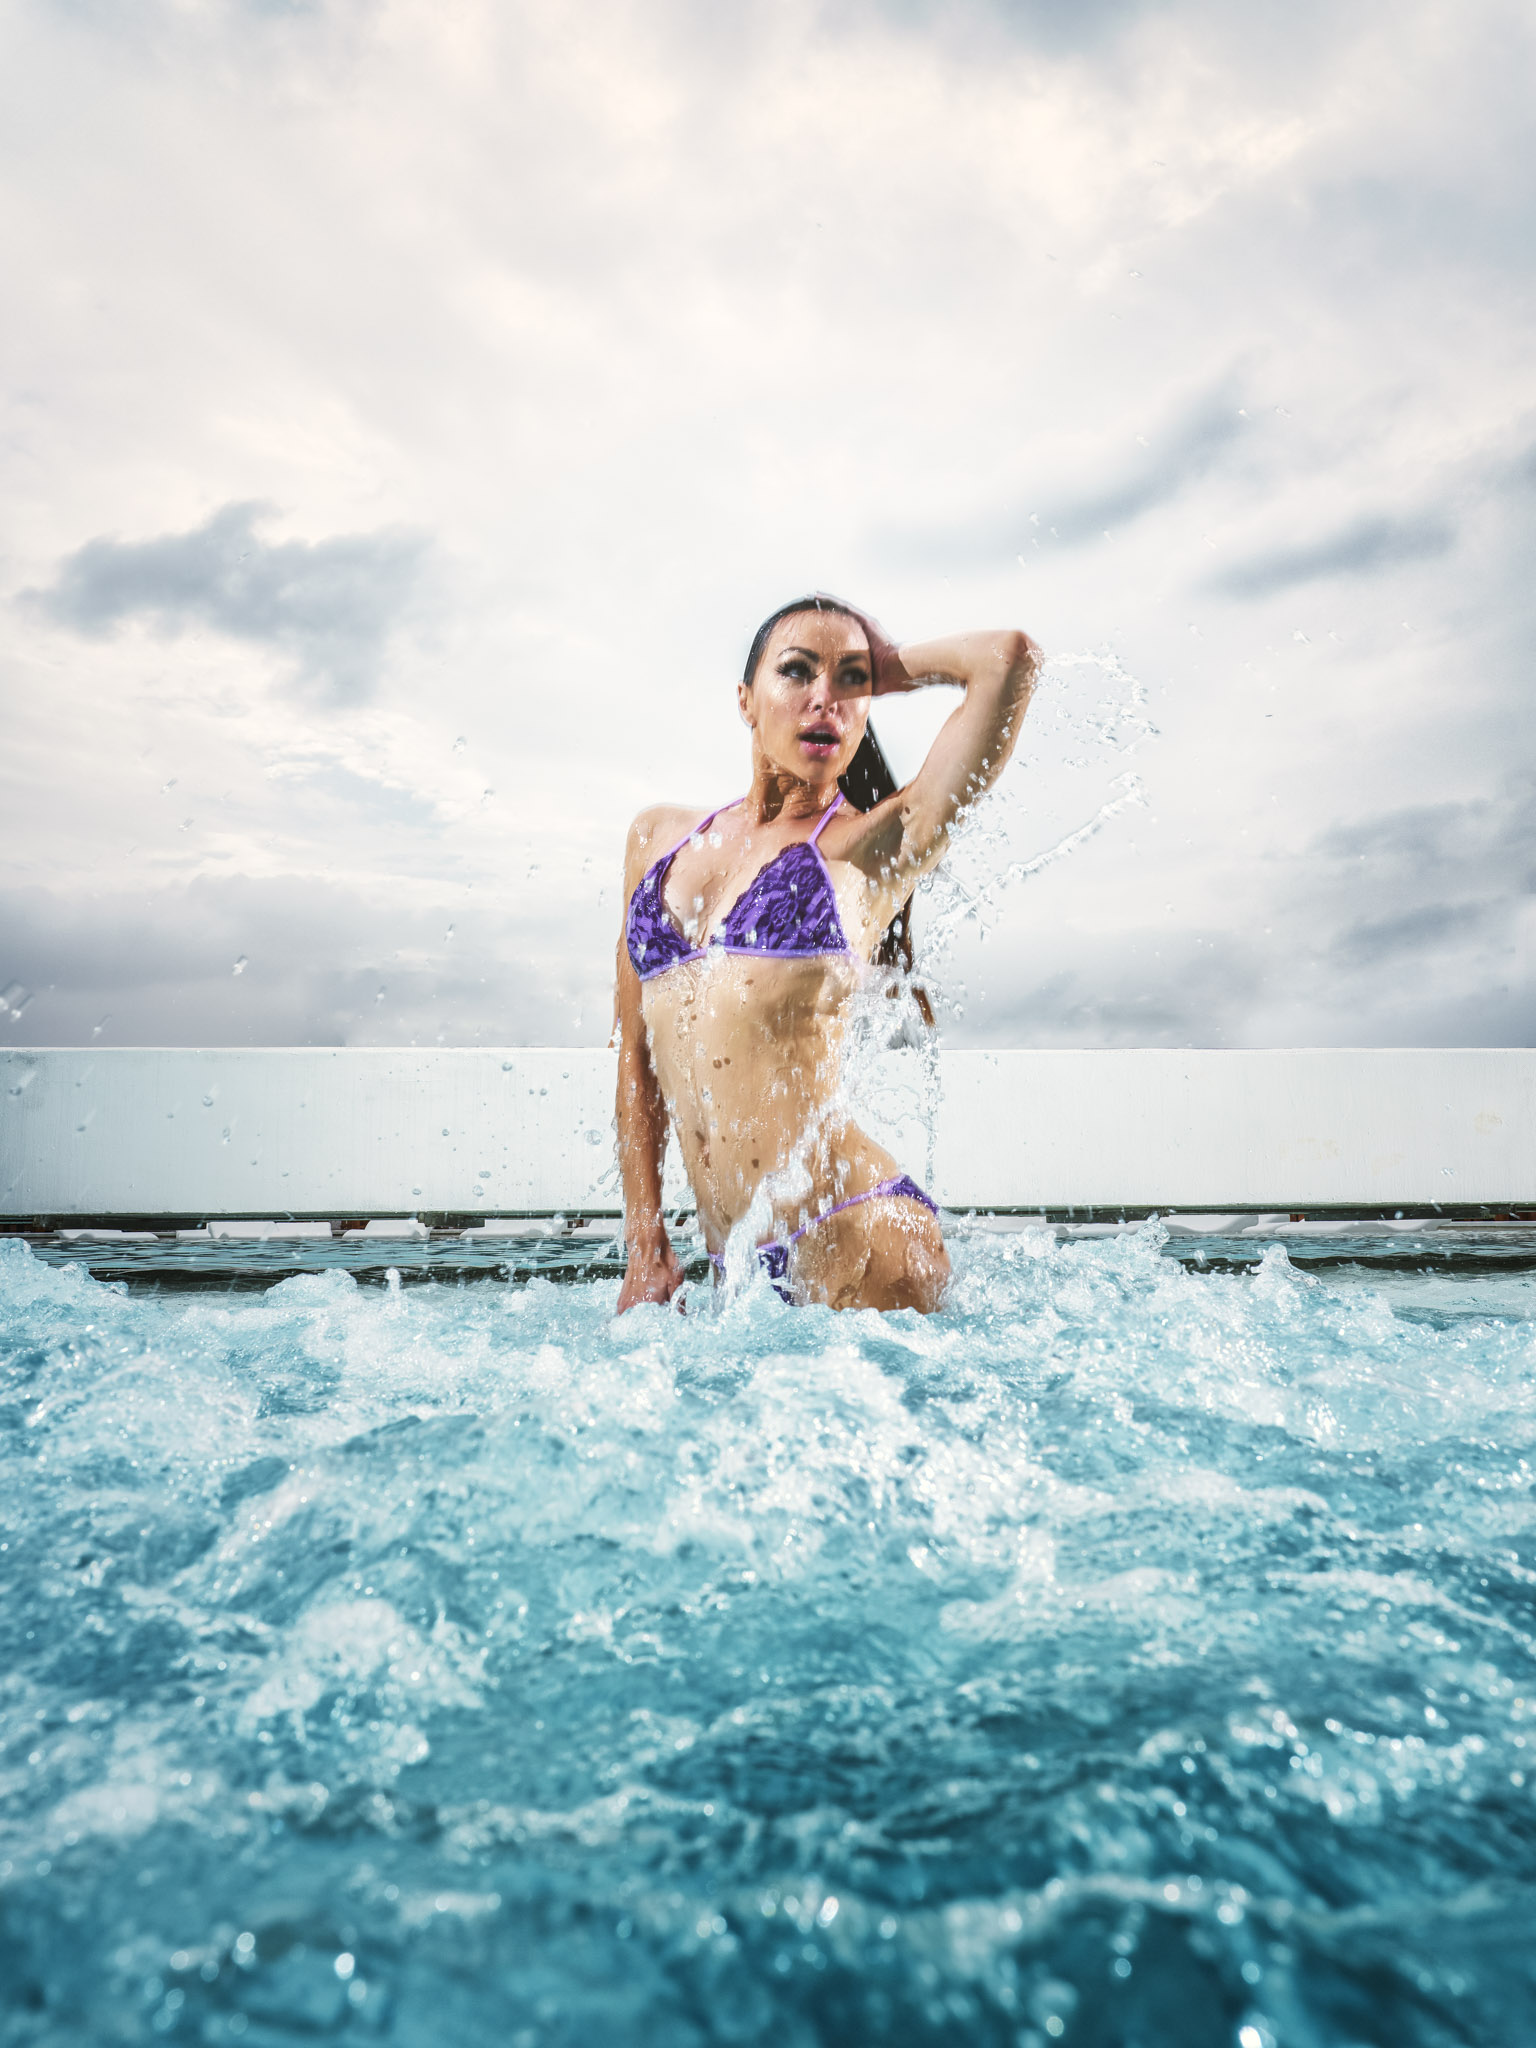
- Colour Rendering was just magical. Words cant describe it so just go back and look at the images.
The Minuses
- Flash sync speed is a bit of an issue. With a high end camera like this I would expect it to sync to at least 1/200s like the X-T2 or even have high speed sync support. I heard a rumor that Profoto are working on supporting Fujifilm cameras on their next air sync remote and will incorporate both TTL and HSS. I’m crossing all my fingers and toes for this one
- The card slot door is a little funny. When you have the strap attached it lays flat and quite taught right up against the card slot door so you cant open it. You need to rotate the camera a little until the strap isn’t laying on the door. Its not a big deal but it just annoyed me a little.
So… yeah.. I want this camera.
The Edit Process
I had just come out of a workshop with Benjamin Von Wong and was armed with quite a bit of knowledge and confidence (legendary photographer, look him up if you don’t know him). I learned to edit a image with 3 principles in mind:
- Remove Distractions
- Focus on colour
- Darken unimportant parts
Before this shoot I would always try to get every single thing right in camera so that I wouldn’t have to remove or “fix” anything in post. However, with so many elements in the image that I couldn’t control combined with the new knowledge and confidence I had just gained I decided to go all out on the edits.
Frist, I cleaned up the image from small unwanted parts using the basic tools (healing/clone stamp). On some images I had to change the perspective and on other I would clone one side of the image and paste it on the other side to create symmetry.
Next, I would take it into NIK Collection’s Colour Efex Pro (free on google). Here I would focus on colour, contrast and extracting details from certain areas. After I was happy with all of the above I would darken the borders of the image to draw more attention to the subject.
Here are the before and after images for you to get an idea of what is achievable in post.


-

- Before

-

- After
-

- Before

-

- After
-

- Before

-

- After
Behind The Scenes


Shout out to the wonderful team that made this all happen:
Photographer – Waleed Shah @waleedshah
Models – Jelena and Yulia from MA Models @mamodelsdubai
Venue – Nikki Beach @nikkibeachdubai
Wardrobe – Itty Bitty Kinis @ittybittykinis
Hair & Makeup – The Dollhouse @dollhousedubai
Camera – Medium Format Fujifilm GFX50s from Fujifilm Middle East @fujifilmme
BTS Video – Lotus Tee @tessytee19
BTS Photos – Marina Anic @anicmarina
Music – Moh Flow @mohflowmusic