It all started with Apple Aperture for me. Back when Apple actually cared about photographers that didn’t shoot with an iPhone, they made a great software offering with that program. Unfortunately it was discontinued within a couple of years of me starting up photography. So, I had to find something else. If I had a choice back then, I didn’t know it. The way I saw it, it was either Lightroom or nothing. So I started migrating to an entirely new platform. I didn’t think much about file-rendering as such back then, I wasn’t even interested in nor did I know about differences in handling RAW files among converters.
I found my way within the functions of Lightroom, and I grew very fond of that software. But over the years as my photographic knowledge and skill reached new levels, I really started noticing some shortcomings within the Lightroom system.
Over the course of the last few years, as Fujifilm has gained a larger audience, and knowledge sharing has taken off, it has become apparent to many, including myself, that there is something in the way that Lightroom treats the RAF files that isn’t entirely optimal. It isn’t something that you can quick fix, since it is at the very core of decoding and treating the Fujifilm RAF files.
With advices and reasons for switching coming in from left and right, I have always stood up for Lightroom, since I always had a feeling that it was “good enough for me” – But during the last 18 months, I really started having a little nagging voice in my head saying “What if it isn’t good enough anymore?”
So I installed Capture One versions on trial basis. I really liked what I saw, but in the busy confines of my daily life I really didn’t give it that extra time needed to really switch over to the software. I ran some images through it, and then I opted out because it was simply too different from my regular approach, and I couldn’t be bothered going through that entire switching-thing again, as I had years back with Aperture.
I can not tell you why I suddenly felt that it was time to dive in to Capture One Pro, because I simply don’t know. It certainly wasn’t because I suddenly had more time to do such a transition, this winter has been busier than ever. But, I think I just felt the need to scratch that itch. To go down that road, and see if it really would make a difference to me, and finally shut down that voice in my head!
So for the duration of the 30 day trial I really went all in. I never loaded a single file into Lightroom. And I forced myself to really get into doing things in a different way, but still trying to achieve a look that I could call mine. And you know what? I was completely smitten with the program.
I had certainly developed into a Lightroom expert. I know that program better than I know my own back pocket! But from having used Capture One 10 for about 5 months now, I know that I had probably reached the ceiling in Lightroom. Before switching to Capture One, I did not know that I needed finer color controls, but having worked with CO10 makes me realise that I actually do.
I did not think the skin colours of my ginger kids could get any better than what I got in Lightroom, but Capture One proved me wrong.
I didn’t think that the orange color was more tame-able, but again I was wrong.
Slowly came the point of me surrendering completely. I now feel that I can achieve a much more balanced look to my images, that simply wasn’t possible for me in Lightroom. Not because it is bad software, but because I had reached the limit of my creative relationship with it. I knew it too well.
What I get from Capture One 10 is subtlety. Subtlety in colors, subtlety in tonality, subtlety in adjustments. I have to work more on my images, but not in a bad way. It’s just a definite indication of finer control options.
Capture One just released the 10.1 update. And for Fujifilm shooters it brings some considerable improvements. I was given a chance to try out a beta-version of the program, and the improvements are minute, but important to us as Fujifilm shooters none the less.
- You now have full compressed RAW file support from Fujifilm cameras. Yes, it reads them all. Fast and perfect.
- The styles section has been completely redesigned. No more complex menu structure that clutters over your image. It’s now located in the tools bar, where it belongs!
There are other new features, but the above 2 are whats important to me.
I’m going to highlight a couple of features which I think really makes Capture One Pro 10.1 stand out from the competition.
First of all, let me touch down on the default treatment of the RAF files. And let me stress right away, that this is not a stab at Adobe Lightroom. I liked that software, and I still do. This is pixel peeping territory! – An area that I try to stay away from as much as I can. None the less this serves to prove a point that the Capture One engine does an incredible job with the notoriously hard to treat RAF files.
Capture One seems to do a lot better in regards to handling sharpness, detail and clarity at a default setting. This isn’t in any way indicative of the final result that you can achieve since all software lets you tweak these settings. This just means that straight out of the box, you get de facto better results without any additional tweaking of your RAF files.
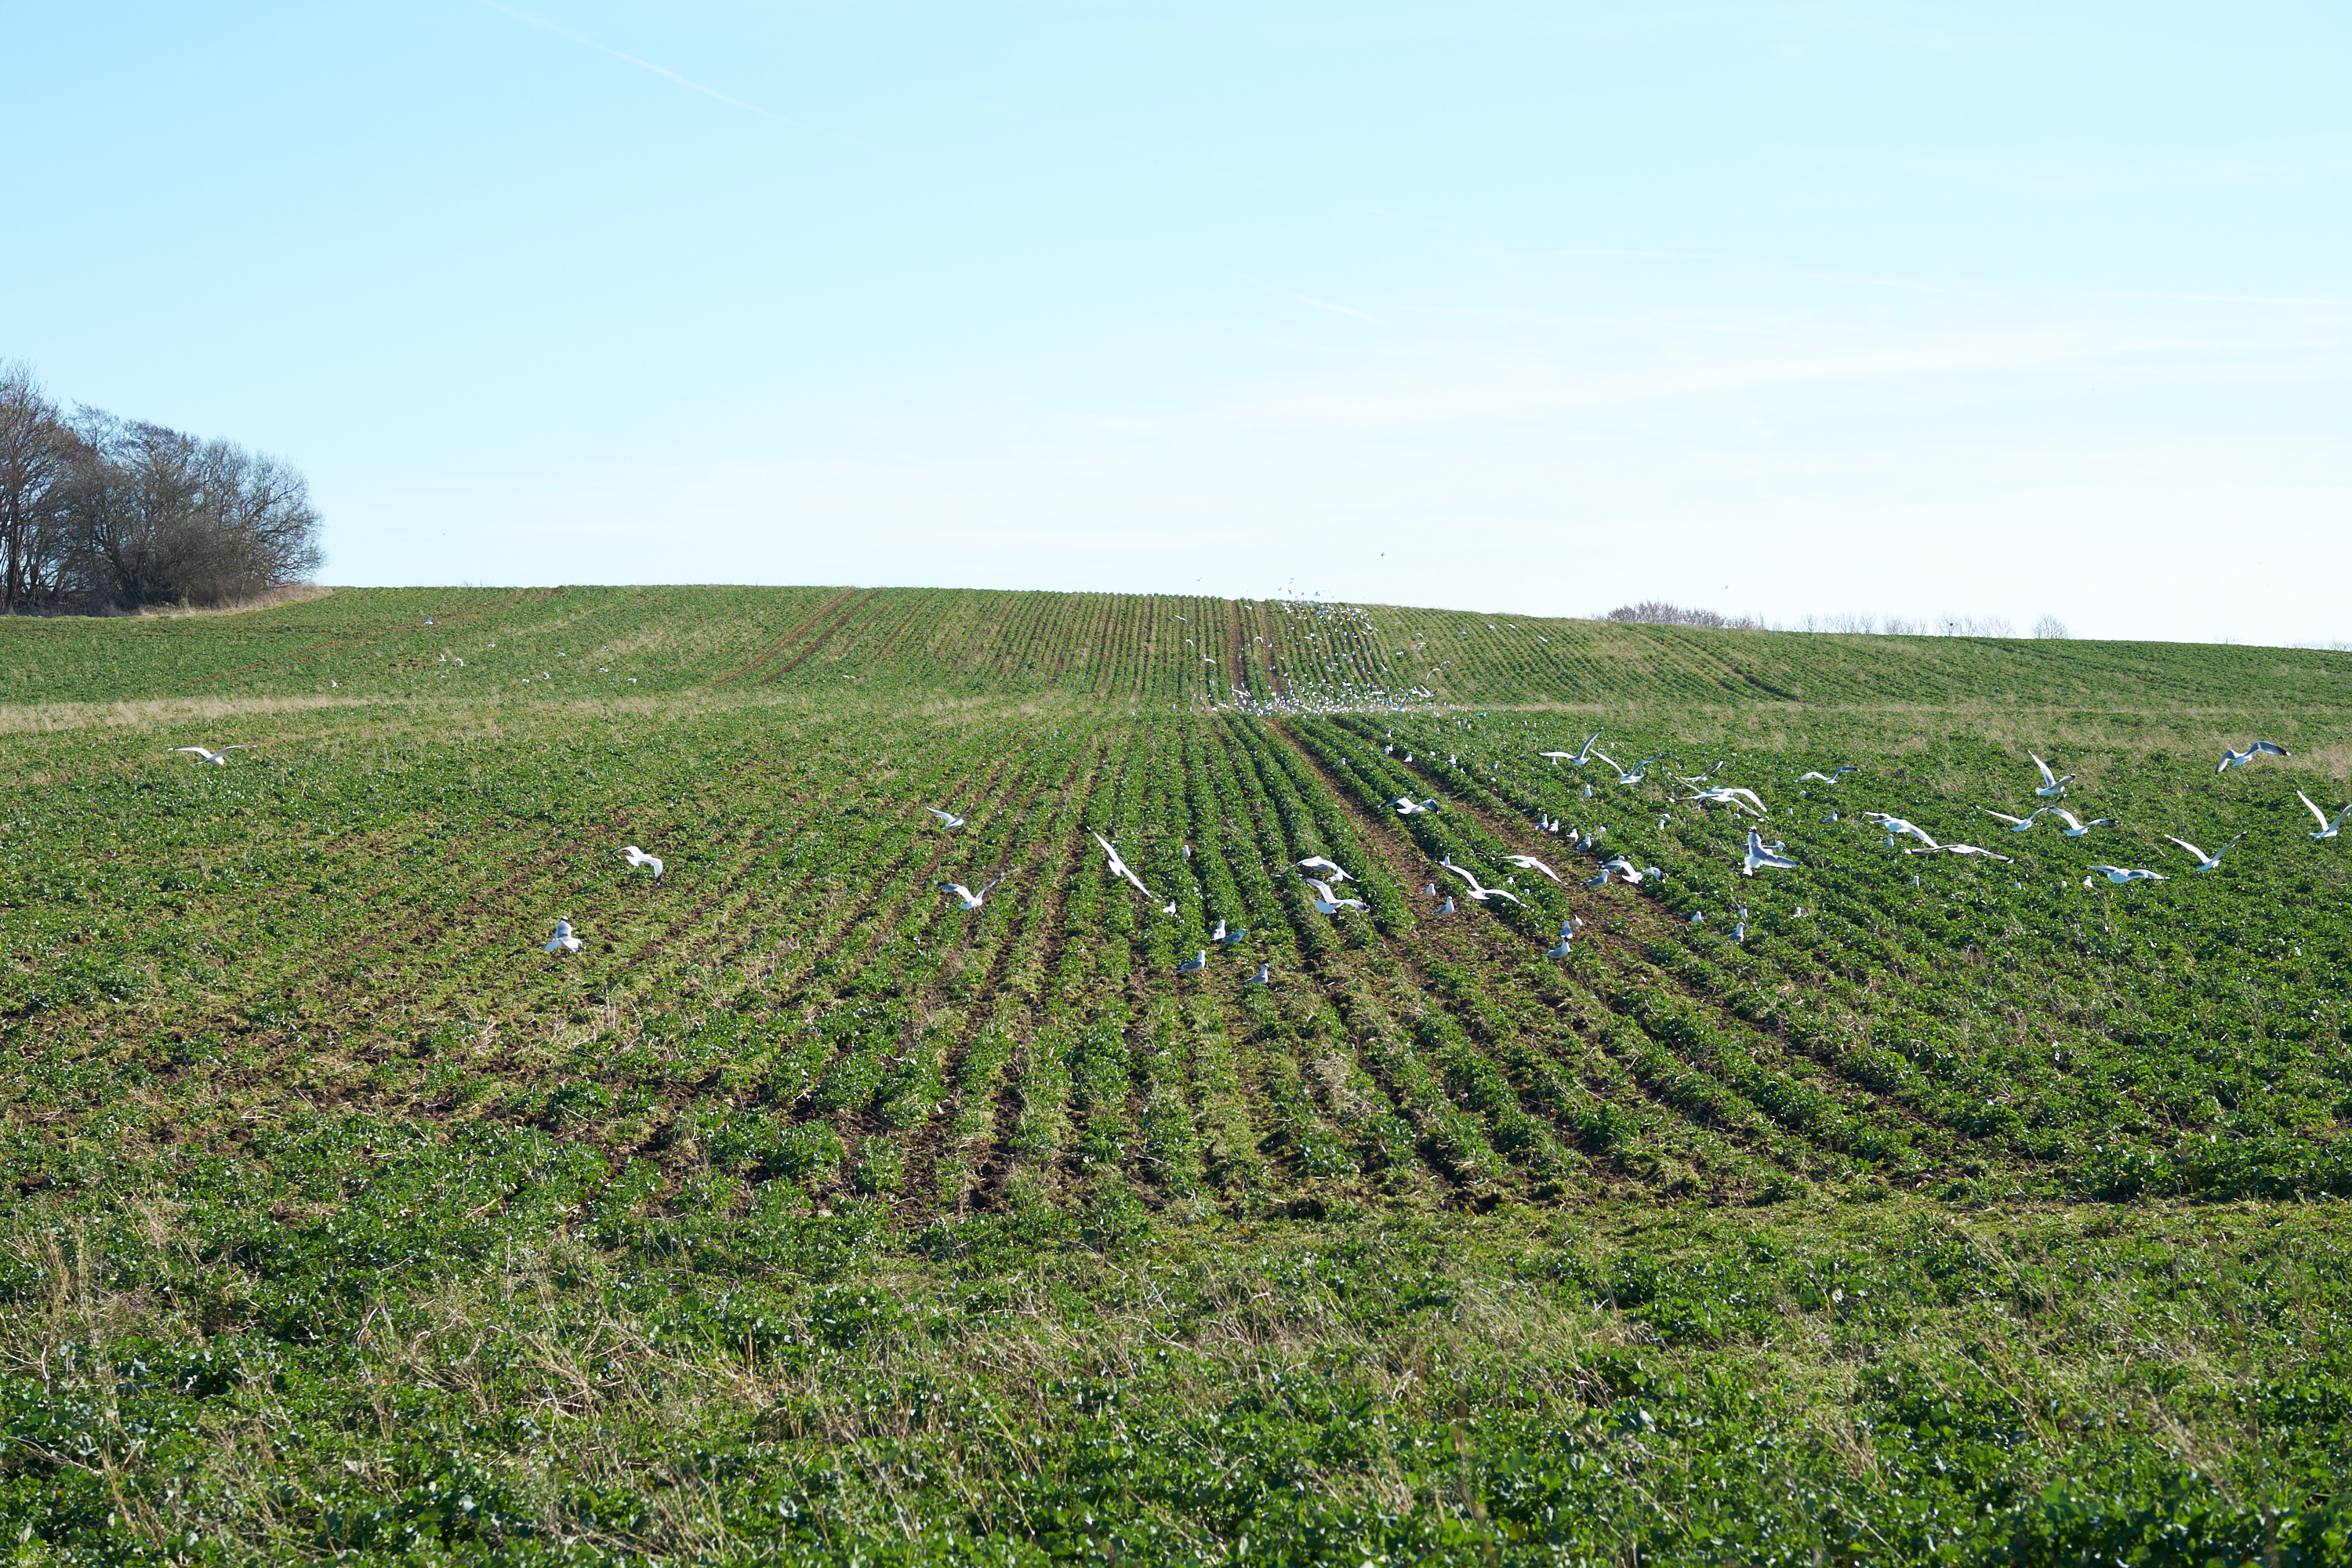
In the example above you can see a less than stellar exposure, that isn’t all that important. What is important, however, is the 100% crops from the file.

Capture One 10.1 – Beta 3

Lightroom CC (2015.10) – (6.10)
It’s quite obvious, that there is something different going on in the CO software than in LR. This has been labeled “watercolor effect” – and it just doesn’t occur in Capture One. Whether or not this is important to your photography, is up to you. I’m just stating what I observe. And to me the results in Capture One is heaps better.
A thing that has really struck a chord with me after Fujifilm introduced the Acros film simulation which has tonality differentiated grain control in-camera is the effect that proper grain simulation can have on an image. I don’t need to mimic a film-look per se, but I really want to bring out some of the organics that comes from film. I know that digital will never be film-like, but I also know that there is a possibility of using some aids to achieve a softer look to an otherwise clinical digital file.
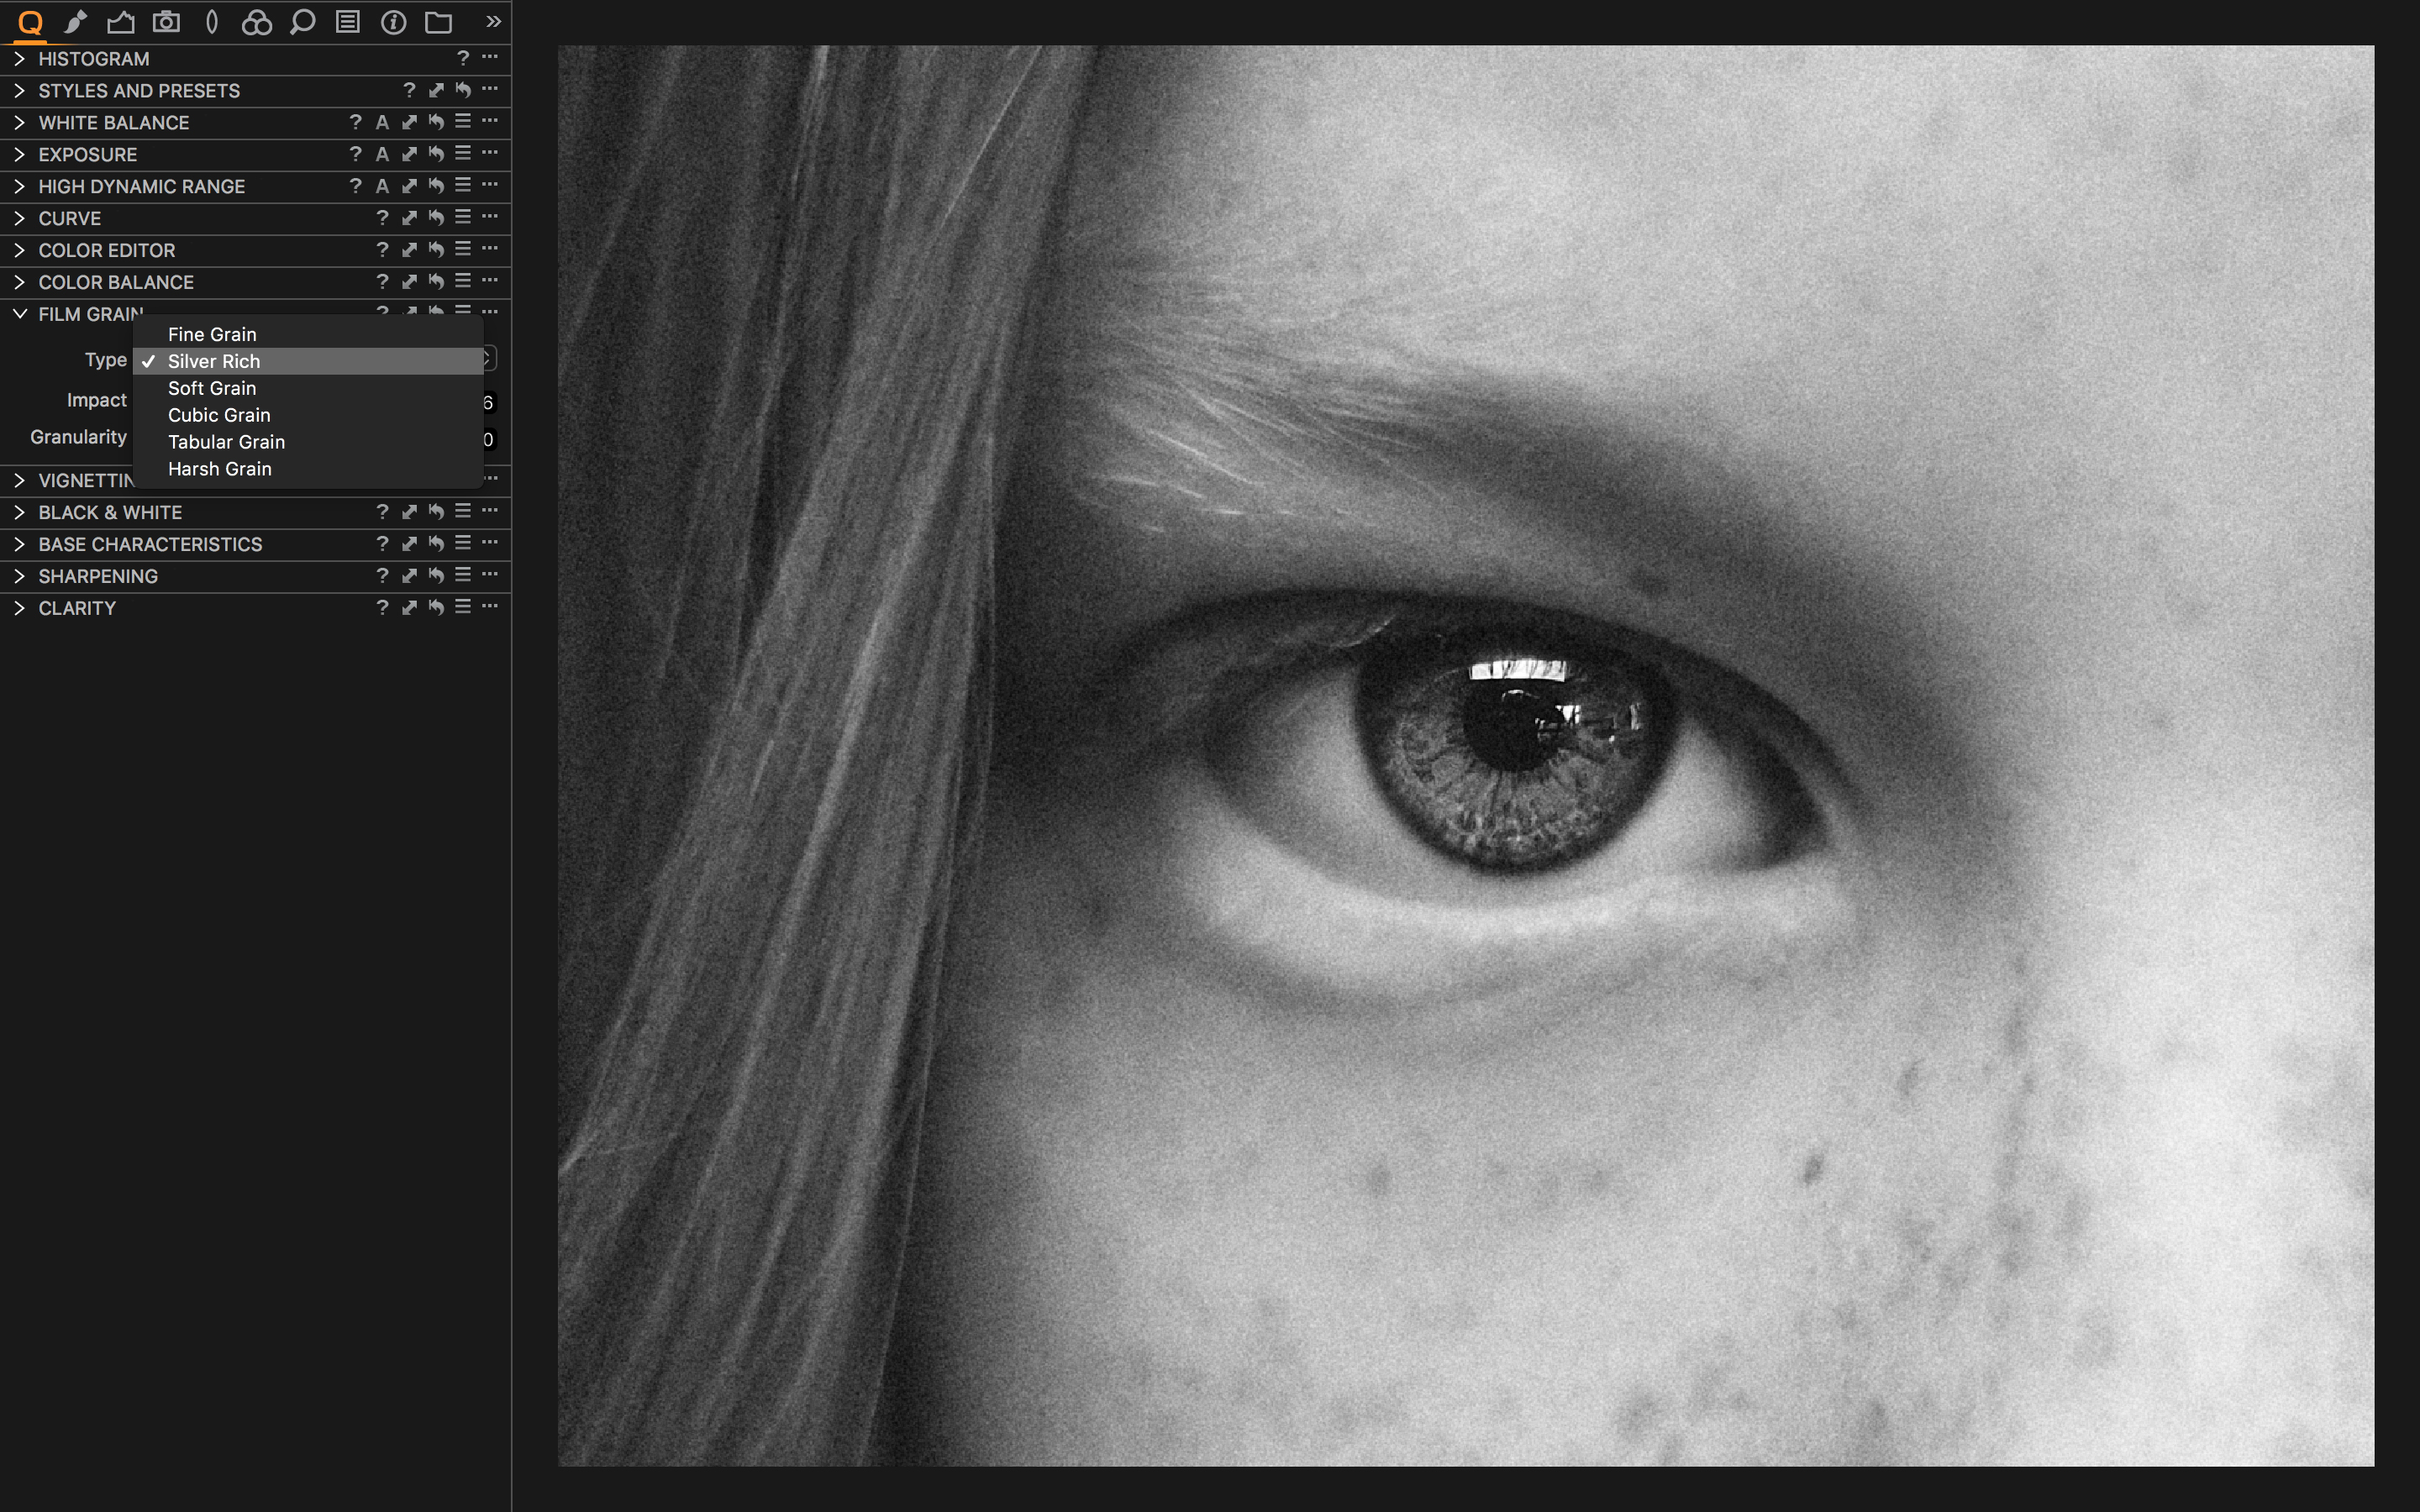
Capture One has some incredible grain modes. I like them all, but the one that really stand out to me is the “Silver Rich” type. The engineers behind it did an amazing job. It looks subtle, has great simulation of pure luminance grain with a very structured appearance. It feels right at home on a black and white image with low contrast and a dark-shadow pull. It is as close as you can get to the Acros grain straight out of camera. And if you have read my blog during the last year you’ll know that I think Acros is as close to perfection in the digital realm as you can get.
A tool within Capture One 10.1 that has my flying really high is the skin color correction tool. I have a couple of daughters with freckles and ginger hair. In the photographic landscape of 2017 I don’t think you’ll anything more “in” than that look – but! – The unfortunate side effect of that appearance is the ultra-pale magenta skintones that comes with it. In any other piece of software I’ve used up until Capture One 10.1 I have never been able to get them to look right, hence I’ve always settled for “good enough” – But I don’t have to anymore!
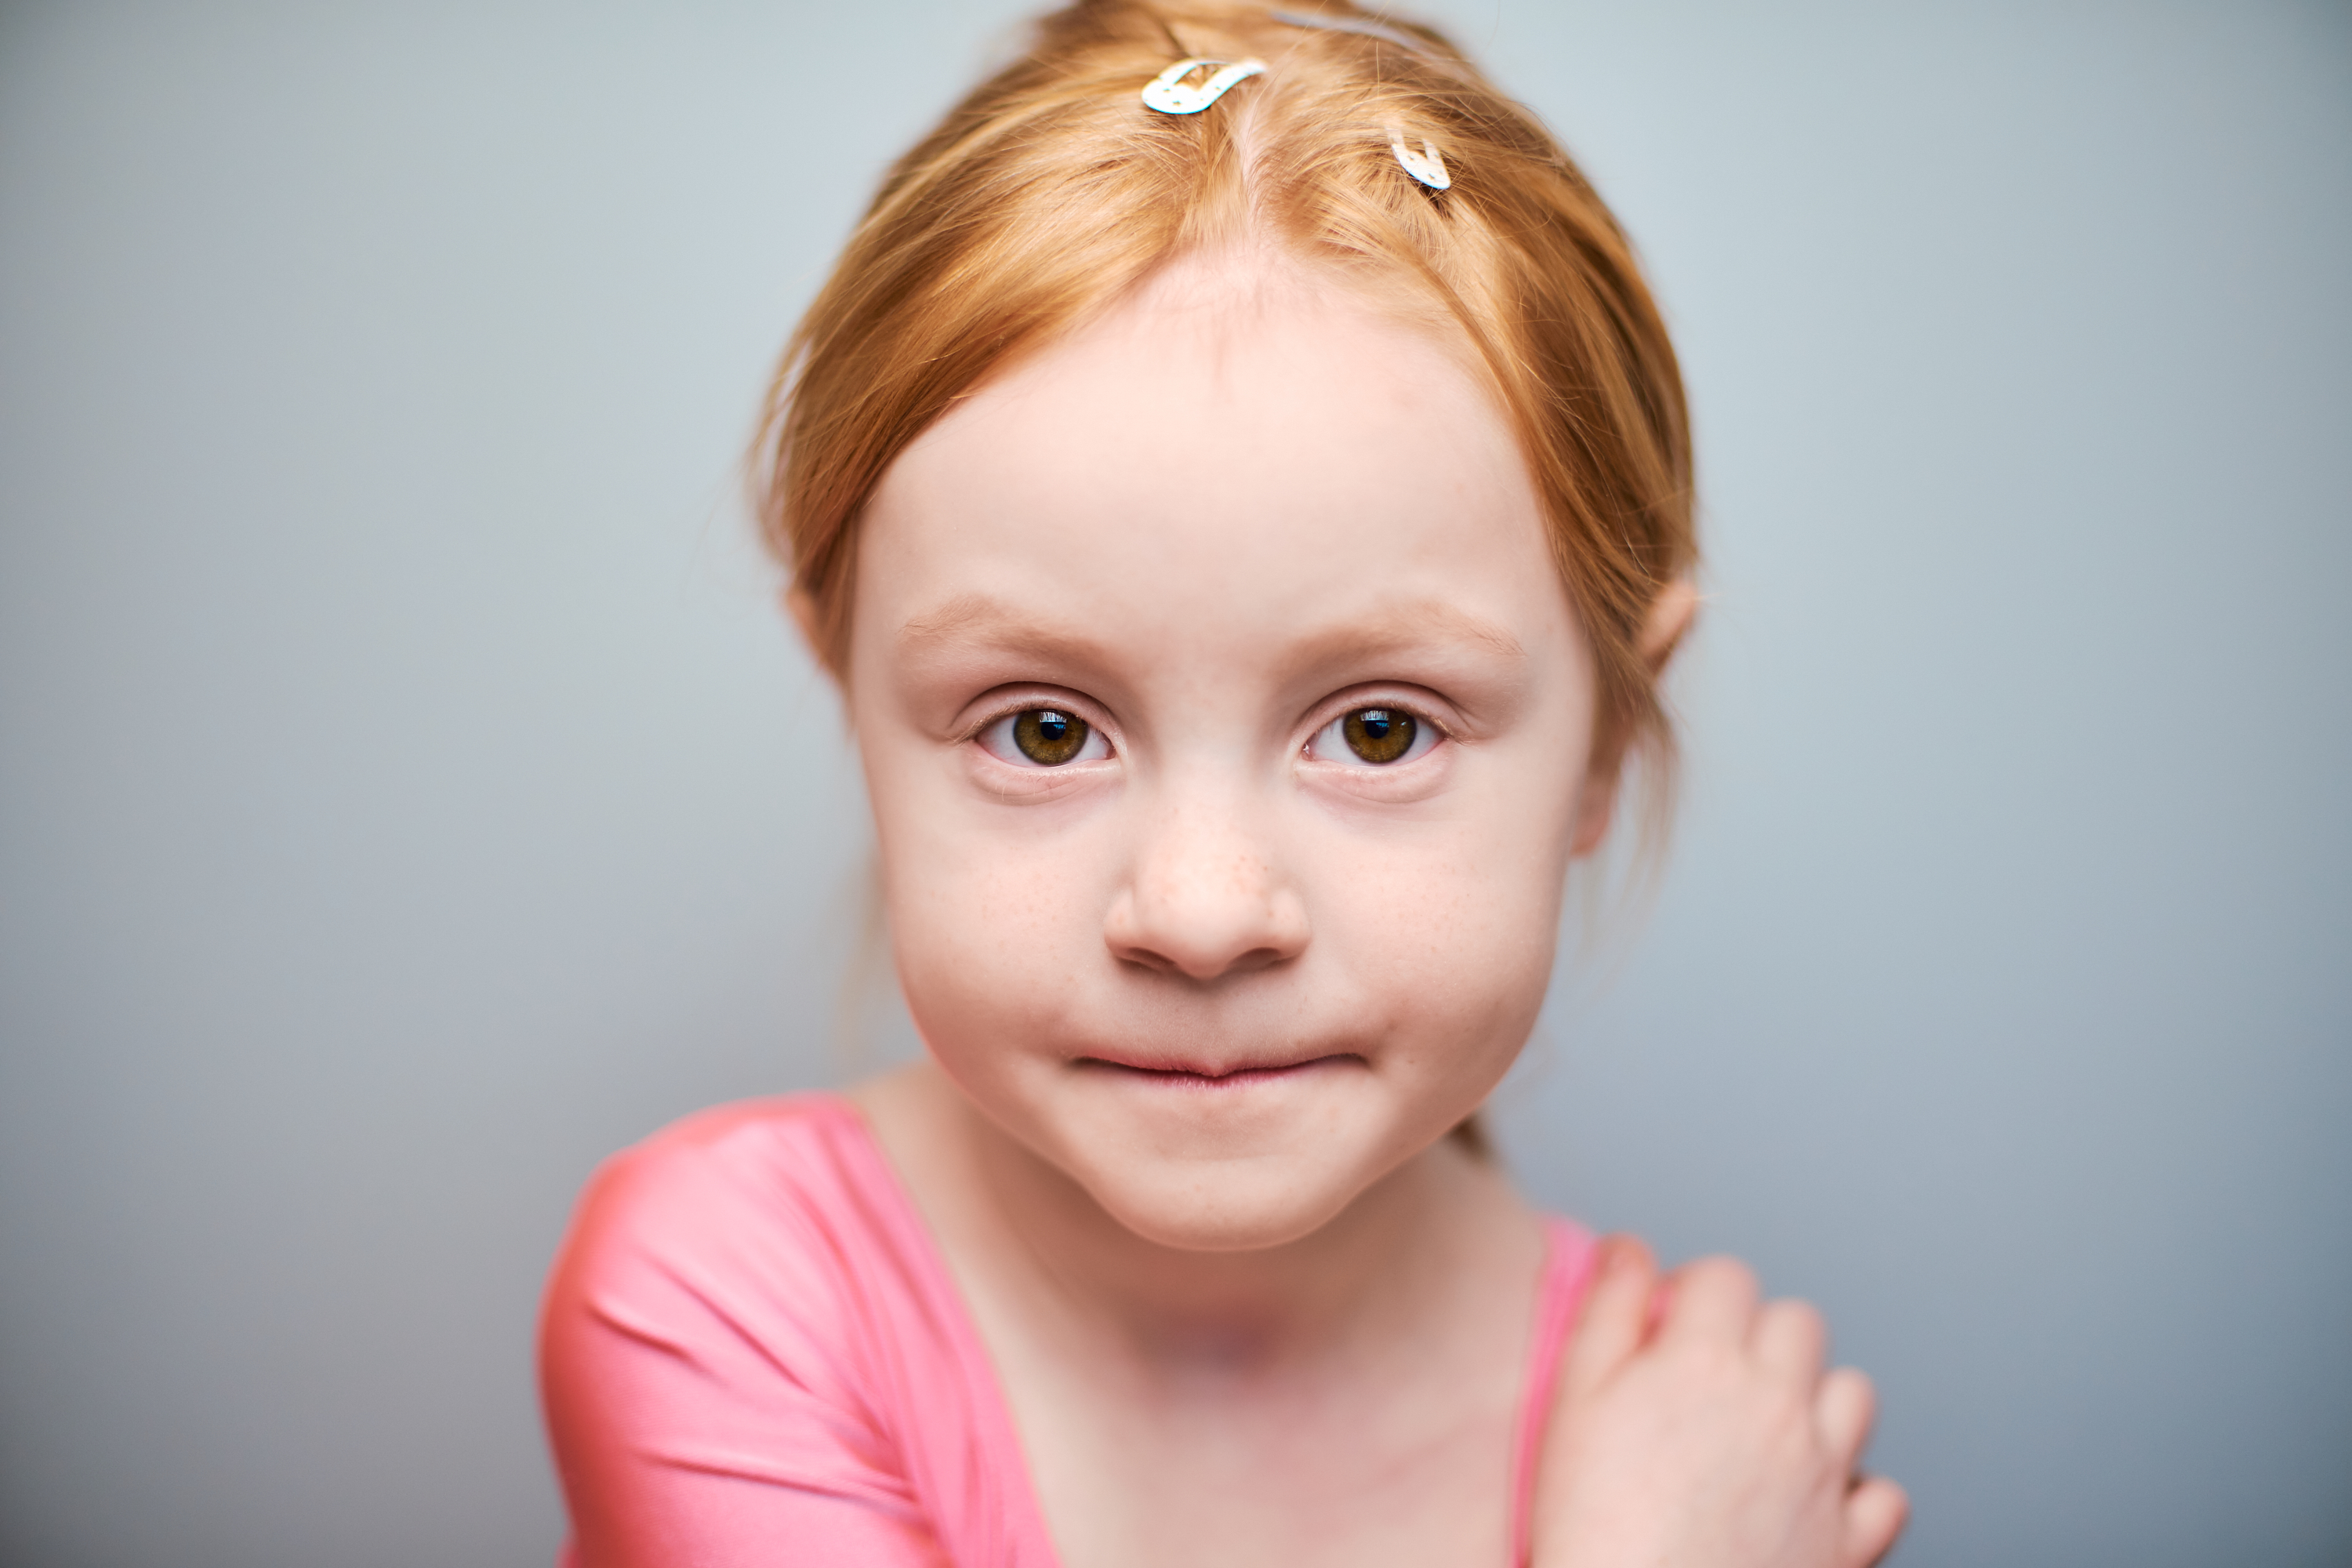
What you can do is, do a local adjustment to the skin area you want to correct. You can then chose the skin color picker, pick the skin color that you think is just right, and then adjust “uniformity” sliders to pull the unwanted tones closer to your selected colorrange. This is genius. In 30 seconds you can do complete color retouching without ever touching the underlying textures.
The last thing I want to talk about here is the styles.
Styles are the same as presets in Lightroom. It’s basically a way for you to save everything from cropping to curve adjustments in a single style, that you can quickly apply across multiple files. In addition to the styles CO also has presets. These are more specific to one image tweak. As an example you can make a universal grain setting and save it as a preset. It will then only apply grain and not overwrite any other image tweaks.
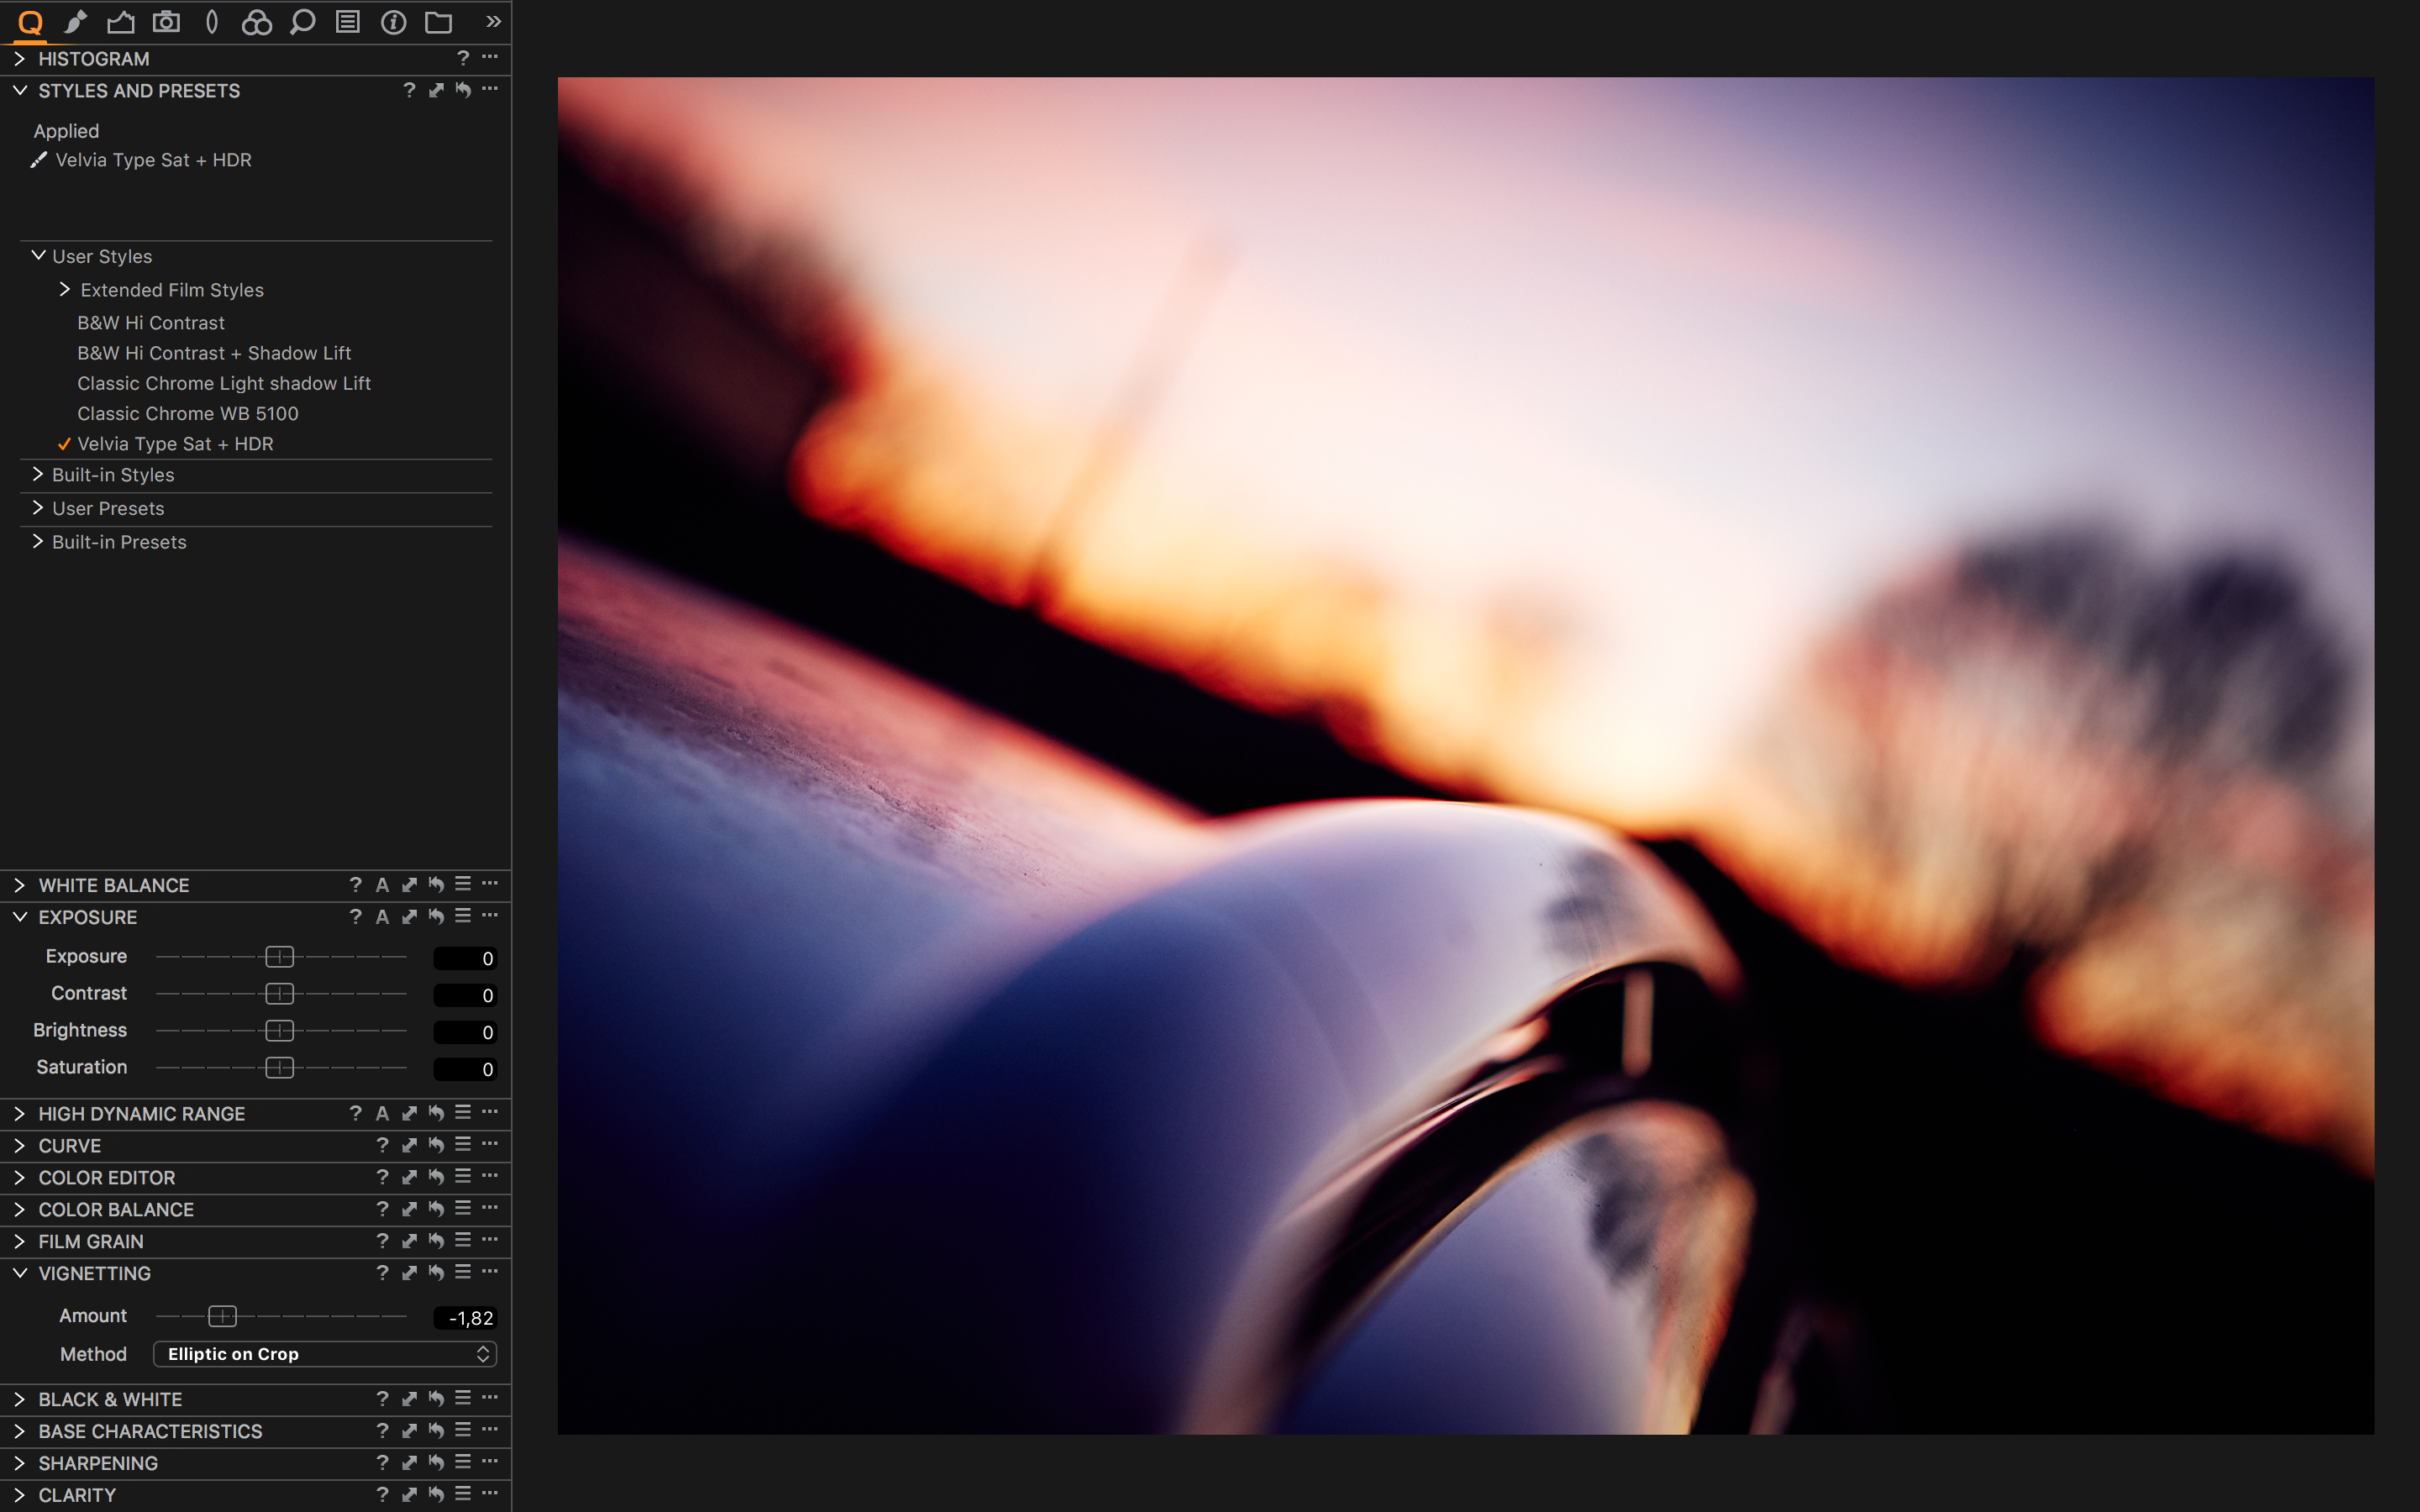
Styles and presets menu has been completely redesigned in Capture One 10.1. Prior to this version you had it as layered menus. What happened was that if you had your styles sorted in folders you would have a big folder tree expanding out over your image editing area. Less than perfect to say the least!
You now have them inline in your tools section. They expand locally, and they give you “live preview” in the main image area when hovering over them. Finally it works like it should.
You can find some brilliant old film simulations as Capture One styles online. I don’t miss anything from my previously used software in this regard.
So here we are. I switched. So what! – Another “switcher story”. I don’t care if you’re happy with your current software or not. But if you, like I had, have that feeling of “what if it can be done differently and maybe even better” then I strongly suggest you to try out Capture One.
It’s not a perfect software solution by any means, but to me it comes damn close! – And with these newest additions of a redesigned styles menu as well as COMPRESSED RAF support it really makes Capture One a great choice for the Fujifilm shooter.
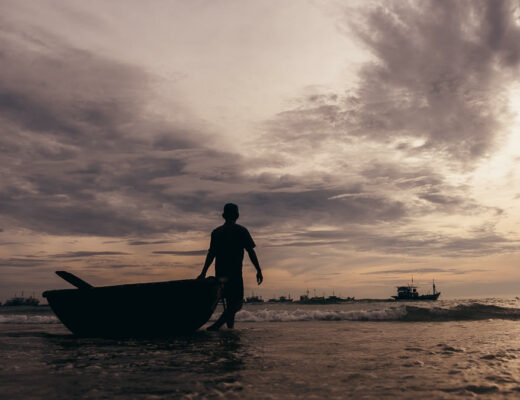
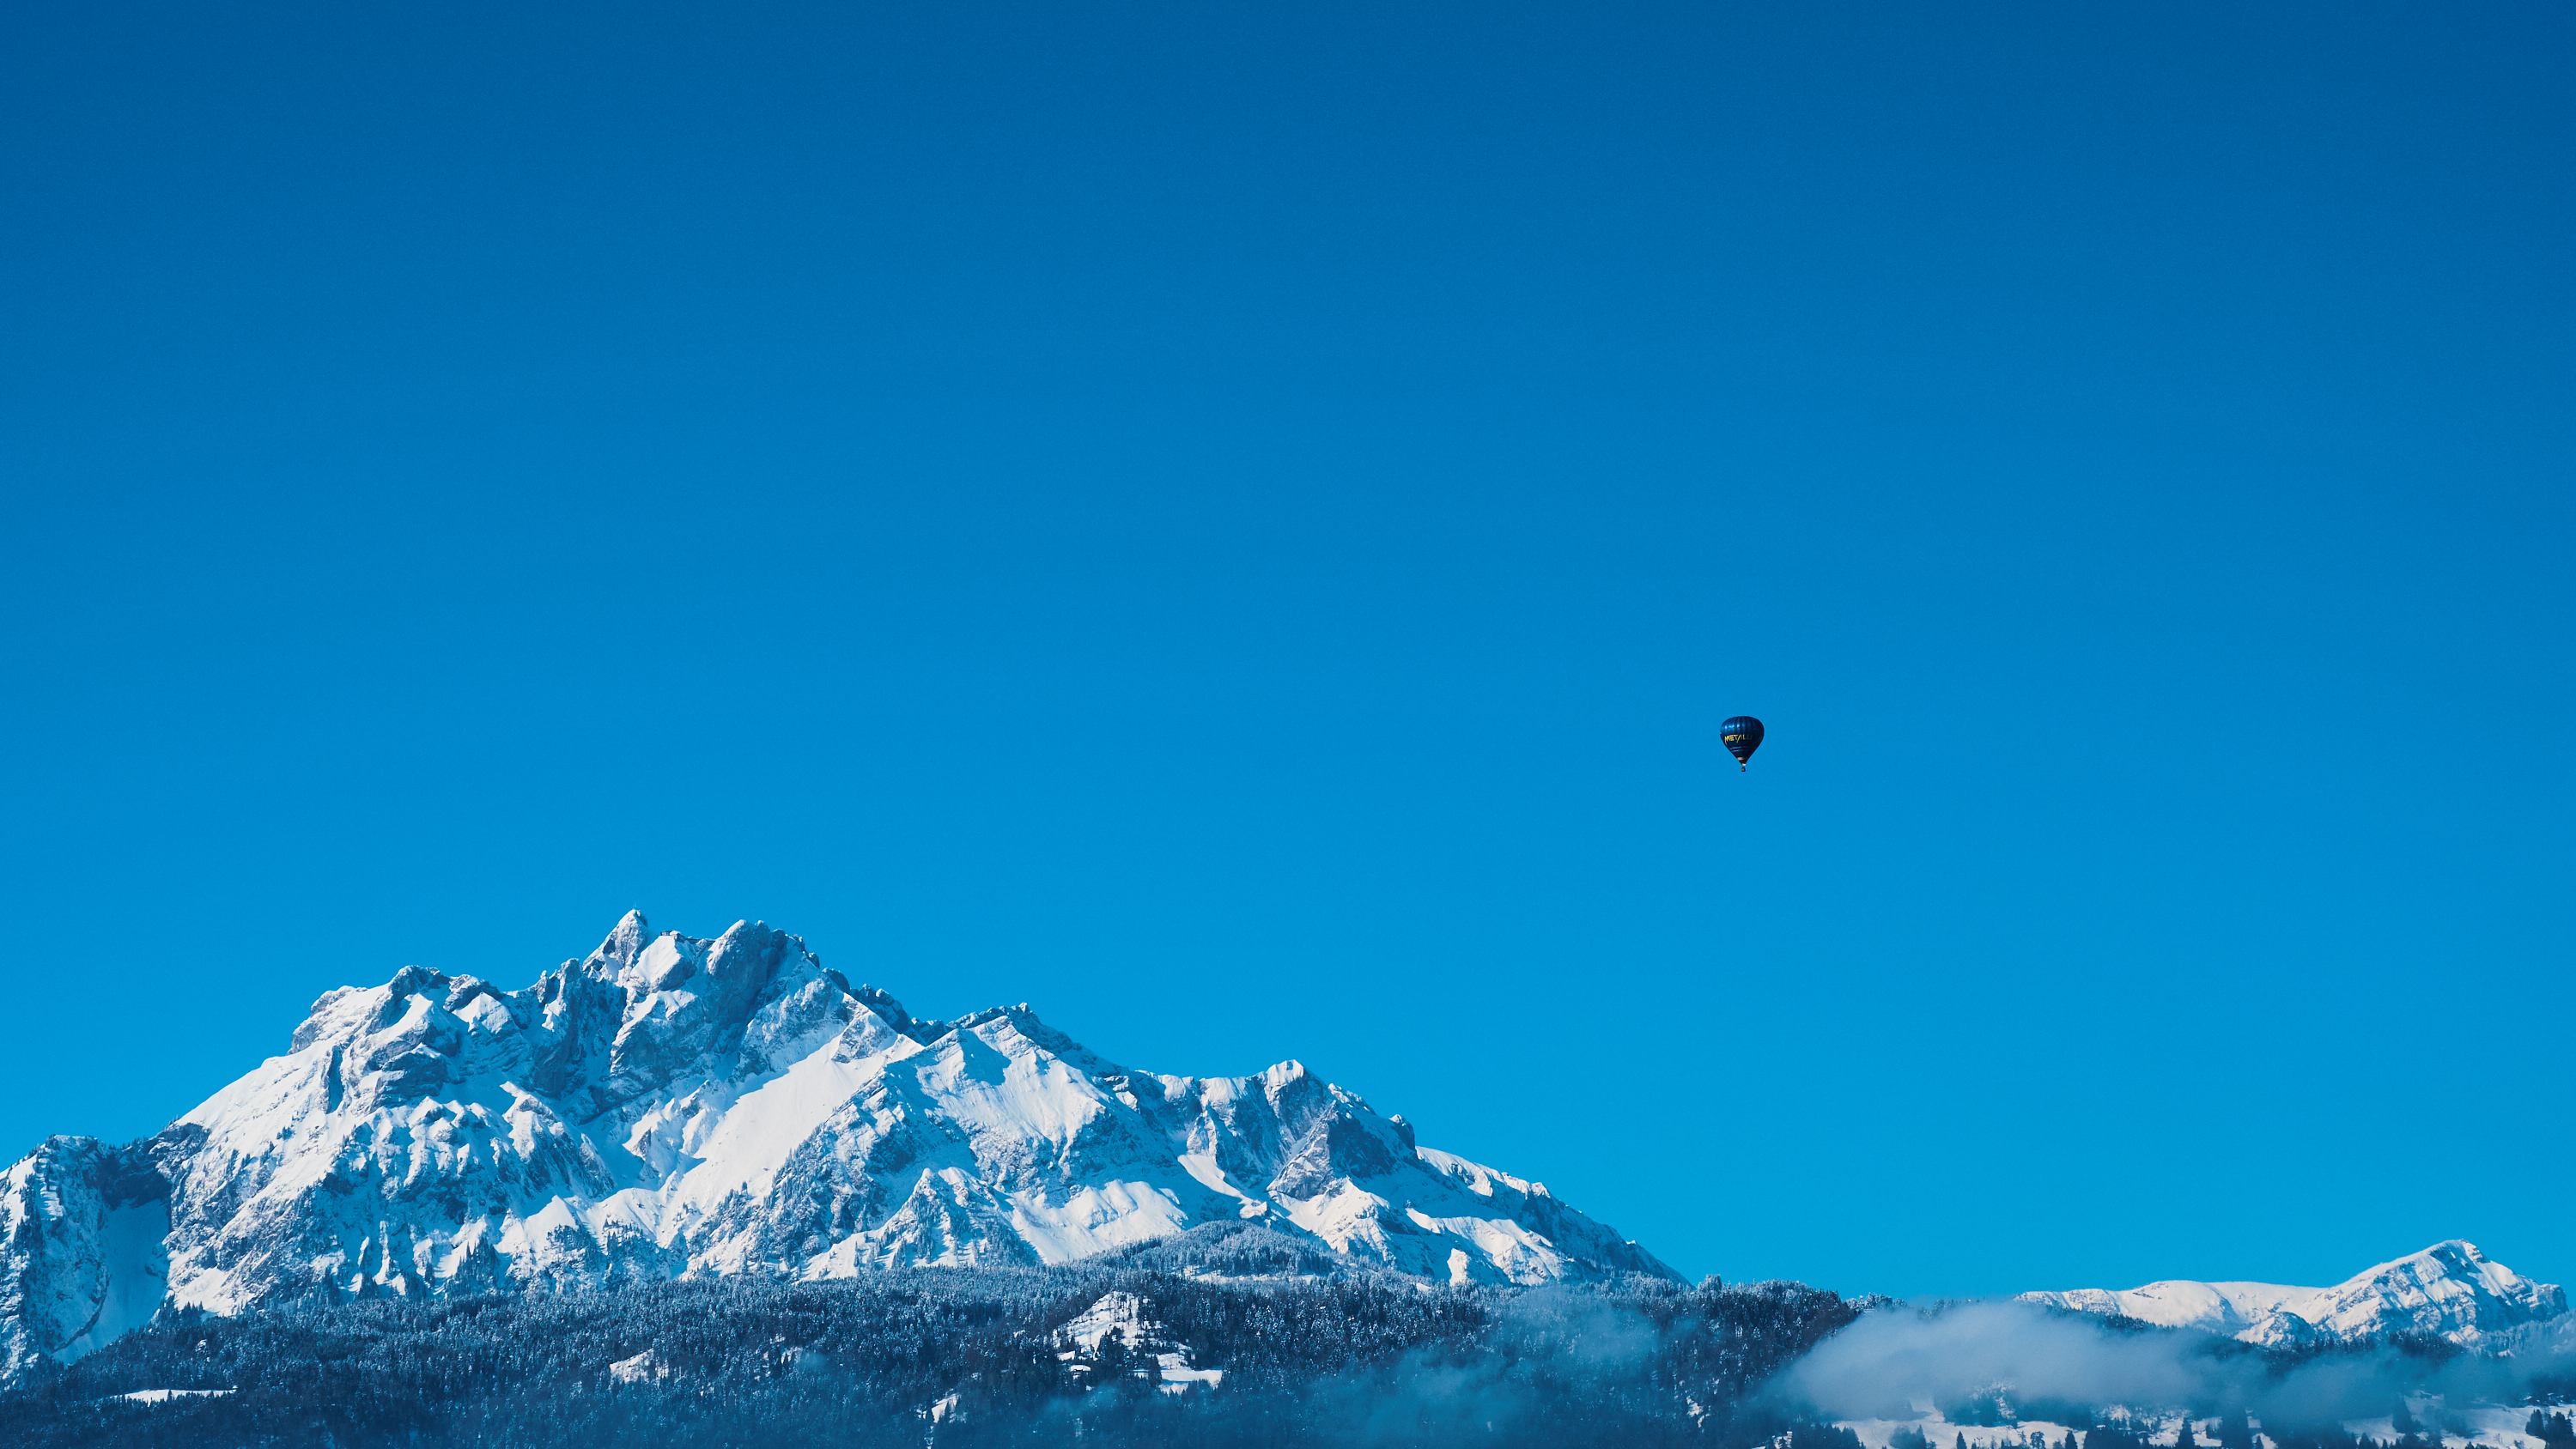
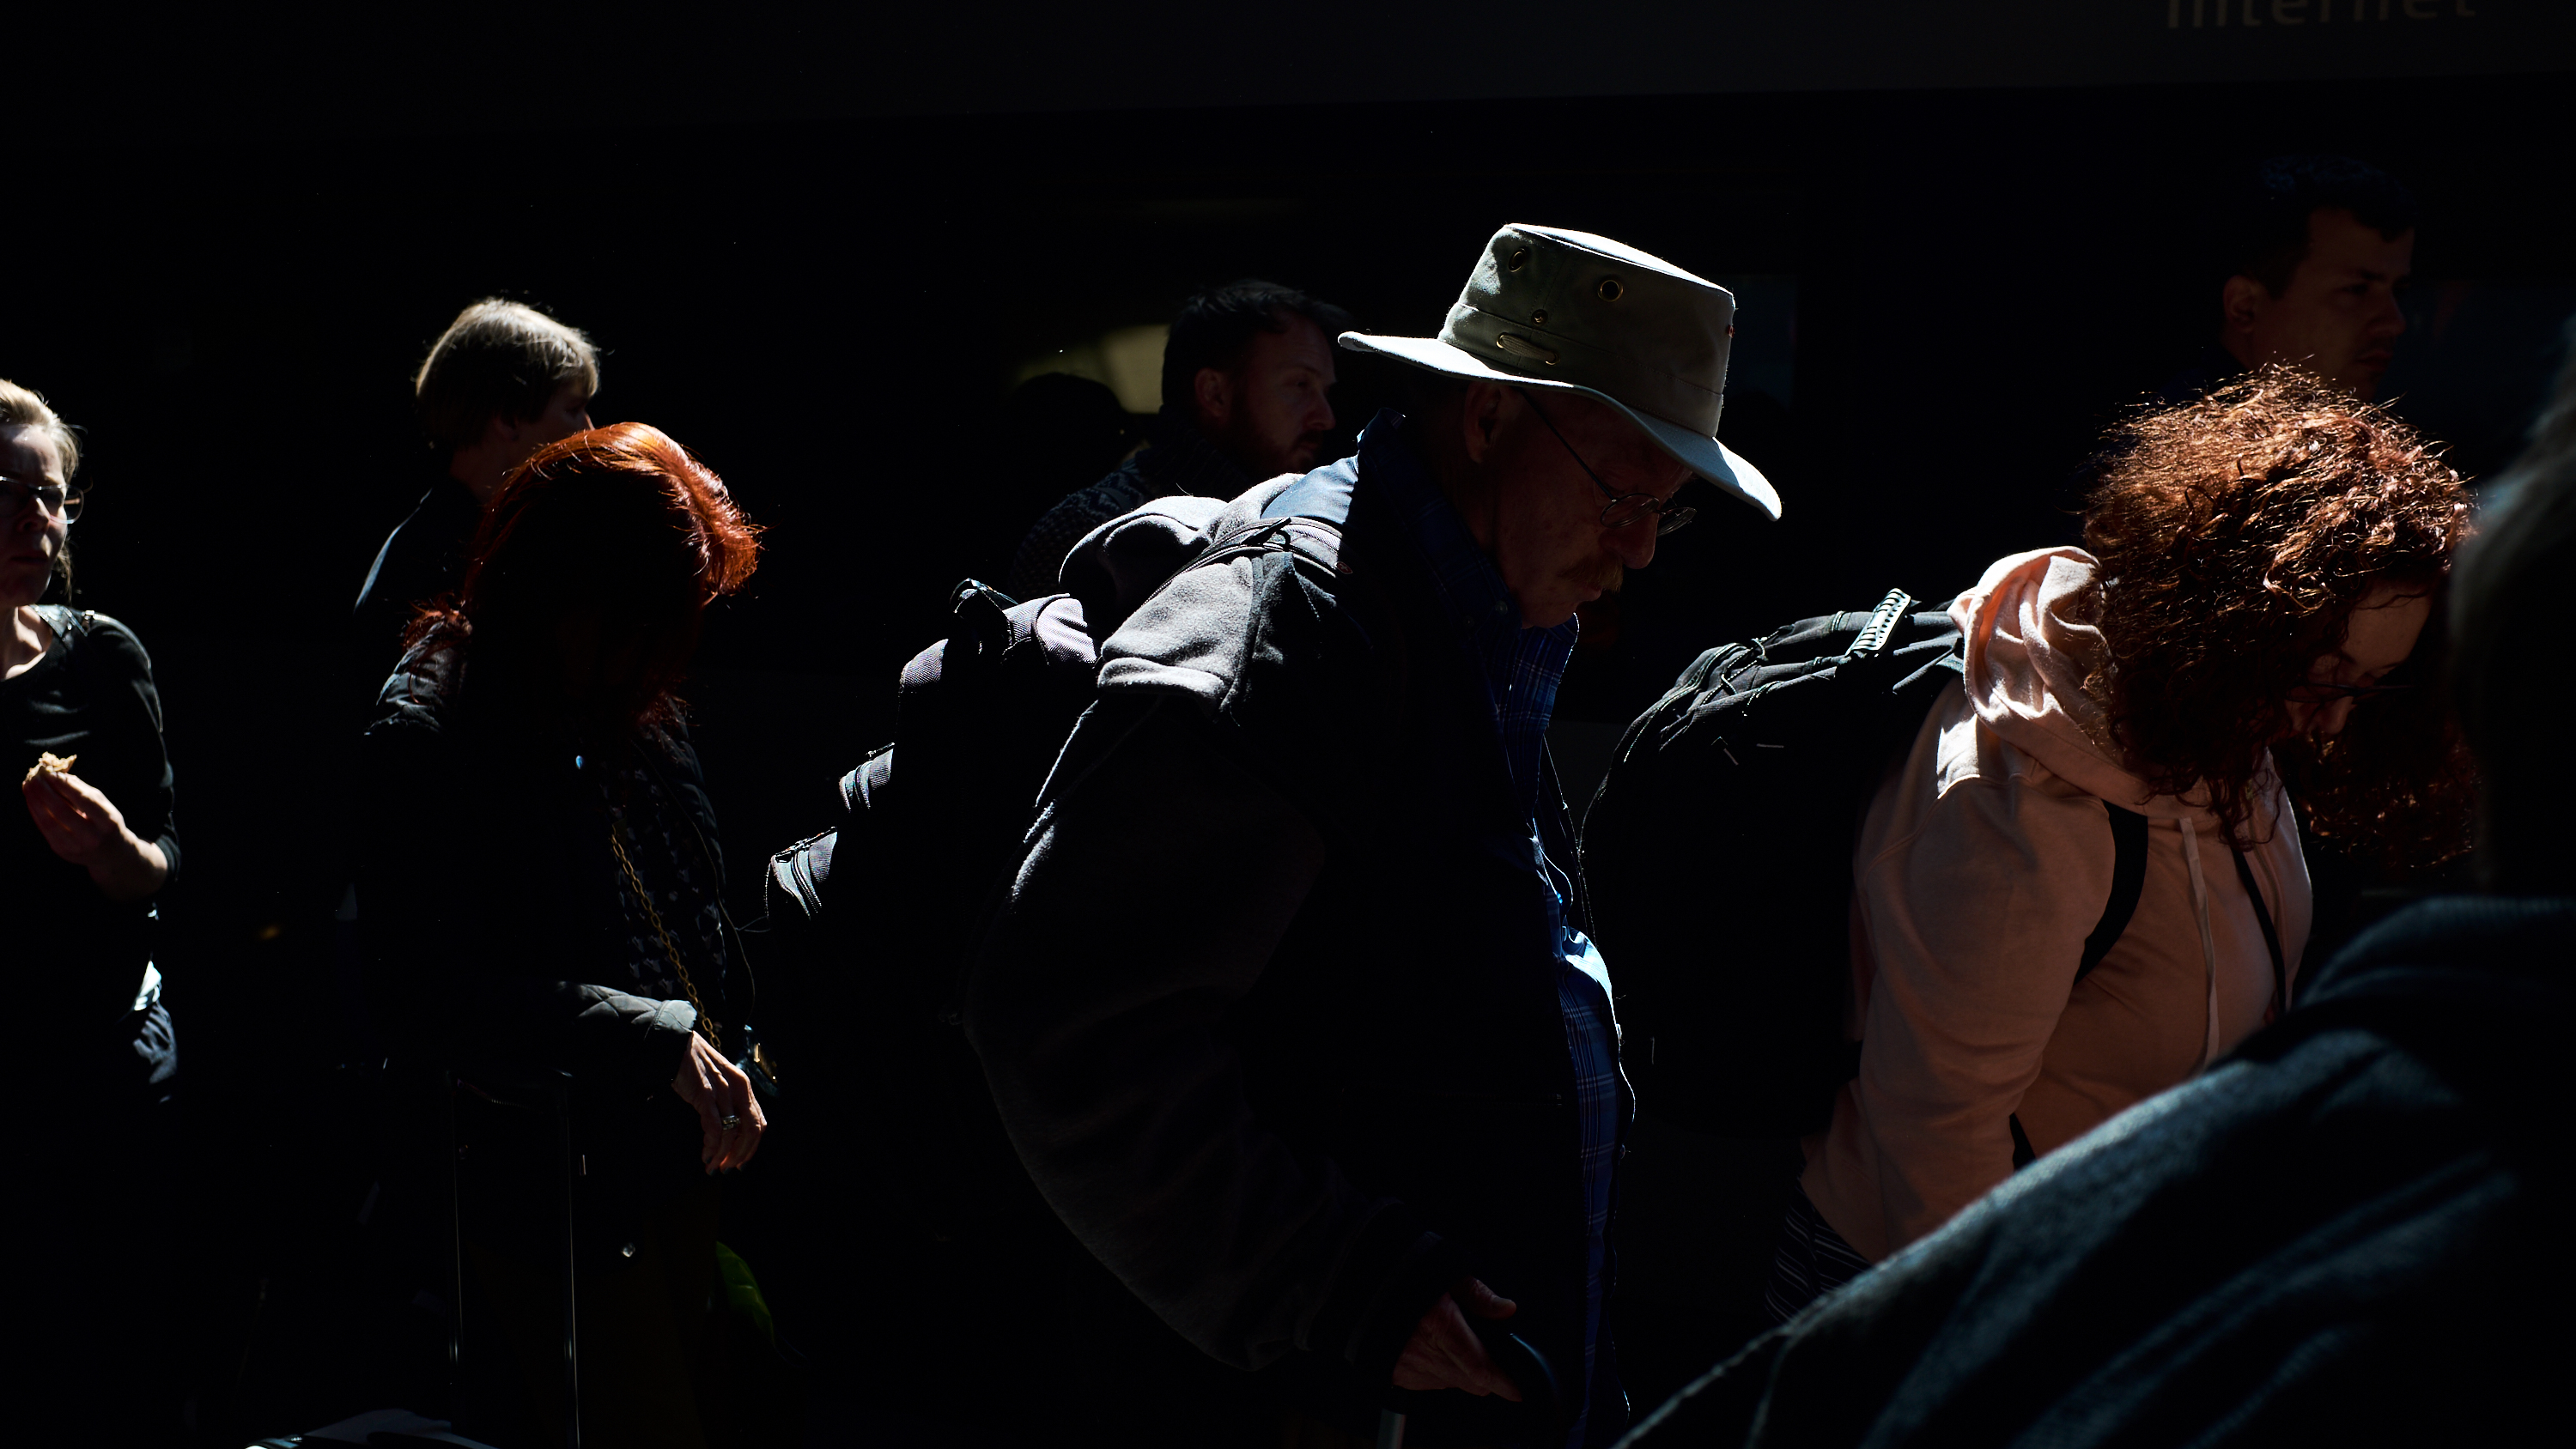
Below are some samples of images that I have processed from compressed RAF files in Capture One 10.1. All images shot using Fujifilm cameras.