Being grounded makes for an ideal opportunity to try new things and build on your photographic skills, as Steve Thomas shows us with a cheap infrared filter.
We all have our own different interpretations of what photography is all about and what it means to us. These views are often very individual and personal, and are etched into every image we capture.
A news shooter, for example, may have a completely different take on photography when compared to a fine art or still life photographer. Whatever your chosen field on imagery it’s always good to experiment and try new genres of photography. You never know – you may well find a passion in something you once thought irritating or pointless.
Right now many of us are restricted to our own personal spaces, and our photographic wings may well be clipped, leaving us lacking inspiration and with far too much time than is healthy to contemplate what is happening to the world and humanity.
This could well be the catalyst to try something completely different; especially if you’re a photographer who’s entire photographic life is based on being in the great outdoors or out on the streets, like me.
For several years I’d had a passing interest in infrared photography, but never took things as far as trying it for myself. As much as I liked the look of those fluffy and multi-coloured images posted online something inside of me battled with their relationship with reality. It was simply not what I’m about as a photographer.
Delving deeper into the technicalities of infrared, plus the whole process of having a camera converted and the expense involved, not to mention the huge post-processing burden; well, I just turned away from the very idea. After all, even if I did manage to dedicate a camera to infrared it was highly unlikely that I’d carry that around on my travels in addition to my regular kit. And surely I would never get around to spending time in post processing these images when I already had more than enough regular files to work through.
There was the option of IR filters, although after much reading and scouring of YouTube I decided that this was not the option, and the idea was shelved yet again. Then sometime last year when I finally decided to at least try a cheap filter and spend a little time learning the basics, just to see if it was worth it.
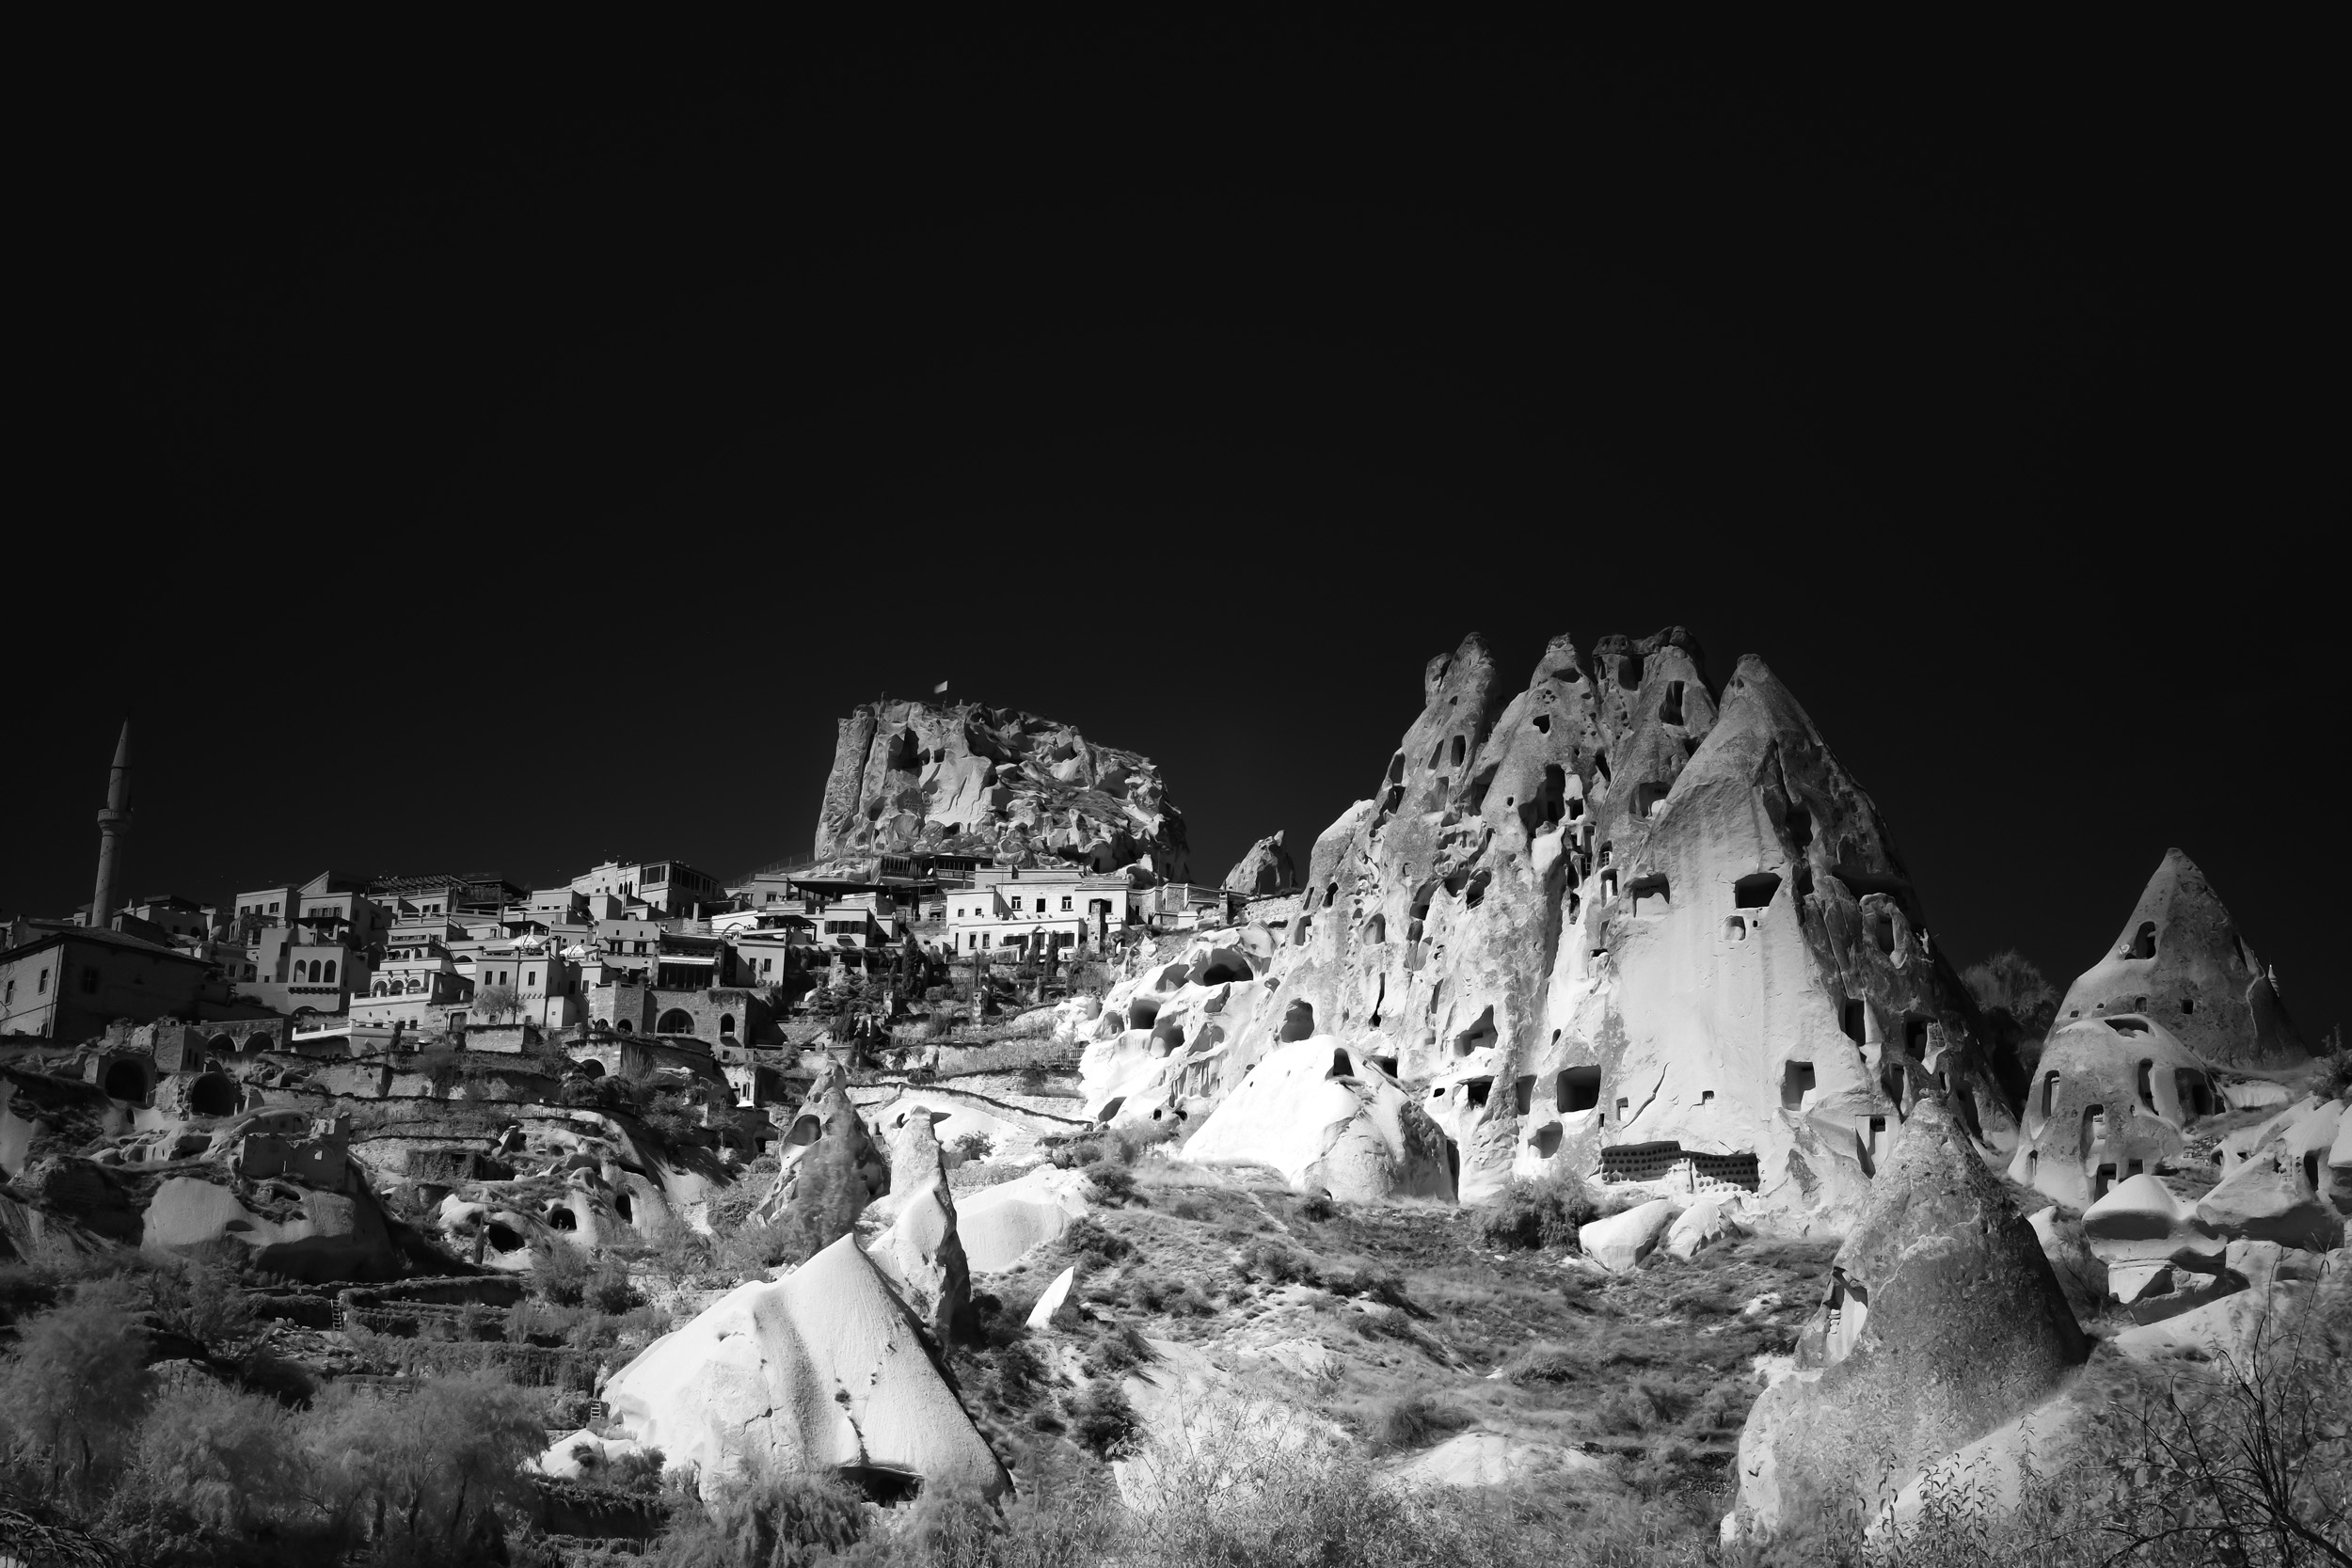
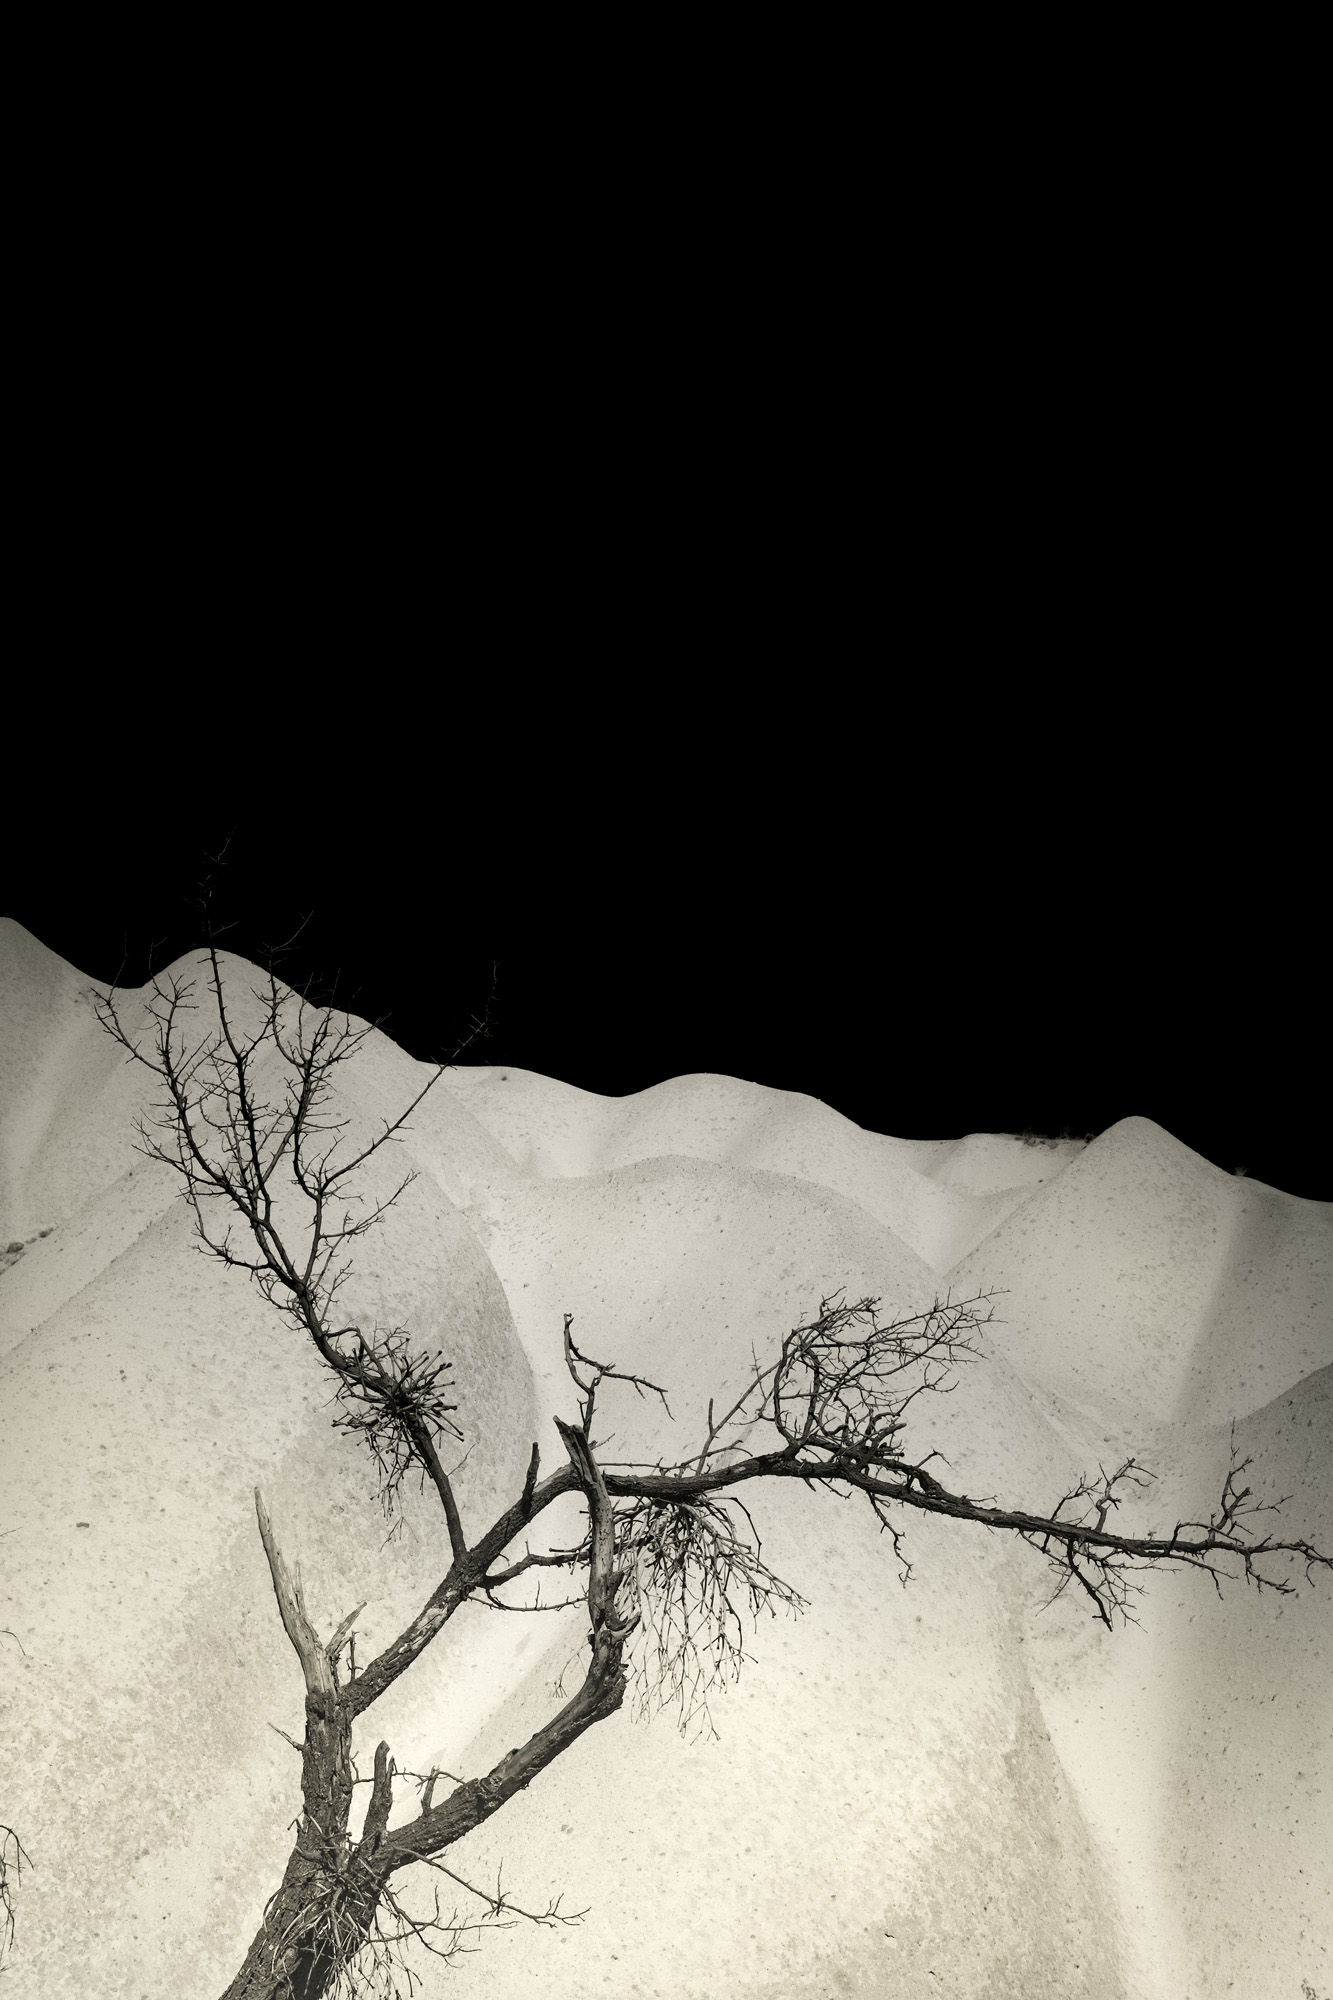
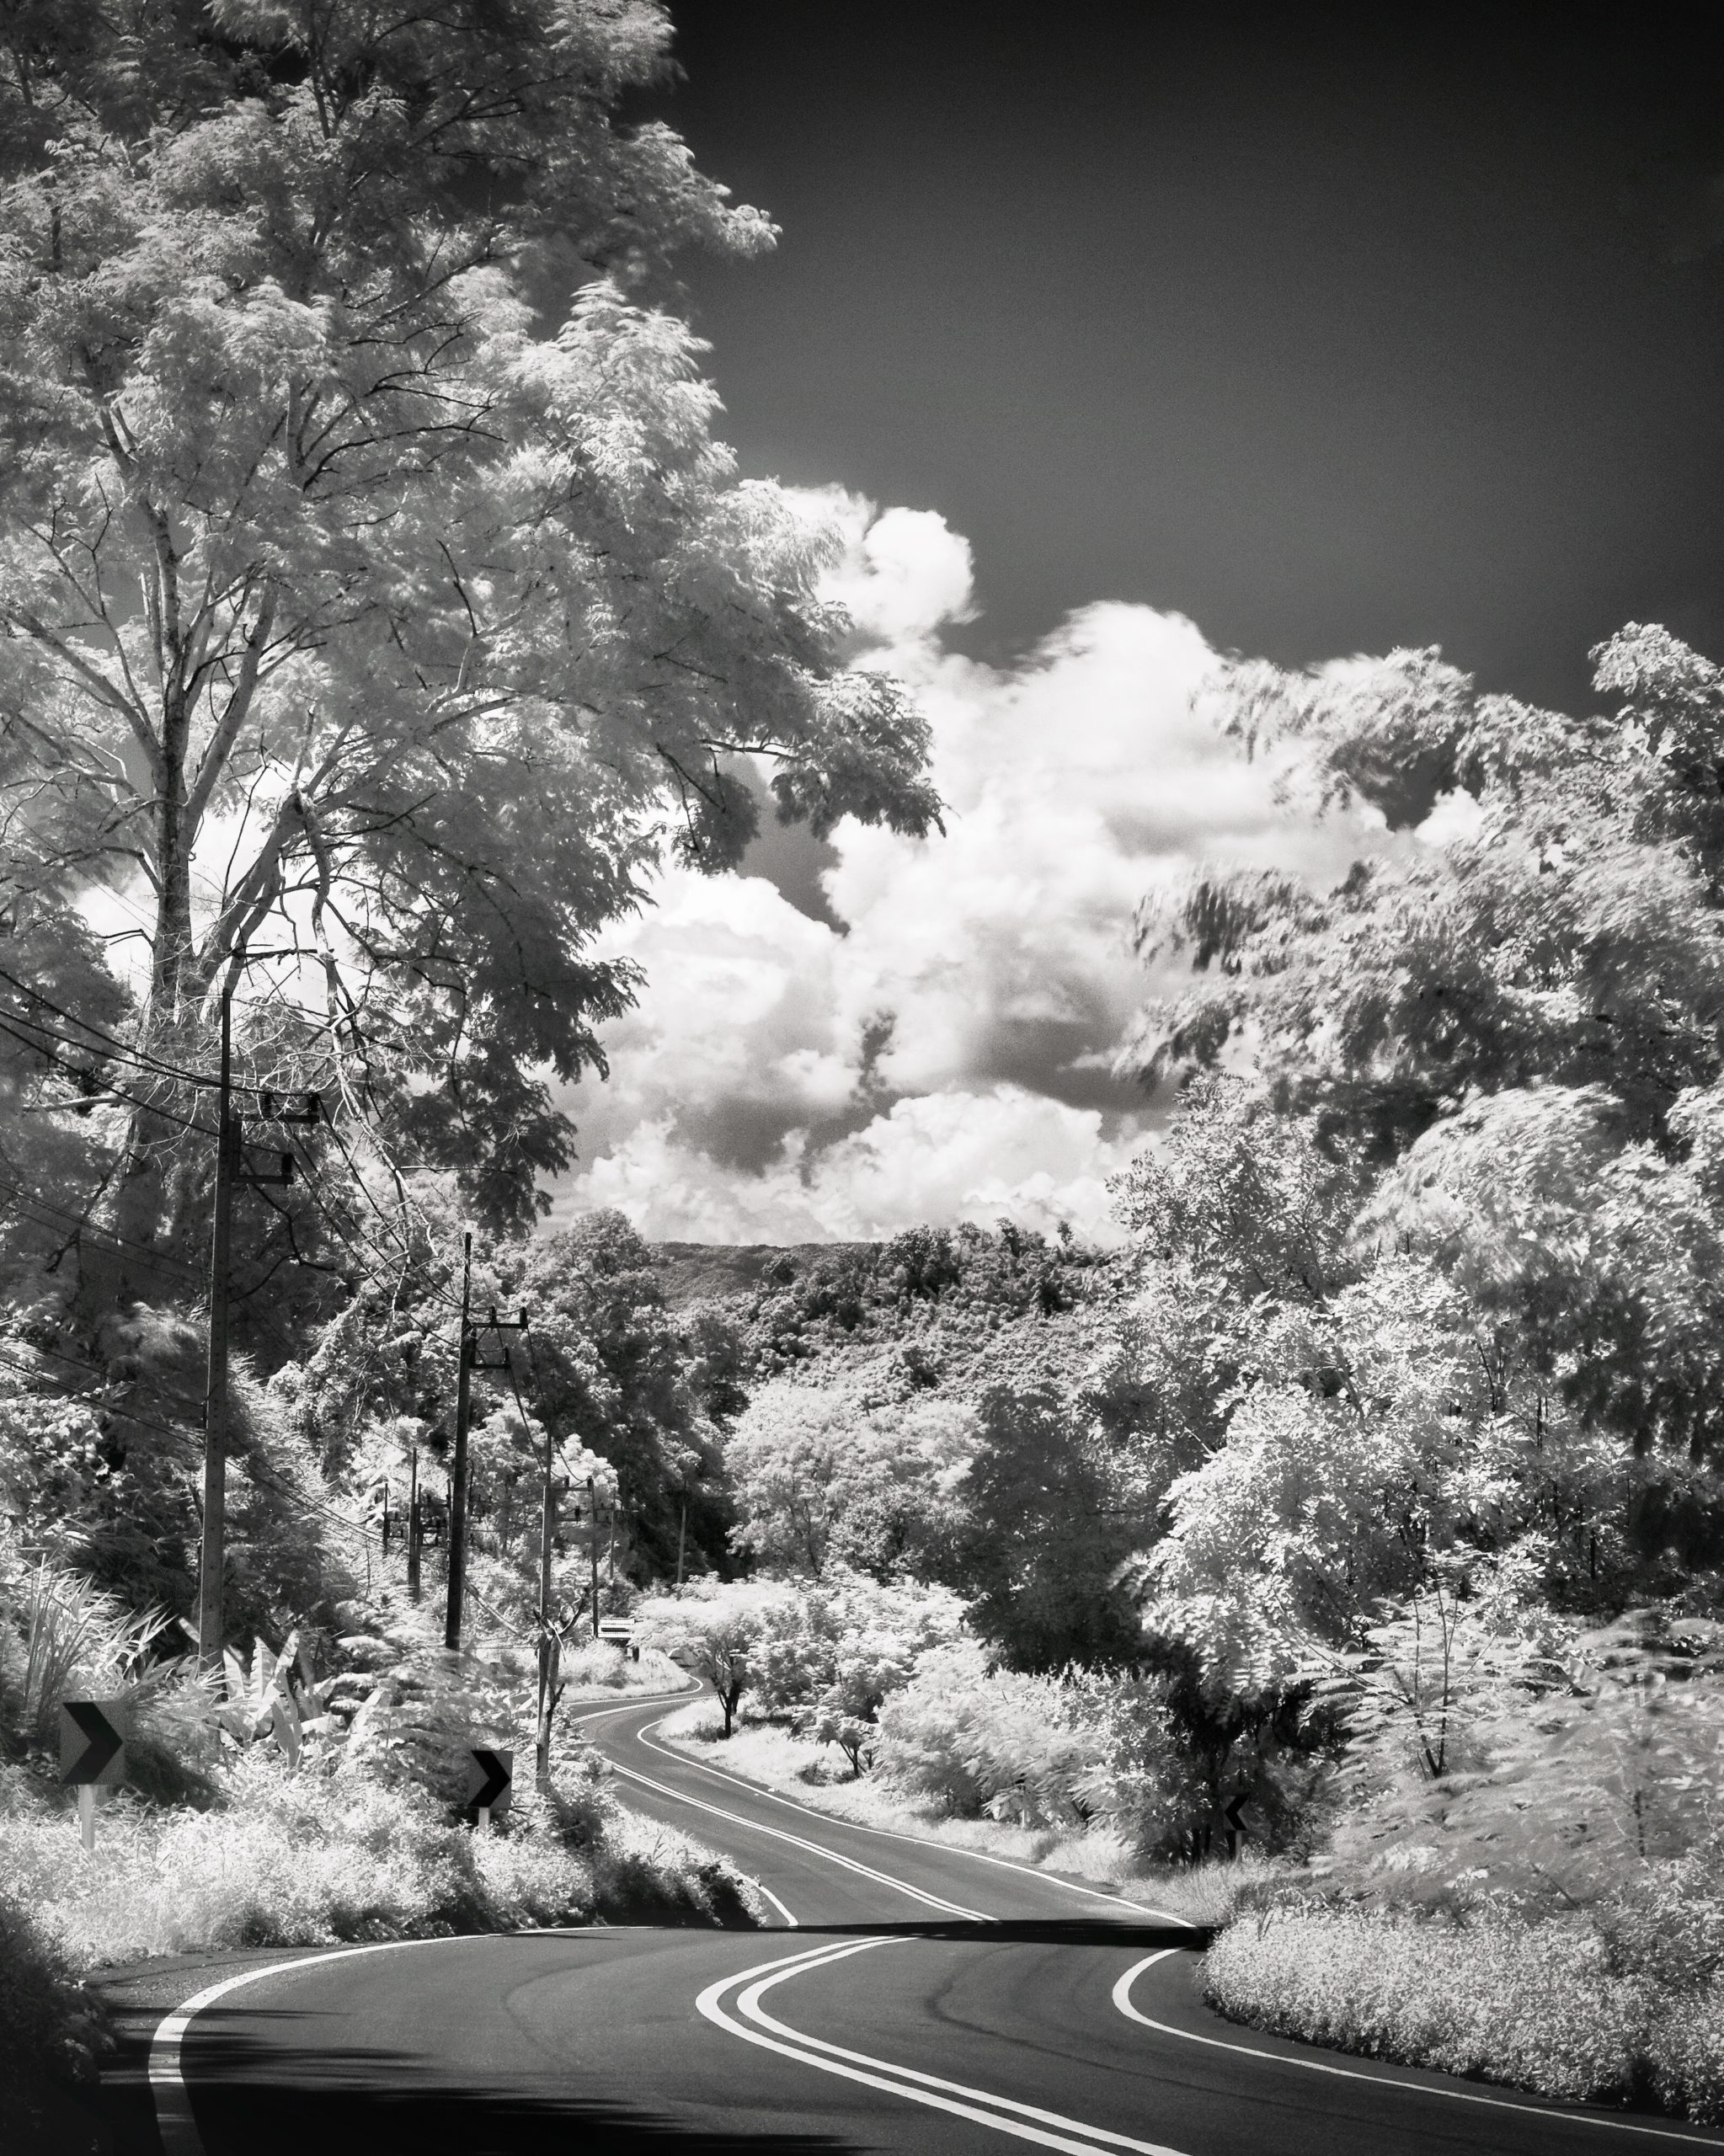
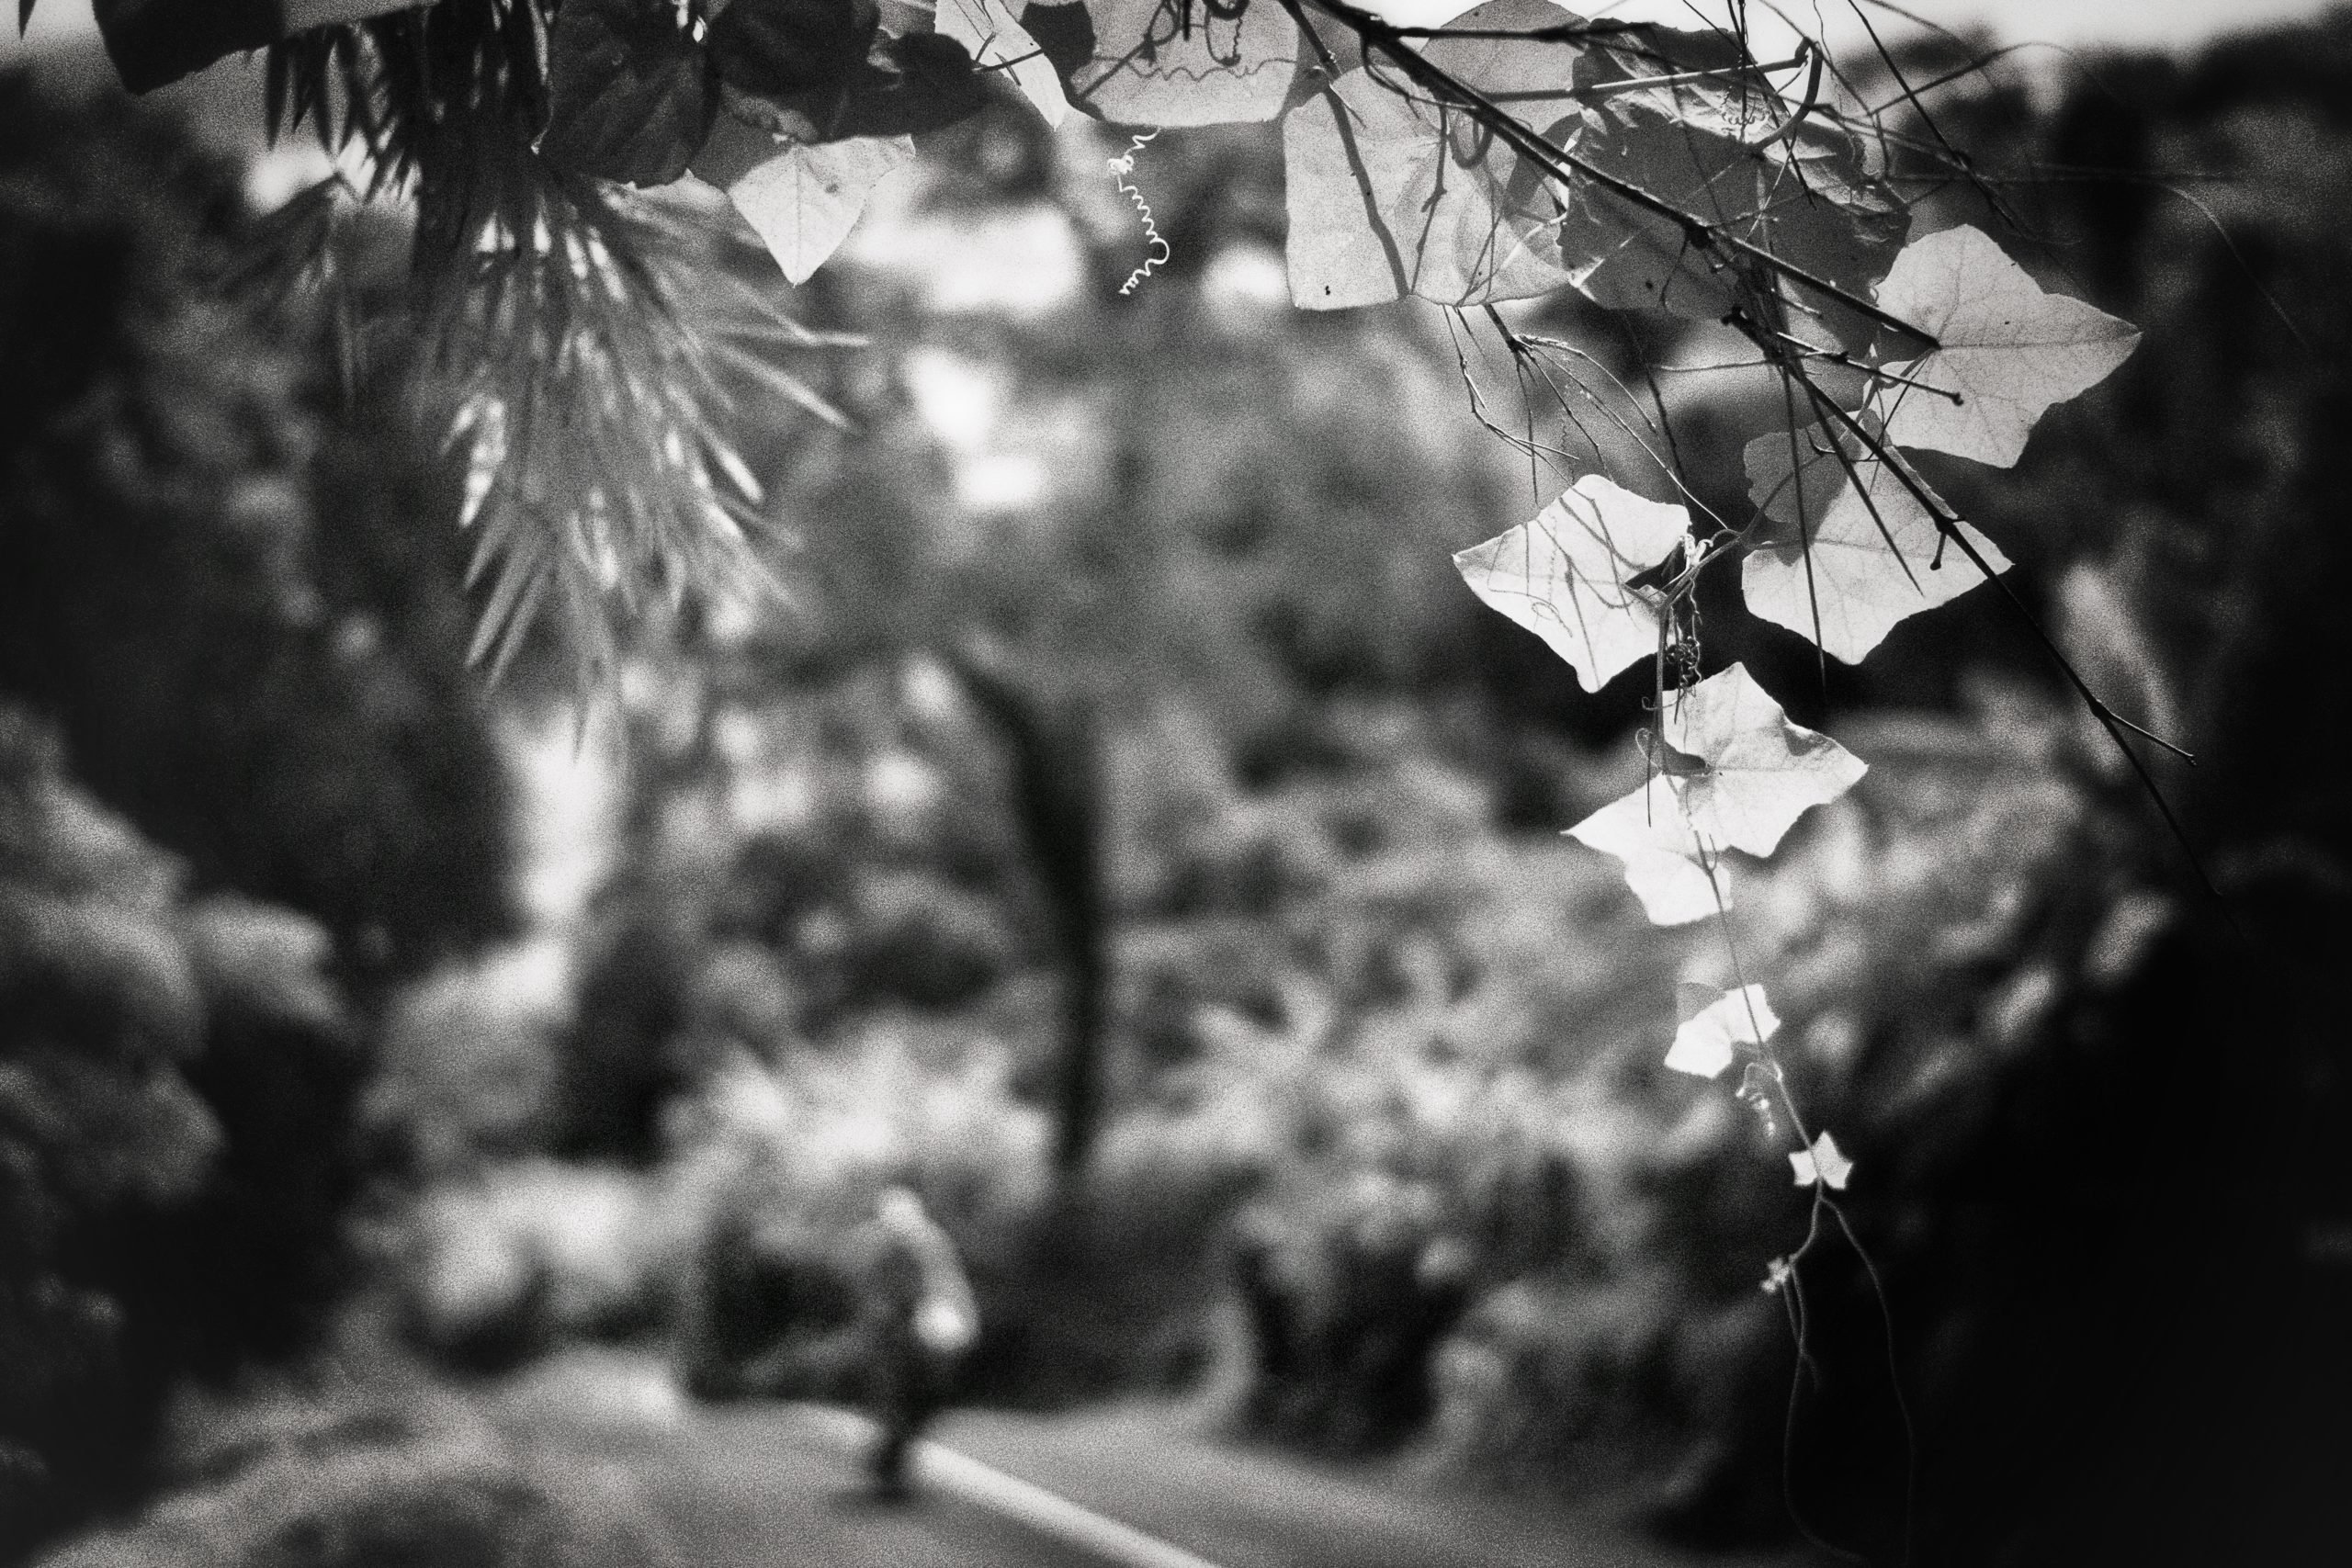
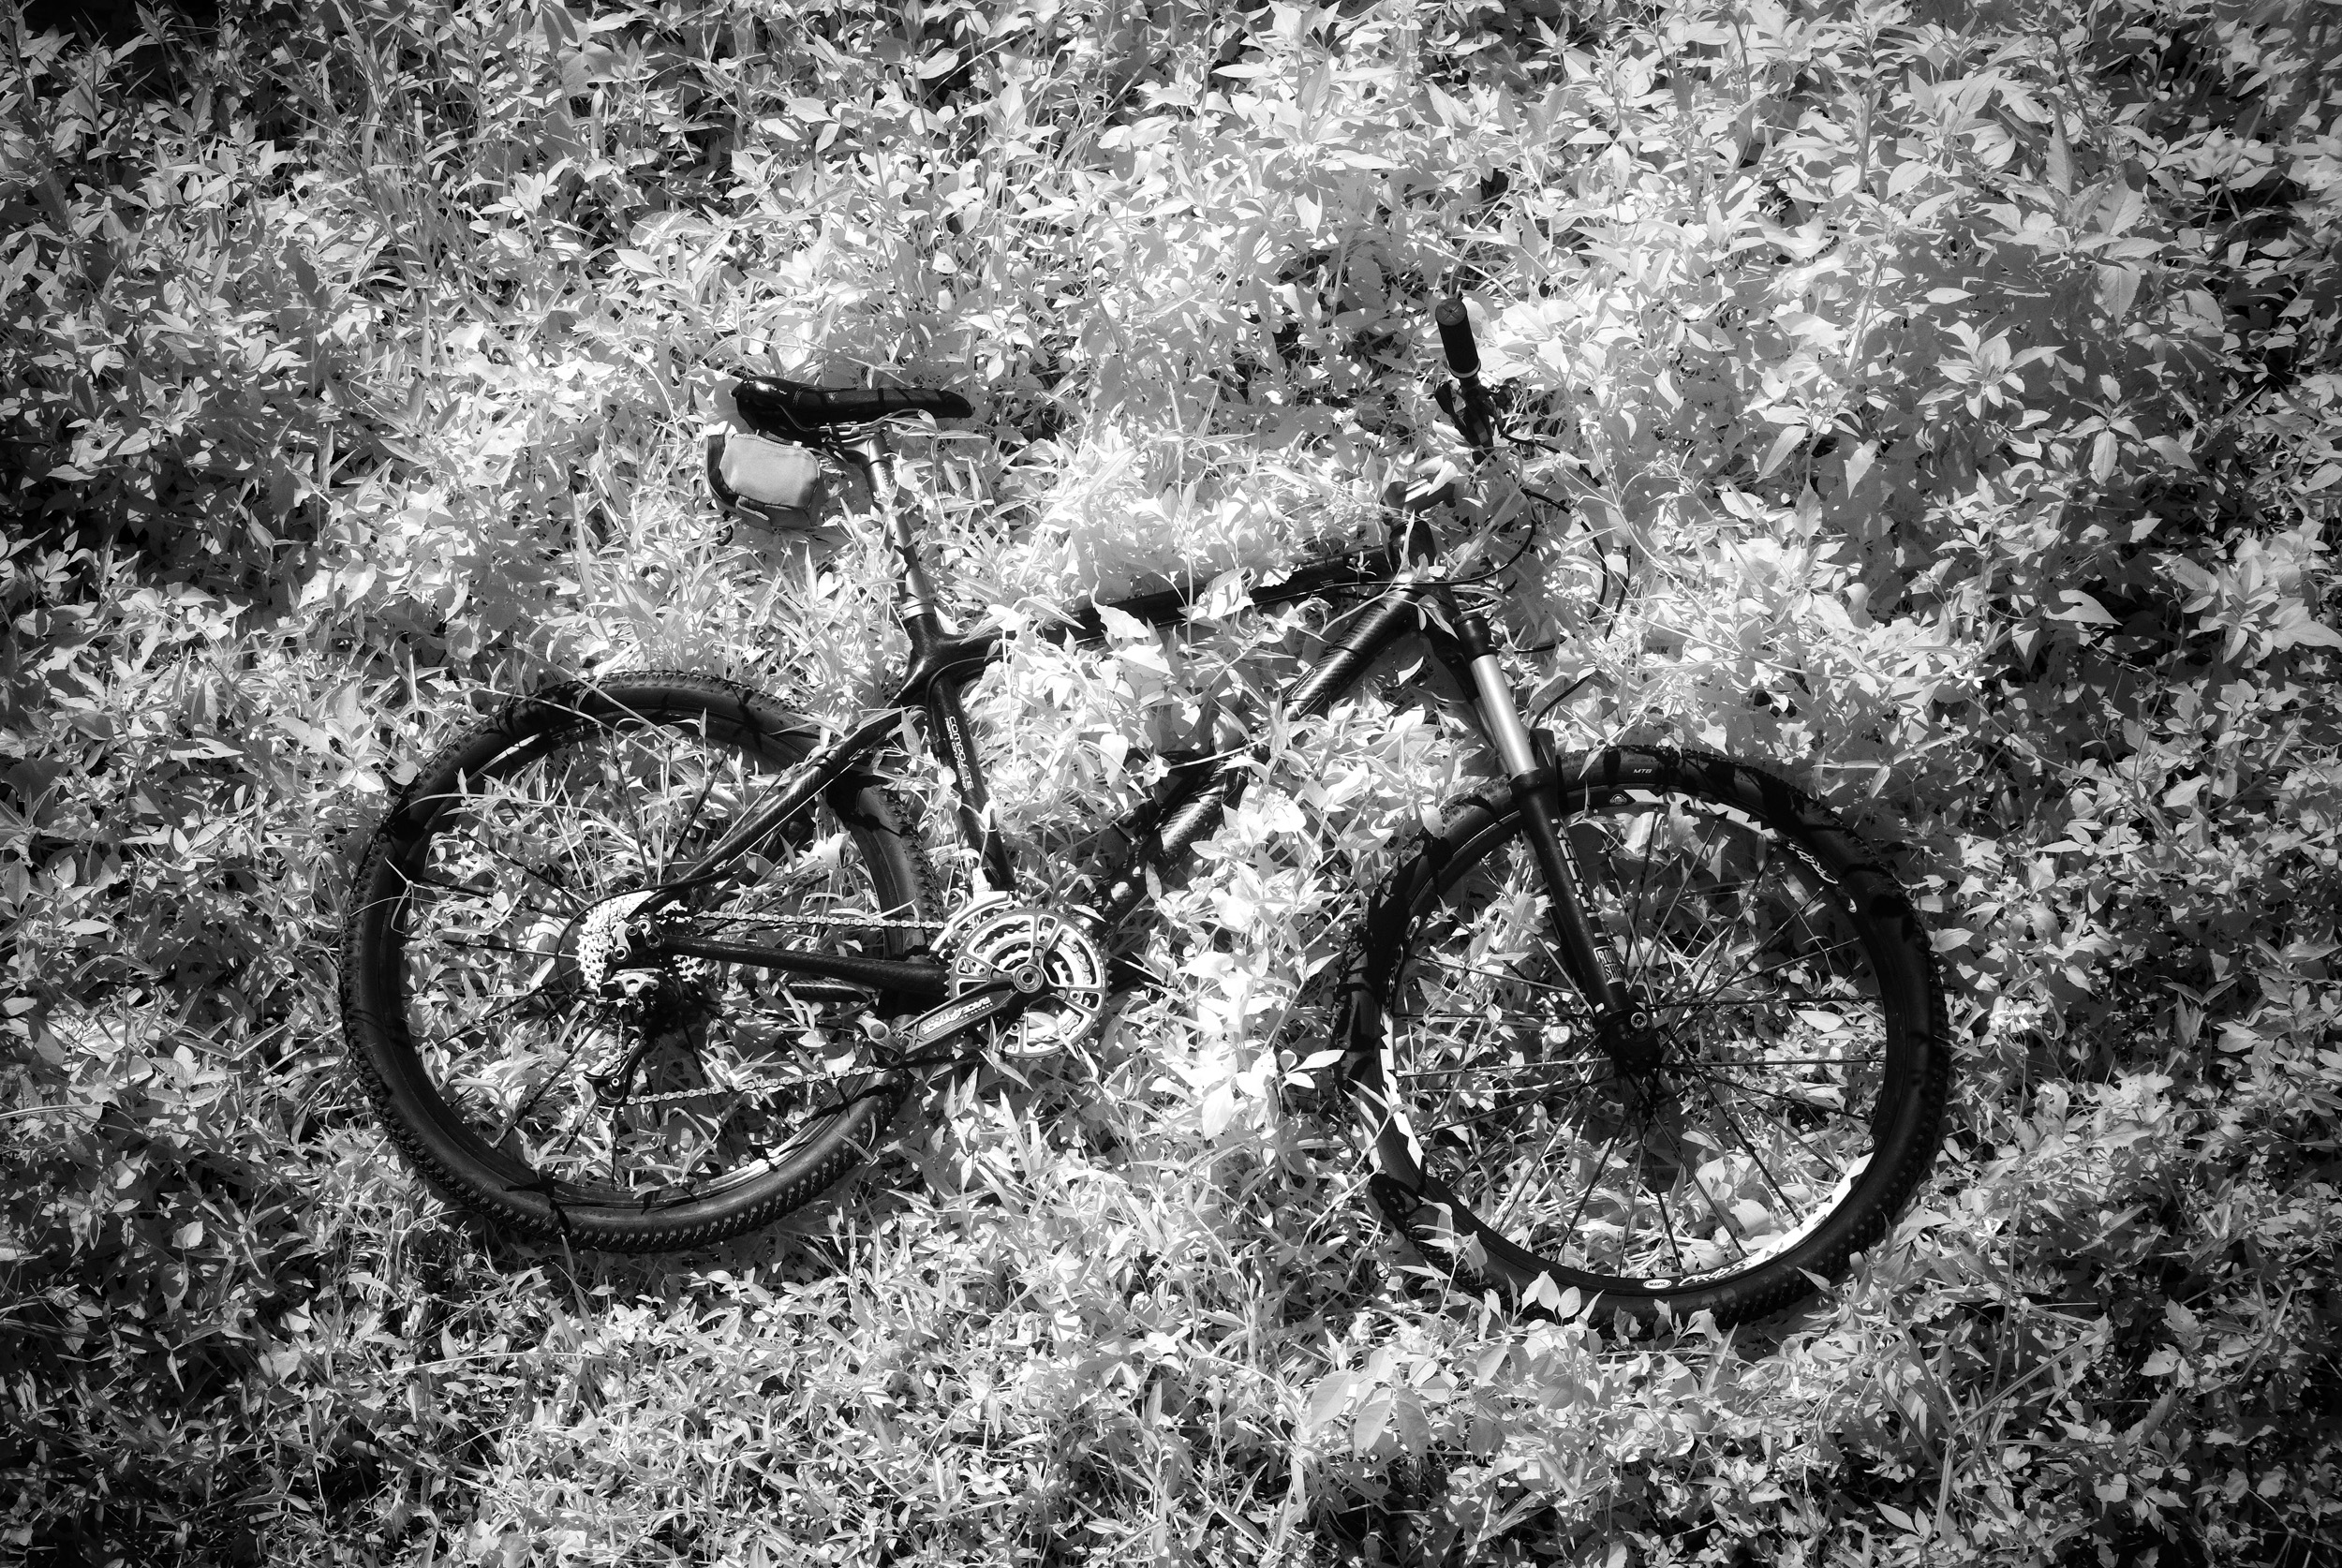
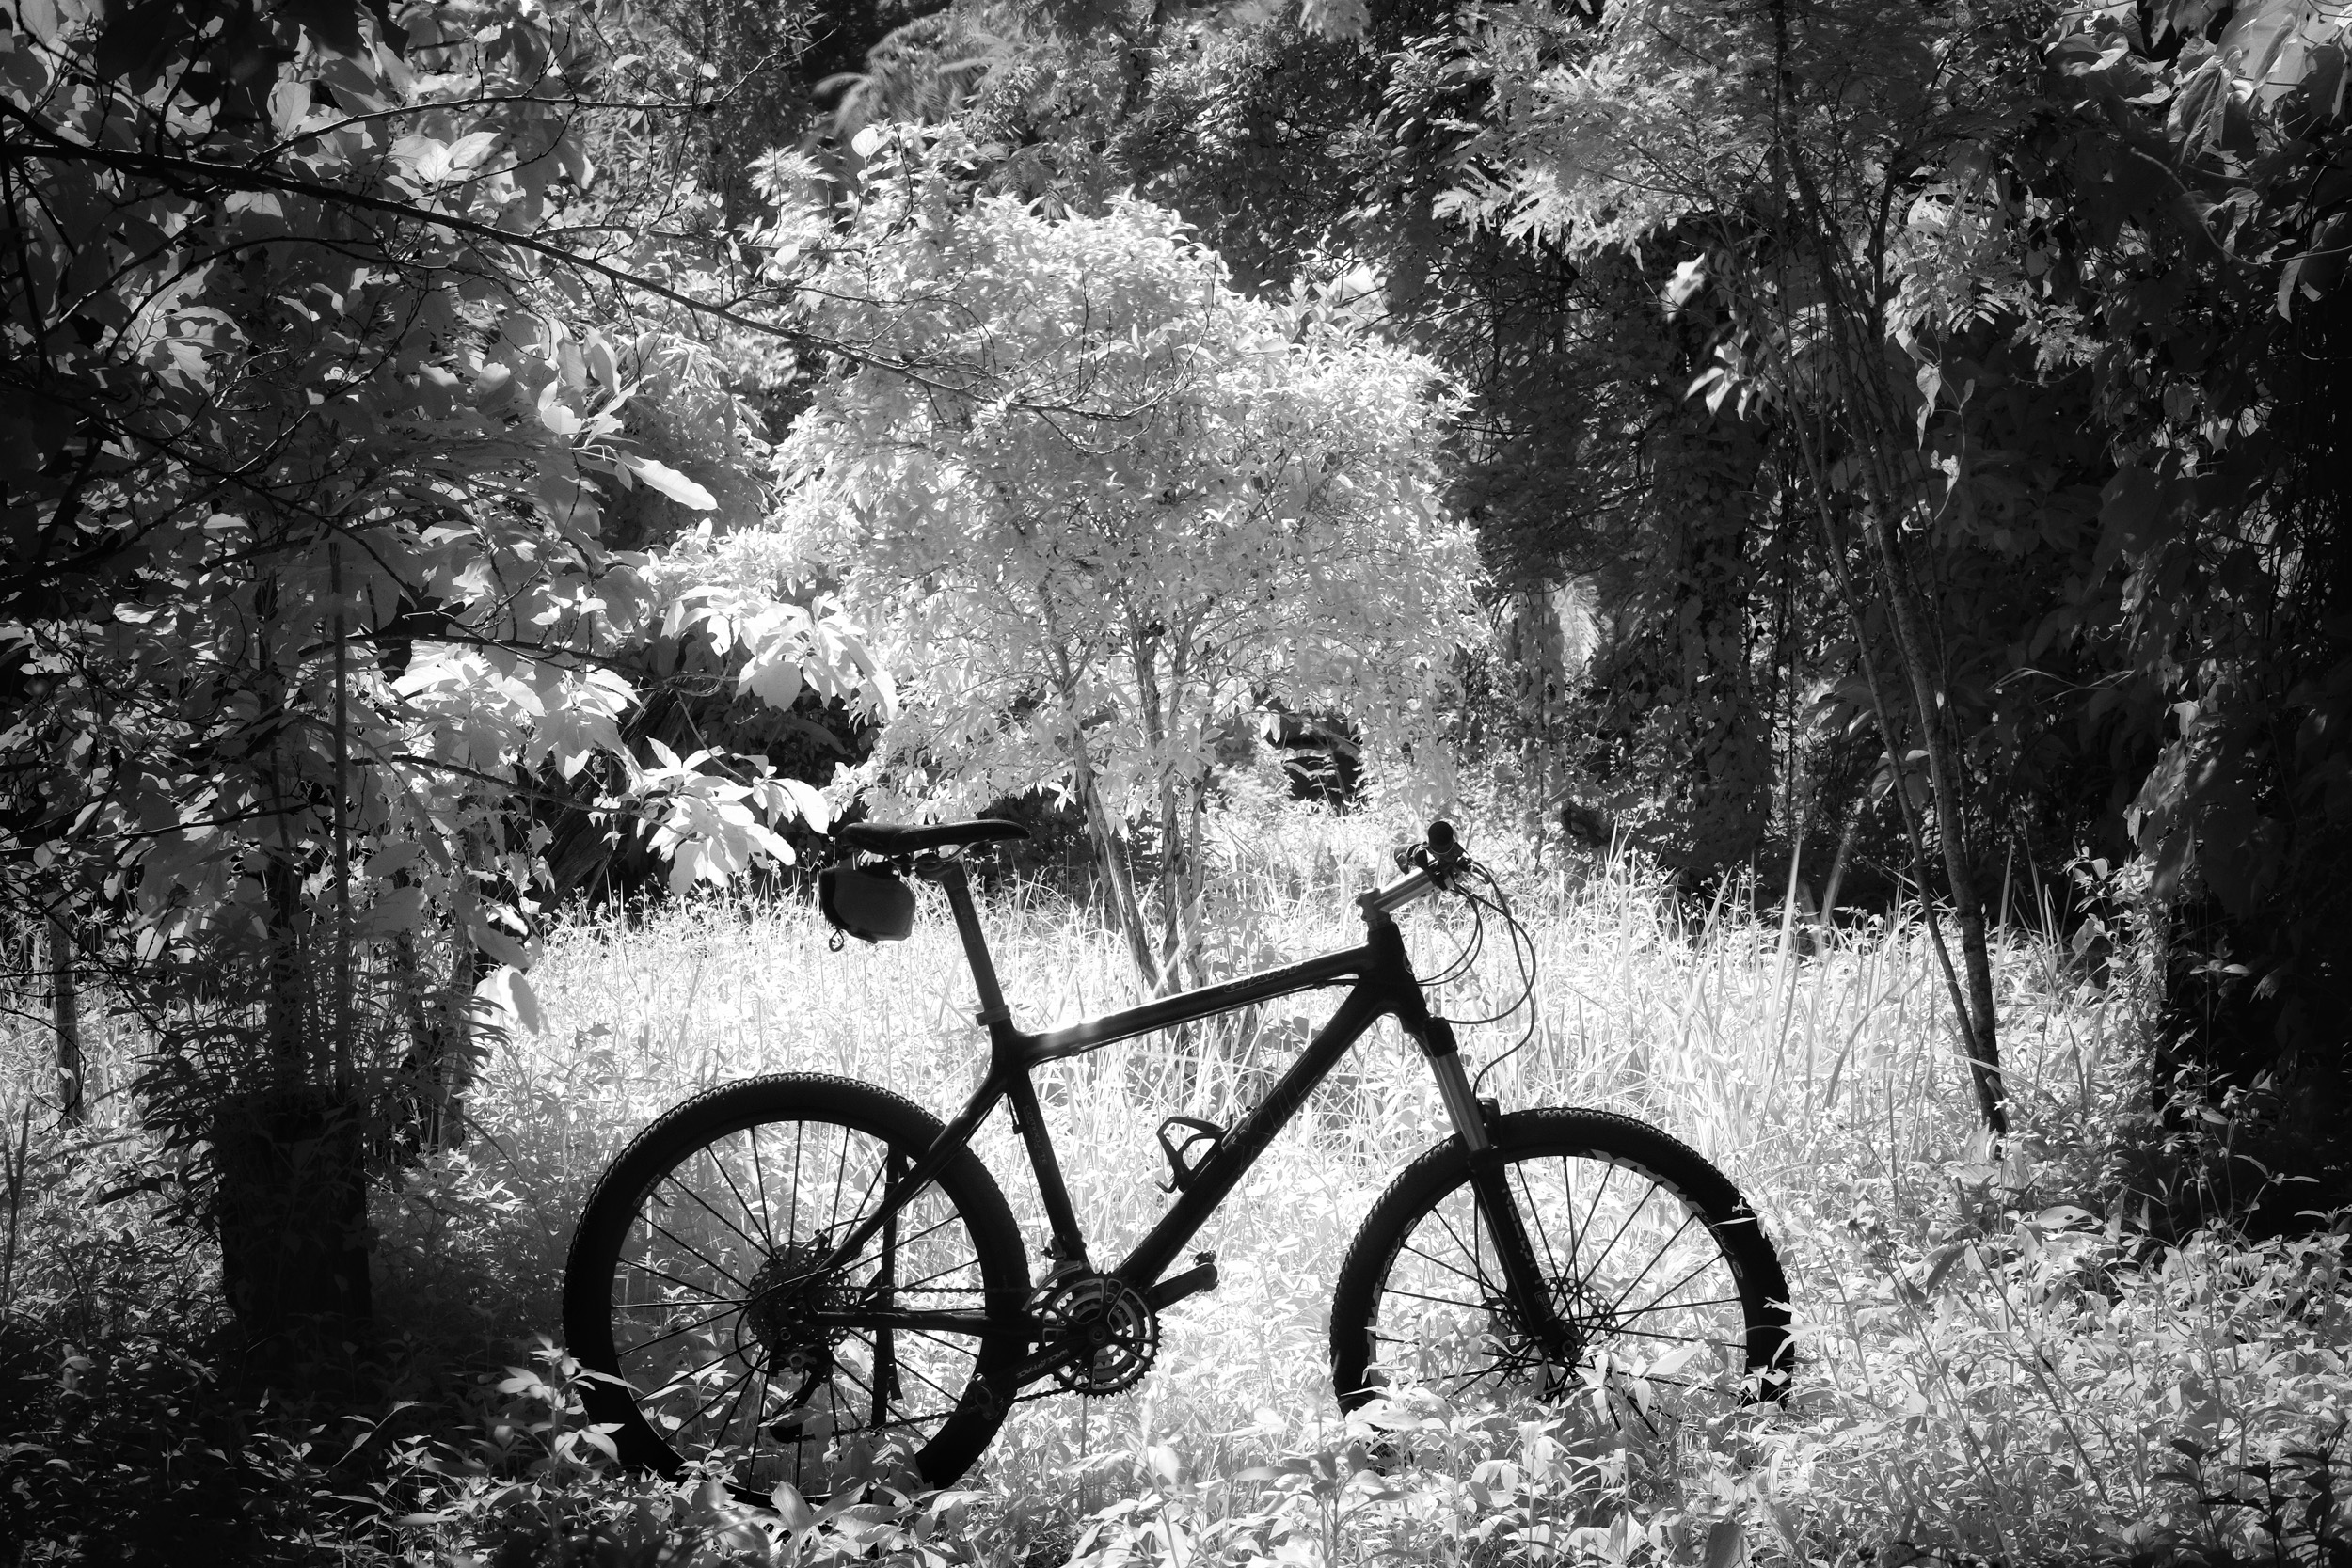
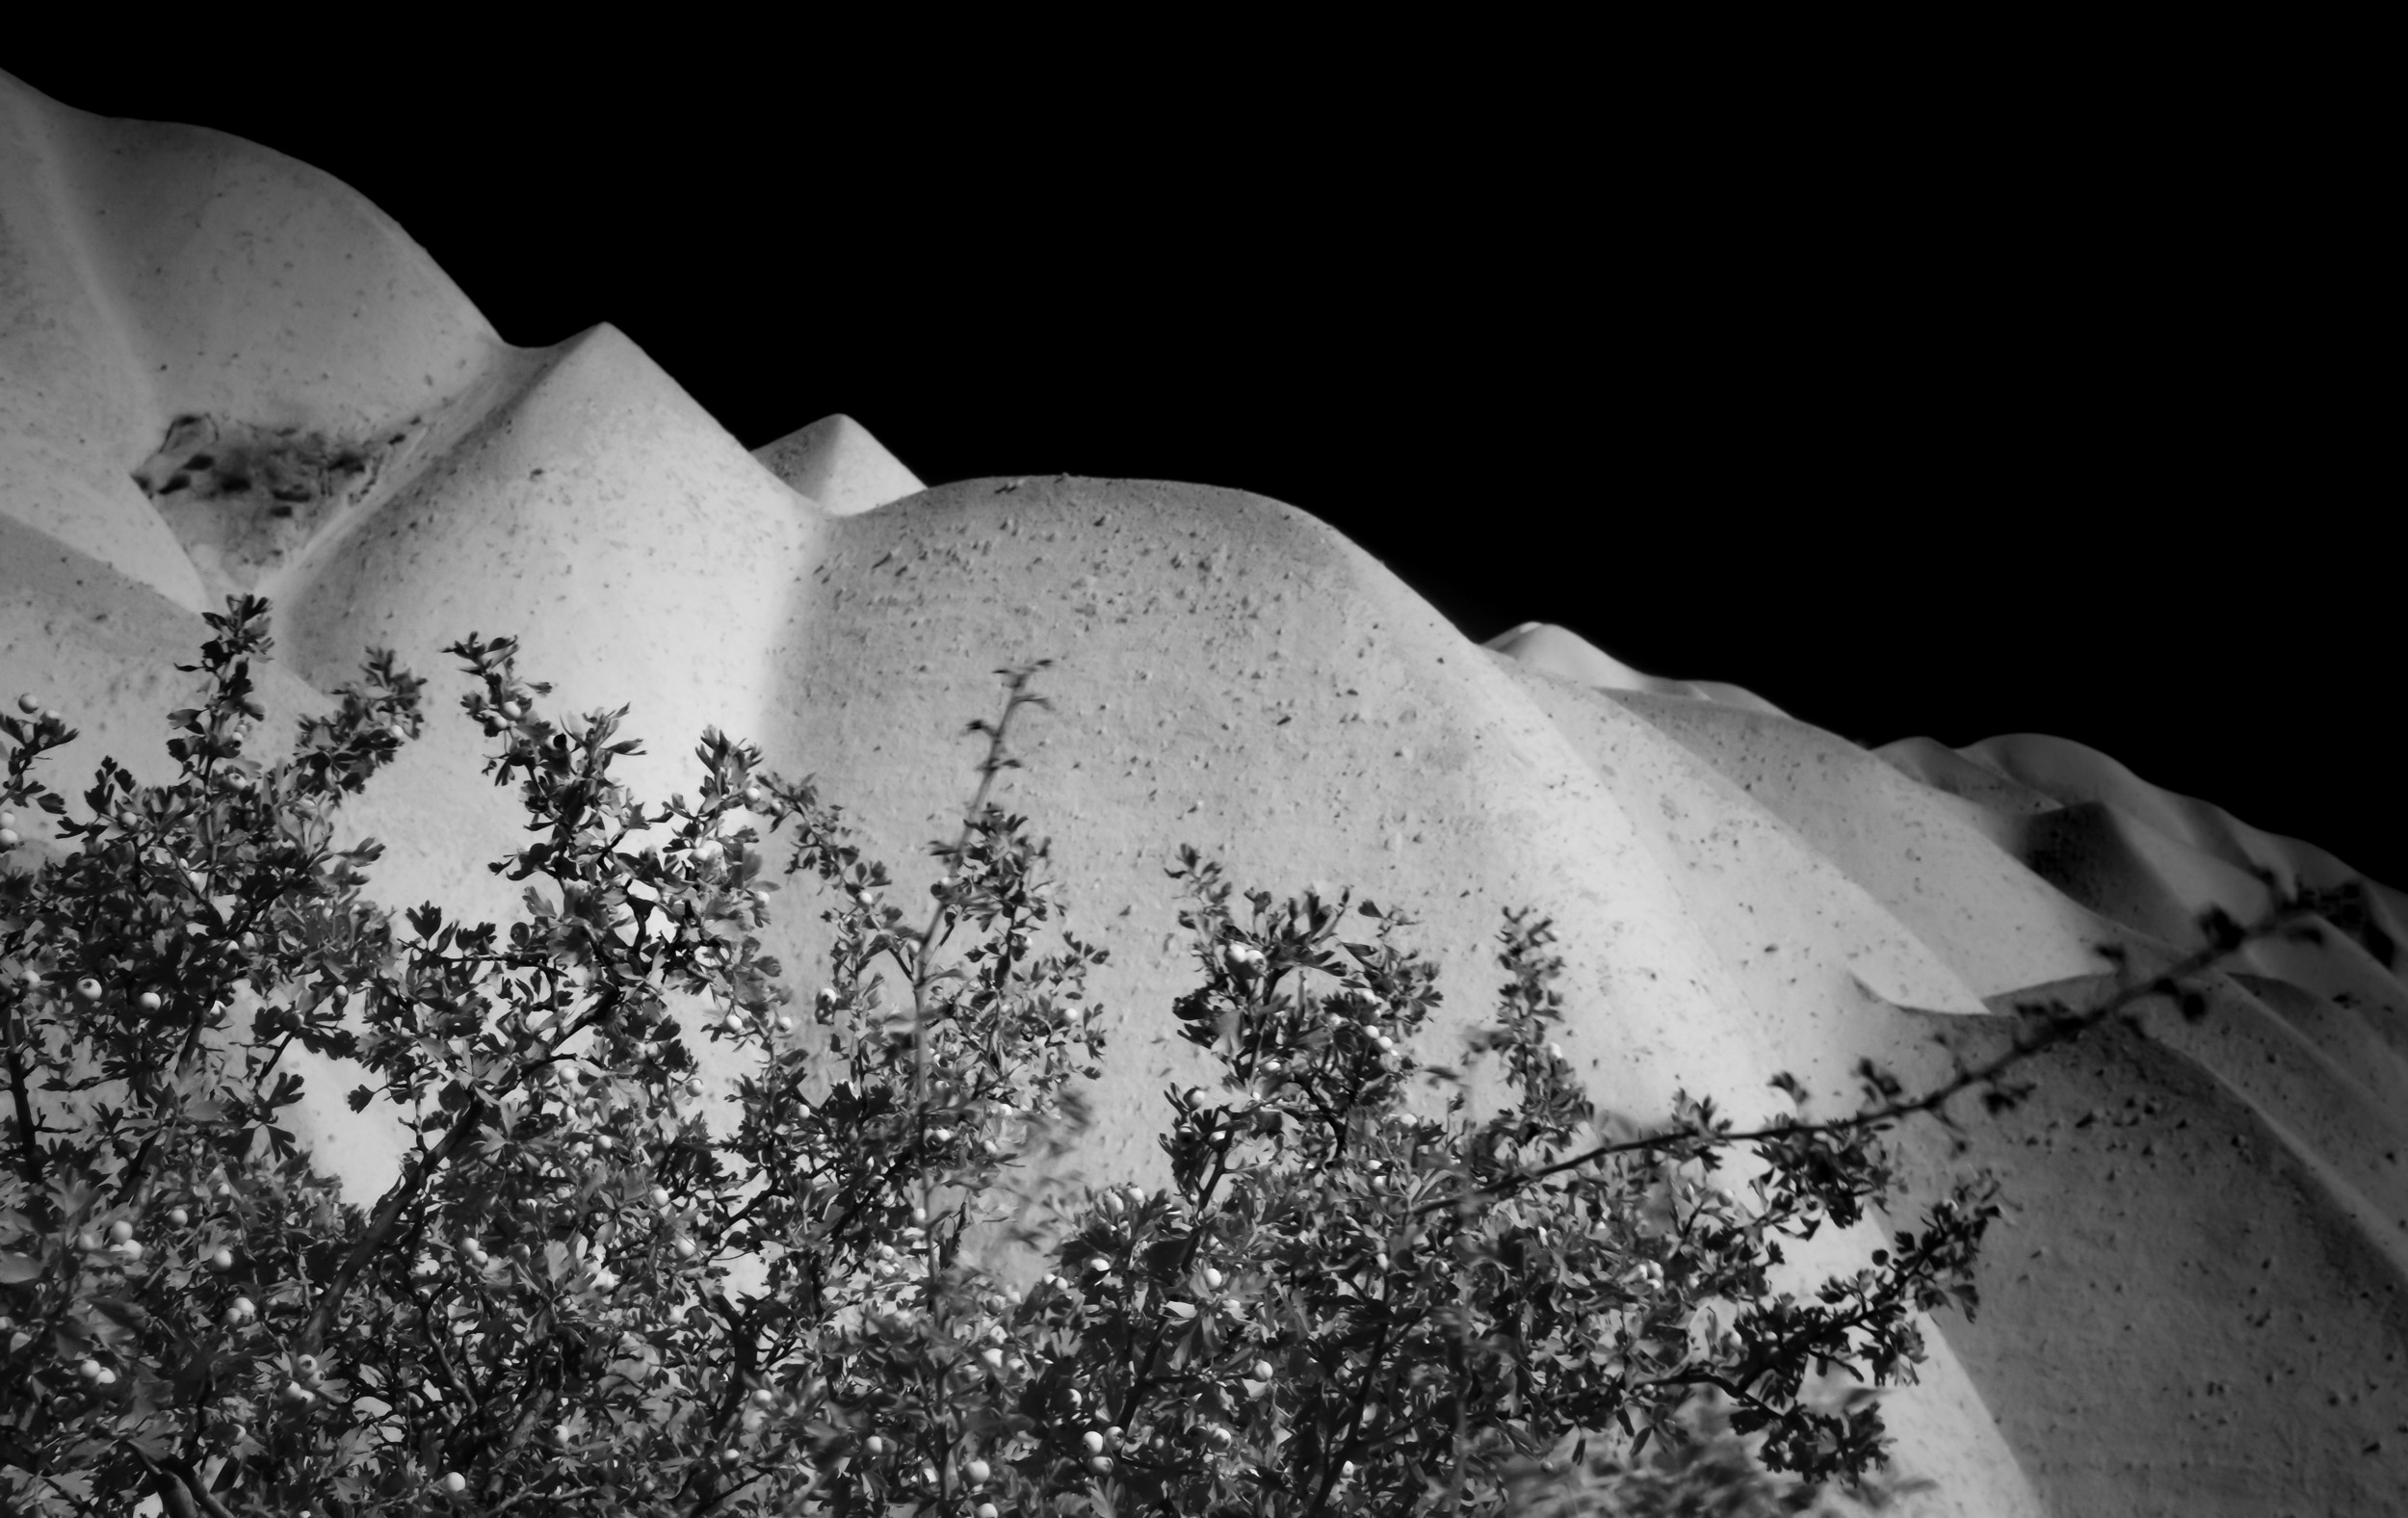
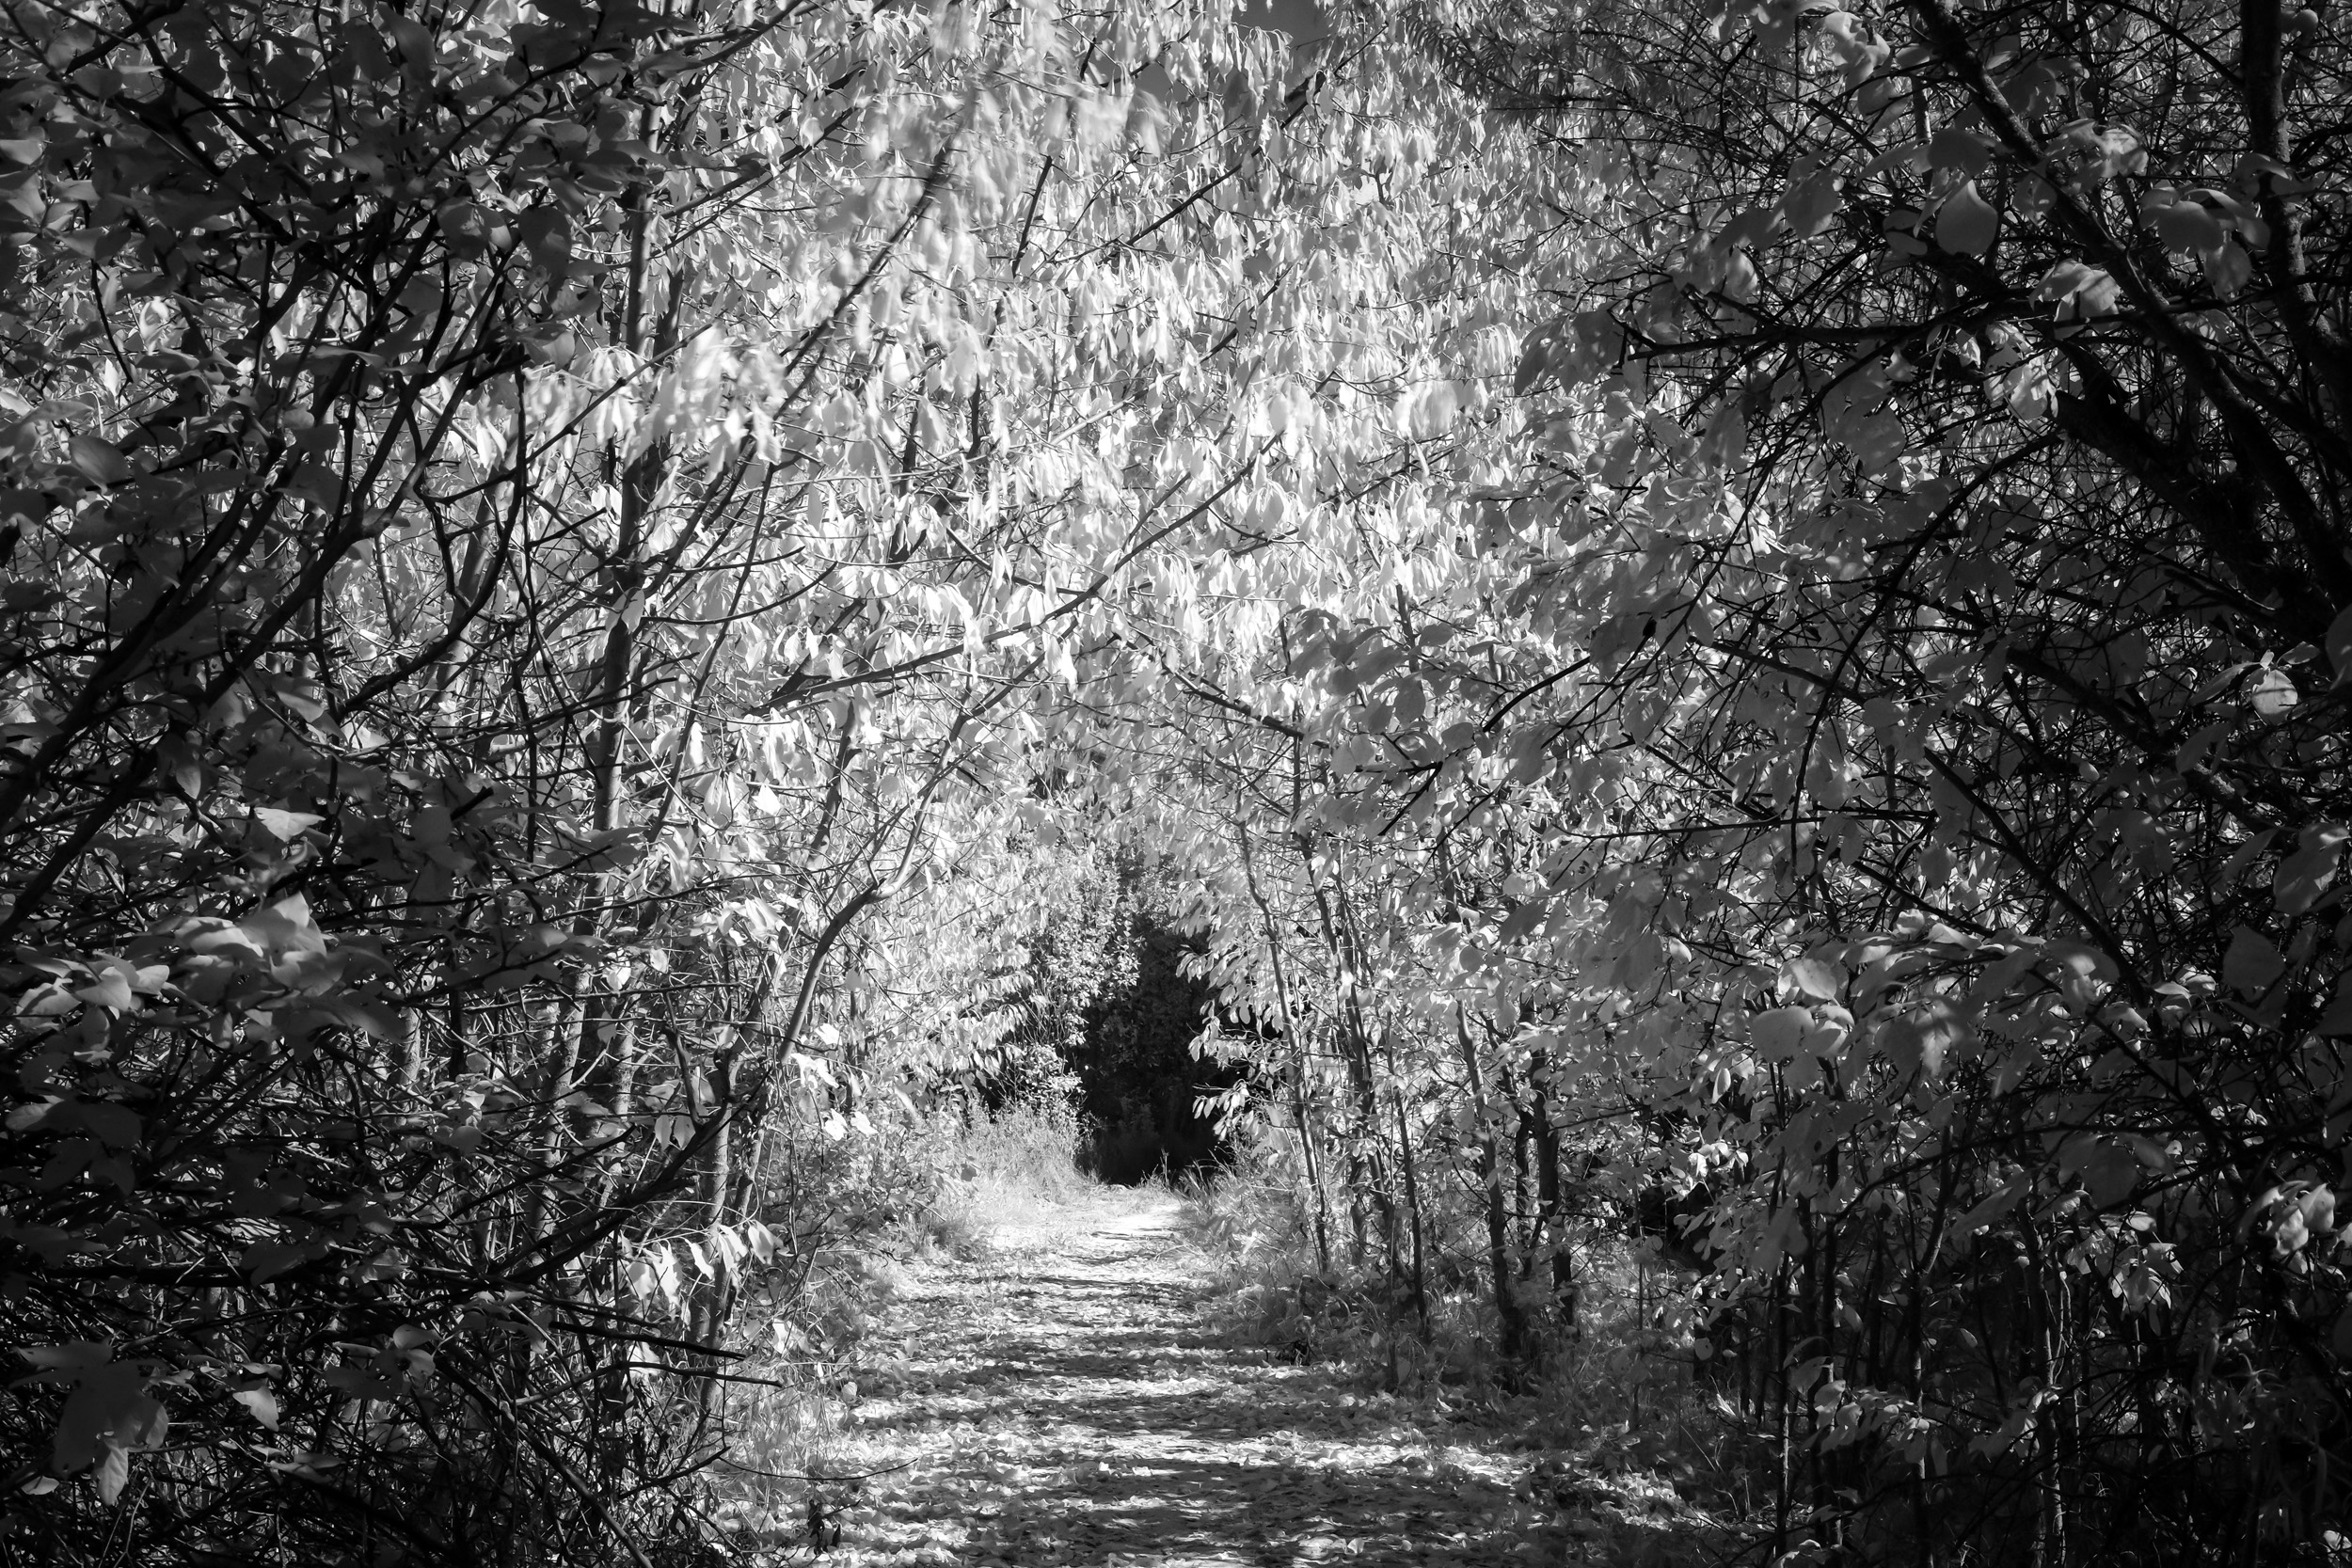
Having had good experiences with Zomei filters I purchased a 720nm IR filter for my 50mm f2 lens and set about experimenting. The images (which you can see posted here) may well not be to everyone’s taste, but I’m happy with the results, which is what really counts.
There is a learning curve involved in the whole IR process, which is not something I can go into detail on in a short article, and to be fair I really do not know enough the technicalities of it to do so. That said, having watched many hours worth of instructional videos and having read lots on the subject, and then by much experimentation I have got a basic handle on how things work. I would suggest anyone wishing to try this does similar research, and definitely give a filter a blast before considering an expensive and irreversible IR camera conversion.
The great thing about the X system is that the lack of a low pass filter seemingly makes the cameras more sensitive to picking up infrared light when compared to many other brands. Prime lenses seem to be the way to go, and there are many online resources that list which lenses work for IR photography and which don’t (some will leave a huge light circle in the middle of the image). Be sure to check lens suitability before ordering a filter for a specific lens.
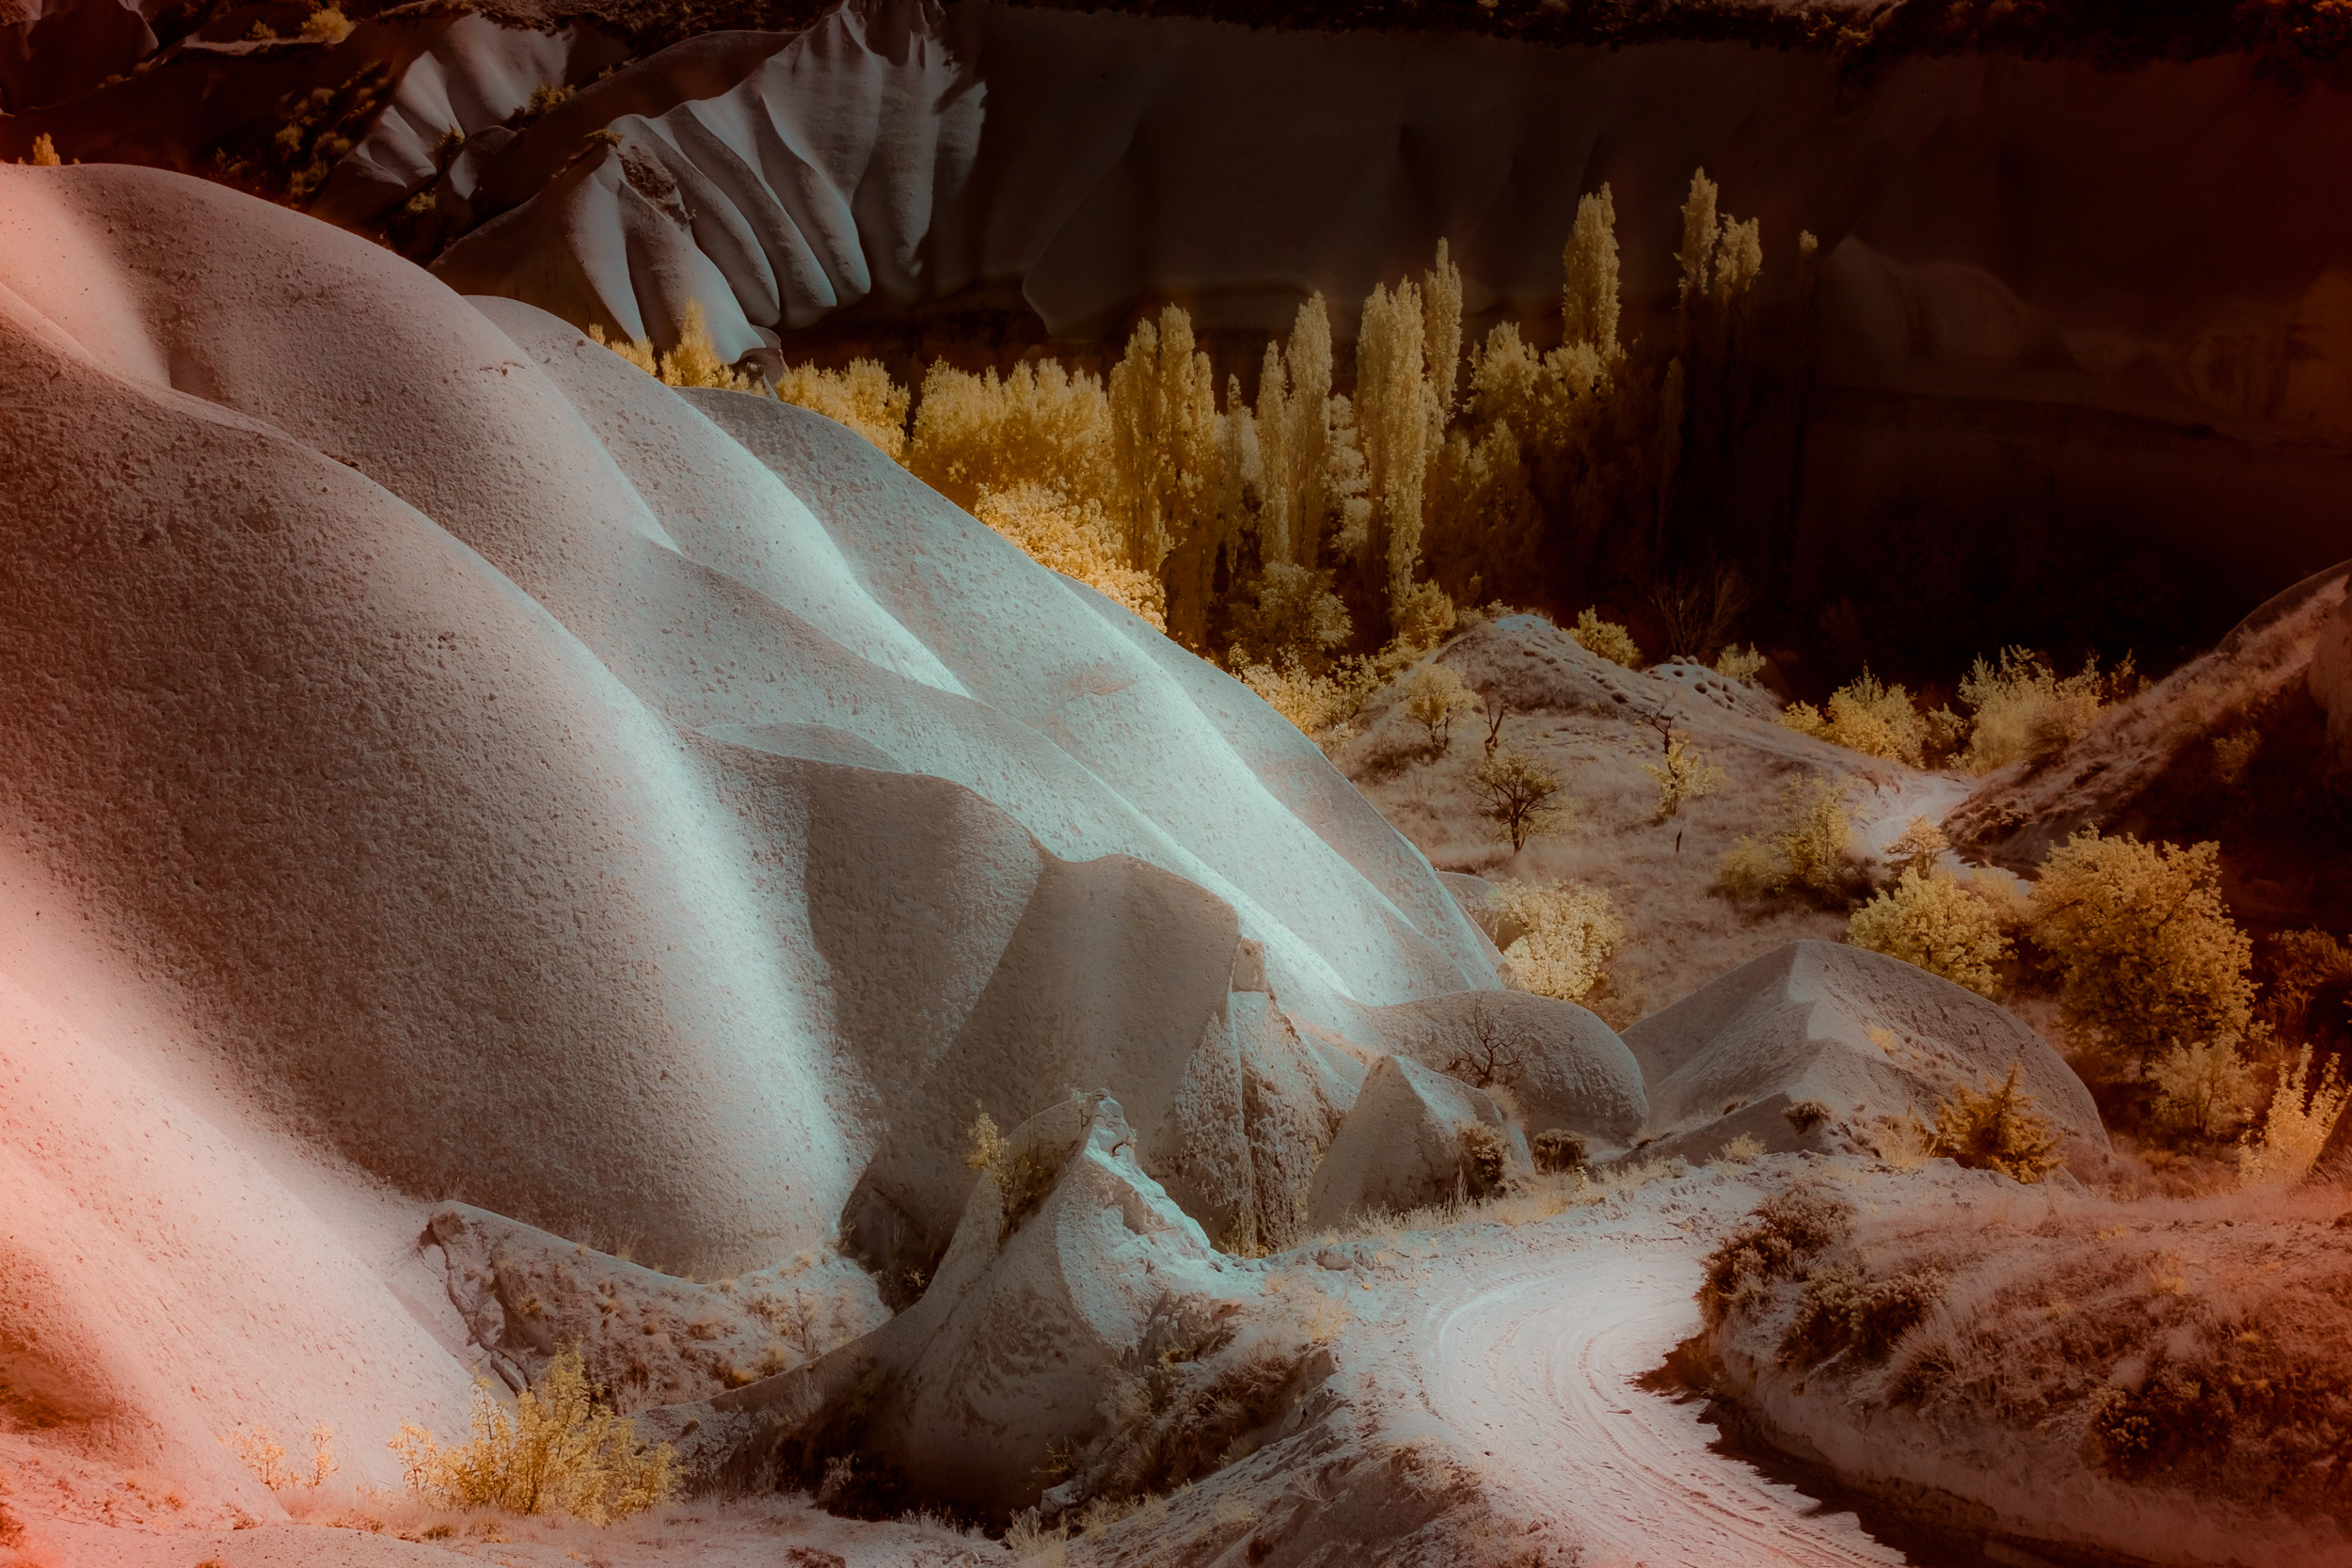
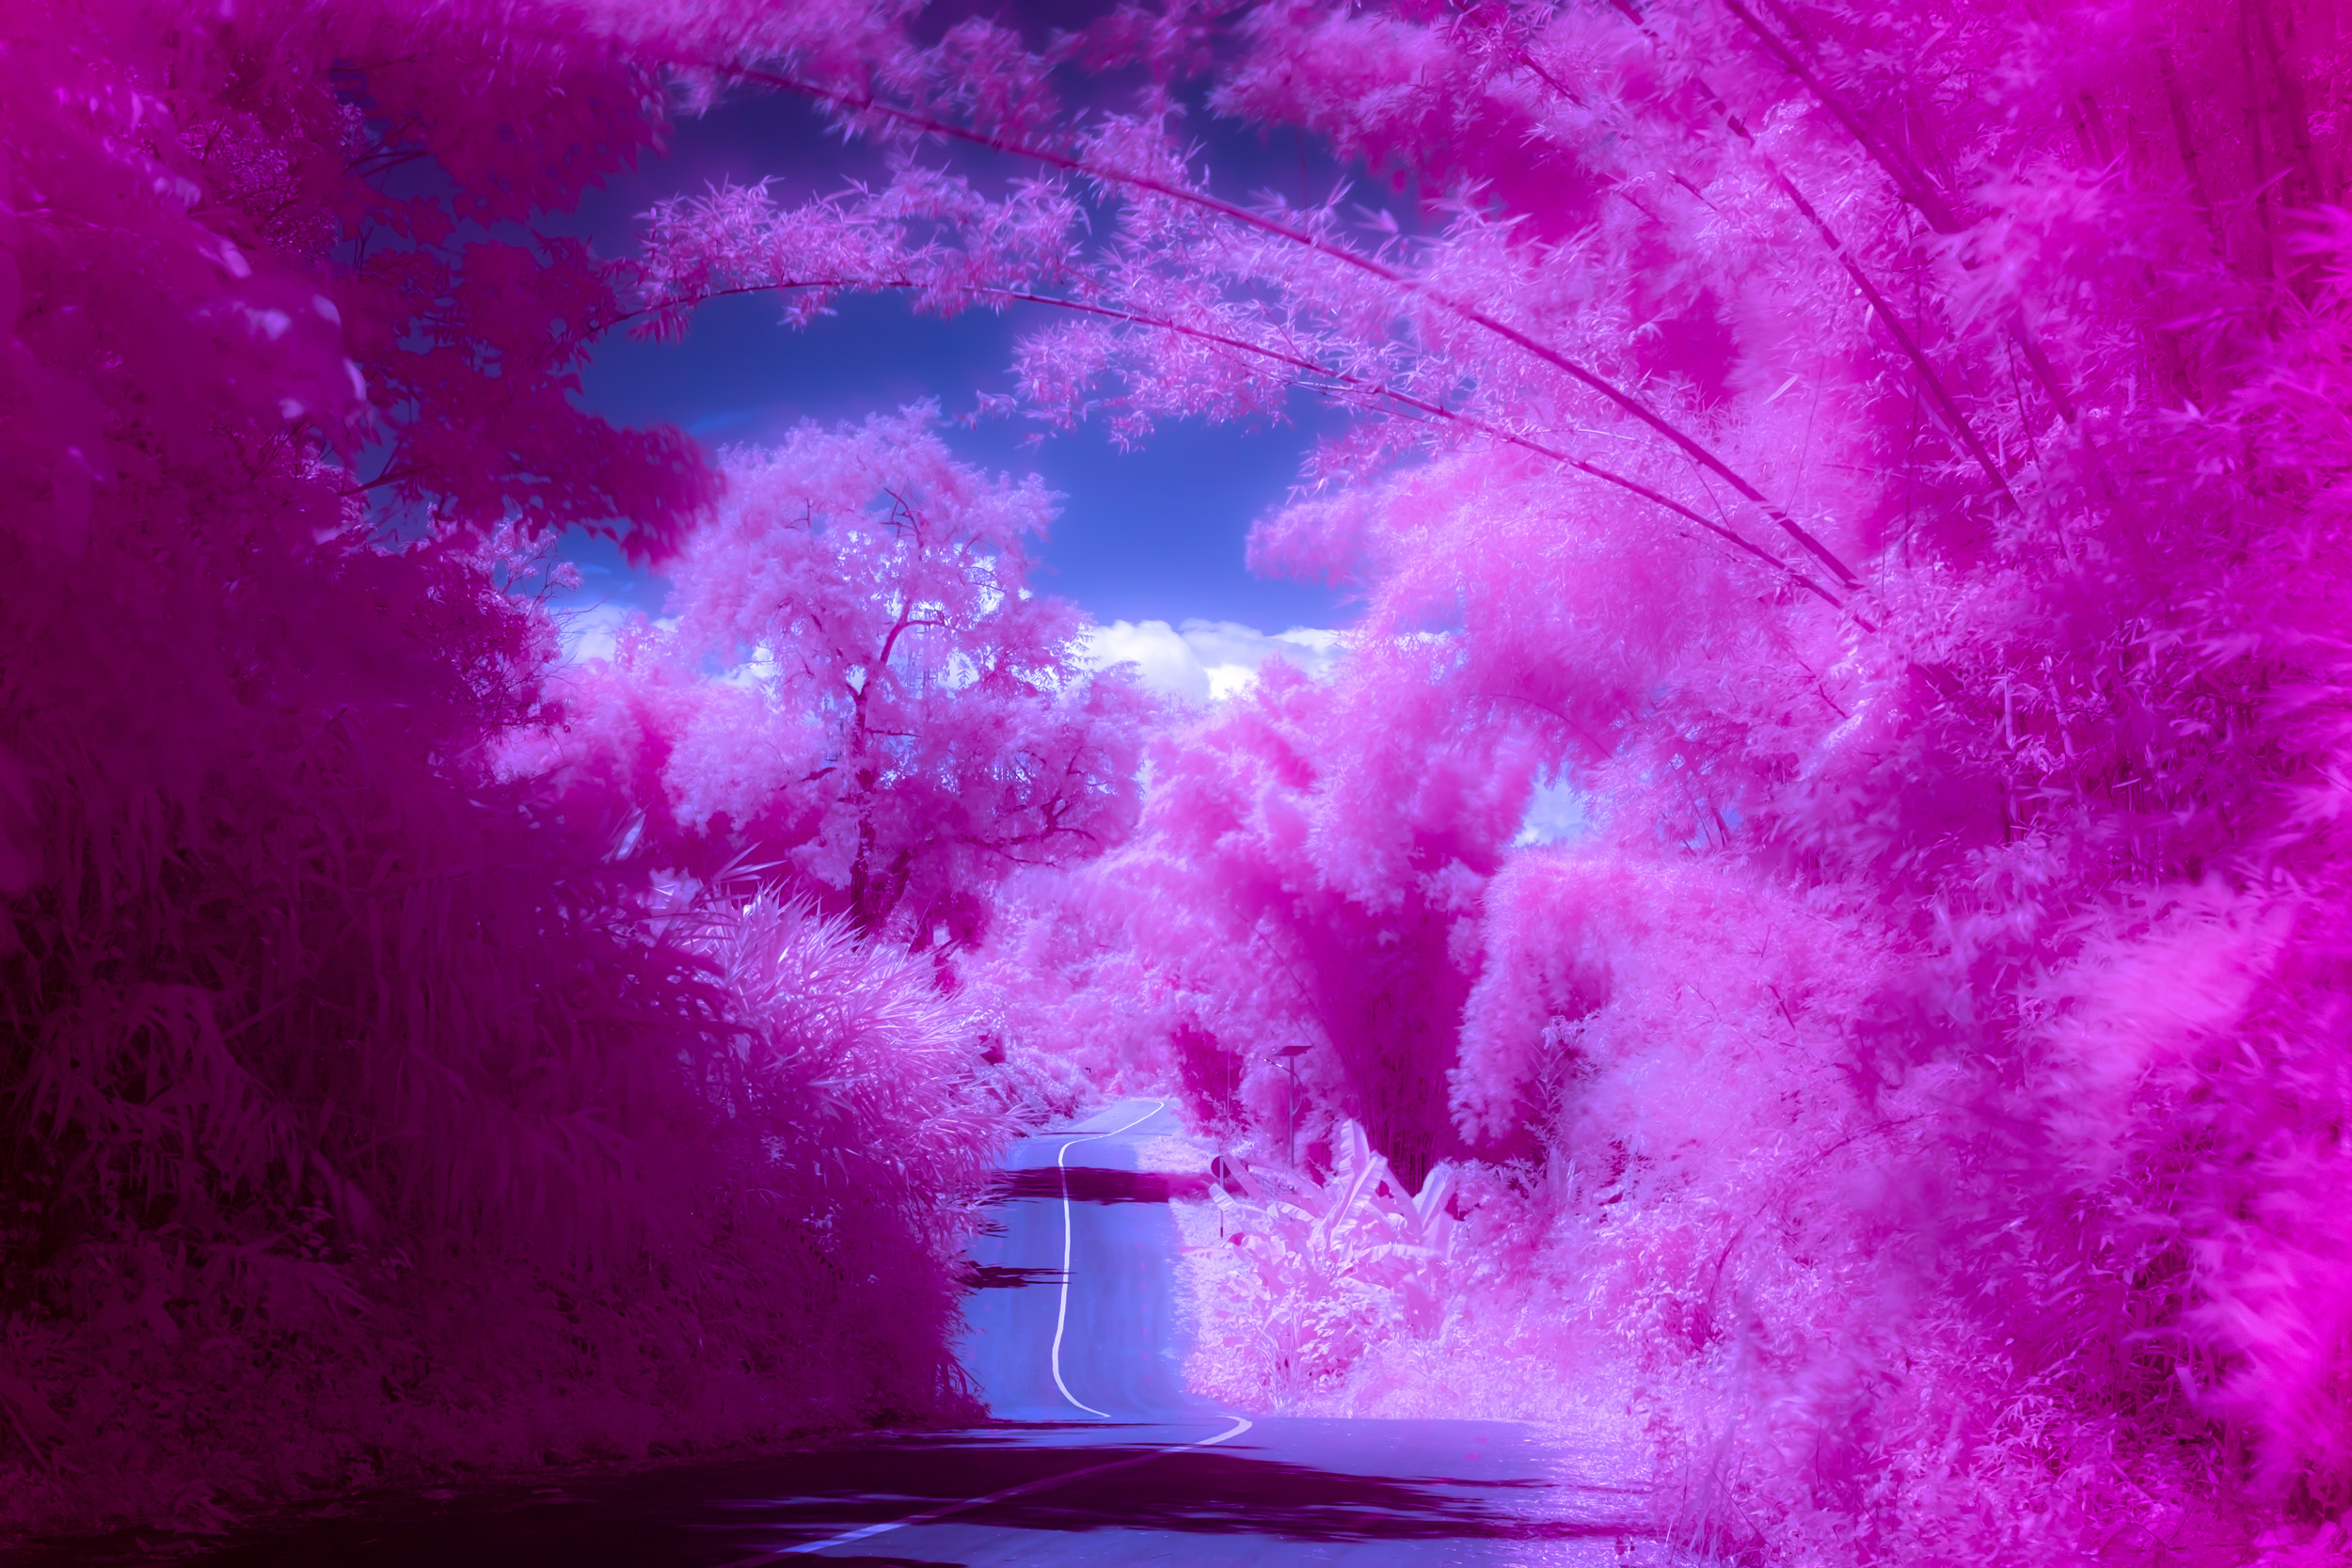
Filters come in many varieties and ratings; a 720nm rated seemed to the best option for me, and that cost me somewhere around $18 online. I shot both Jpeg and RAF images, with the intention of only using the Jpeg files with the Acros film simulation and a red or green filter – as the mono look of infrared is particularly pleasing to me. When white balanced (check online for ratings – around 2500k) correctly the out of camera jpegs look great with just a little tweaking, thus lessening the post processing burden.
If you look at an infrared filter you will see that it’s very dark, meaning that a tripod and a long exposure is best, although you can shoot handheld at higher ISO’s, but you will have very noisy images (even low ISO IR images are noisy).
Until a few days ago I didn’t even contemplate looking at the raw images – which are basically red when unprocessed. More online scouring introduced me to the basic editing process, which for me involves using Lightroom, and then creating a DNG profile for the camera (surprisingly easy, and only needed one time). This allows you to extend the lower end of white balance range and then to edit in Photoshop by channel switching the red and blue channels to taste to create the colour infrared look to suit. It all sounds complicated, but even as a technophobe I managed to get to grips with it in no time.
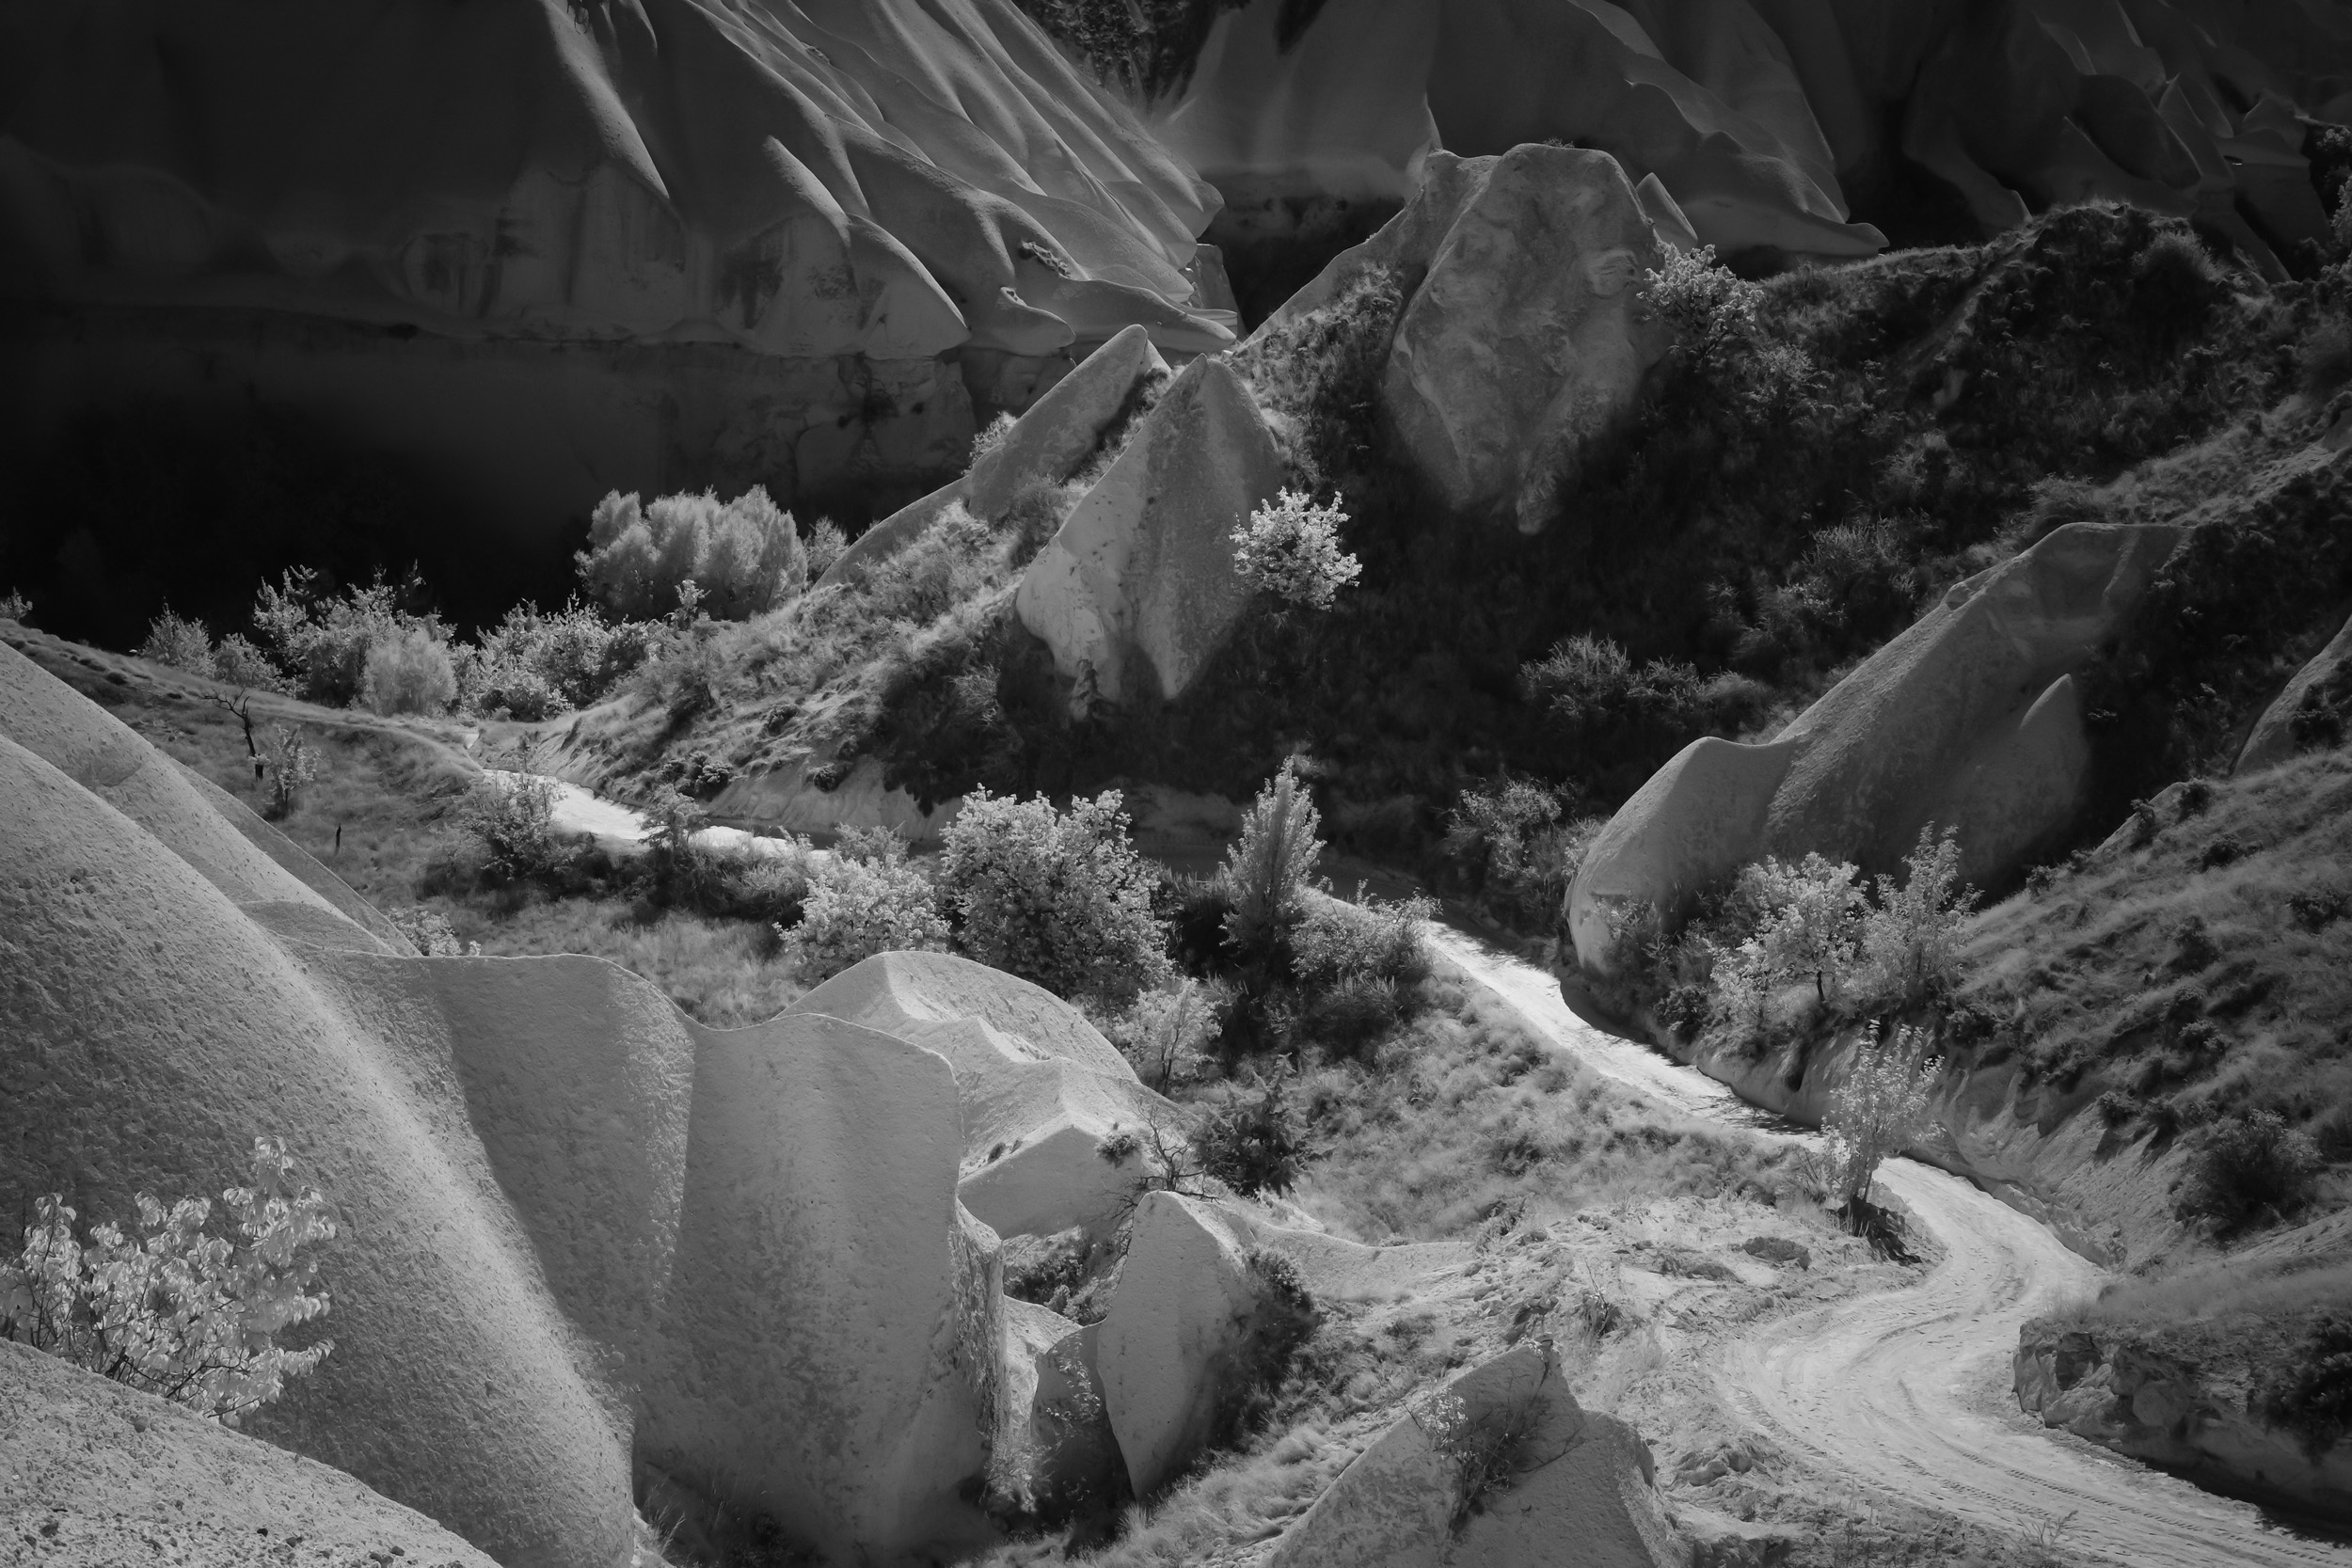
Of course it’s all about personal taste, but being stuck at home does make for a good time to experiment and learn new things on a budget. Infrared light is particularly sensitive to certain foliage, which makes for great garden based shooting potential.
This is not intended as an instructional story in any way, just as a dose of inspiration to others who may find themselves grounded and confounded – like me.