For every photography project I realized there were three main components that allowed me to create them: opportunity, idea and technique. Usually the technique was of less importance and a derivate from the other two components. Bovisium Infrarubra was different because it was born with the opportunity component reduced to the bone and grew up around the technique.
I dedicated all my professional life to expand geographically my area of activity looking for clients and opportunities far away from the little Italian town where I lived most of my life but, in the last two years after my mother passed away, I decided to dedicate my time taking care of my 90 years old father.
I took a sabbatical period from my profession and found myself “stuck” in the city of Boves (Bovisium for the ancient Romans), a ten thousand souls city in the Piemonte region in Italy, without being able to travel or be far from home for more than few hours but with the gift to not have to think about the clients’ needs and be able to study again, experiment and explore deeply the photographic scene.
Obviously, being involved with photography since I was eight years old, it was impossible for me to not photograph for more than a couple of months and, at that point, started my adventure with Fujifilm and the Bovisium Infrarubra project.

Not being able to plan and organize shootings I had the need for a small and light camera to keep always with me and my huge Canon 1Ds mkIII with the heavy lenses was not suited for the job. When the Fujifilm X-Pro 2 was presented to the market I found a great deal for a new Fujifilm X-Pro1 with an 18mm lens. I decided to buy it almost as a portable toy camera just for fun, but I never been more wrong in my preconceptions! After few days I was in love with my Fuji, the quality of the files produced was impressive, I always had it with me and, since then, not a single day passed without taking some pictures.
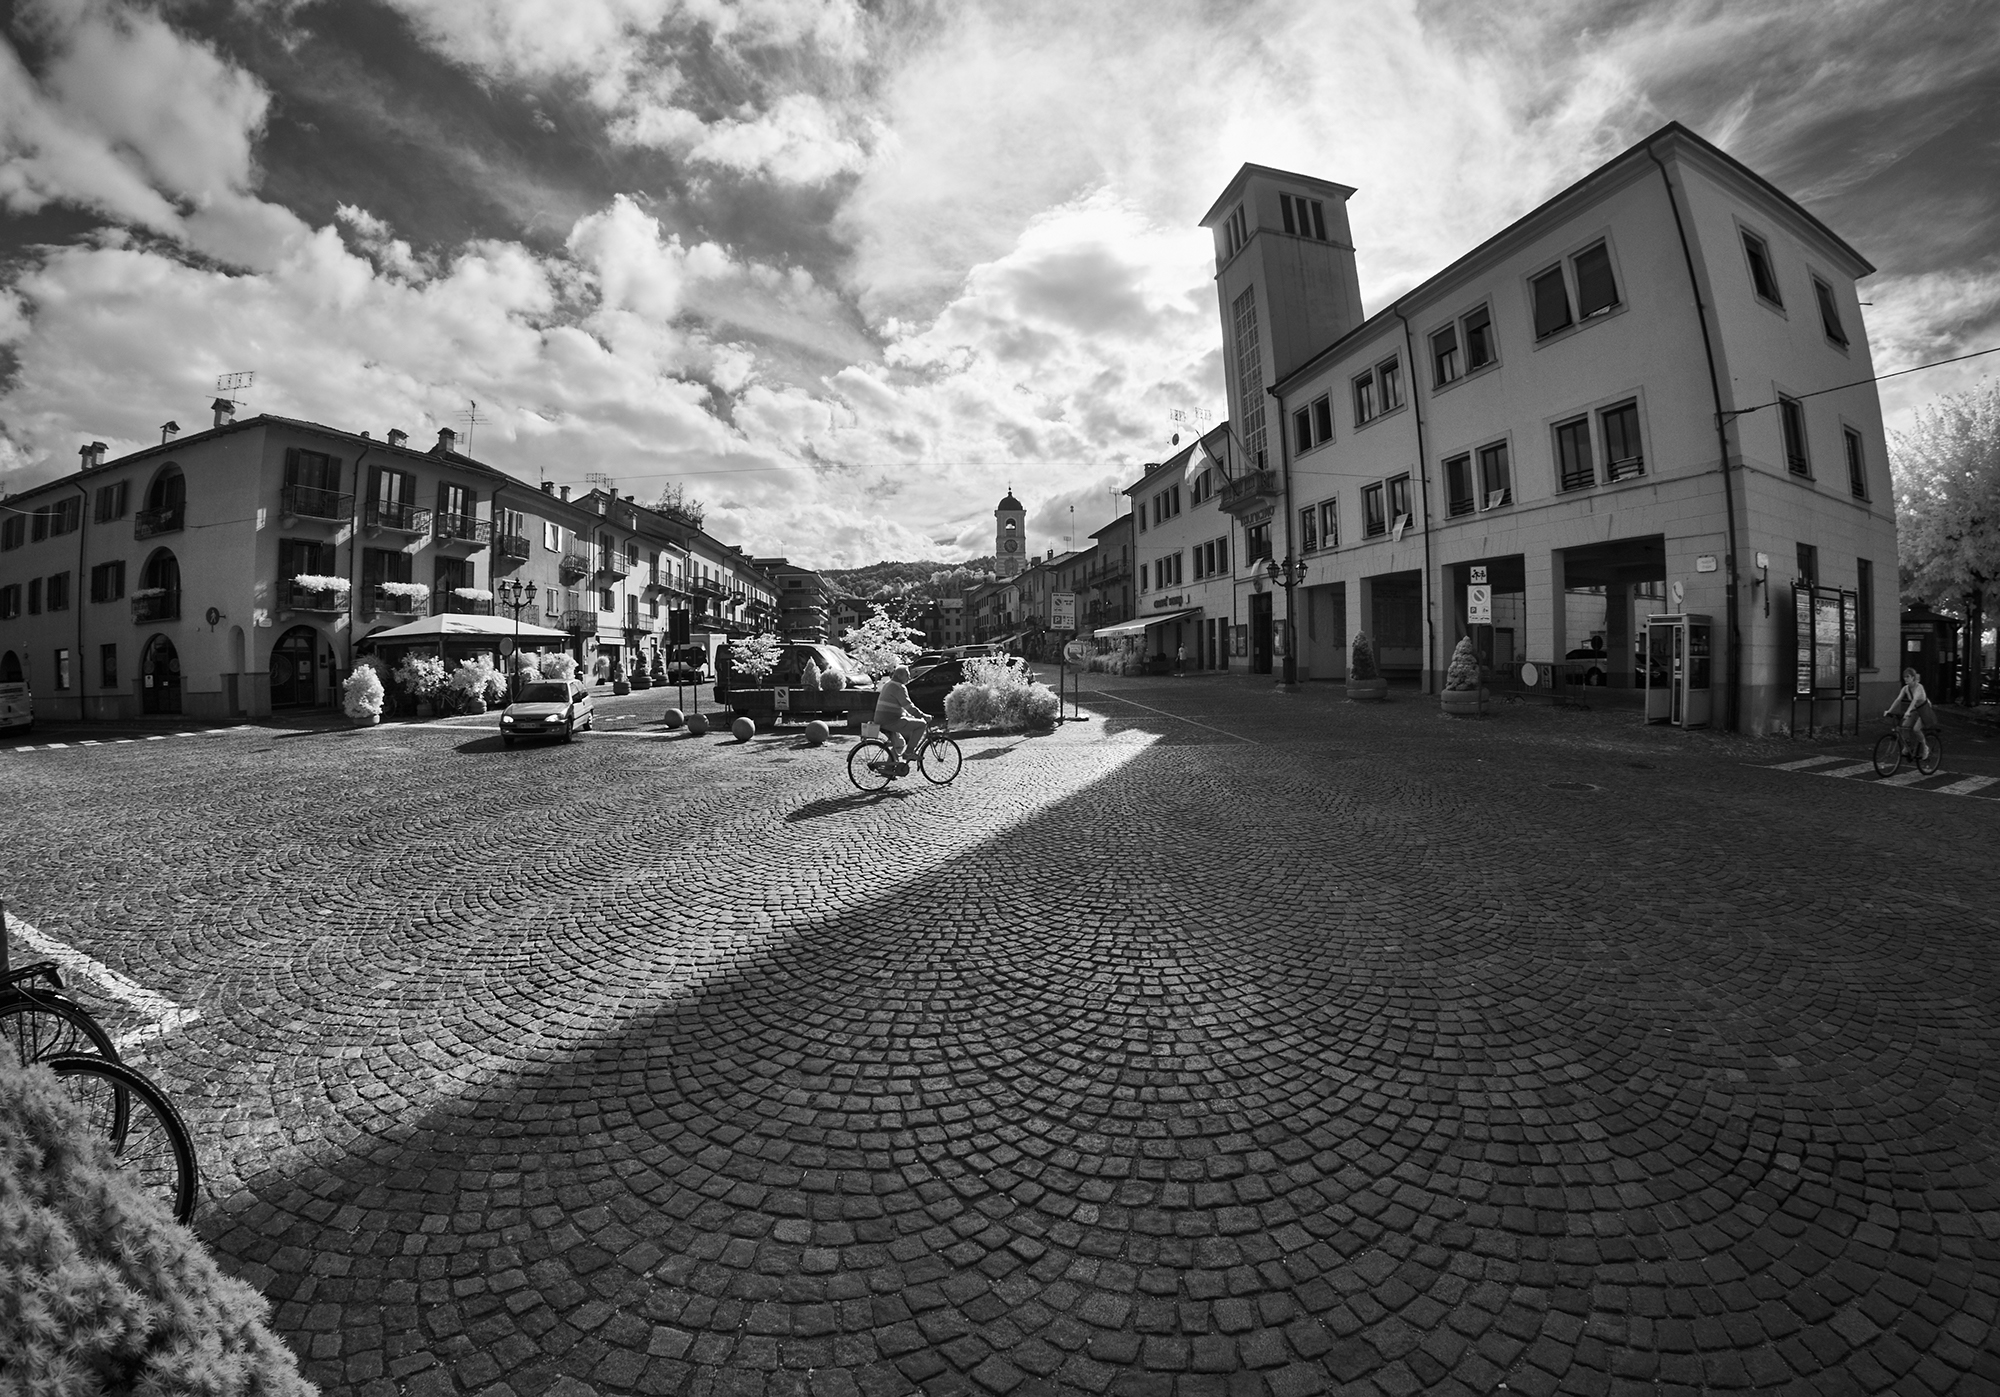
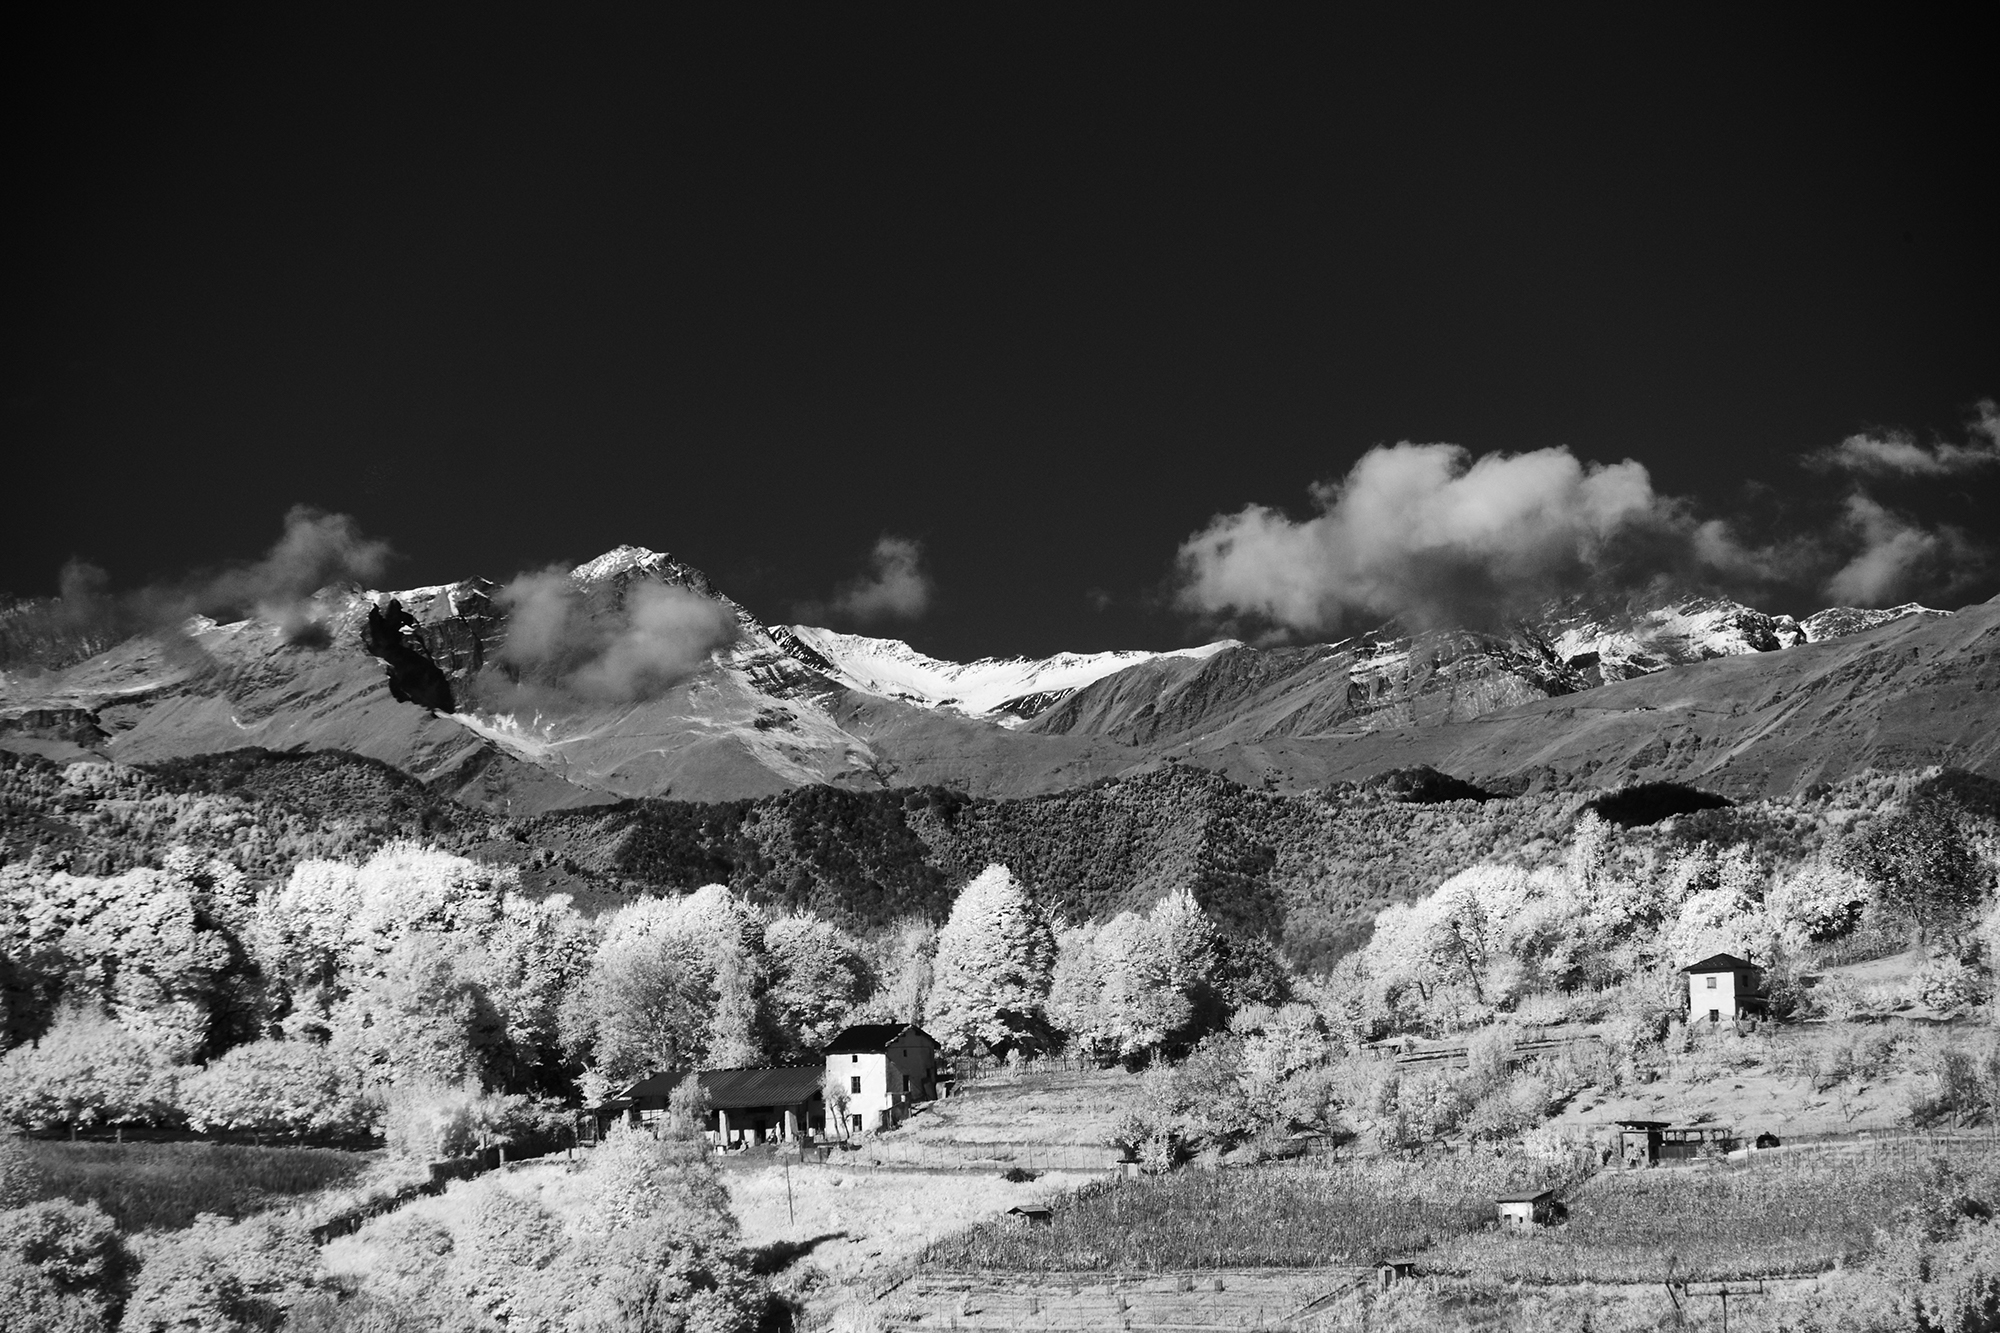
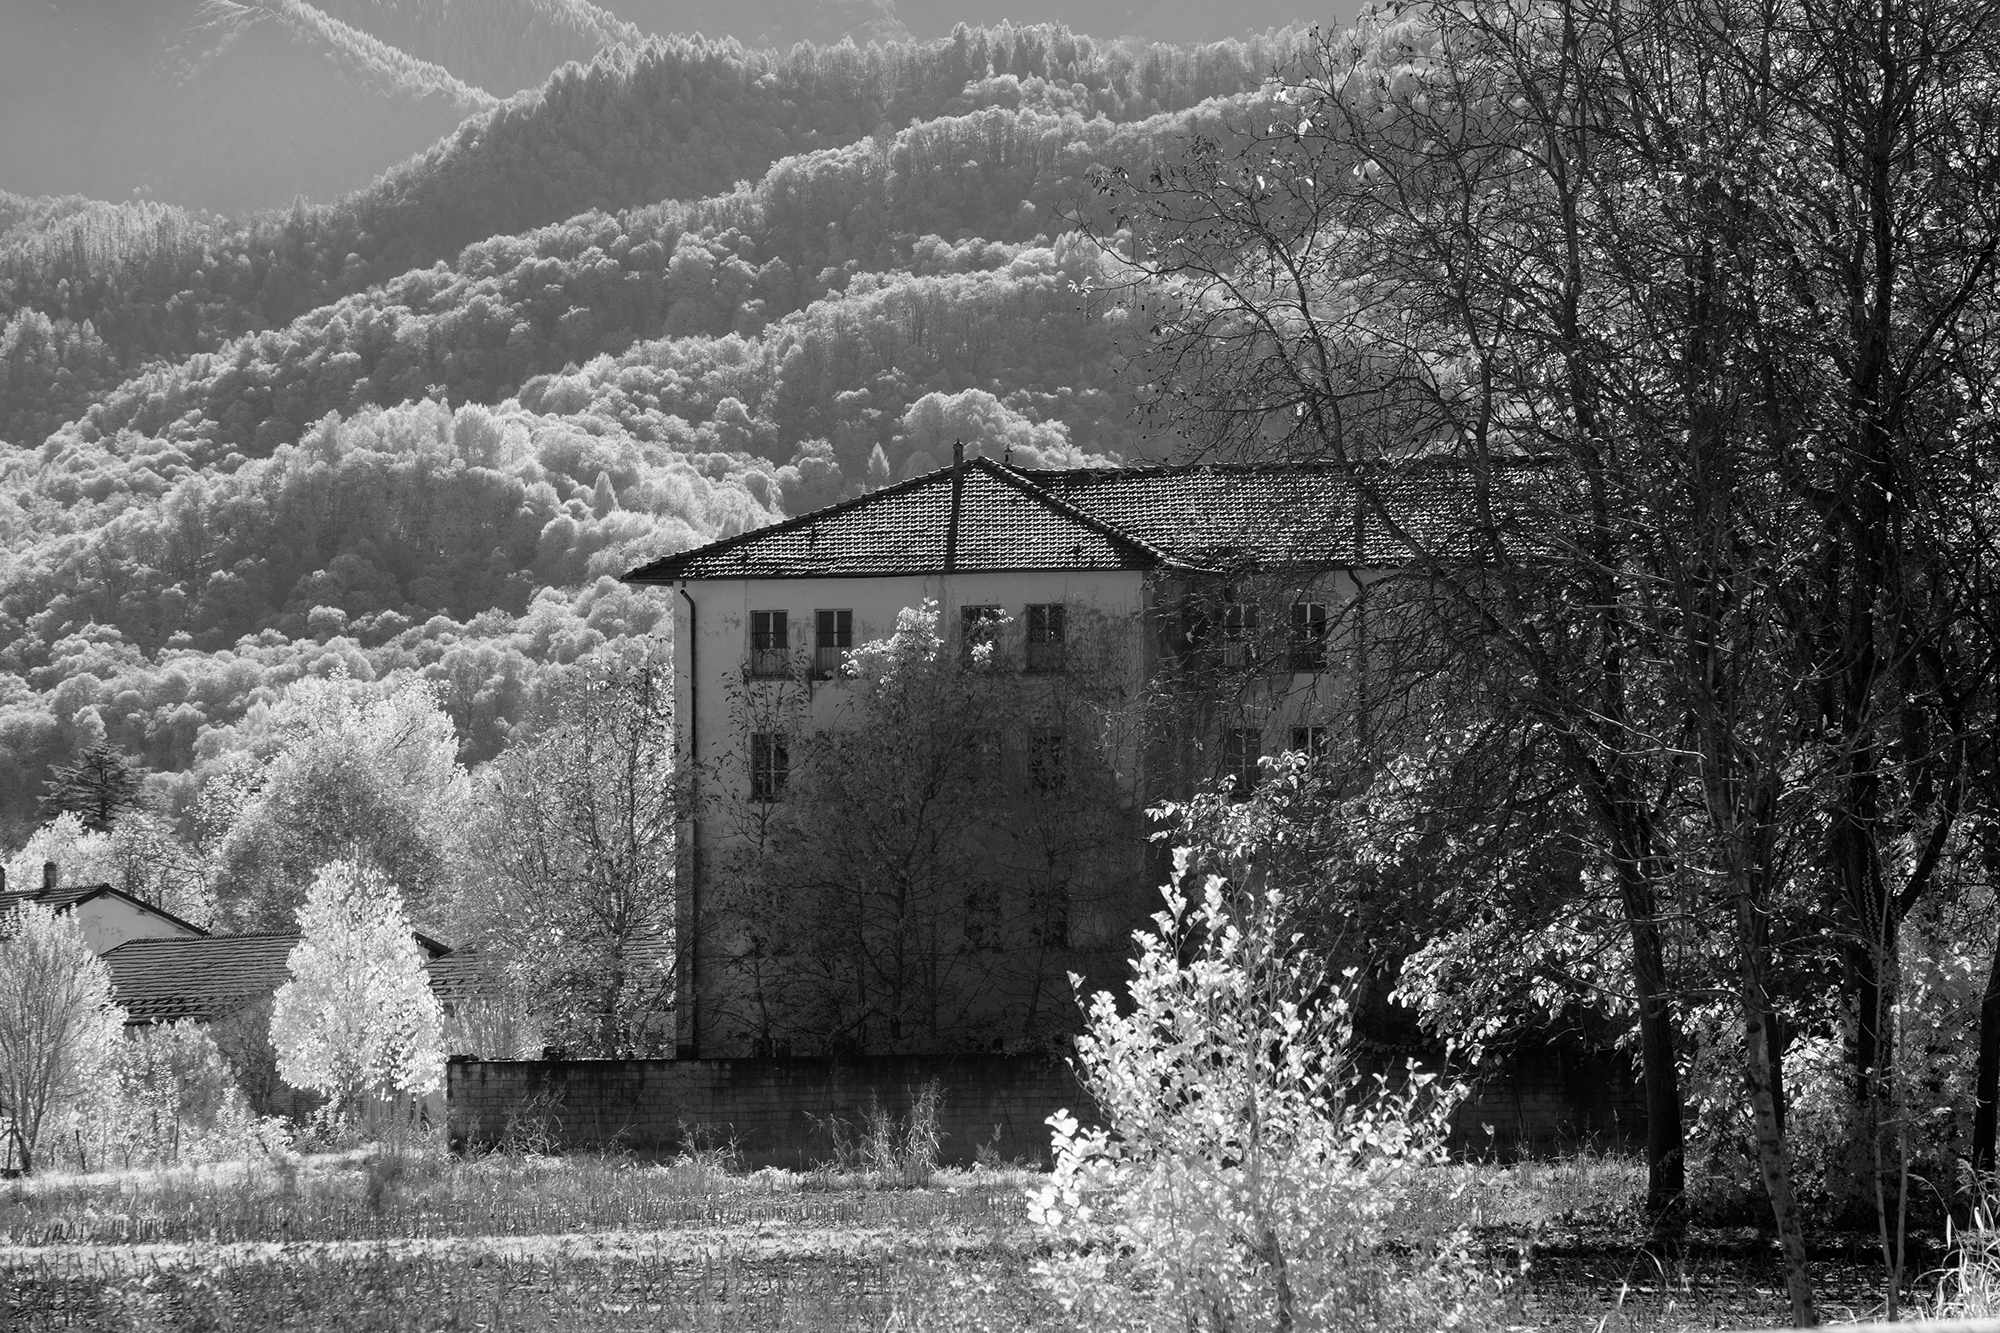
The only limit remained the surroundings. Italy is commonly perceived as Florence, The Riviera, small beautiful medieval villages and pure beauty, but the reality is that most places, included my town are just an average mix of old and new constructions sometime with not great esthetic. Add to this fact that I was seeing the same scene for almost 40 years of my life and you can understand why I considered my surroundings a limit.
Being a professional commercial photographer I’m used to not let the limits stop me but to consider them as challenges, so I looked for a new way to interpret the subjects I had around. One of the way to change the point of view is to change the technique used, infrared was my choice.
I had my first experience with infrared still with film. I used the IR film mostly as a scientific tool for architecture assignments, when I had to evidence structural problems caused by humidity and other factors, and sometime as an artistic tool.
My digital IR experience was with a Canon 5D converted to IR by Lifepixel, great camera and conversion but with the limit of the weight, lack of live view and the consequential problems of focusing the infrared wavelengths properly and calculating the exposure.
Already loving my X-Pro 1 I decided it was the perfect candidate for an infrared conversion.
Infrared has some characteristics that requires attention.
The first is that the IR wavelengths do not focus at the same point of the visible light. In SRL cameras the autofocus uses a specific focus sensor that is calibrated on visible light making the autofocus impossible with IR unless the camera is specifically re-calibrated for IR and a single lens.
Mirrorless cameras use the actual image sensor to focus, checking when the image is sharp directly on the sensor, this means that also with IR the autofocus works perfectly.
The second is that the normal exposure meters, included the one in the SRL cameras, are built to not be sensitive to IR light. With an SRL the exposure must be guessed.
Mirrorless cameras calculate the exposure on the image sensor, checking the value of the pixels forming the image so, also with IR, the automatic exposure or metering works perfectly.
The third is that with some type of conversions is required the use of a very dark filter on the lens. The optical viewfinder let you frame the image also with those filters mounted.
The conversion process is in theory very simple.
Digital sensors are sensitive to a wide spectrum, included ultraviolet and infrared light; for this reason the manufacturers put, in front of the sensor, a filter that allows only the visible light to pass and eliminates the UV and IR components. The conversion is a simple substitution of the standard filter with one that eliminates the visible light and allows the IR to pass.
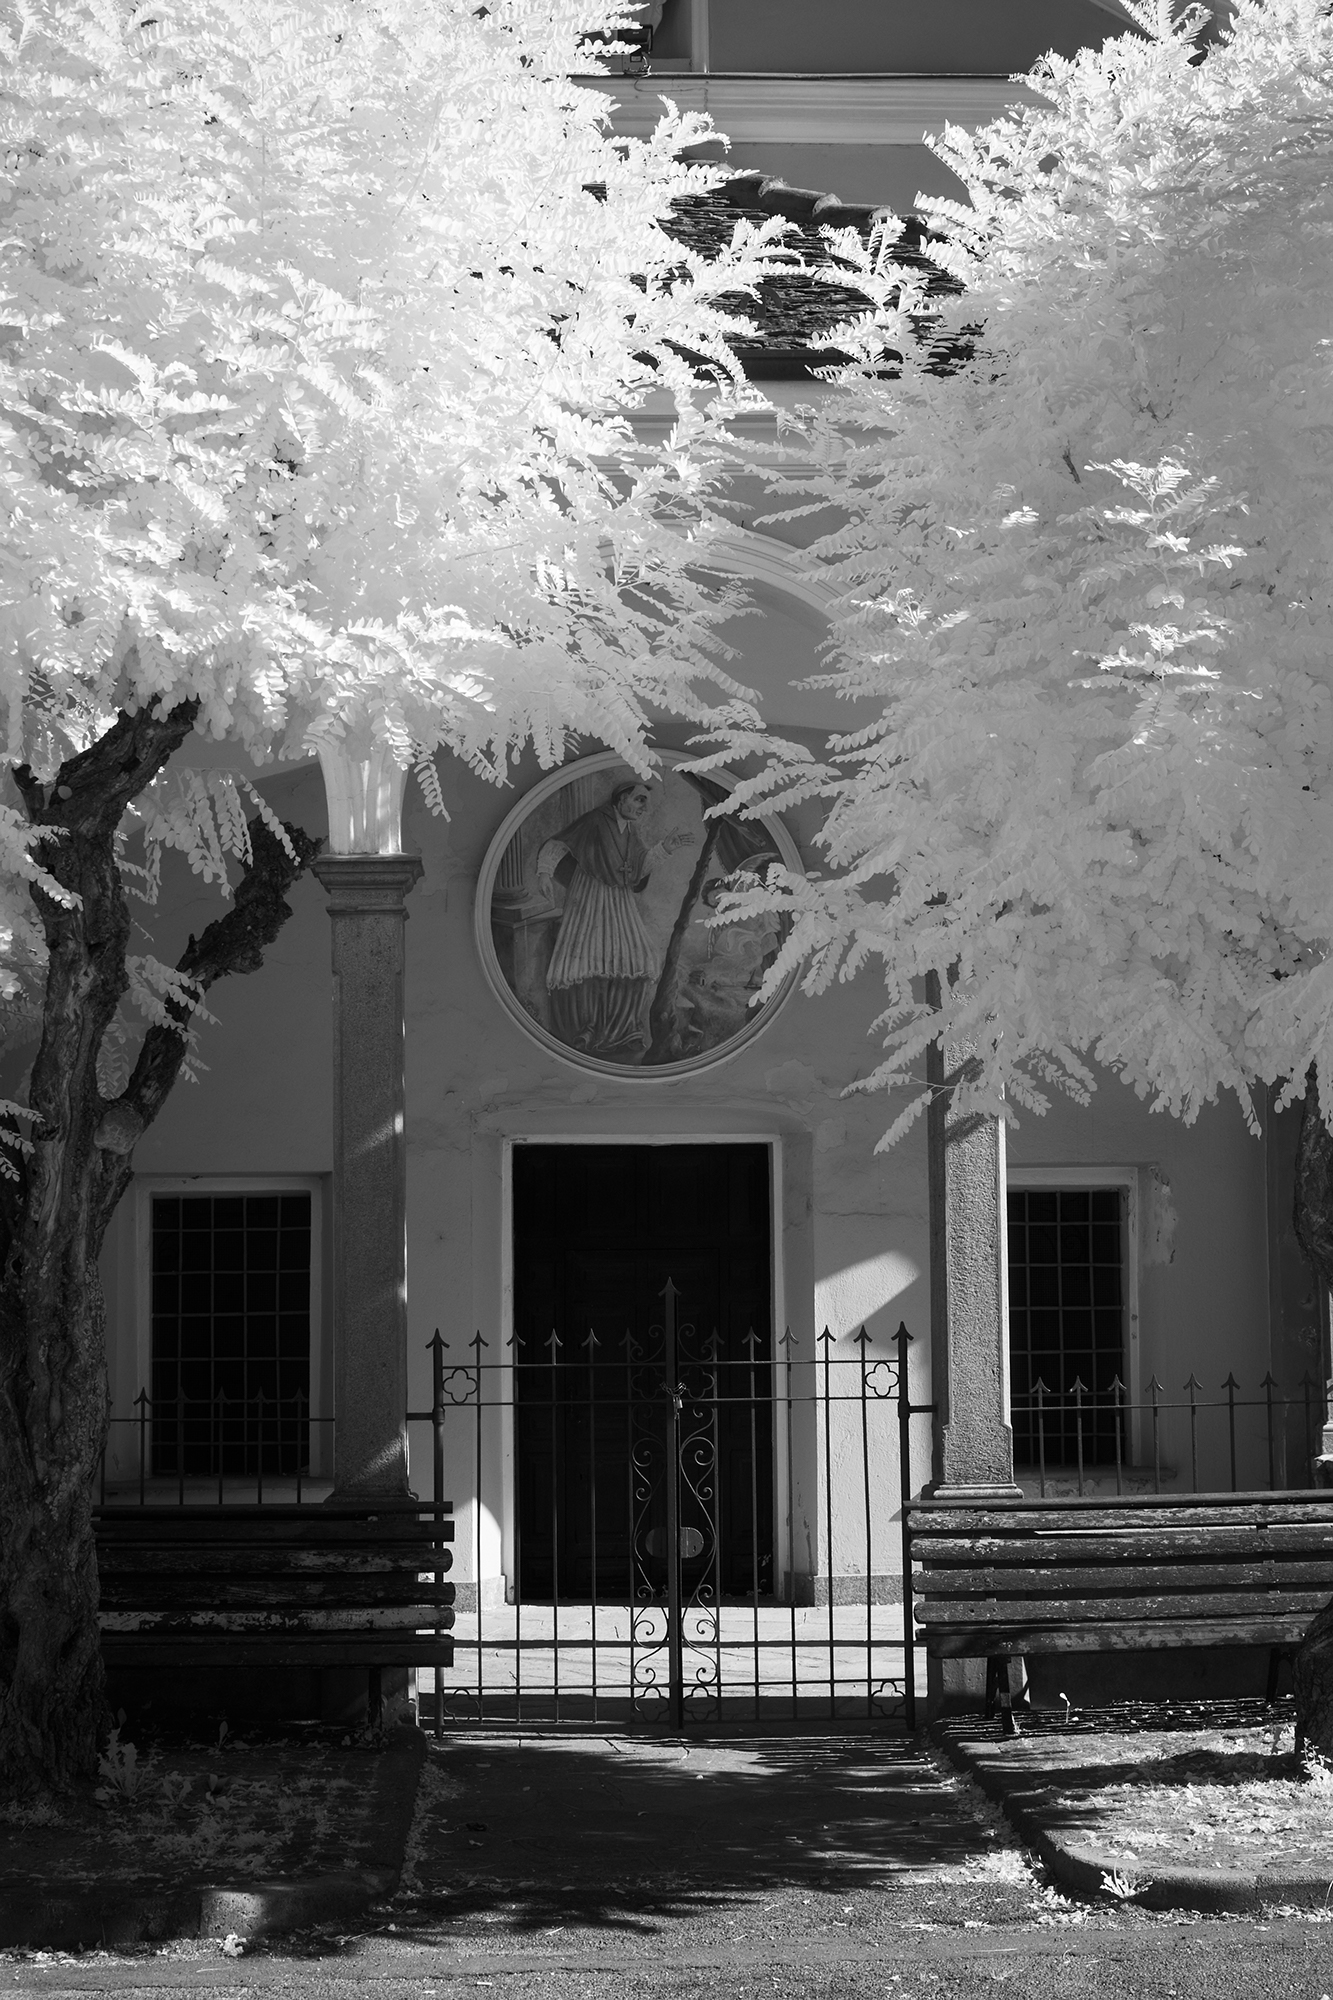
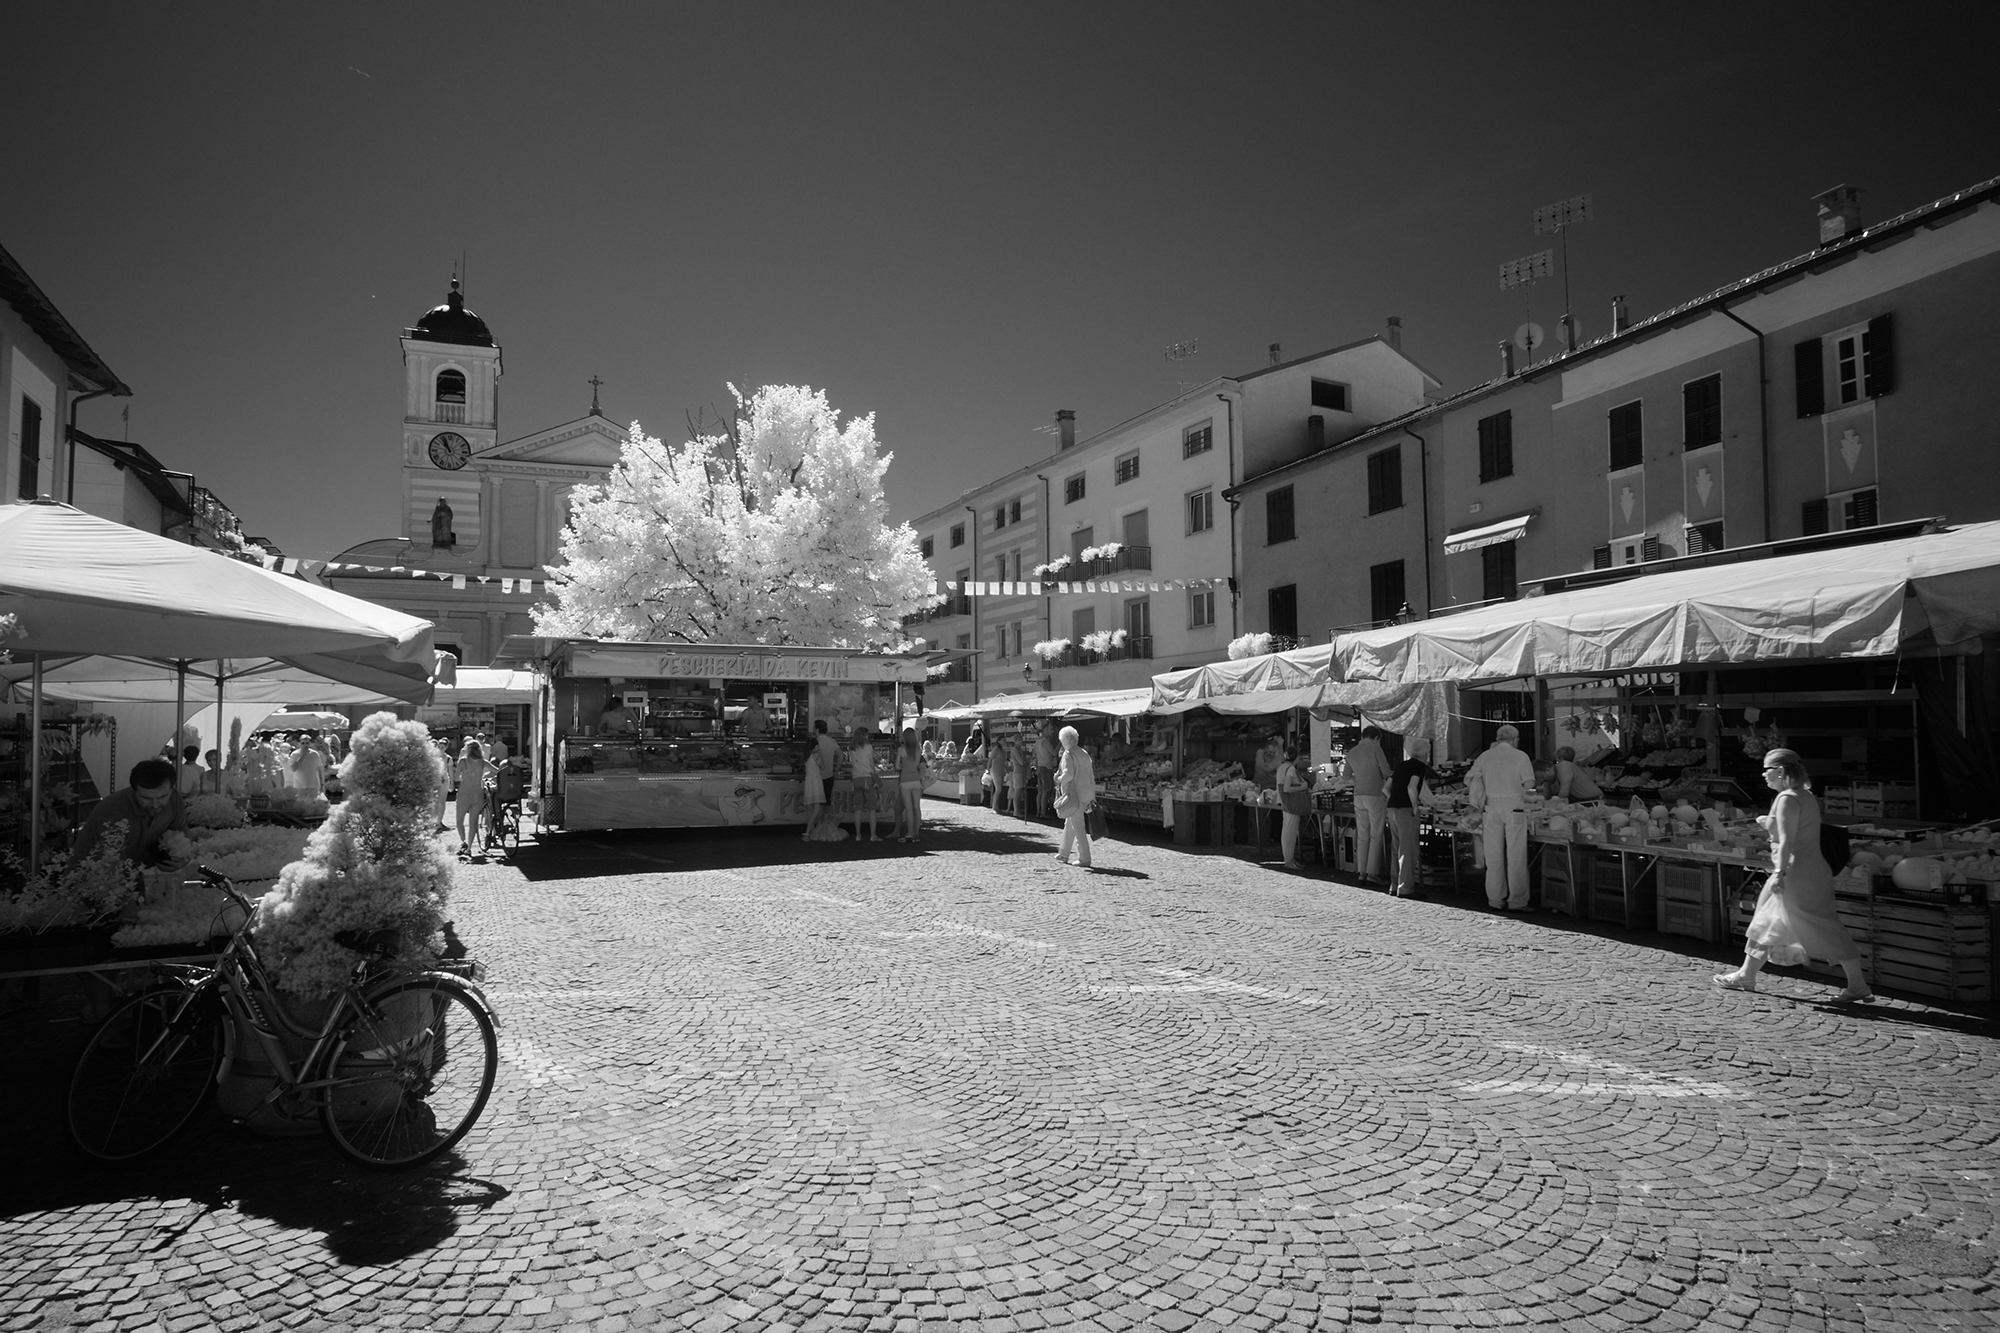
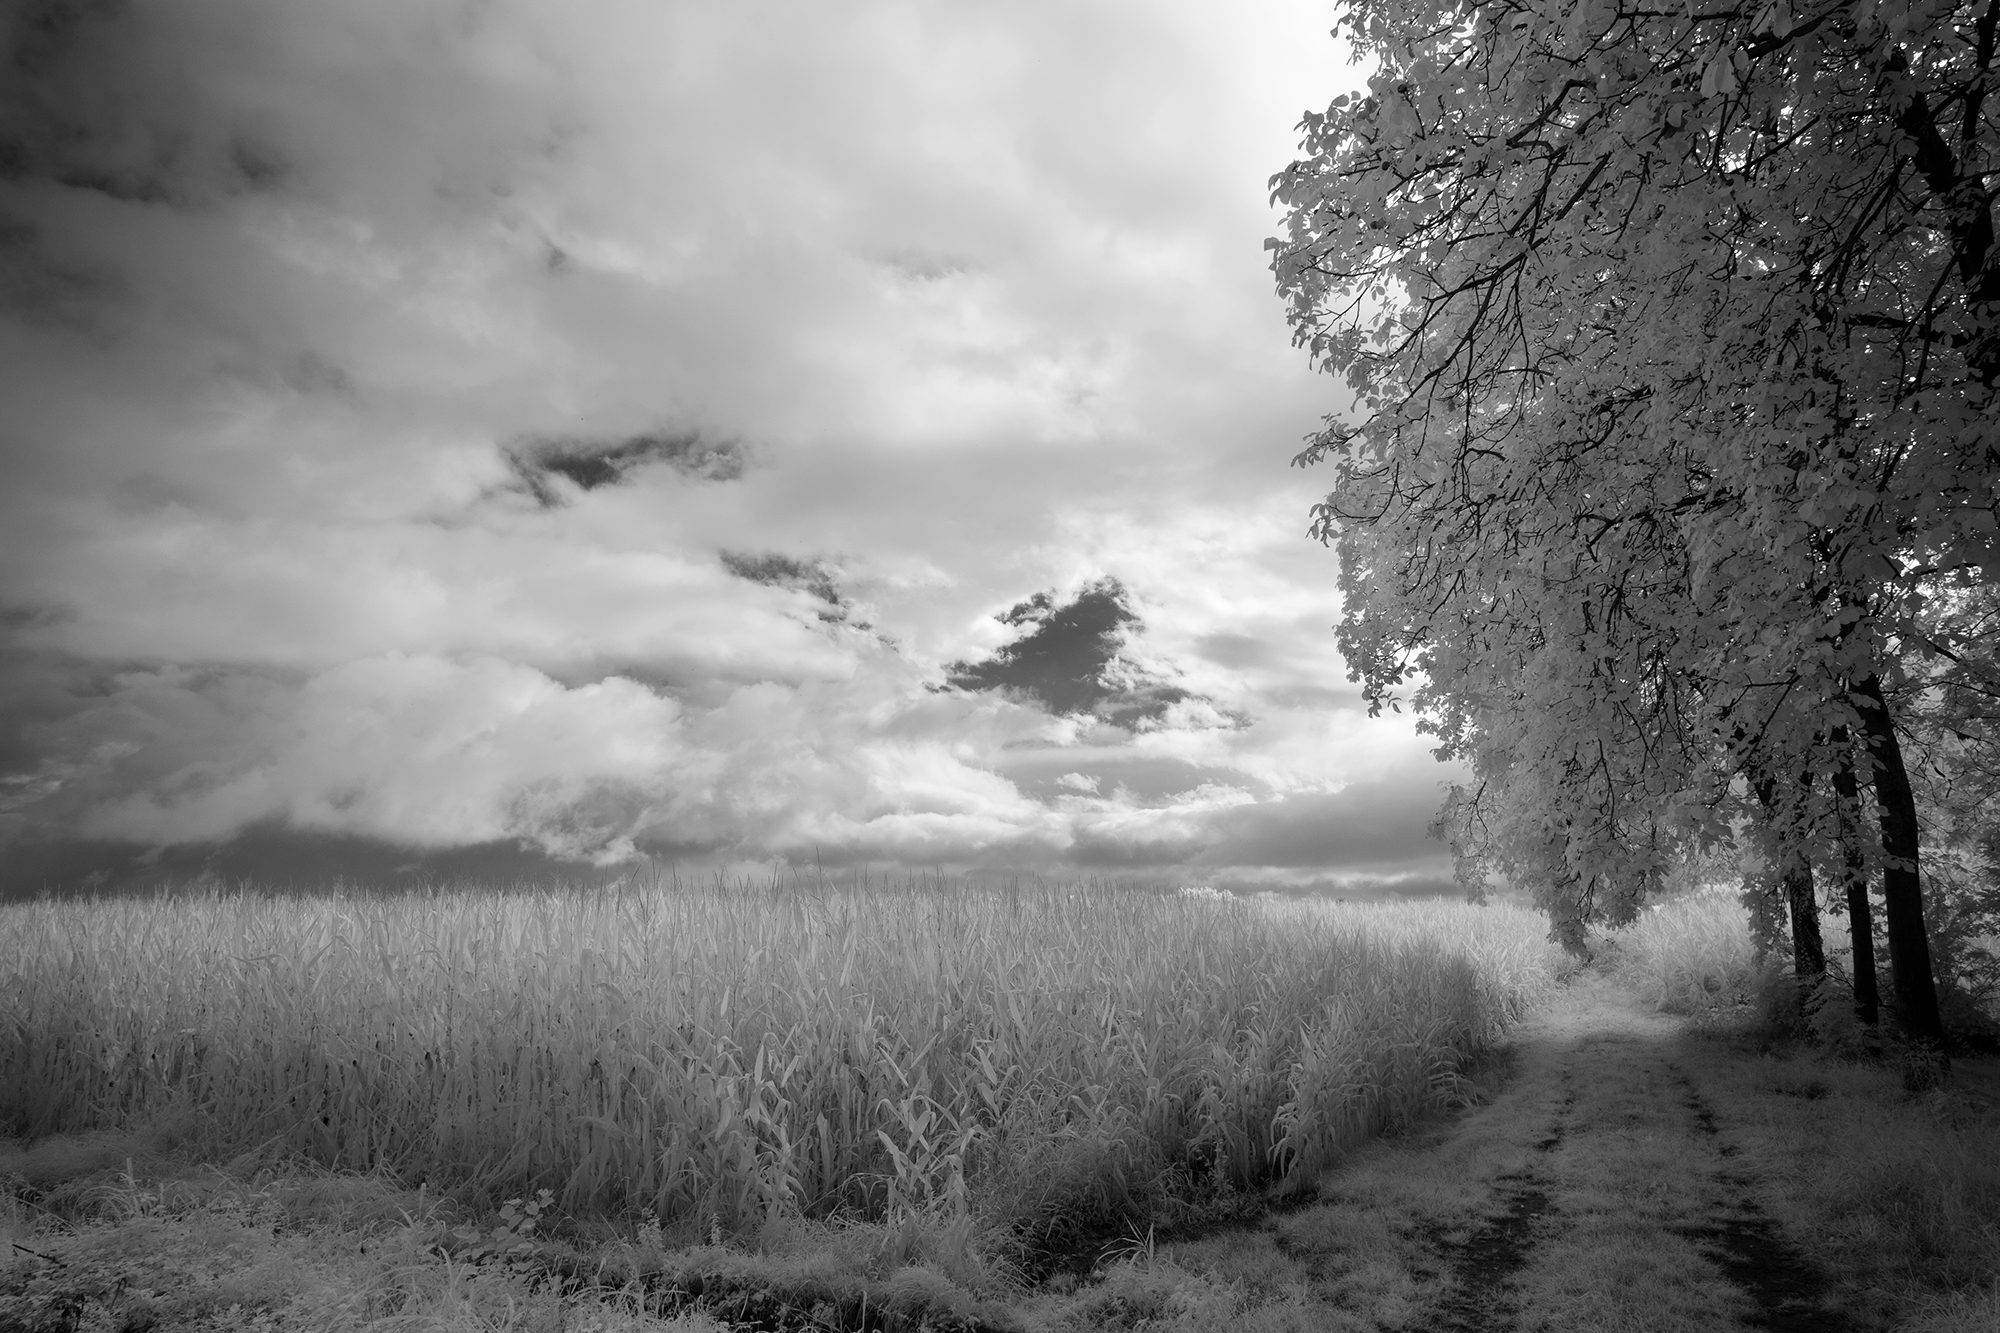
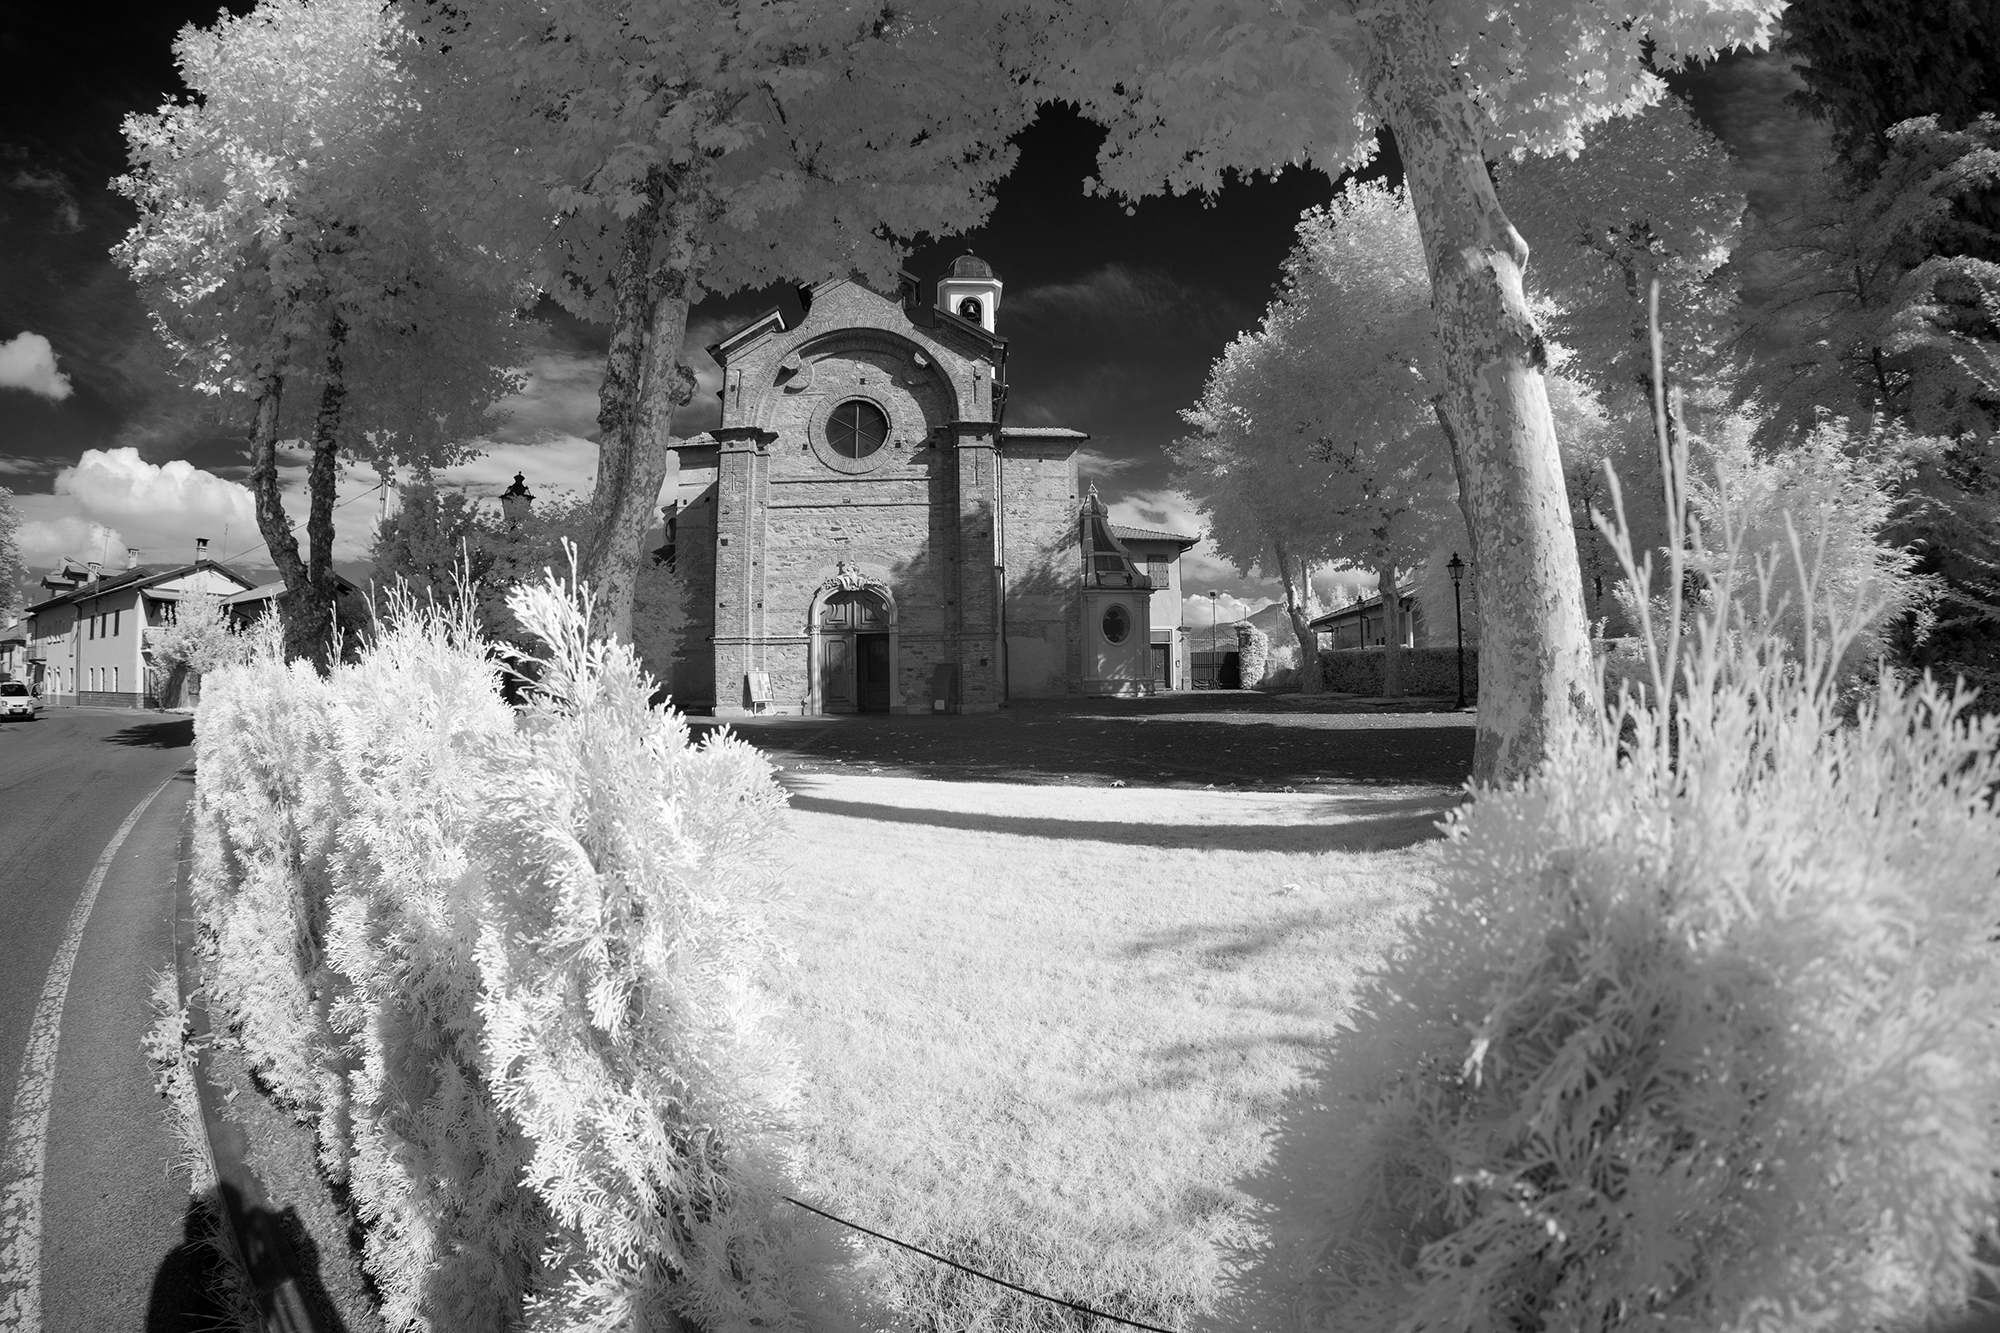
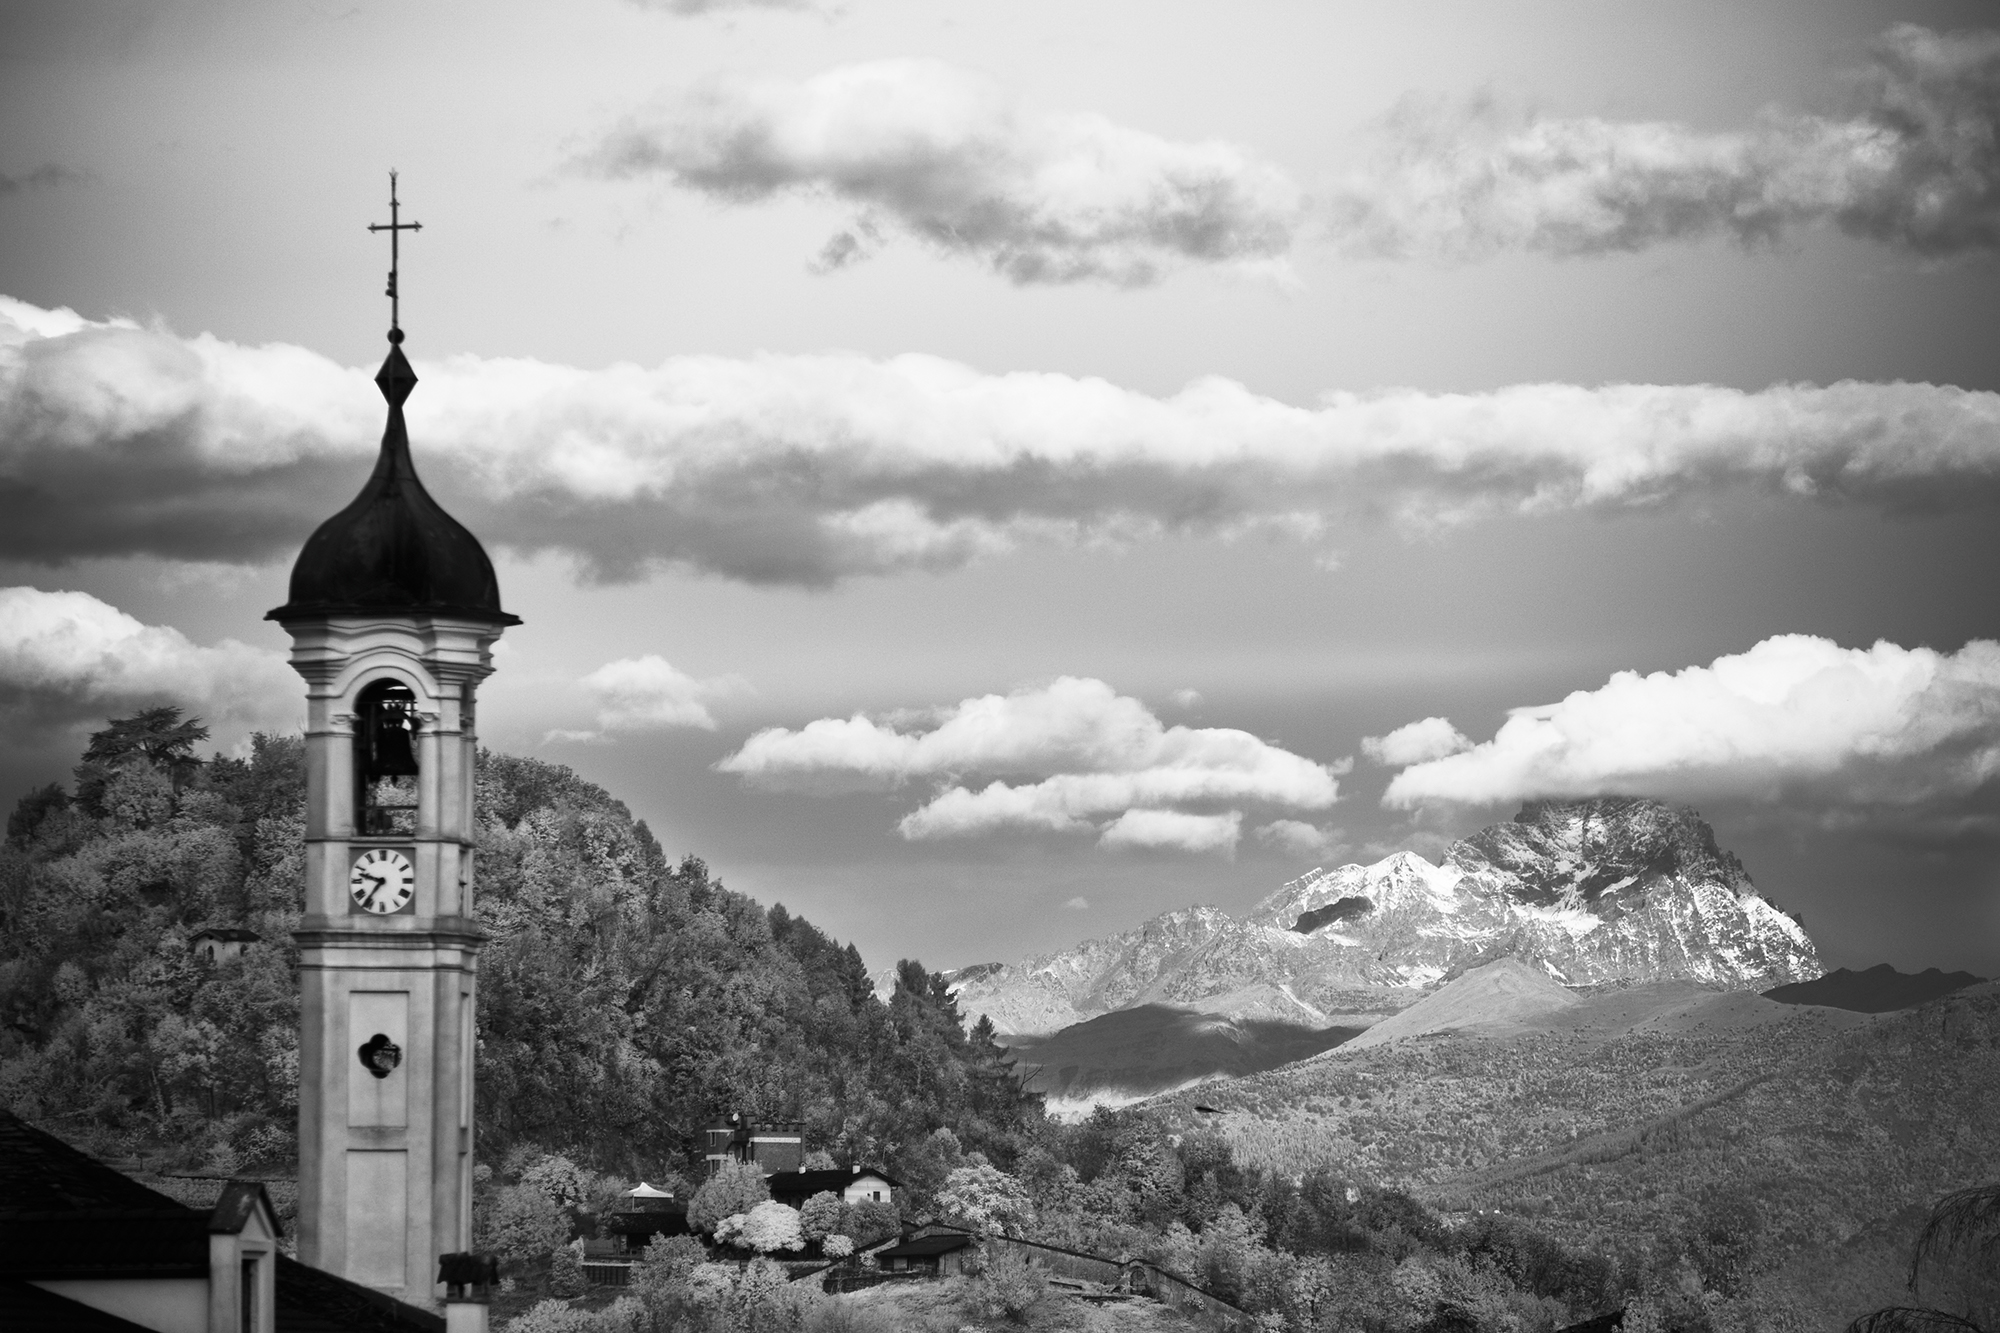
There are many kinds of filters to convert a camera based on the wavelengths filtered. I decided for a filter cutting off everything below the 720 nanometers. With this choice the result is almost pure black and white with only some colors that can be used in post-processing to create masks for the the high and low IR exposed areas.
When I sent to convert my Canon 5D I had a surprise from the Italian customs, they charged me the custom fees and taxes also on the value of the camera as it was bought new, so the end result was too much expensive, also if I really liked the job done by the company that made the conversion.
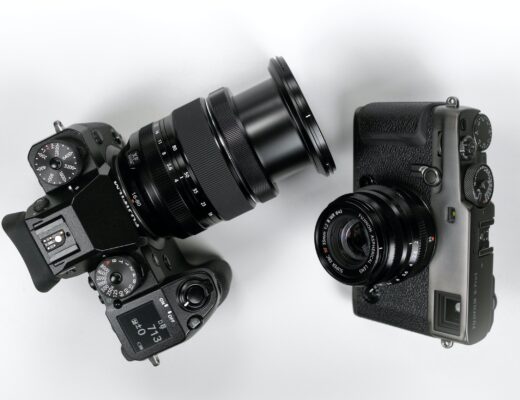
With the X-Pro 1 I decided to free the nerd in me and to do the conversion by myself. I bought a used X-Pro1 and, with the help of internet and my skills, I went for it!
It was quite an adventure that made me appreciate how well the camera is built (the X-Pro 2 is built even better… but do not tell Fujifilm I already opened one!) and understand better how a mirrorless works.
To understand how much can be difficult to do the conversion by yourself just think that the sensor is the more deep part of your camera, and the filter you need to change is between the sensor and the protective glass of the auto cleaning mechanism. It’s a ton of parts and screws you have to get out of the way just to reach it, and when you are there you must be accurate, not let dust get on the sensor and do not ruin the sensor.

At the end all worked perfectly, not just the converted camera, but the use of infrared to discover new points of view on too well known subjects and, a year later, I had put together the pictures to create a book that will be used as an official presentation of the city.
I have a video on my blog that shows in three minutes the three weeks that took the conversion (included the time to wait for the filter I ordered cut on the exact size), so you can take a look at it if you are curious about a DIY conversion, my suggestion remains to let a specialized laboratory do the conversion for you.
More I use the Fujifilm cameras, IR converted or not, more I love the system and the quality of the lenses. I was really happy to see that a lot of Fujinon lenses work well with infrared. I used the 14mm f2.8, 35mm f1.4, 55-200mm and a Samyang 8mm fisheye with perfect results. The 18mm f2 and the 60mm f2.4 are the only two lenses I have not usable with IR (but great in normal light) because they produce an hotspot in the center of the image.
The postproduction was all done in part with Irident and in part with CaptureOne 10, in my opinion the best softwares to work with Fujifilm files.
At this point I’m really curious to see what can come out from a Fujifilm medium format converted to IR… dear Fujifilm, are you listening? 😉