On the south-east of Sweden there’s a little island called Oland. Oland is flat, full of birds, very close to the mainland, inhabited since the beginning of human presence in the Swedish area, and, accordingly to Oland’s inhabitants, the sole and only home of an incredibly melancholic environment: the Alvar.

When Kristine “Kikki” Gierow for the first time sent me pics of the Alvar, I was still planning my trip to Sweden and deciding where to go and what to shoot. Kikki was super helpful in that phase, she sent me pics of at least six different locations, but among the others the Alvar was definitely the one that hooked me. It reminded me of the melancholic environments used by the Swedish director Bergman in such movies as “The passion of Anna”. Such wide spaces have the tendencies to create the mood of a cage, of a prison, where the solitude suddenly becomes isolation. It was definitely something I wanted to experience and to shoot within.

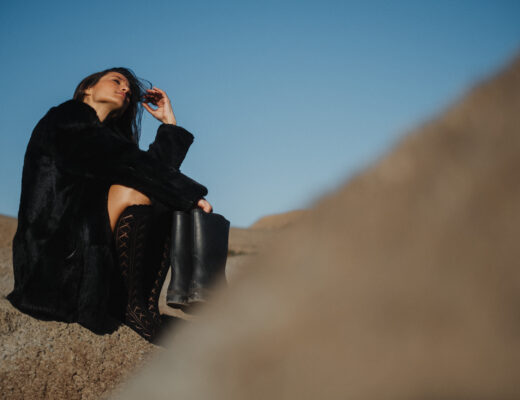
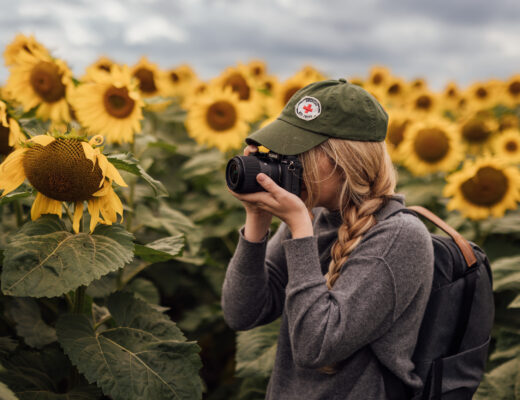
Armed with the only equipment I brought to Sweden, my black X100T with the teleconverter, we drove to one of the many places where the Alvar shows it’s vastness and apparent monotony, and started the session. I had chosen and all-black, vintage styling, that worked particularly well both with the red-hair/white-skin colours of the model and the yellow-green environment. I chose a vintage corset from Midnight Peep Show and a DeeDee Gierow’s Design skirt. No shoes, red-lipstick, and a little make-up for Kikki’s eyes. I wanted the place and the wind to play with Kikki’s body and clothes. Nothing more. I’m really happy about this session in the Swedish Alvar. I hope I’ll have a chance to work again in this vast and melancholic scenario! About Kikki, well, I hope she’ll find the time to come and visit us in Rome, it’s always such a pleasure to work with her.

Coming to the camera settings and post production, I set a 400ISO and f/4, letting the shutter speed to automatically set accordingly to my adjustments on the Exposure Compensation Dial. Off course I could have worked on full manual mode by controlling directly the shutter speed to get the proper exposure, but (and it’s a big BUT) the Shutter Speed Dial works only on a full stop step, while using the Exposure Compensation Dial gives access to values in between, such as 1/960th, 1/1400th, or 1/1700th of a second, all values I’ve actually used in these shots.

All the other parameters were left on auto or zero (as white balance, sharpness, contrast, etc.), but the Film Simulation, which was set, as it always is, on Classic Chrome. I don’t know how to express how much I love this filter. It really gives a glorious look to all color photographs, and it shows so damn well what it means having a company that still produces films working on film simulations for digital sensors.

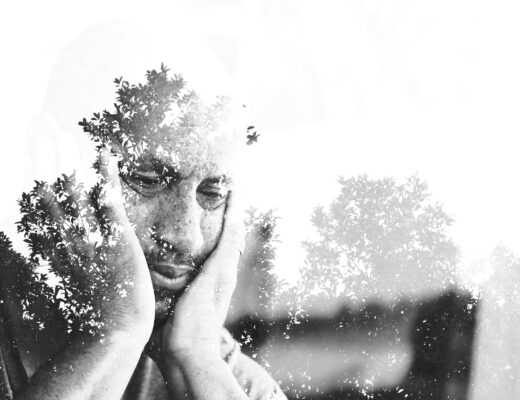
For this post I wanted to give you an idea of what I do in post-production, from the first moment I see the image on the Lightroom after the import, to the last moment when I export it for FujiLove. Let’s use the last one of the session, a sort of close-up of Kikki laying on the yellow-brown grass of the Alvar. This is how the image appeared on my screen immediately after the import.

Contrasts and colours are all “wrong”, because Lightroom applies automatically the “Adobe Standard” Camera Calibration, which interprets the image in a weird way. Luckily, the Fujifilm engineers have worked hard with the Adobe guys to provide the same Film Simulations on Lightroom, so the first thing I do is setting the Camera Calibration from Adobe Standard to Classic Chrome.

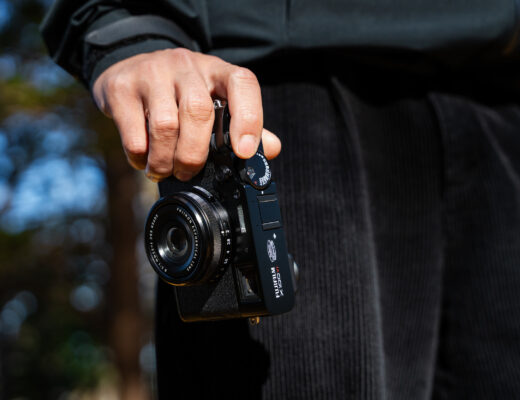
Now the photo on my screen looks quite similar to what I saw when shooting. This is what I “collected”, let’s say. From here on it goes the post-production. My workflow has a first step on Lightroom to refine the global parameters (white balance, exposure, contrast, etc.) and to apply the global corrections (sharpness, noise reduction, lens corrections, etc.), a second step on Photoshop for the retouch and local adjustment, and eventually a third step on Lightroom for the color correction. Let’s then start by seeing what corrections I applied to the original photograph on Lightroom.

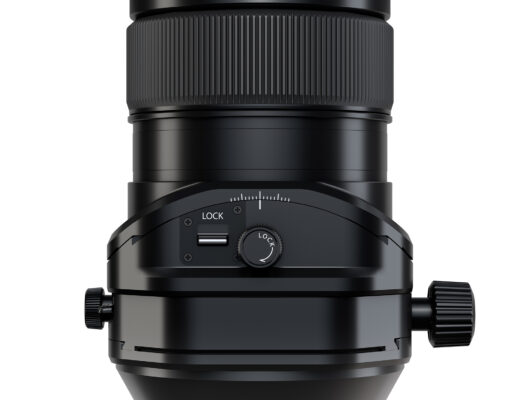
This is the image I start from when I move the editing on Photoshop. Sometimes I start my workflow on Photoshop with the Liquify, others it is the last tool I use. This time I started with the Retouch, which is best done applying the Frequency Separation technique. I talked about it some time ago, when I applied it for “stenciling” murales on New York’s Skyline facades , anyway you can find tons of tutorials on how to use it. This is the result of the skin retouching.

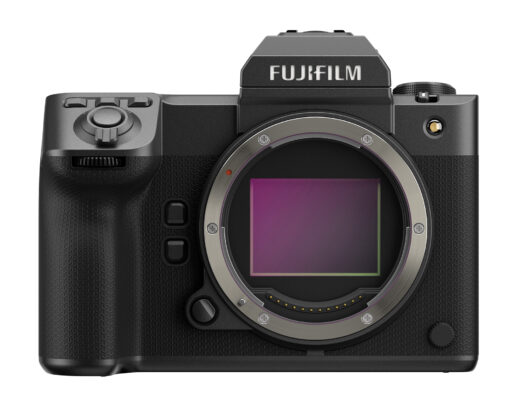
Then I moved to the Dodge&Burn phase, where I locally work on the lights, shadows and contrasts, while also applying some global correction to the skin tones and overall colours. This is how the image looks after my Dodge&Burn.
 Then it’s time for the Liquify tool. The Liquify is an incredibly powerful tool, and, as Uncle Ben says, “with great power comes great responsibility” . With the Liquify, knowing when it’s OK, too much, or too little, is a matter of personal sensibility. This is the result of the Liquify tool. It was the last tool I used, so this is also the final image. Once saved on Photoshop, it goes back to Ligthroom, from where I can export it using different parameters, depending on the use of the image. For FujiLove, for example, it gets exported as JPEG, sRGB, full quality, with the horizontal side’s resolution of 1500PX and 72DPI, and an Output Sharpening set on Screen and Standard amount.

I hope you enjoyed seeing how many steps undergoes one of my photographs from the moment I take it to the very last moment before I submit it here on FujiLove. As for any other photographer, my workflow is under continuous evolution, as I discover new tools or new approaches, and I would love to hear what you do.