

With the release of Fujifilm’s flagship X-H1 camera, image stabilisation is back in the forefront of many of our minds. What is it? Do I need it? How will it benefit me? Let’s take a look today at just what image stabilisation is, how it works, and what it is useful for.
How it works / Why it works
All image stabilisation technologies rely on solving one simple problem: camera movement. In our daily shooting, cameras are subject to all sorts of movement. For stills photographers, this could be shaking during handheld shooting or even something as simple as the shutter causing vibrations in the camera body. These movements can decrease sharpness in your photographs, especially at slower shutter speeds. When shooting video, the camera is often being moved deliberately and the goal is usually to do this as smoothly as possible. In all of these cases, we know that the movement of the camera is causing a degradation in image quality.
Image stabilisation is the process of trying to correct for these movements. The ideal method of doing this is to detect movements in real time and compensate for them as they happen. This can be done in multiple ways. It will lead to a high-quality image being produced at the time of capture. Another solution that works reasonably well for video, but not so well for stills, is post-capture stabilisation. Let’s take a look at all of these methods below and discuss them in relation to Fujifilm’s technologies.
Approach 1 – External Stablisation
External image stabilisation is nothing new. We have been mounting our cameras on tripods since the very beginning. A stable tripod is an effective way to get sharp still photographs and video without any shaking. However, it has its limitations, especially for video.
In terms of video stabilisation, there are many tools that allow the camera operator to move the camera for more dynamic shots while producing a steady image. Handheld gimbals, steadicams, or sliders mounted on tripods all allow for steady shots while moving the camera. Putting the camera on a jib allows for much greater freedom of movement in certain shots.
Approach 2 – Digital
The next approach to image stabilisation is a digital approach. This can be done at the time of capture (as in some cameras and many camera phones) or after the fact through video editing software like Adobe Premiere.
The time-of-capture approach requires the device making the capture to be aware of movements as they happen. This can be achieved with gyro-sensors inside the device which allow it to feed movement information to the image processor and make the necessary adjustments to the output. This works best for video, although it can also be effective for small movements in still photography.
The post-capture approach requires software to analyse the image or footage for what it detects as camera movement. It can then correct for this. Again, this method is more effective for video as it corrects for motion, not a loss of sharpness.
The biggest problem with digital stabilisation is that it requires the loss of data. In order to stablise camera movement, the software needs to crop into the image. Depending on how much movement you try to correct, this crop may lead to a significant loss of resolution.

Approach 3 – Lens
Until the release of the X-H1, only a handful of Fujifilm X series lenses could take advantage of image stabilisation. Lenses with the letters OIS at the end of their names have Optical Image Stabilisers built in. These included the 10-24mm f/4, 50-140mm f/2.8, and the more consumer-oriented zoom lenses. .
This system uses gyro sensors, electromagnets, springs, and a floating lens element to compensate for camera movement. Simply speaking, the floating element reacts to detected movements and redirects the light entering the lens as needed.
There are two major benefits to this system over digital stabilisation. The first is that there is very little resolution loss when compared to an electronic solution. Because the lens is correcting for movement before the image is captured, you still get the full resolution offered by the sensor as well. The second is that this method is equally as effective for still photography. That means you can shoot much slower shutter speeds and still get sharp results.
Another one of the major benefits of stabilising a lens instead of a body is that the lens instantly provides stabilisation on any camera body in the system. It doesn’t matter whether you’re using an X-E1 or an X-T2, a stabilised lens will benefit you.
So, what’s not to like? Well, the lenses need to be larger and of course, have at least one more element inside to incorporate stabilisation. This means that a given lens needs to also be heavier and more expensive.

Approach 4 – Sensor
The sensor stabilisation, or In Body Image Stabilisation (IBIS), found in the Fujifilm X-H1 works on the same principals as lens stabilisation, but instead of moving a lens element, the sensor is moved to compensate for motion. A combination of lens and sensor stabilisation is used by the X-H1 when a lens with OIS is mounted to obtain the best possible results.
The main benefit of IBIS is that you can effectively stabilise any lens. There are no additional components required in the lens for this process to occur. So, all your Fujifilm prime lenses get the full benefit. Even vintage lenses and off brand lenses get some of the benefits (full stabilisation is not possible until the camera knows the distance the lens is focused to). I discuss the benefits and pitfalls of IBIS in more detail with relation to the X-H1 in my video here.
So, what is the trade-off here? Of course, rather than the size of the lens increasing, the size of the camera body must increase. Hence, you will notice the larger body size of the X-H1. It also increases the cost and complexity of the camera it is in. Another potential trade-off is that longer focal lengths require more movement of the sensor to compensate for vibrations or motion, thus in a lens such as a 500mm, it may be more effective to incorporate the stabilisation into the lens itself.
What Can Image Stabilisation Not Do?
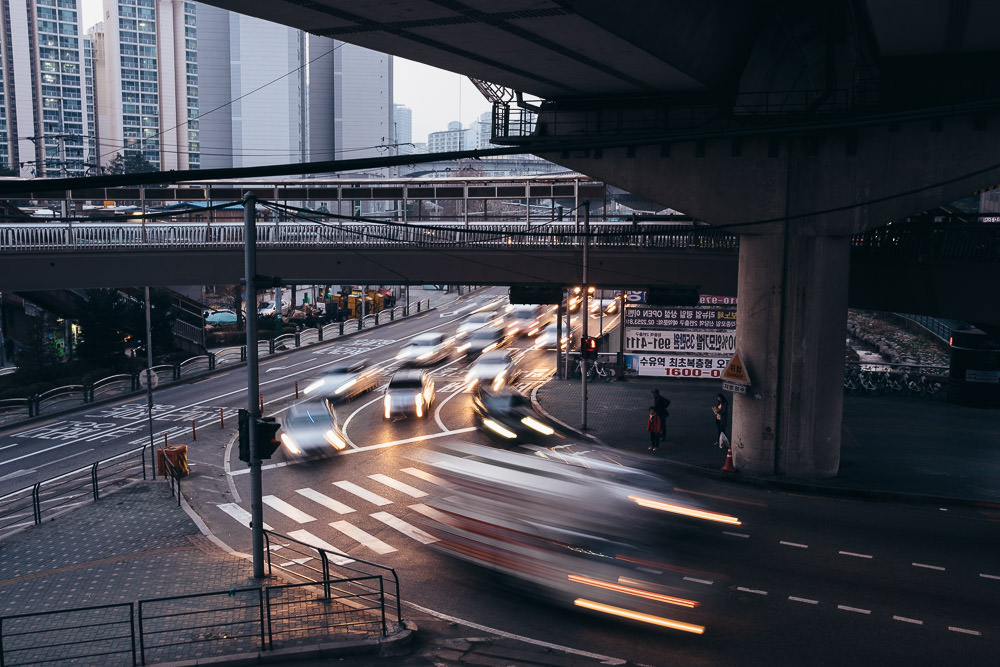
This is simple, it can’t stop moving objects from moving. If a speeding car or a flying bird enters your frame and your shutter speed is not fast enough, it doesn’t matter which form of stabilisation you’re using, that object will render unsharp. Of course, you can use this to your advantage, but don’t expect image stabilisation to affect anything other than movement on your end.
In Conclusion
All of the above technologies have their own uses and applications. Sometimes you might want to use two or more forms of stabilisation to keep your footage or images shake-free. It is worth considering why you would want to stabilise your images and how the best way to do this is.


