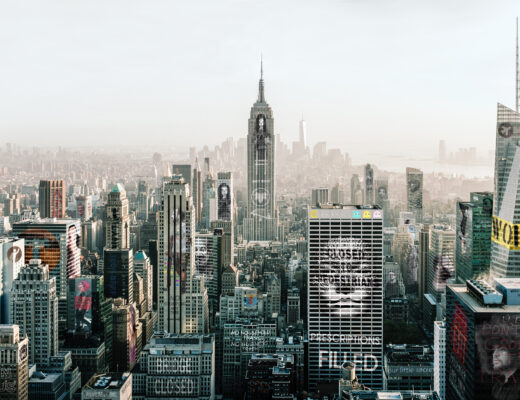
I’m often asked about the settings on my camera when I’m taking landscape photographs. Well, the answer, as is so often the case, is that it depends!It depends on what I’m trying to do and what I’m aiming to produce. And this is actually a key point in that before I even get my Fuji XT-1 out of my bag, I’ve already decided on the image I’m hoping to capture.
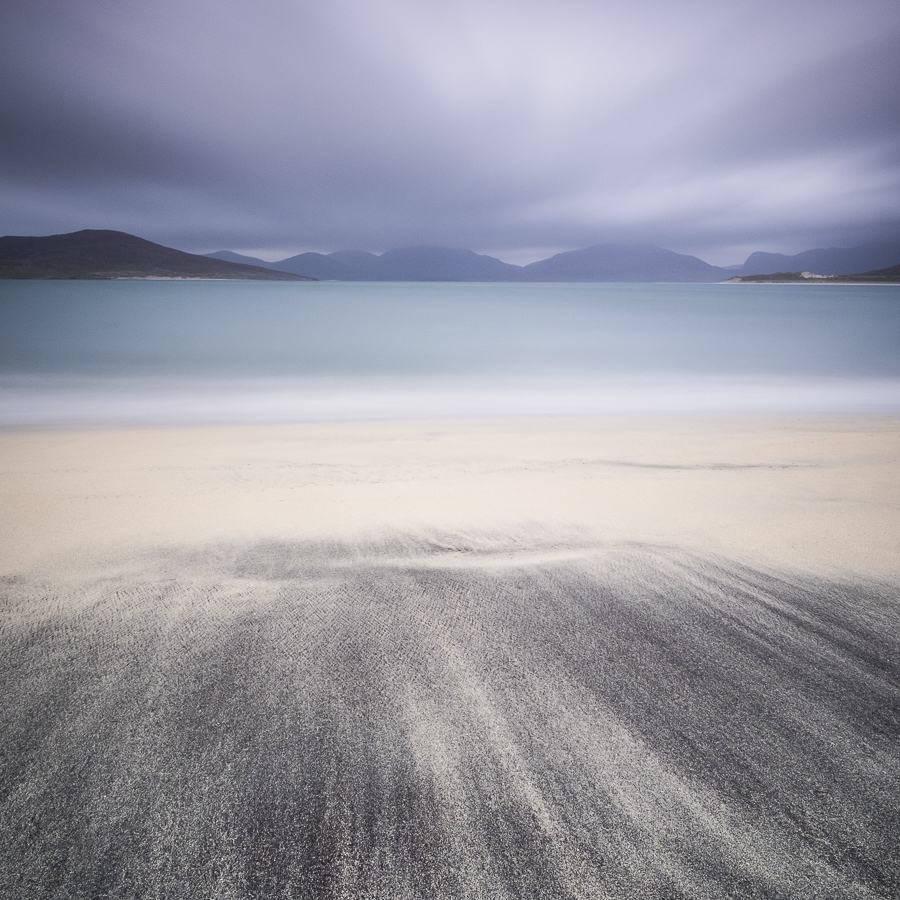
A much underestimated aspect of landscape photography is actually planning the shot well before arriving at the location. For example, in the image below, I had researched the most favourable conditions to give me the best possible chance of capturing a successful image, long before I left home.
So what does my planning involve? Well, I will either have visited the location previously or will use something like Google Maps to ‘visualise’ what the location could look like. Don’t underestimate the importance of this, which means I’m much less likely to waste time travelling somewhere, which isn’t likely to give me the image I’m looking for. Then there’s the time of year and the time of day to consider, where the direction and height of the sun and the type of light can change the look of any image quite significantly.
The one thing we have no control over is the weather, yet it’s something we often complain about! So what I do is watch the weather forecasts and study them in detail. Then, when I see the weather looks like being right for the image I’ve planned, I will try and get to the location as soon as possible.
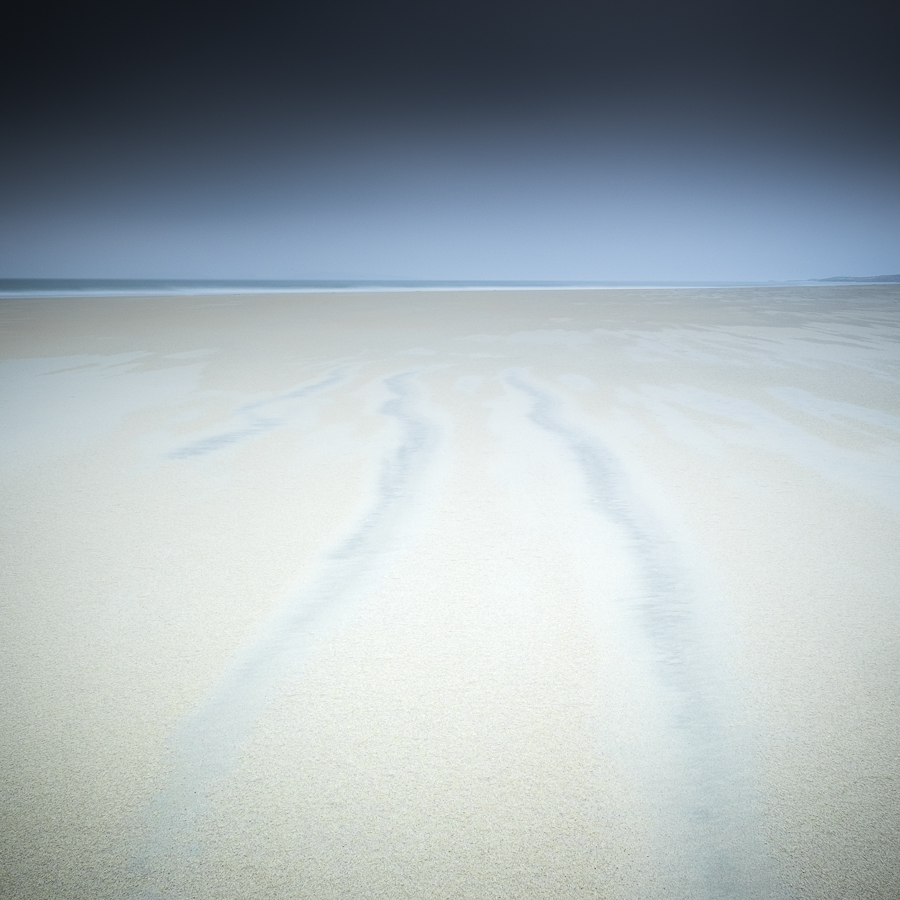
The last element of planning, if it’s a coastal shot, is to check the tide times.
When I’ve got all this information, I will use it to enable me to increase my chance of capturing the precise shot I’ve envisioned.
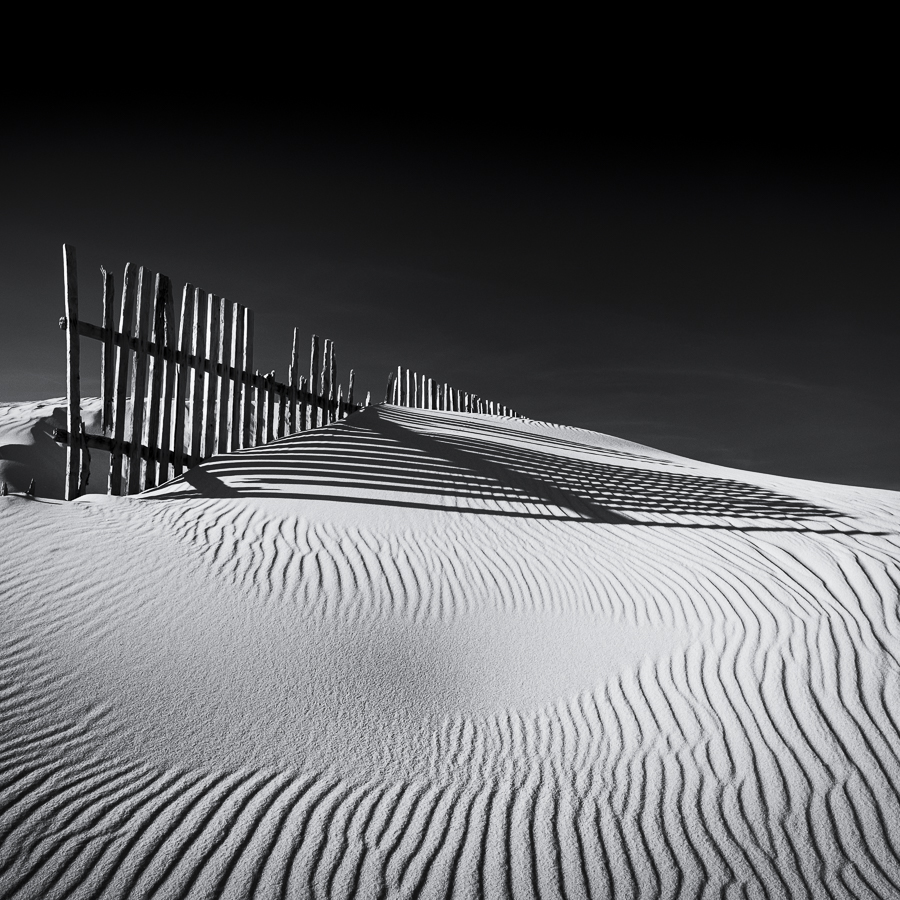
Before discussing the actual camera settings, its imperative to note that all my landscape work is taken on a tripod, with no exceptions. As such, a sturdy tripod is an essential piece of equipment. So often, I see people with flimsy tripods and a plastic tripod head. Even the slightest breeze or soft ground will make such a tripod worse than useless, so do keep this in mind if purchasing a tripod for landscape work. The other piece of essential kit for the serious landscape photographer is a set of filters. I personally have a complete set of LEE filters and I will use some combination of their ND Graduated filters and their Big and Little Stoppers on almost every shot.
Now, considering the actual camera settings that I most commonly use, the key point to make here is that I always shoot in ‘manual’. I really don’t like the idea that the camera should be left to make its own decisions on shutter speed, aperture, ISO and focus point. This is such an important part of the creative process that we photographers should be making decisions on these settings.
So with this in mind, the Fuji XT-1 is a great landscape camera with its manual shutter dial and ISO selector, both on top of the camera body and the fact that many of the Fuji lenses have ‘old fashioned’ aperture rings. This all makes it incredibly easy to change the settings while out in the field, without resorting to the complicated menu systems of many other cameras.
My starting point in selecting the settings for any particular shot is the choice of aperture. I will always try and go for either f8 or f11. Many will wonder why I don’t use f16 or even f22, but this is due to a problem with lenses called diffraction. This is an issue that affects all lenses and is where the light begins to disperse or ‘diffract’ when entering the very small aperture of a stopped down lens and causes a reduction in sharpness.
I’ve demonstrated this by taking a shot of something with a lot of detail and taking a separate shot at each aperture, from f2.8 right through to f22. When I later look at each of these images on my computer screen, I can see an increasingly significant reduction in quality after f11, with f16 and f22 really nowhere near good enough for my work. Try this for yourselves the next time you have the opportunity and I know you’ll be surprised by the results!
The ISO is set at something like 200 or 400 on the X series to keep the possibility of ‘noise’ as low as possible.
So, after setting my preferred aperture and ISO, I will set the shutter speed. If I’m not doing one of my long exposure images, then the shutter speed can be almost anything, unless I’m trying to freeze the motion of something like moving water or action in the shot.
While I can estimate a fairly accurate starting point for my exposure just be looking at the scene, if this is a problem, then take an automatic exposure reading using aperture priority first of all and then change to manual, so you can tweak the exposure to your own preference.
All seemingly quite straightforward, but if I want a very slow shutter speed to give me the popular soft or misty water effect, then I may choose anything between 2 seconds, to give a sense of movement in the water, right through to 30 seconds or longer to remove all sense of movement and give that ‘milky’ effect to the water. The problem we face is that even with the lowest ISO and an aperture of f11, it’s highly likely the image will be significantly overexposed if shooting during the day. So, we turn to our filters and I will use a filter such as the LEE Little Stopper or LEE Big Stopper to reduce the amount of light reaching the camera’s sensor.
Working out our shutter speed with these filters is actually quite simple with the help of the exposure compensation tables that are provided with the filter or by using one of the many phone apps that are available.
Before putting a Big or Little Stopper in front of my lens, I will always set my focus. The focus point will be the one which gives me the greatest possible depth of field, going from the background to a point as close to the camera as possible given the chosen aperture. The technique I use is called ‘hyper focal distance’, a term, which can strike fear into any intrepid photographer, and something, which I’ll discuss in detail in a future article.
As with everything in photography, practice makes perfect. The only way to get used to using your camera in manual mode and the creative opportunities this allows is to get out there and take plenty of images, then go home afterwards and see the effect of any changes you’ve made. Remember that the information embedded in the image by the camera, called metadata, tells you the make and model of the camera and lens used, the aperture, shutter speed and ISO, along with lots more useful information. Use it and learn from it, that’s why it’s there.
Another key aspect with landscape photography is that you can take the time when you’re out on location to get your settings right. The landscape is not generally a fast moving subject like street photography or fashion, so you can take the time to get your composition right and chose those camera settings that enhance your compositional choices.
The main thing is to get out into our wonderful landscape and enjoy your photography.