Now although I am a full time working photographer, I still like to take my camera out when not working and just have some fun! One little self-tasked project that I have been enjoying over the last few years is taking photographs using the ‘miniature effect’ filter that I believe is available on all Fujifilm cameras. Certainly it is available on my X70, X100, X-T2 and X-Pro2.
So how does using this filter actually work? Well it mainly comes down to depth of field—that’s the term photographers use to describe how much or how little of a photo appears sharp and in focus. When a photo of a large scene is taken from far away, such as one shot from the top of a hill or building, almost the entire photo will naturally be in focus. But with close-up shots of smaller objects, such as scale models, it is very difficult to keep more than a small sliver of the frame in focus. By exploiting this expectation, and selectively blurring the foreground or background, a photographer can trick your eyes and brain into thinking a large scene is really a close-up shot of a scale model. The end result is a photo that does indeed look like a model and is in a nutshell, very cool.
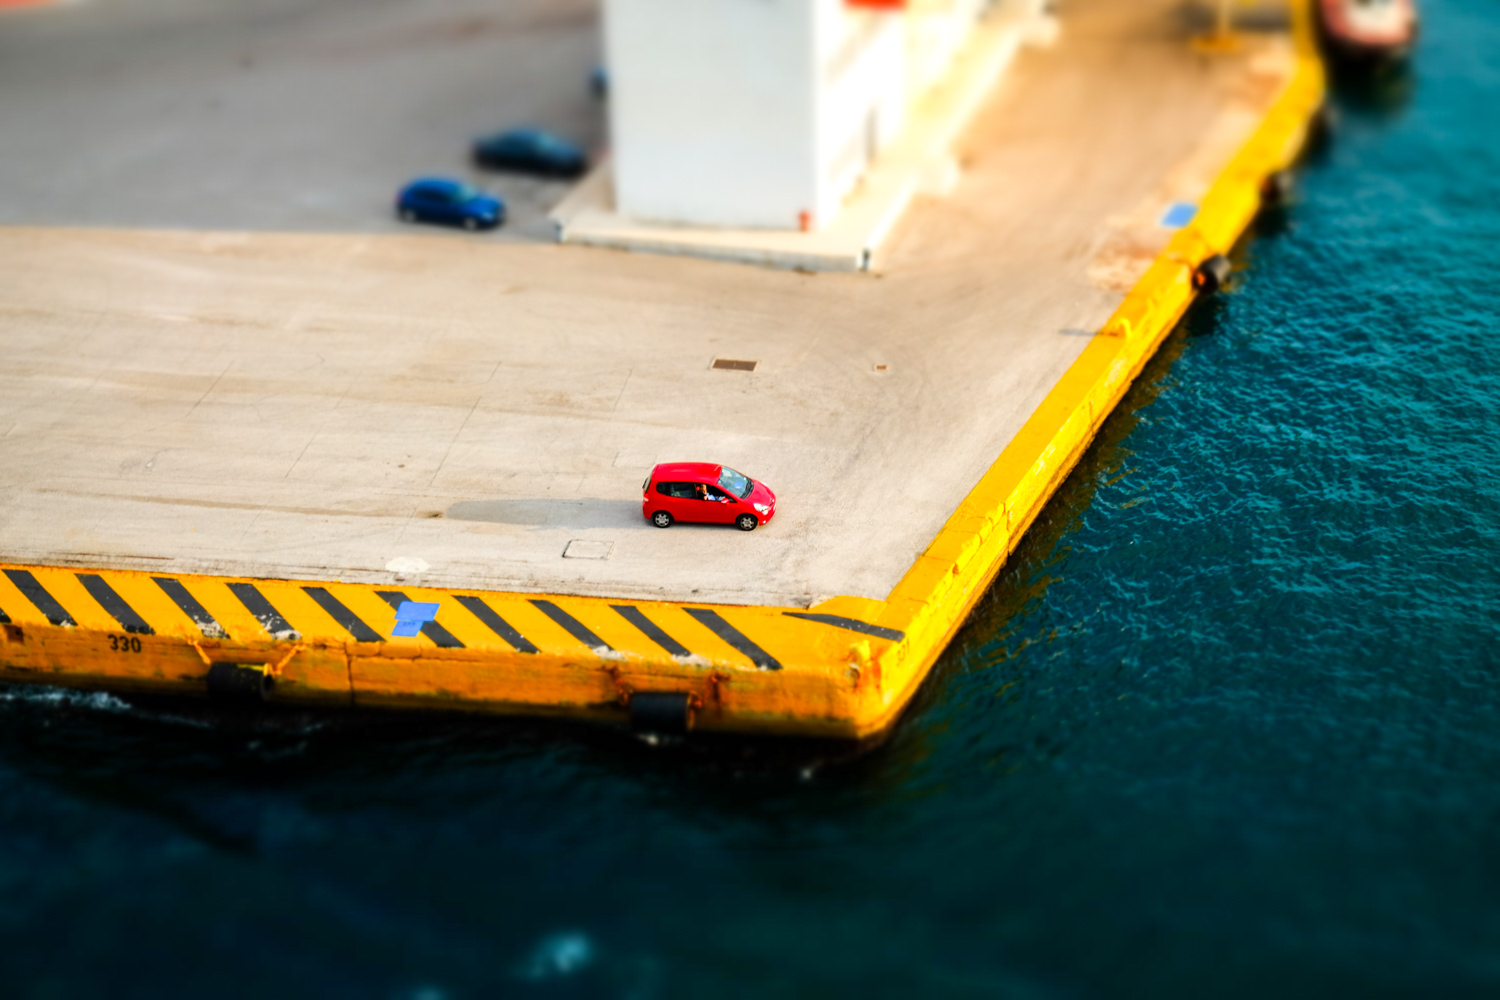
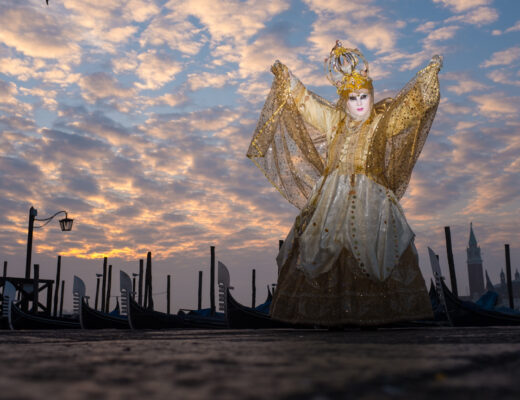
X-T1, 1/750, f5.6, ISO 200
Selecting this filter from the Drive menu (you will find it under the Advanced Filter option sub menu) is the only way this effect can be done in-camera, until maybe one day Fujifilm brings out a tilt-shift lens. Or I guess you could fit another brand of tilt-shift lens (such as Canon) to your Fuji with the right lens adaptor. These lenses allow photographers to physically tilt the axis of the glass in front of the camera’s image sensor (the movement is controlled using knobs on the side of the lens barrel), giving them a huge amount of control over what part of the image is in focus. This makes it easy to focus in on an object—such as a car or train—while leaving the background or foreground blurry. These specialised lenses are very expensive though, as they have limited uses and are mainly used by property photographers to keep verticals upright. So using the built-in ‘miniature’ filter is by far the cheapest option to producing this in-camera.
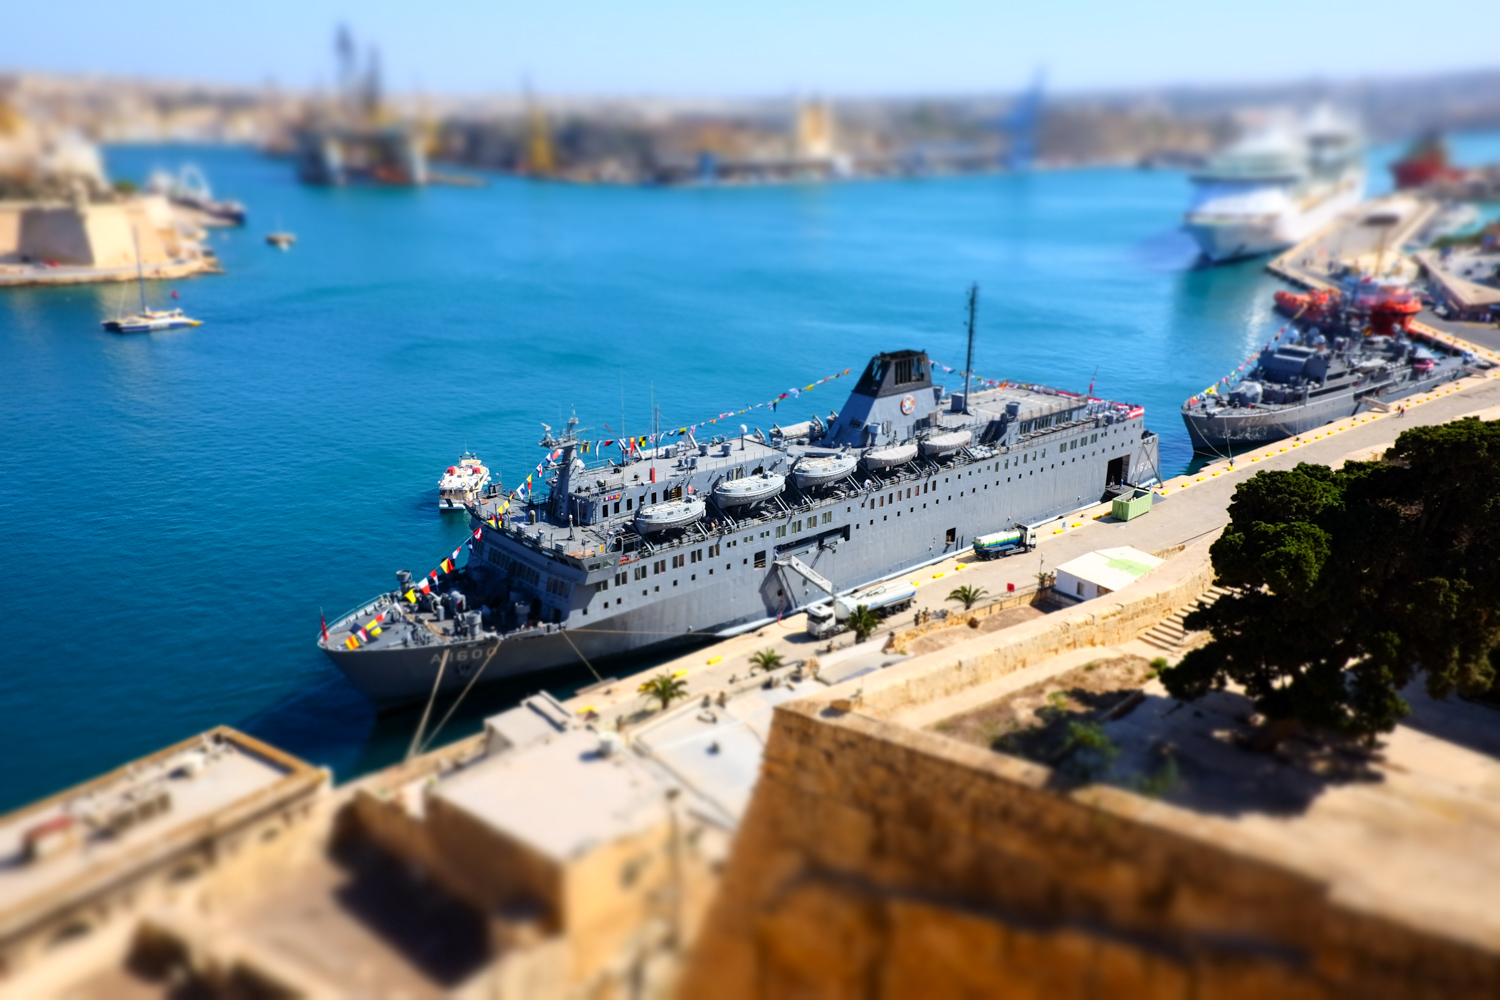
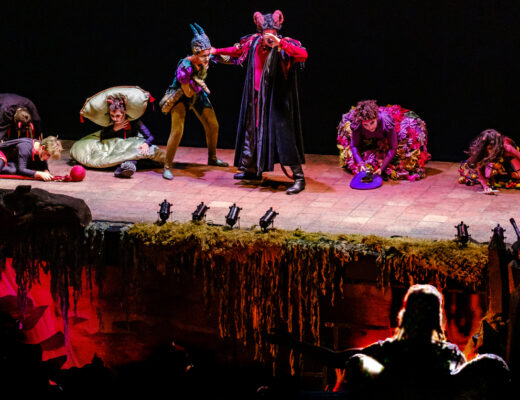
X70, 1/340, f.8, ISO 200
A point to note when using this and indeed most of the other in-camera effects available is that the camera will only produce and save a jpeg. Even if the camera is set to shoot RAW and JPG, only a JPG is saved. No RAW file is produced because as you probably are already aware, any in-camera changes to saturation etc. only ever get applied to a JPG file, never to RAW.
Now of course this type of effect can also be added in post-production in Photoshop using their Tilt-Shift filter, which can be found under the ‘blur gallery’ filter options. This method is more flexible in that you can select and move the out of focus/blur areas and control the strength of the saturation. However there is nothing as exciting as seeing the effect in-camera as you take the photo, and viewing the image live in the EVF or on the LCD screen. Of course if you get really serious about shooting this type of effect then you may prefer using the extra choices that post-production brings.
It’s therefore a shame that when shooting, that a RAW file isn’t saved as well, obviously it would be without the effect, but I could then use the JPG as a guide to perhaps produce a more sophisticated and potentially a better result in Photoshop (over to you Fujifilm!).

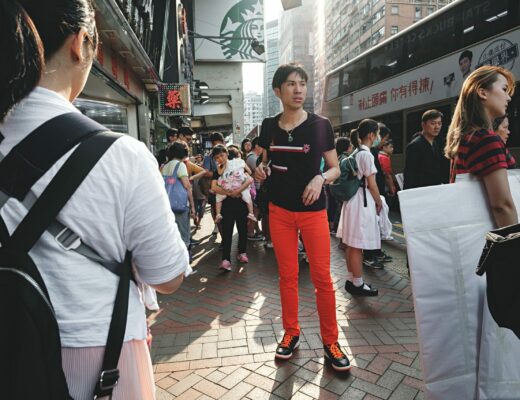
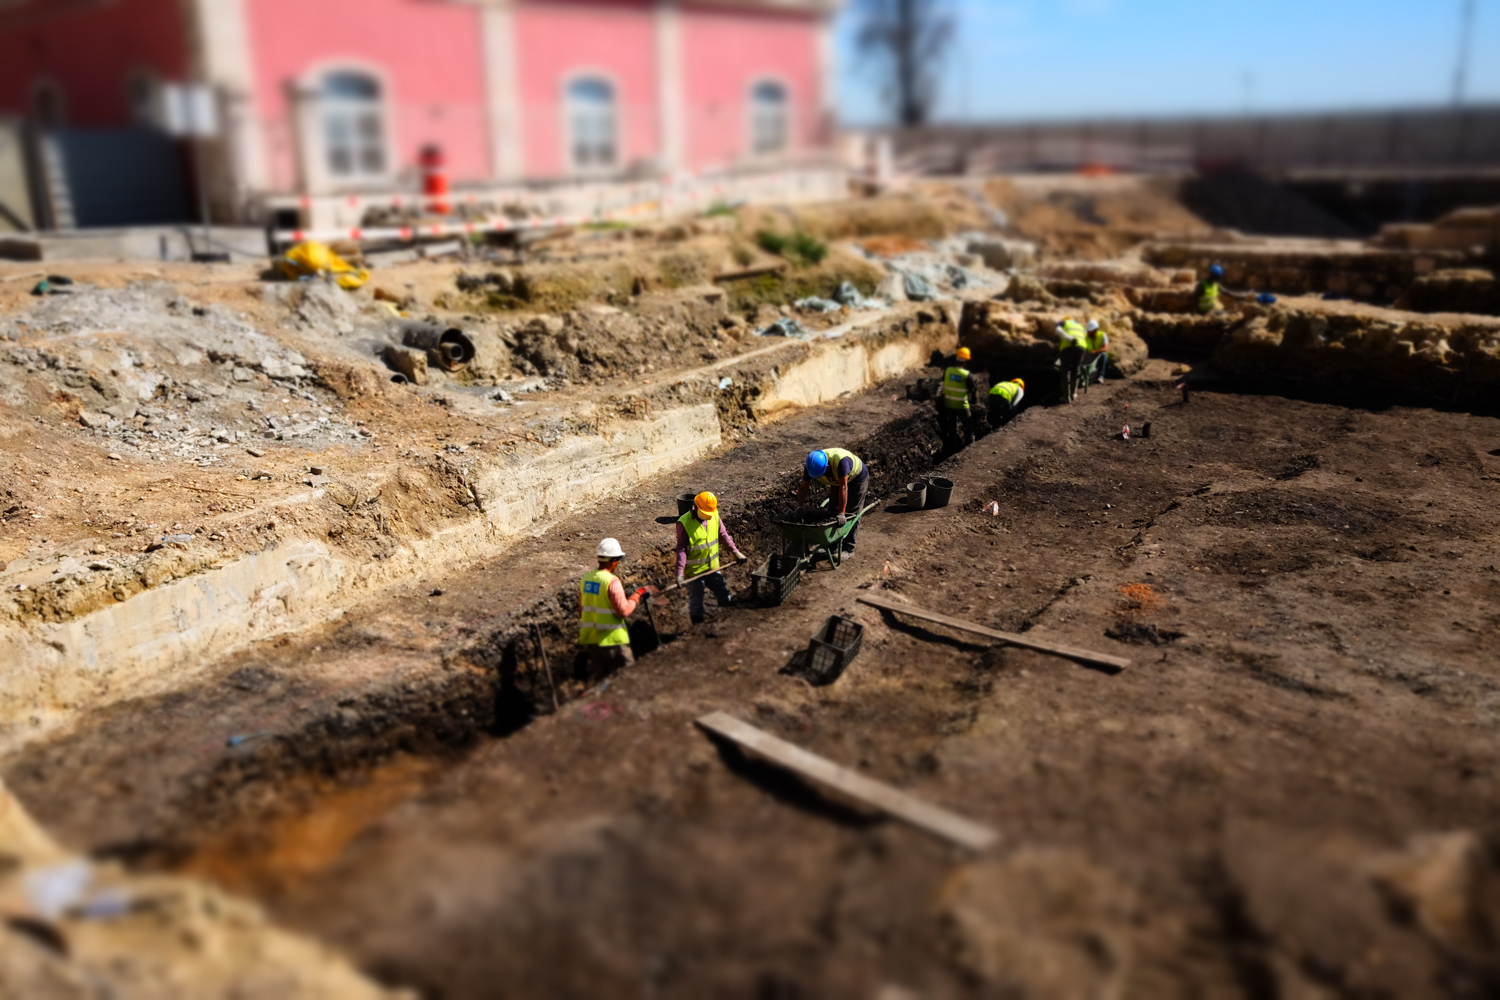
X-T1, 1/750, f5.6, ISO 200
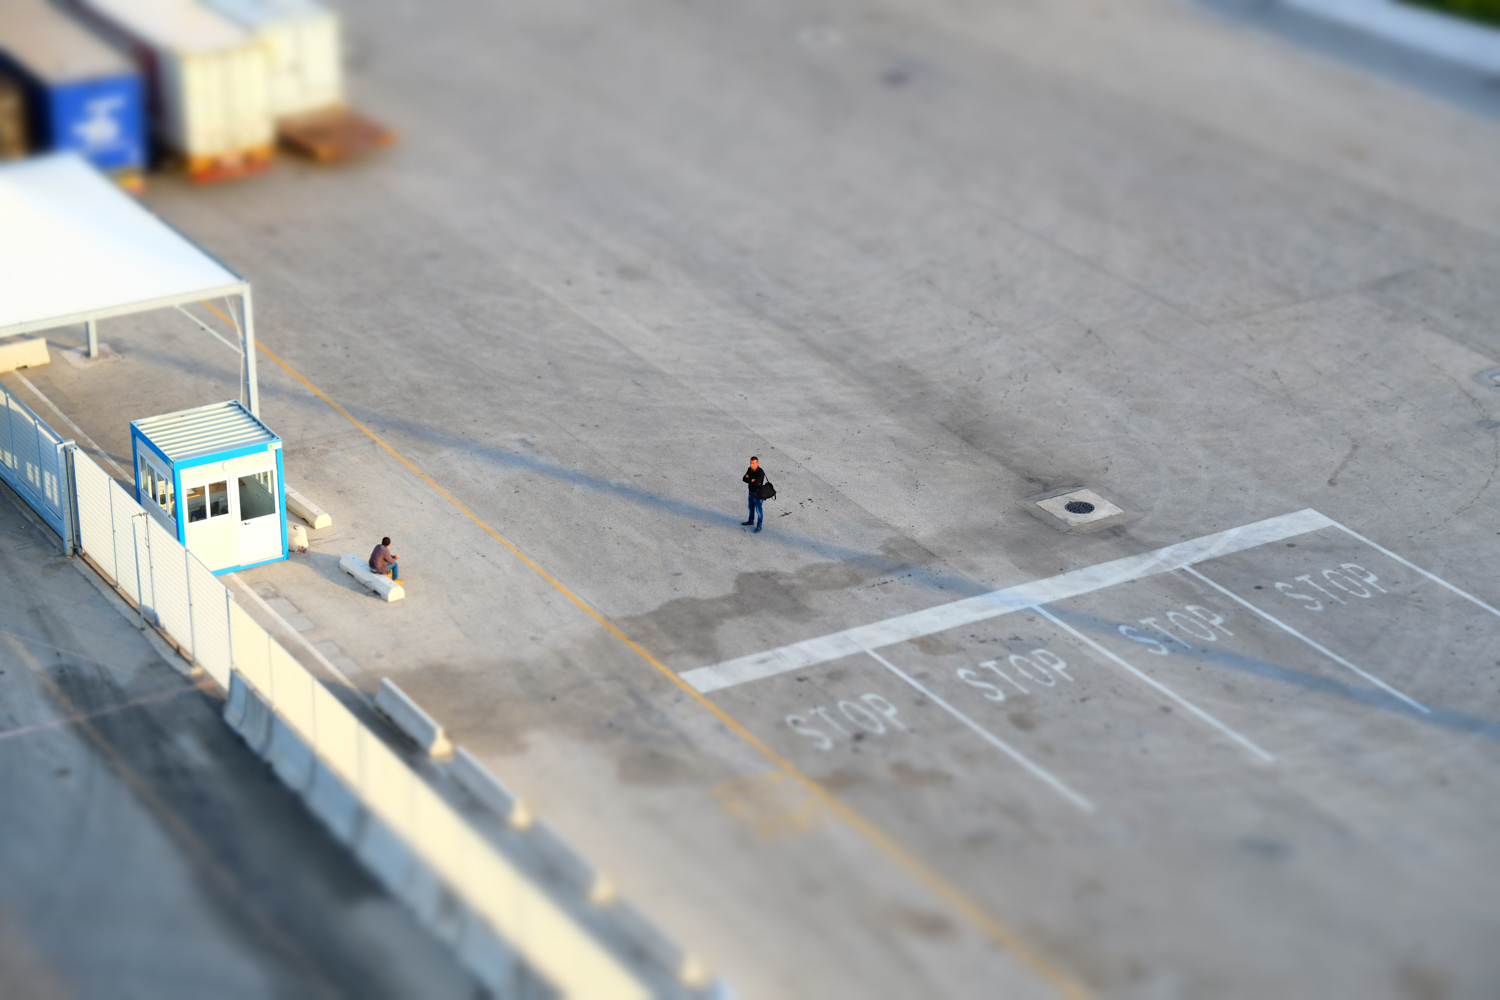
So if you fancy trying this effect for yourself then I have found that you will need to shoot from a high viewpoint for it to work properly. In other words looking down on your subject, as otherwise the image will just look like you’ve blurred the top and bottom of the image. So examples of good shooting positions would be: from a pier, on top of a double-decker bus, from the top of a building or say from a bridge. This way you get a good mix of objects at different distances. Also generally a 45 degree or thereabouts angle to your subject works best as against straight down.
When choosing a subject for this type of photograph, bear in mind you are trying to make the resulting image look like a miniature model. So people look great, as do cars and trains. Scenes with trains in them can look like model train layouts.
When shooting also select a small aperture with a large depth of field (f/8 or smaller) as everything in your image should initially be sharp.
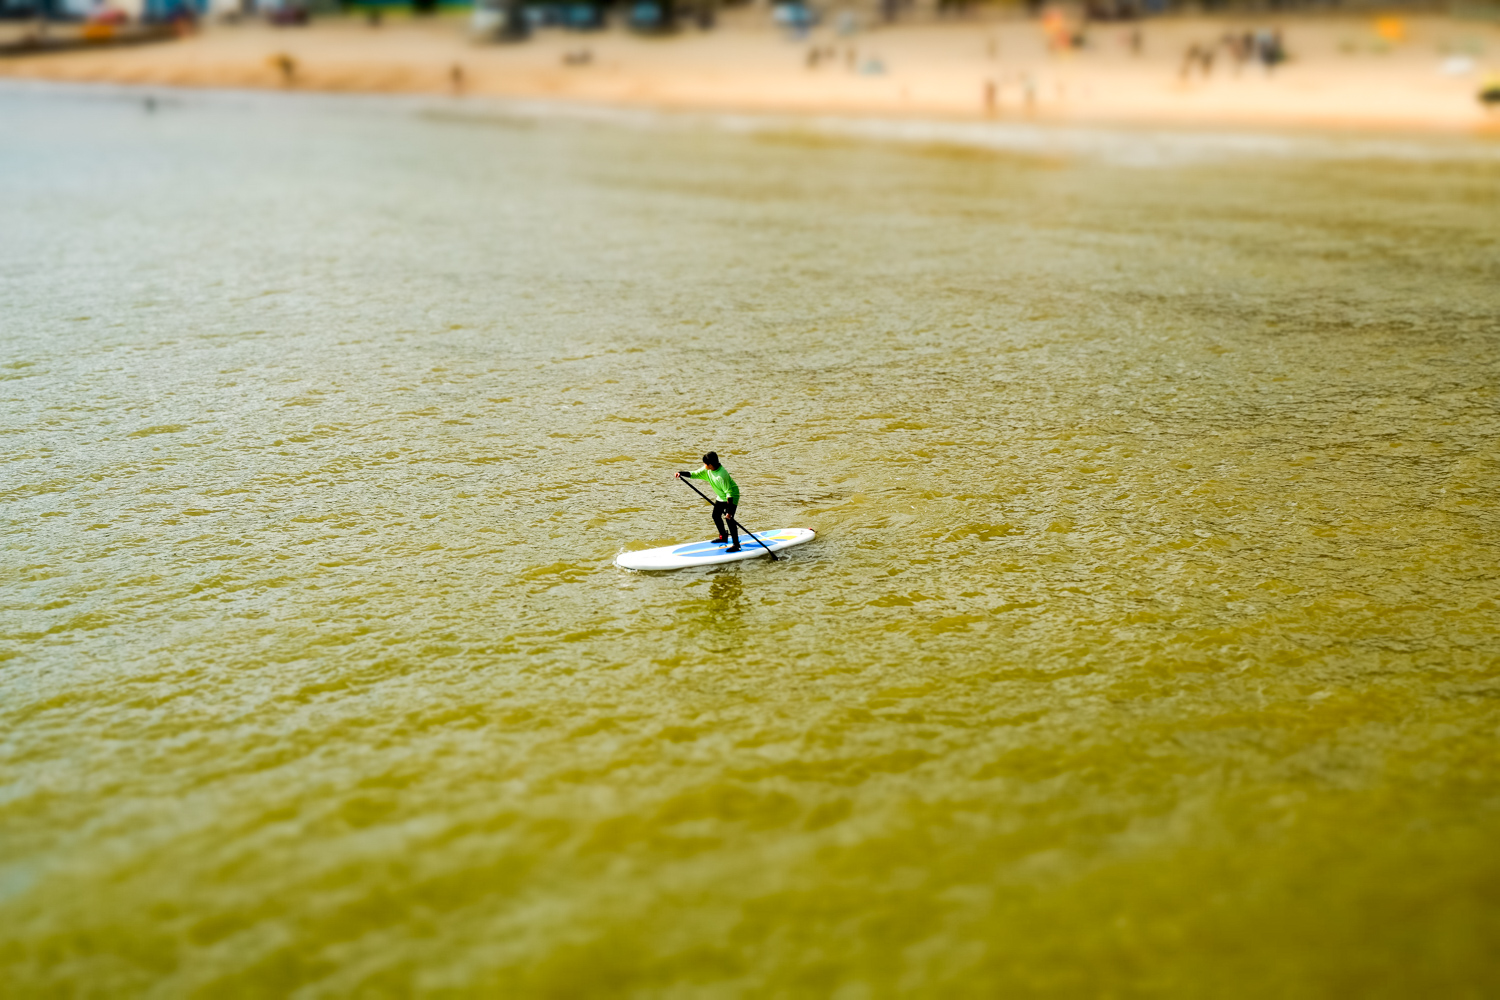
X70, 1/500, f11, ISO 500
So why not give this method a go and try it out for yourself? You could end up like me in having a lot of fun!

X-Pro2, 1/800, f6.4, ISO 200

X70, 1/240, f.8, ISO 200

X-T2, 1/320, f5.6, ISO 200
X-T2, 1/750, f5.6, ISO 200