So many of you will know that the X-T1 and now as from the November 29th in addition the X-T2 can be connected to your laptop via a tethering cable. One of the benefits of this is that as you take a photo on your camera, it will be transmitted immediately to your laptop and in turn into Lightroom if you use this excellent editing software from Adobe. This is great for studio shoots such as portraiture or fashion, as nothing quite beats seeing the image you have just taken displayed on a large laptop screen for instant feedback from your model or client.
However, a limitation is that with the camera being connected with a cable, it can limit your freedom of movement if like me you shoot without a tripod. You also risk pulling out the cable accidentally mid-shoot (although there are special ones available that have a device to help prevent this).
But what if you own another one of the Fuji range like an X-Pro for example, which doesn’t have tethering facilities? Or like me where I had a shoot at a local school for a day of family portraits, a week before Fuji released the firmware update for the X-T2 that allowed tethering!
So this article is about another option that has been around for quite a while and open to any camera that has an SD card slot (or even compact flash with an adaptor). I’m talking about ‘wireless SD cards’. Basically these cards have built in wi-fi and with their free supplied software allow you to transmit JPEGS (and in some cases RAW files) from your camera to your laptop as if it were tethered with a cable. Of course the added advantage is that there is no cable to trip over or fall out, nor are you restricted by cable length.
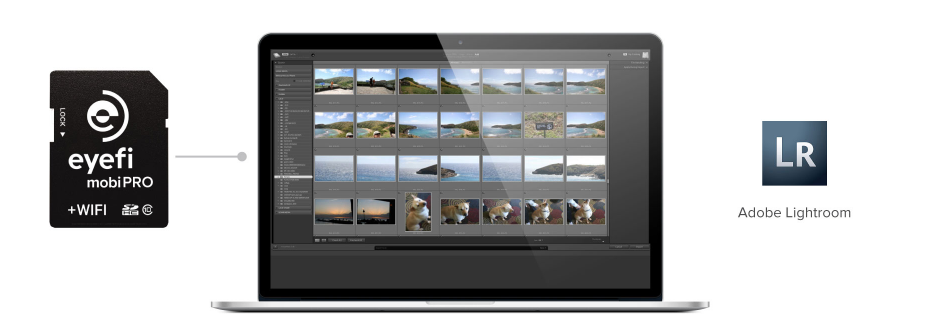
Wi-fi card to laptop
Luckily for me, I remembered that I had bought one such card a couple of years ago and it was gathering dust in my studio. There are several brands available and they also come in a variety of storage sizes. The one I own is Eyefi Mobi 8GB card that retails for around £20. Other brands include Toshiba and Transcend.
So the shoot I had to do at my local school was to photograph a number of families who had each booked a short studio session with me. Each would get about 15 minutes shooting time and the idea being that as I took the photos they would be transmitted to my nearby laptop. Then the family could then preview their photos in Lightroom and be able to choose which ones they wanted printed there and then by sending them to my event printer.
So let me talk you through how you set this up:
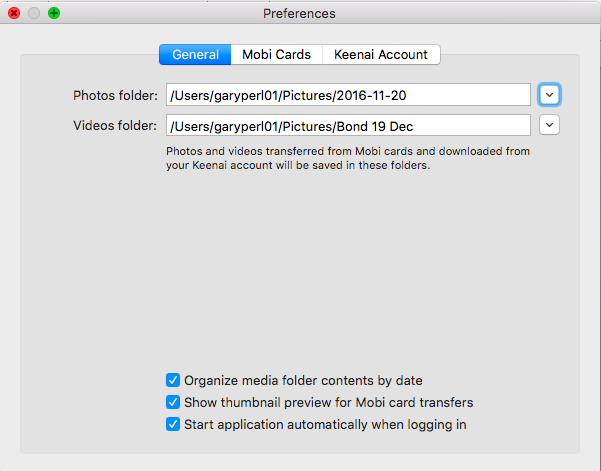
Selecting a destination folder in the wi-fi card software
The first thing you need to do when you buy your Wireless SD card is to download and install the free software that will come with it onto your laptop. Once installed this runs in the background and only activates when it picks up the wi-fi signal being transmitted from the SD card. On the Eyefi card as you take a photo, after a few seconds a thumbnail of that photo will be displayed in the top right hand corner of your screen for a couple of seconds. The photos are stored on your laptop either in the default folder that the software will have made or you can change the destination in the Eyefi software’s settings to one of your own choosing.
So that’s the first step done, we now have the photos on the laptop. The next most important step is to get each photo to automatically be imported into Lightroom.
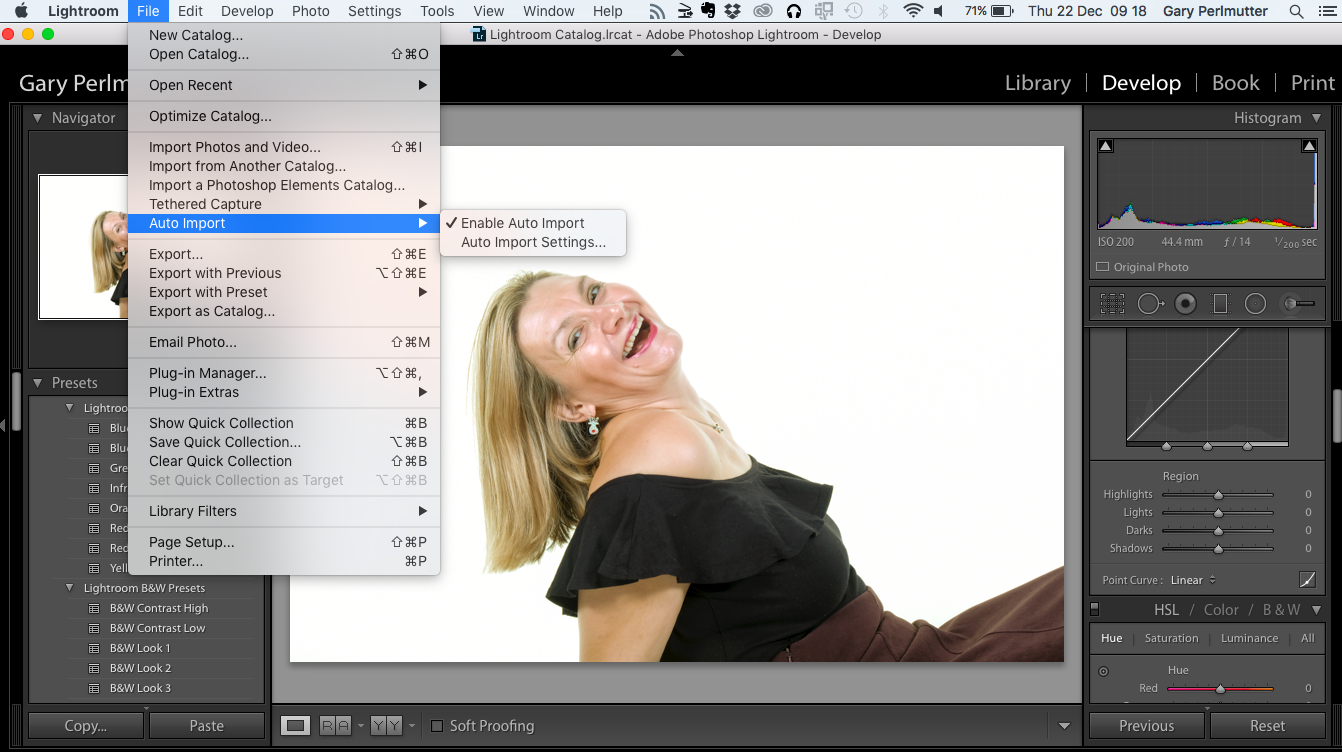
Lightroom Auto Import
To do this open Lightroom and under the file menu you will find the ‘auto import’ option. Click on this and tick ‘auto import’, then click on the option just below ‘auto import settings’. This opens a window offering a number of options. The most important one is the watched folder. This is the one that Lightroom will automatically look for new photos arriving. This folder must be the same as the one your wi-fi card stores the photos it receives from your camera. Then just below there is an option to choose which folder you would like the photos moved to for more permanent storage.
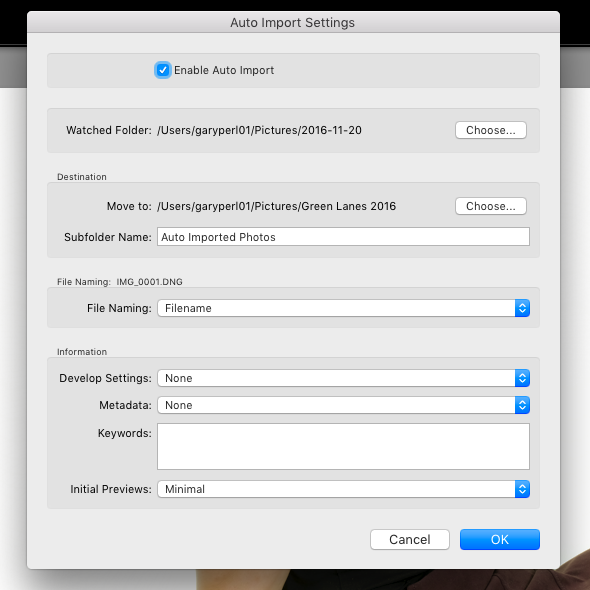
Lightroom auto import options
Other options available are that you can get Lightroom to rename your photos on import or apply metadata and/or develop presets. Even keywords can be added on import.
And that really is it, you should now be all set up and ready for your shoot. For speed of transfer I recommend shooting JPEGS, although some cards can transmit RAW files these are much larger and therefore slower to transmit. For the same reason if you aren’t going to make large prints from the files then choose a smaller more compressed JPEG.
However here is a tip. If you are lucky enough to own either the X-Pro2 or X-T2 with its dual card slots, then set your camera to save RAW files on one SD card and the JPEGS to your wi-fi SD card. Then you will always have the RAW file should your client require a larger print or canvas at a later time!