Composition is an immense topic in photography. There are rules to be followed, bent, and broken. There are concepts such as visual weight that will blow your mind with their complexity. While we learn these, however, there are several things we can do to help our photography along the way. Fujifilm have provided us with several tools in the X and GFX cameras to help us with the multitude of options we face every time we create an image. In this article, we’re going to run through the settings that relate to composition specifically and look at how we can use them to help us make more compelling images.
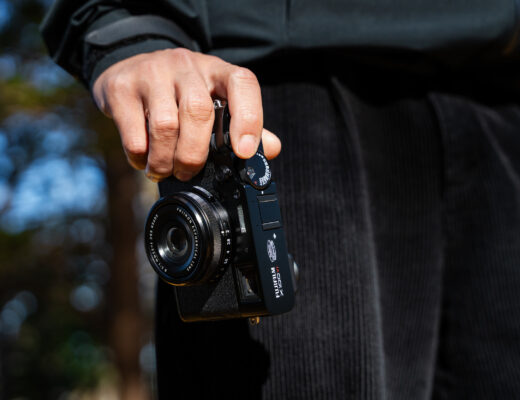
Before we get started, there is one item of housekeeping. Rather than another article filled with photographs of the menu system you can access using the steps below, I opted to break up the text with some recent images from a trip to Myanmar (which were, of course, all made with the settings below). I hope these are a little more enjoyable than screenshots! If you’d prefer photos of the menu for my next article on settings, just let me know in the comments below!
Electronic Level
The first, and probably most commonly used, tool is the electronic level. By enabling the basic level (SET UP → SCREEN SETUP→ DISP. CUSTOM SETTING → ELECTRONIC LEVEL), a permanent line across the viewfinder and rear LCD becomes visible. As you tilt the camera left to right, this line will stay level with the horizon. If your camera is not aligned with the horizon, this line will be white. Once you’ve aligned the camera with the horizon, the line will turn green. It’s important to note that a lot of other factors can contribute to how straight the horizon appears in the resulting photograph, but this tool will help you level your camera on the horizontal axis.
There is a second, more advanced, level that can be assigned to a function button and be displayed when necessary. It can be assigned by going to SET UP → BUTTON/DIAL SETTING → FUNCTION (Fn) SETTING and assigning ELECTRONIC LEVEL to one of your function buttons. When pressed, this will bring up not only a line to level your camera with the horizon, but also how much the camera is tilted up or down. This can assist when making panoramas and also when ensuring that vertical lines are straight in, for example, architectural compositions.

Fujifilm X100F, f/5.6, 1/800, ISO 200
Framing Guidelines
Heard of the Rule of Thirds? Rhetorical question. Fujifilm has included a way to visualise this as a grid in your viewfinder along with an option for dividing your composition up even further and another for a 16:9 overlay to be displayed. You can find these in the SET UP → SCREEN SETUP → DISP. CUSTOM SETTING → FRAMING GUIDELINE. Once you have this option enabled, you can change the type of overlay you would like by going to SET UP → SCREEN SETUP → FRAMING GUIDELINE.
The options available are GRID 9 (9 equal divisions – AKA the rule of thirds), GRID 24 (24 equal divisions), and HD FRAMING (16:9). Perhaps the two common ones you might use will be GRID 9 and HD FRAMING. The GRID 9 option can be useful when you’re trying to visualise and learn the Rule of Thirds. However, it can also come in handy when ensuring your horizon or vertical lines are straight within your composition. This is the setting I most commonly leave on.
Occasionally, I will switch to the HD FRAMING OPTION. This is good to visualise how much I will lose by cropping my image to 16:9 (something I do frequently) and also for time-lapses photographed in raw. This is something I also occasionally do. Of course, it could also be useful if you’re making images for web that need to be in 16:9 ratio or stills that will be featured in a video and need to take up the whole screen.
One similarly named item in the DISP. CUSTOM SETTING menu is FRAMING OUTLINE. While these two may sound similar, the latter actually surrounds your current composition with a feint grey border. This makes it very easy to see where your composition ends in dark situations and can also be quite useful.

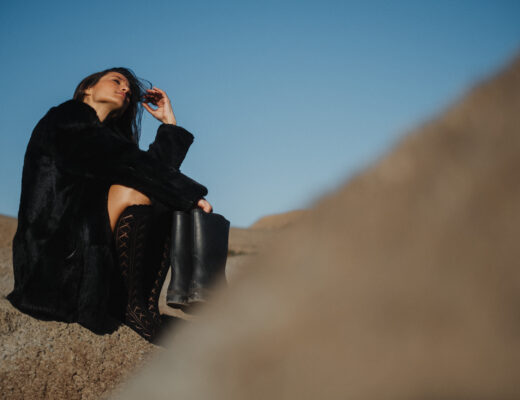
Fujifilm X100F, f/4, 1/480, ISO 200
Natural Live View (Preview Pic Effect)
While NATURAL LIVE VIEW might not really make any sense, it’s predecessor PREVIEW PIC EFFECT gives a better idea of what this setting does. It essentially switches off your preview of the film simulation you have chosen in order to give you a flatter representation of the scene in your viewfinder or on the LCD. With newer cameras, the screen displays a much flatter image than with older cameras. Don’t worry, though. When you make the image, it still saves with the selected Film Simulation applied.
“What does this have to do with composition?” I hear you ask. Well, I’ll often switch it on when I’m composing high contrast scenes or working at night. The flatter display allows you to see into the deep shadows of your image and notice things that you may not until you get to the post-production stage. Things like that annoying stick or piece of garbage in the shadow areas of your image will stand out with this setting turned on.

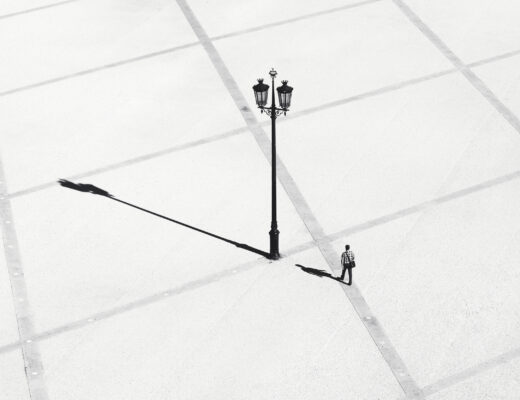
Fujifilm X100F, f/9, 1/550, ISO 200
Image Quality
This is, in my opinion, one of the most useful settings for composition that is available in Fujifilm cameras. I use it so often that it’s in my Q menu and right next to it is the IMAGE SIZE option. With these two, I am able to preview any of the crop ratios that Fujifilm offers.
I work exclusively in raw unless I absolutely need a jpg file immediately for a client. However, by switching the IMAGE QUALITY OPTION to RAW + (FINE/NORMAL) mode, you open up the ability to change the IMAGE SIZE option. This allows you to select between Fujifilm’s predefined image ratios. These are 1:1 (square), 16:9 (HD), and 3:2 (default). The raw file will still be saved with the full sensor readout, but the jpg file will be saved in the ratio you have selected.

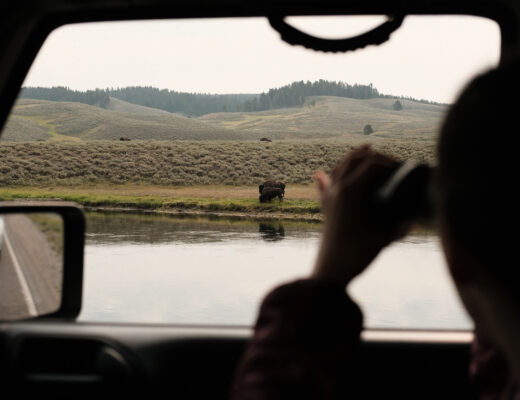
Fujifilm X100F, f/4, 1/250, ISO 200
The benefit of this for composition is that the “unused” parts of the sensor will be blacked out in your viewfinder allowing you to focus on your exact composition. This is great for those who work within the two additional formats Fujifilm offers in the X Series (a few more are offered for the GFX series). While it is extremely useful to be able to preview a crop as you work, it is still one area I would love to see some improvements in Fujifilm cameras, both X and GFX.
Firstly, there should be no need for me to save a redundant jpg as well as a raw file just to access the additional crops. These could be previewed in the EVF and saved as a flag in the raw file without any need for taking up the additional space on the memory card and making copying them later a pain. I can’t imagine this being a difficult task for the firmware team.
Secondly, offering several more ratios, or even the ability to add custom ratios would make this so much more useful. For example, I love the 4:3 ratio of the GFX when making vertical portraits. It would be great to be able to preview this while working on an X series camera. I also often crop wider than 16:9 to ratios like 16:8 or 16:7. Composing more precisely for these in-camera would be of great benefit to me.
Film Simulations
While it might seem like film simulations wouldn’t be much help when trying to compose your image, I would argue that a monochromatic view of the world inspires very different compositions than a colour view. By limiting the viewfinder to only displaying a monochromatic image, you can more easily visualise shapes and light. By concentrating just on these elements, you can look for compositions that focus solely on them. This can lead to new ways of seeing the world and new creative compositions.

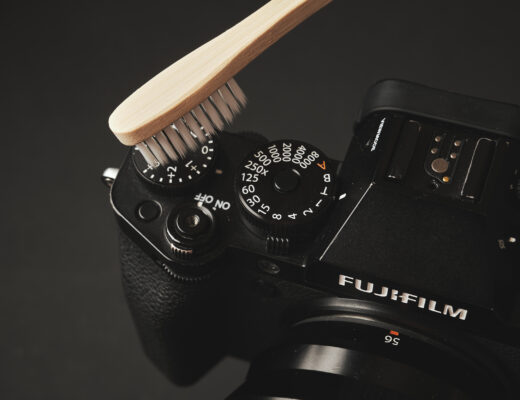
Fujifilm X-T3, 56mm f/1.2 @ f/1.8, 1/900, ISO 160
In Conclusion
Composition is a much more complex topic than we can explore in this short article. However, I hope that these tips have been helpful to you. Because of the way mirrorless cameras work, Fujifilm has been able to give us some very effective tools to help us with composition. By making use of these, you can make your day to day photography easier and hopefully even improve your compositions. Are there any other tools in your Fujifilm camera that you use to assist you with composition? Are there any features you’d like to see included in future cameras or firmware updates?