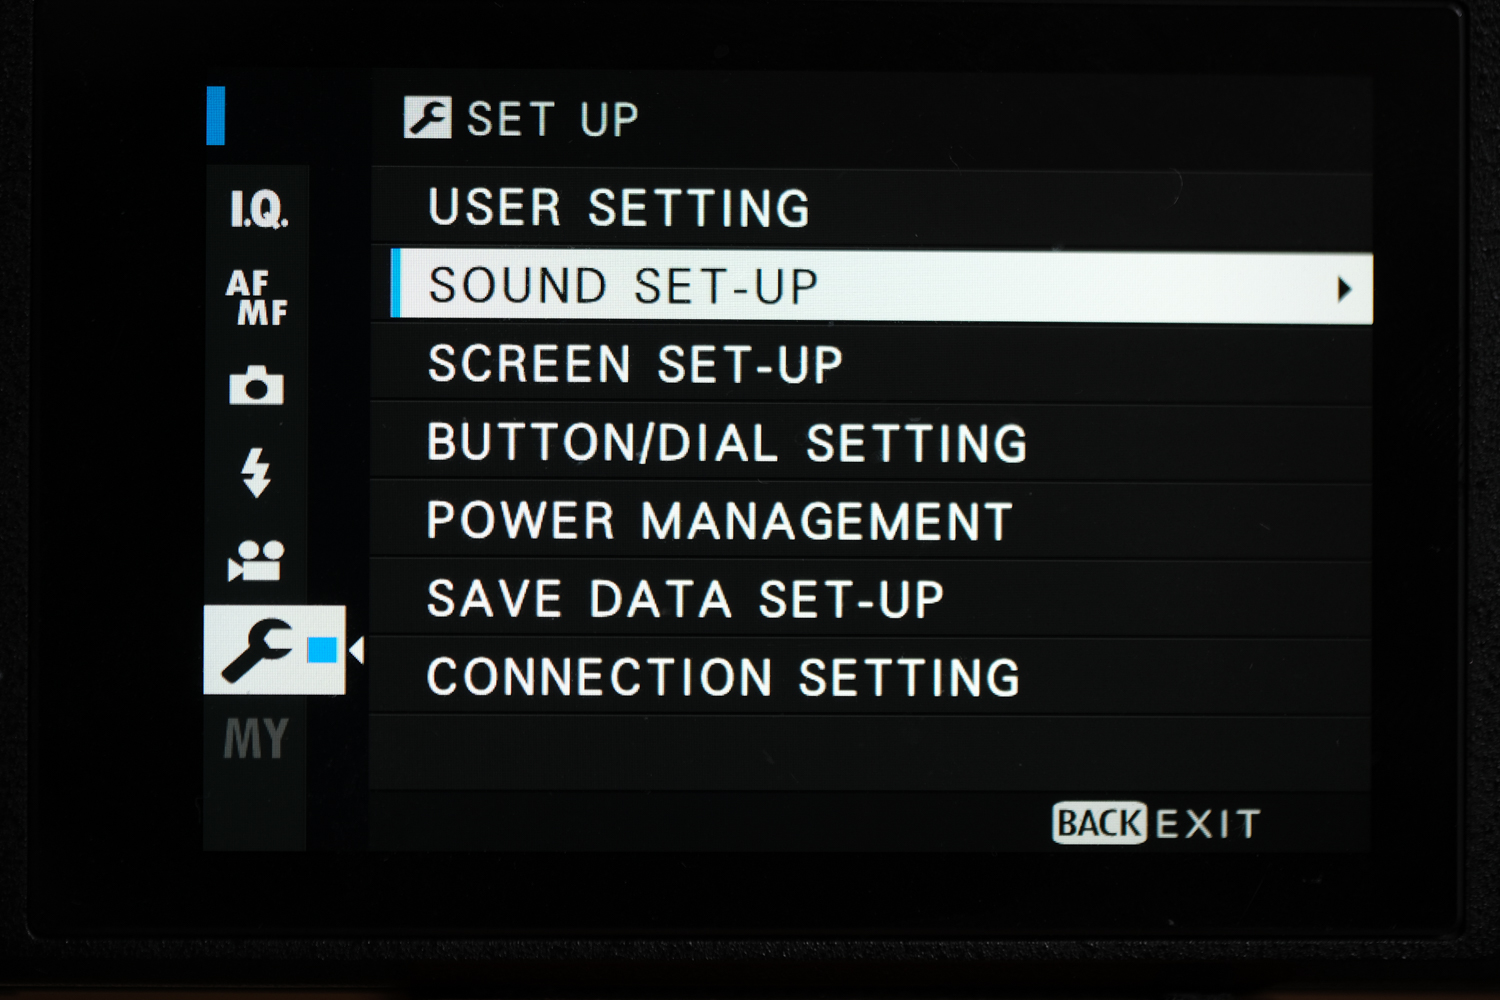
Setting your camera up can be quite an individual thing, but knowing which settings to tweak can be half the battle in getting a camera correctly and set up for yourself. These articles will look just at the sixth major menu – the one with the spanner. This section gives you access to the screen settings, audio settings, power settings and more.

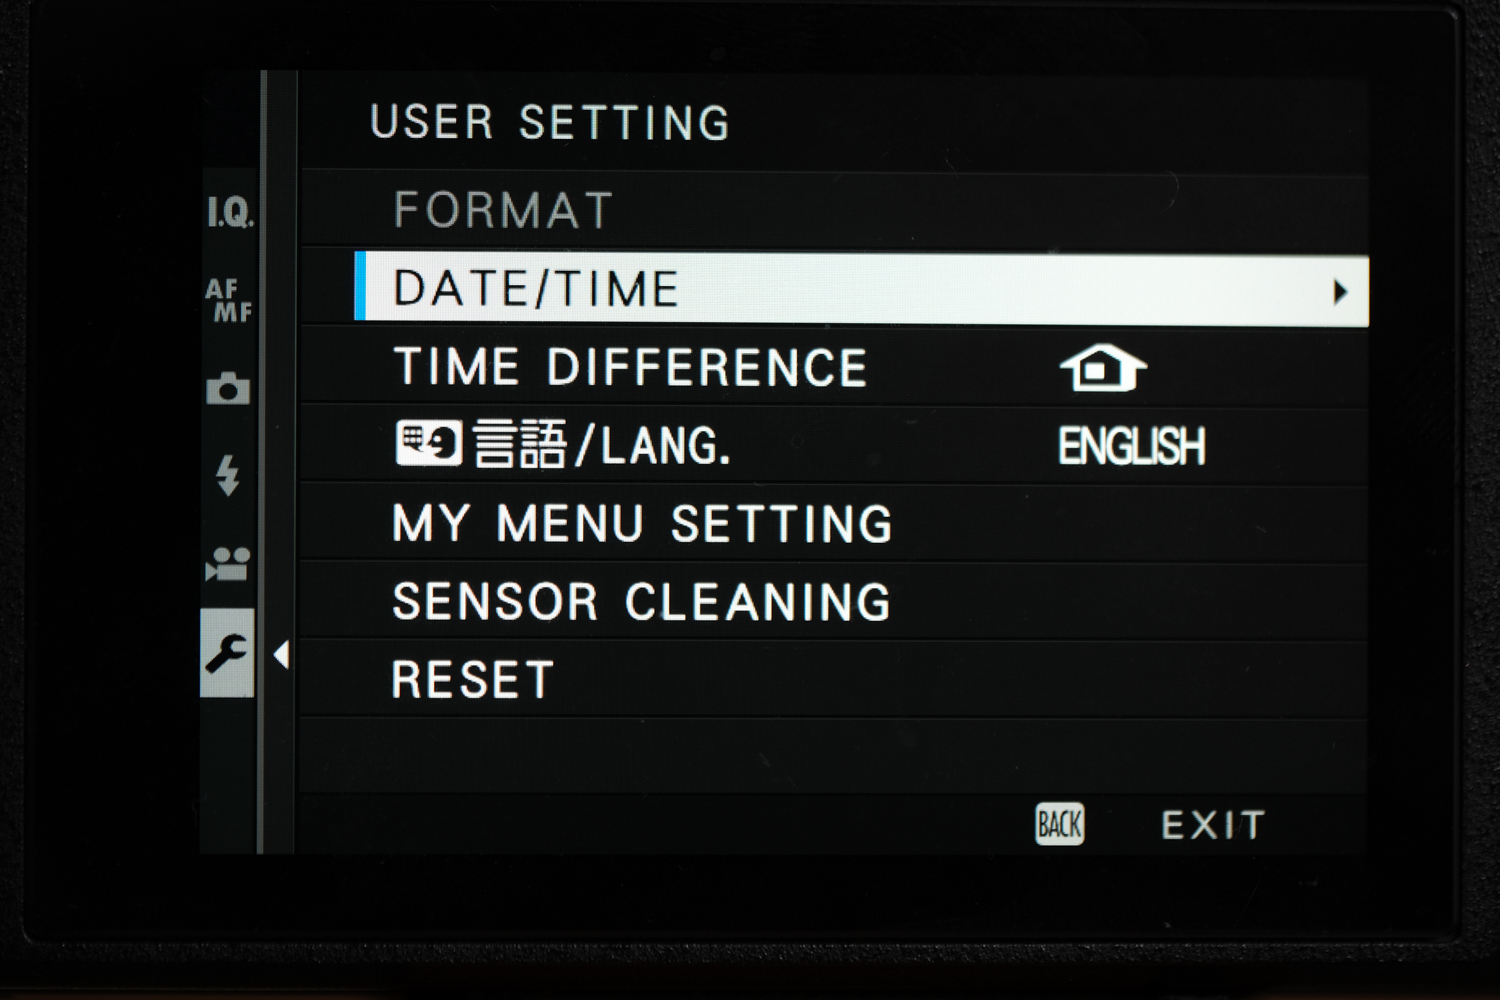
User settings
Date & time:
This one is pretty simple: setting the correct time helps with your EXIF data. If you are using multiple cameras, it gets even more vital to get this accurate.
Time Difference:
If you are changing country, use this setting to correct the time.
Language:
Select the camera language you wish to use. The image below shows English as the set language.
My Menu:
This is the setting that lets you pick which items will show on your My Menu.
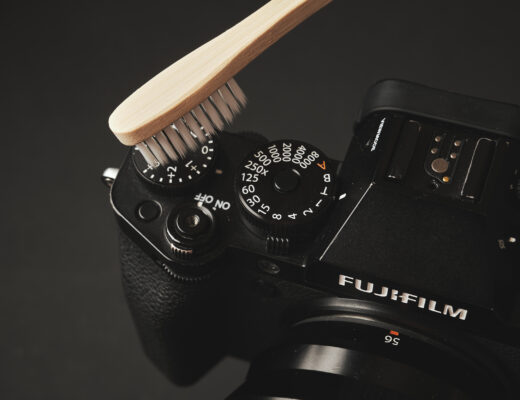
Sensor Cleaning:
Your camera has a built-in way to clean the sensor. You can choose to have this happen every time you turn the camera on, off, both or not at all. Personally, I have this set to happen every time the camera is turned off, thus avoiding the delay when turning the camera on. Do note that this is not the same sort of clean as a proper sensor clean by a technical expert.
Reset: If you want to reset the camera, this is the way to do it. It will not format the cards in the camera but will reset the settings.
Sound set-up
Most of these are very self-explanatory but well worth covering too. This is the setting you would use when trying to limit the beeps and clicks your camera makes when pulling focus or taking images.
AF Beep Vol:
When your camera pulls to focus, you choose if and how loud it beeps.
Self Timer:
This is your audible countdown to the shutter release.
Operation Vol:
Control the volume of the click that happens when you press any button on the camera.
Headphones:
Control the volume of the headphone jack for monitoring audio levels.
Shutter Vol:
Control the volume of noise that plays when the shutter is released.
Shutter Sound:
Control the sound of the shutter.
Playback Vol:
Control the volume of the speaker that is used during playback if there is no headphone being used.
Screen set-up
This is a big and important menu. There are three pages to this menu alone and they will change the user experience of the camera. I will try and cover them as to what they are, what they do and how I use them. Remember that you can just undo any settings you change and you have the option to just reset the camera if you need to. Try exploring with different settings to see what they do and how they affect your style of shooting.
EVF / LCD Brightness and Colour:
As you can see, I have grouped the first four together. These settings control both the brightness and colour of the digital displays on the camera. The EVF stands for Electronic View Finder and the LCD is the big display on the back. You can independently control the settings. The EVF brightness setting has an auto mode, which I don’t really like to use. All the other settings just have a slider that lets you control the adjustment. I like to have a +5 LCD brightness on the rear screen to really help the screen battle against sunshine. The thing to remember with these settings is that you should not be using them to ensure correct exposure of an image – this is why we should use the histogram settings. At the bottom of this page, you can find the extra colour setting that the X-T3 has.
Image Display:
After you have taken an image, this is the setting that lets you control if the image pops up for review or not. If you want it to display, you can choose how long it stays on the screen before it goes away. Normally, unlike many people, I choose to not have any images displaying in the EVF or LCD while shooting, as I find it distracting. When I want to review an image, I just manually click the play button to see it.
Autorotate Display & Autorotate PB:
If you are shooting a portrait and have rotated the camera 90° (either way works), the display of the camera rotates with you. Don’t confuse this setting with the auto image rotate, which is called Autorotate PB and can be found on the second page of this menu. This setting is for when you want to rotate a preview image that was taken on a 90° angle and have it fill the LCD or EVF when reviewing images.
Preview Exposure & White Balance Preview:
This is an important setting for me and if you shoot a mix of flash and natural light images, I suggest that you add to the My Menu or create a shortcut button for it. If you are shooting natural light images, you can set the camera up so that the LCD or EVF will show you your expected exposure for the given settings you have set. For many people this is perfect but if you are using flash, your settings will render your preview so dark it might be hard to work out which direction your camera is even pointing. This is when we would turn off the preview exposure setting and have the camera boost the LCD/EVF so that we can frame and compose the images. We can do the very same with the white balance if needed too.
Preview Pic Effect:
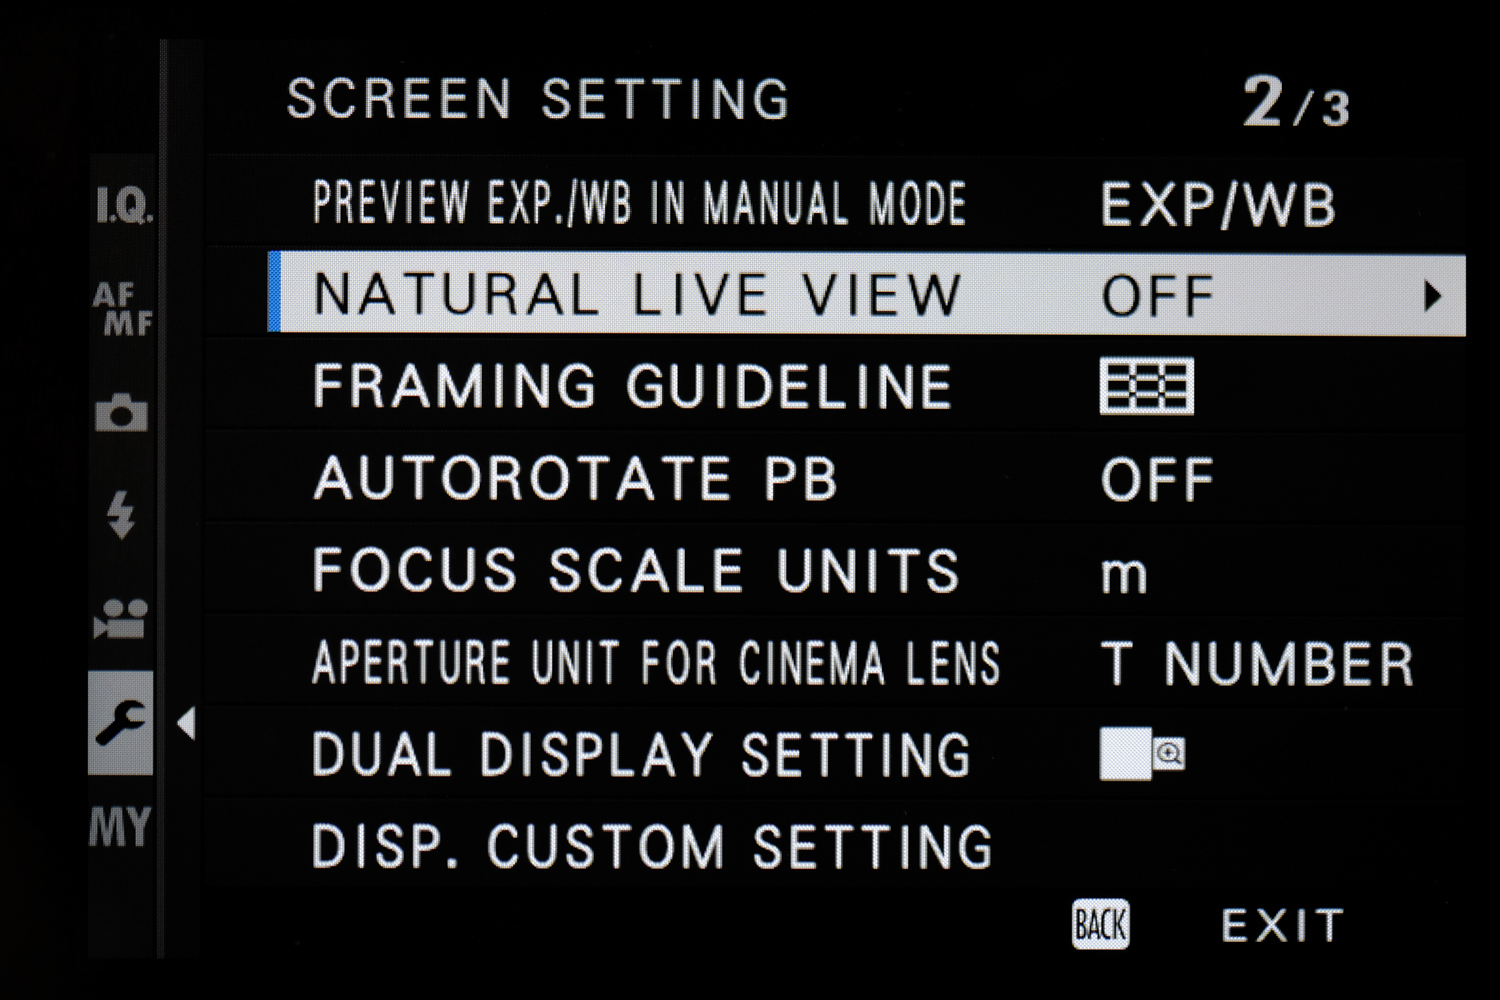
If you are using any image adjustments, for example boosting highlights, shadow detail or colour, this setting will let you have a live preview of these settings. They will not effect your RAW file but you will be able to fine-tune your settings. It is worth remembering that film simulation modes are not affected by this but if you have a monochrome film sim mode selected, it won’t show you a colour image, just a flat monochrome image. Odd I know, but that’s how it is. The X-H1 and X-T3 do have a setting called Natural Live view. It works identically, as shown below:
ON: When the Natural live view is on the effects of camera settings such as film simulation and white balance are not visible in the monitor. With the natural live view on, backlit scenes, shadows in low contrast and other hard to see subjects are more visible. Colours and tone shown on the display will differ from the final image.
OFF: When the natural live view is off the effects of film simulation, white balance and other settings can be previewed in the monitor.
Framing Guideline:
These are super helpful when lining up and framing an image or if you are jumping to video from stills and looking for different crops lines. Personally, I use the Grid 9 setting which matches the rule of thirds, which pretty much all photographers can work with.
Focus Scale Units:
You can change from metres to feet on the scale. This is displayed on the bottom of the display when shooting.
Aperture Unit for Cinema Lens:
Cine lenses use T-Stops over F-stops. This is the setting that lets you toggle the display.
Dual Display Setting:
One of the focus aides lets you have a dual display. One image giving you a 100% preview (to ensure your focus) sits next to another image of the full crop. To use this focus assist setting, you must be in manual mode. Just hit the display/back button and cycle to the mode. In the set-up menu, this lets you toggle which way around the crop/compose screens are positioned, either left to right or right to left. This function is not on the X-Pro cameras.

Display custom settings
This is a gold mine of settings. Much of the stuff in here is really helpful and, as you can see from my example image, I have most of them turned on. Because there are so many items on this menu, I wanted to just highlight a few key functions that I strongly suggest you experiment with.
Shutter Type:
If like me, you switch back and forwards between shutter types, having a little icon on the screen is a great reminder of which one I am using. Remember: flash won’t sync in electronic mode and some ambient lighting types will give a show a banding effect.
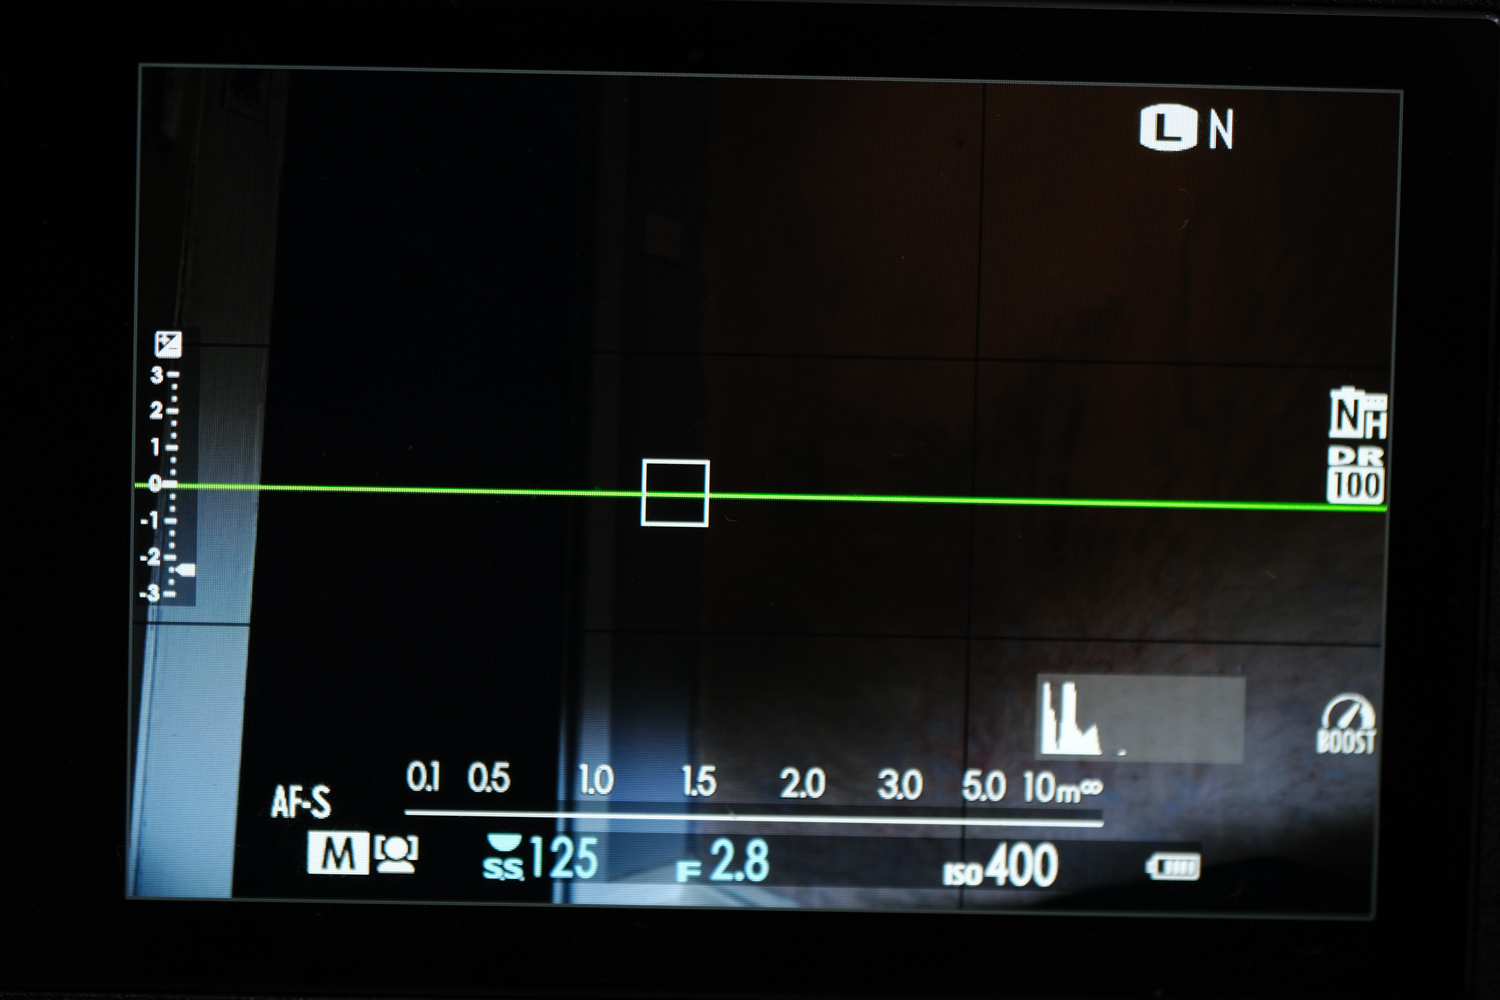
Electronic Level:
The best setting on the camera. Turn this on and never have a problem with a uneven horizon again. When the camera is level, the line goes green on the display. The X-T3 & X-H1 have an added level showing the X and Y axis of the camera.
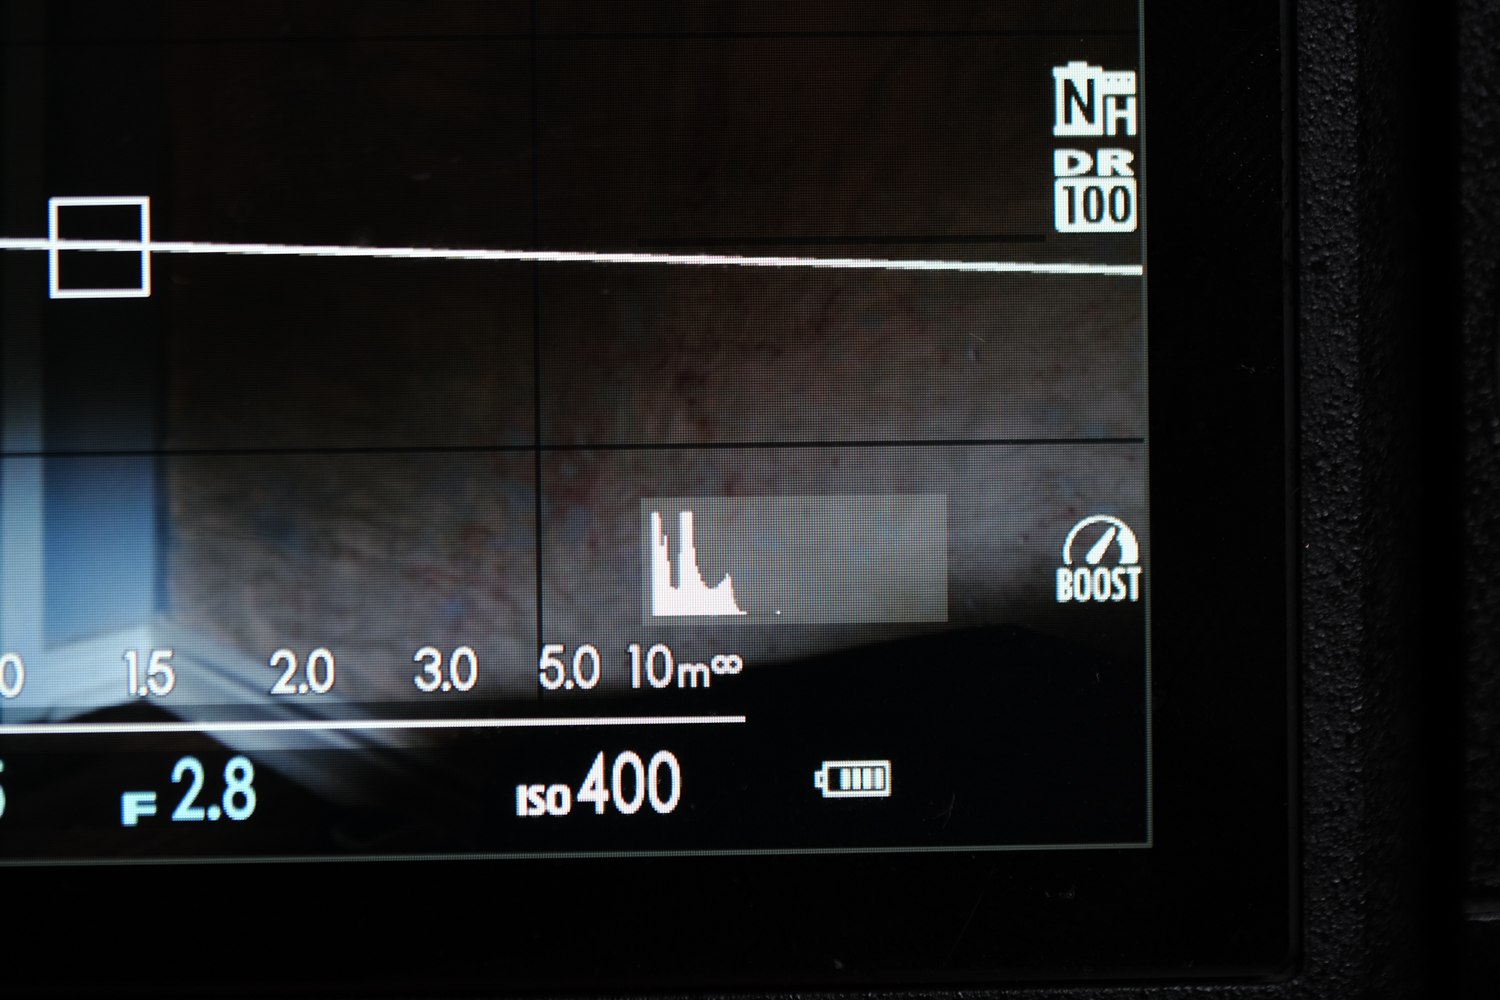
Histogram:
This is another vital setting. Ensure this setting is on for a small onscreen histogram that gives a JPEG preview (unless you are in natural view mode).
Frames remaining:
As the name suggests, this ensures you know how much room you have as you shoot.
Image Size/Quality: Ever picked your camera up in a rush and forgot to check your settings? Having an on-screen reminder lets you know what you’re shooting.

Additional set-up options for the X-T3
EVF colour adjustment:
Use this setting to adjust the colour of display in the electronic viewfinder.
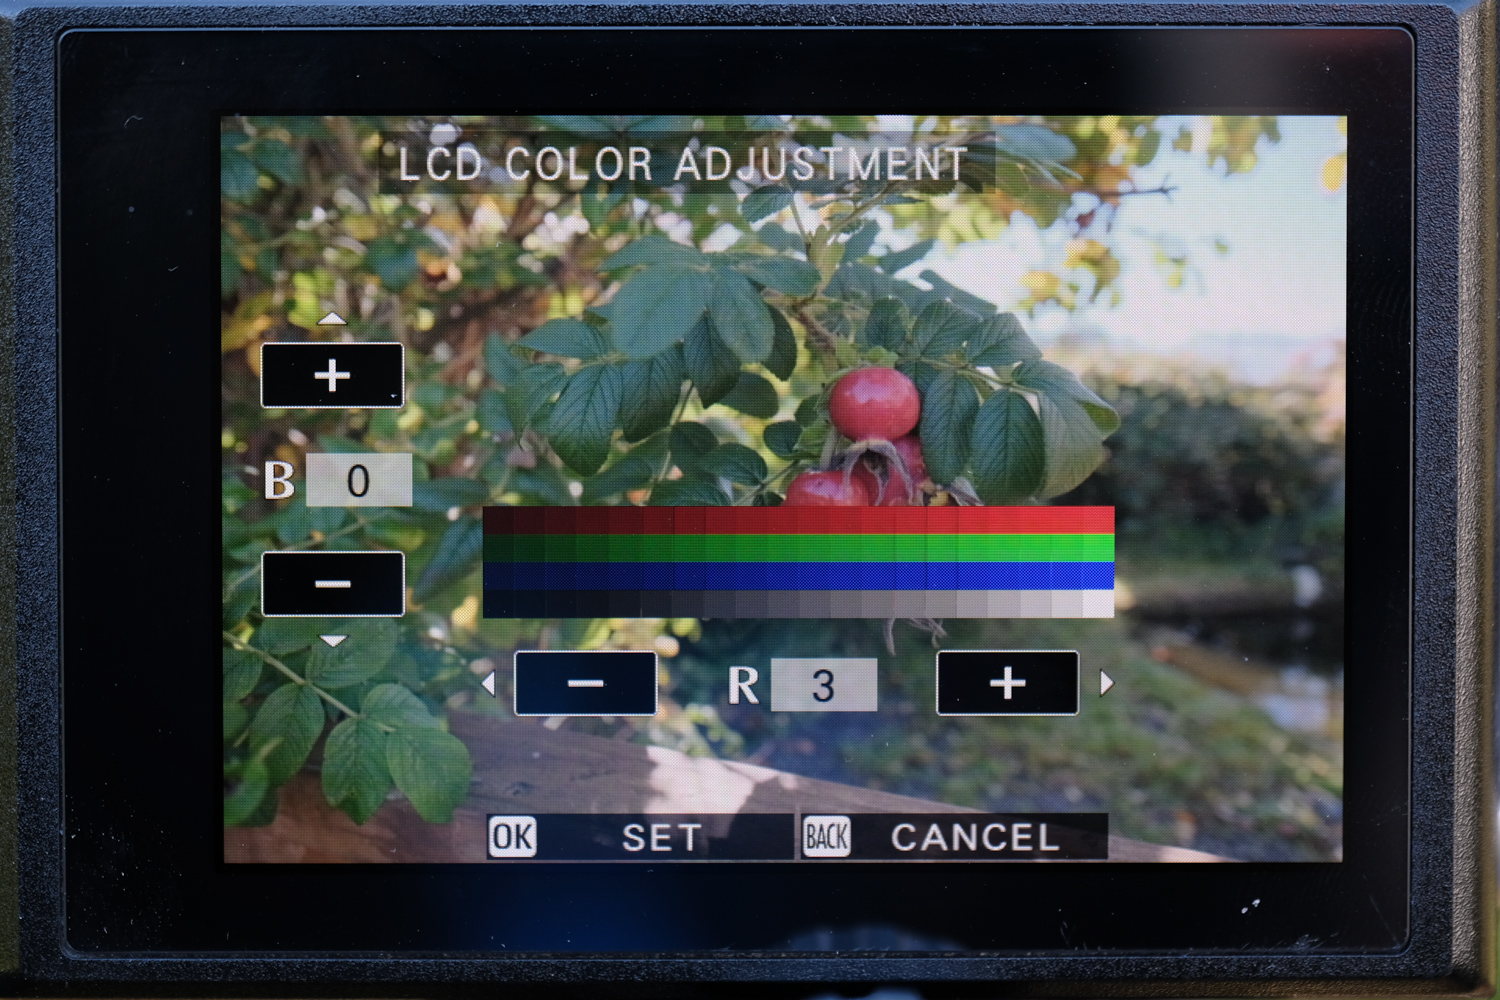
LCD colour adjustment:
Use this setting to adjust the colour of the display in the LCD screen.

Natural live view:
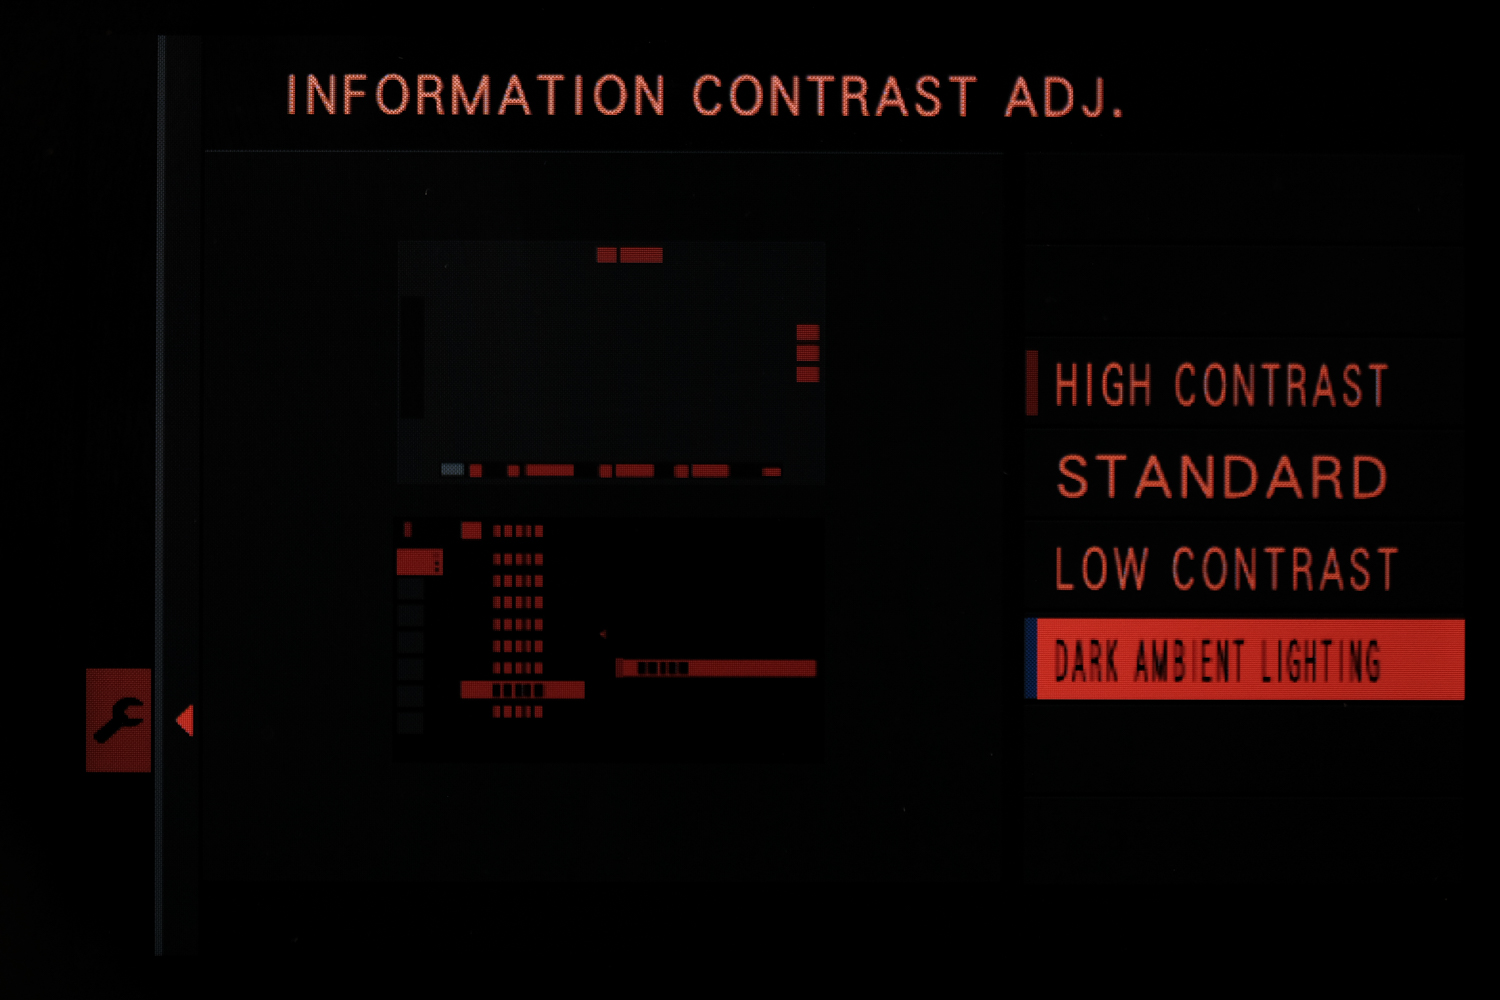
Information contrast ADJ:
This setting allows you to adjust the display contrast.
Options high contrast:
This will show your display settings in high contrast standard – this will show your display settings in normal contrast.
Low contrast:
This will show your display settings in low contrast.
Dark ambient lighting:
This setting adjusts your contrast for dim ambient lighting and will change your display to red and black.