After the response and question we received on my latest FujiLove Facebook posts from a recent basketball game I shot, Tomash asked me to do a little writeup about how I use Fujifilm cameras to cover basketball. Shooting basketball is a lot like covering other sports. Over time, complex actions become automatic and part of ones mental and muscle memory. So, to keep things simple, I’ll stick to hardware; bodies, settings, lenses and accessories. I prefer the K.I.S.S. (Keep It Simple Stupid) approach. Things can happen pretty fast and sometimes less is more when making gear choices.
Gear
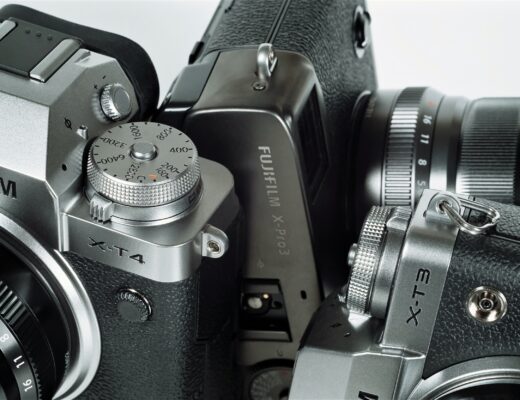
The specific gear for basketball is pretty simple. The X-T2 with the grip is my workhorse. I supplement that one with my X-Pro 2’s. I would get another X-T2, but I think I’m going to wait for the next round of offerings to see what we’re getting.
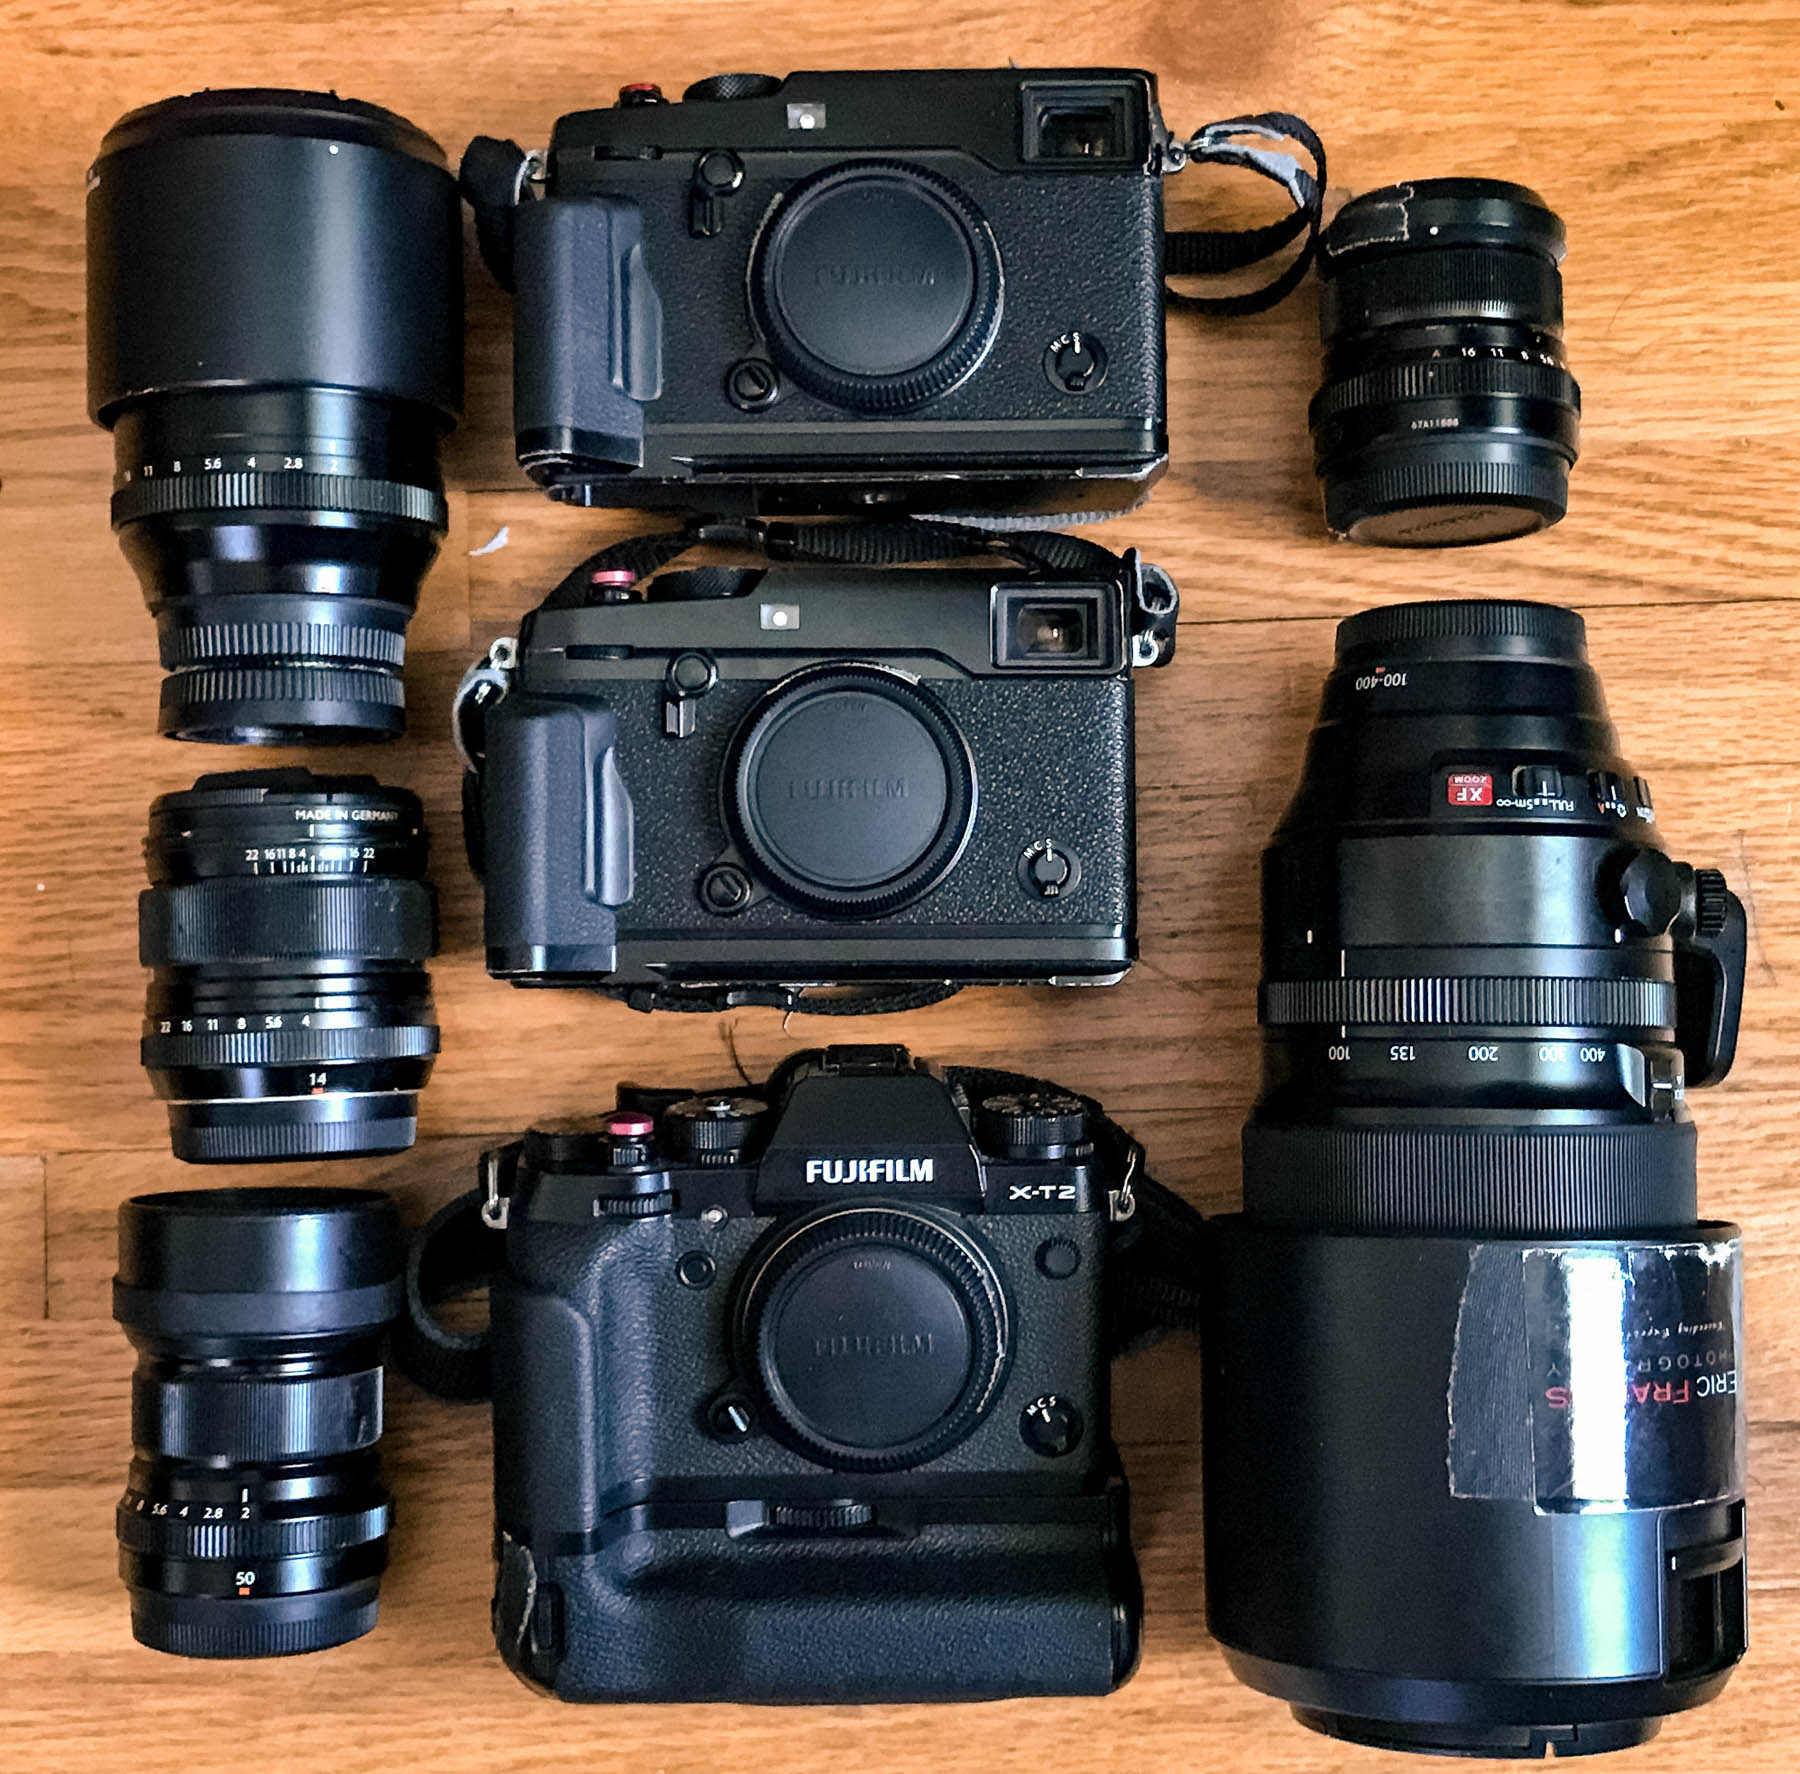
Shooting from an assigned baseline position I use the XF100-400mm f/4.5-5.6 for the far end of the court and around the arena. For the near court I use these XF90mm f/2 and XF50mm f2 lenses. My remote cameras get a XF23mm f/2 when attached up high on a basket stanchion and either a XF23mm f/2 or XF14mm f/2.8 when set on the floor near me. I know most sports photographers prefer zooms but I have always preferred primes. I can’t say that they focus faster, but I can say that they’re sharper and have a shallower depth of field. For that reason, as soon as I can get my hands on a XF200mm f/2, I will probably retire my 100-400.
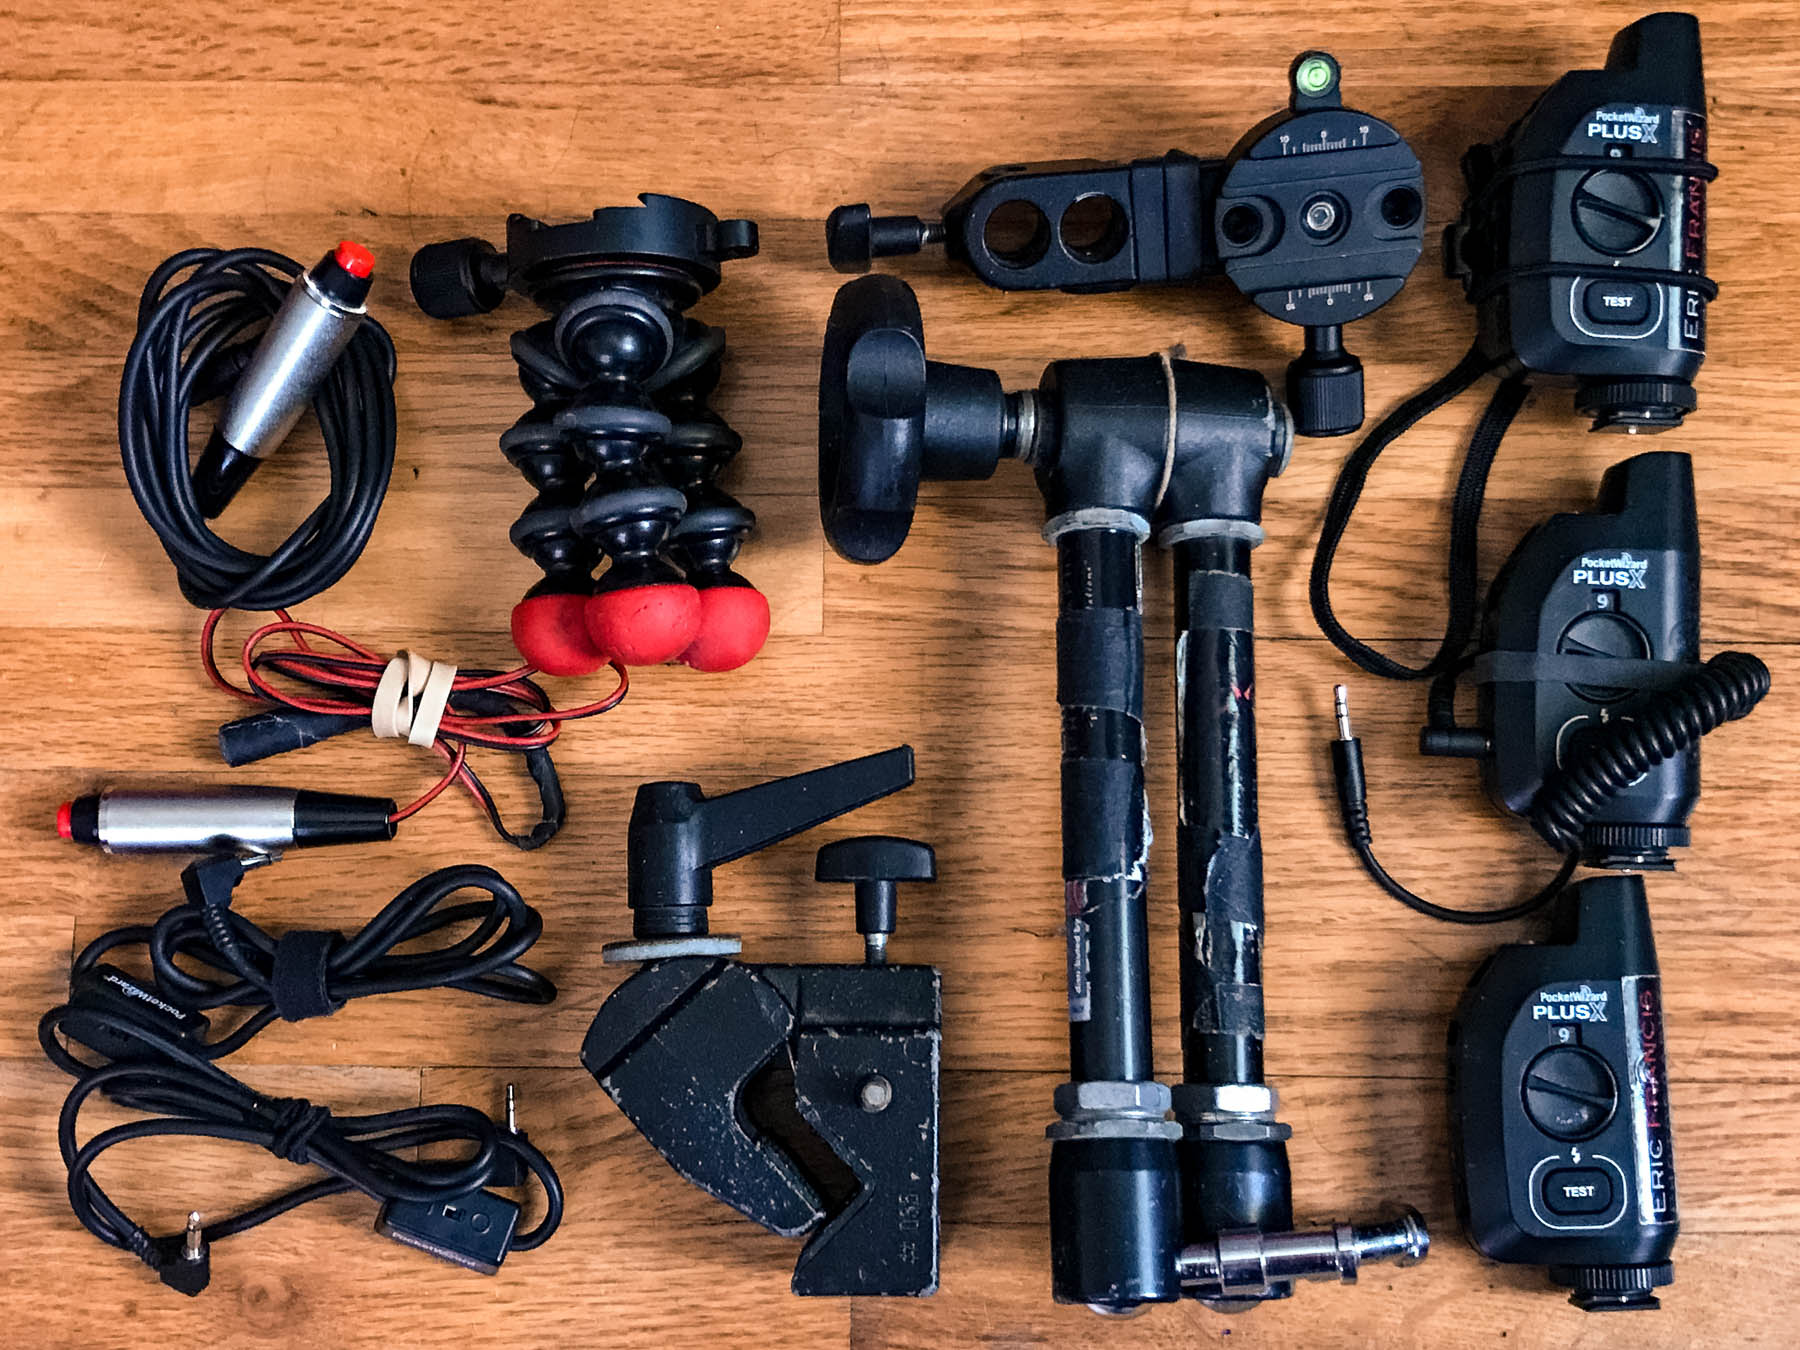
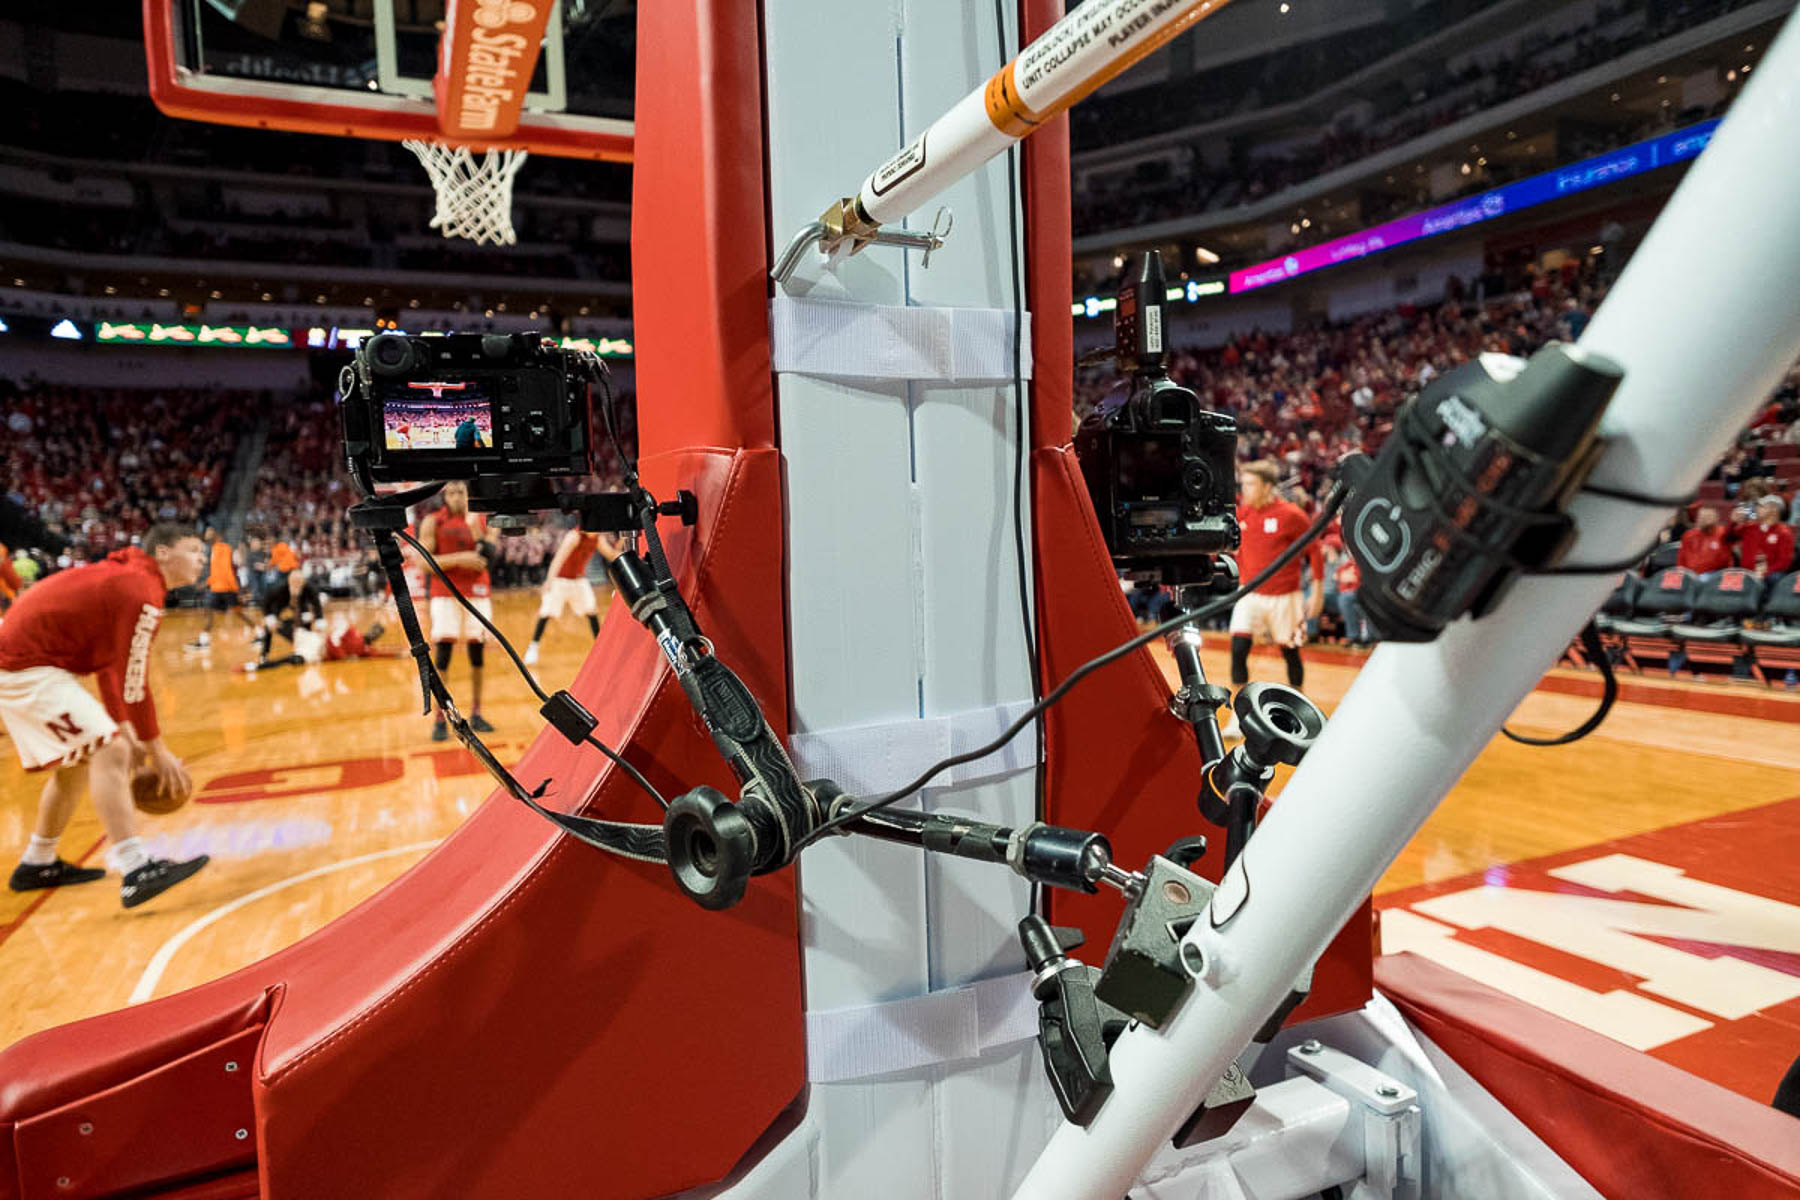
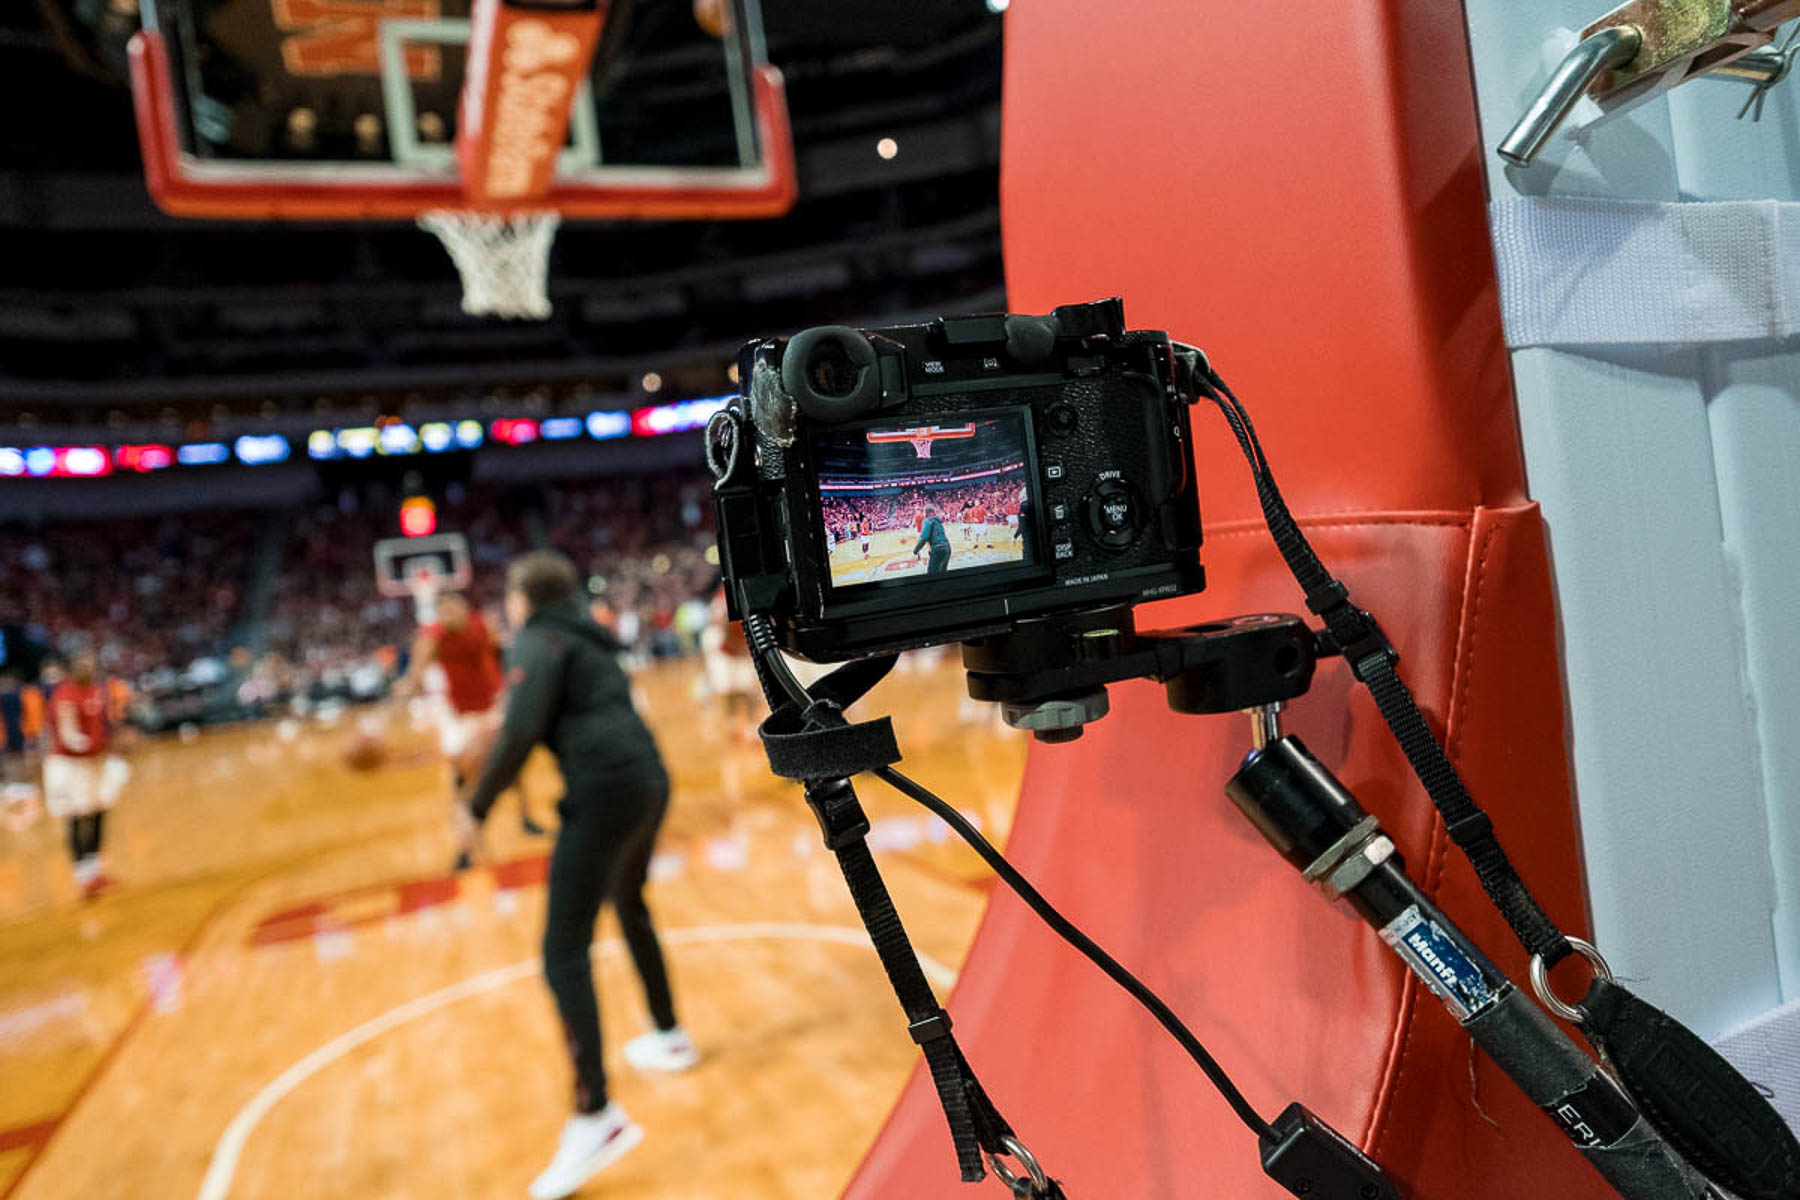
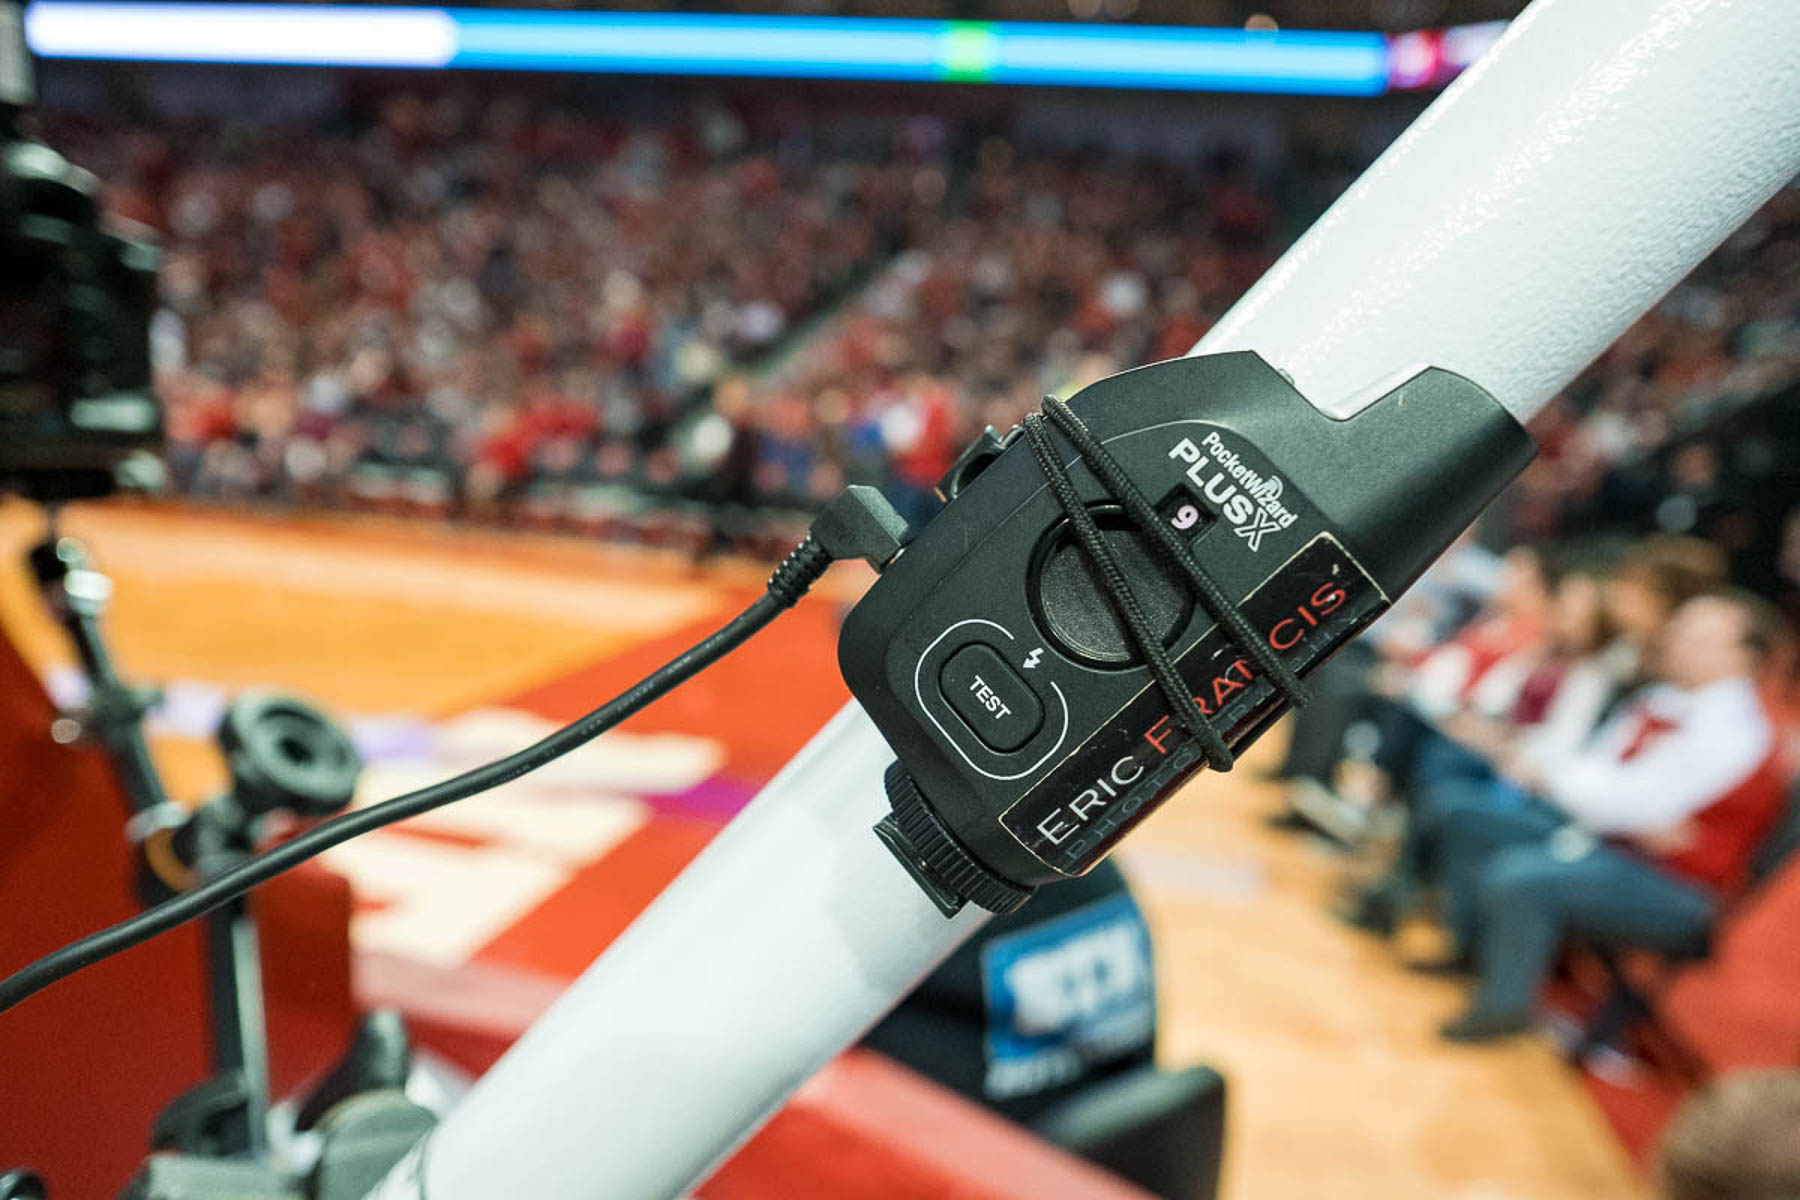
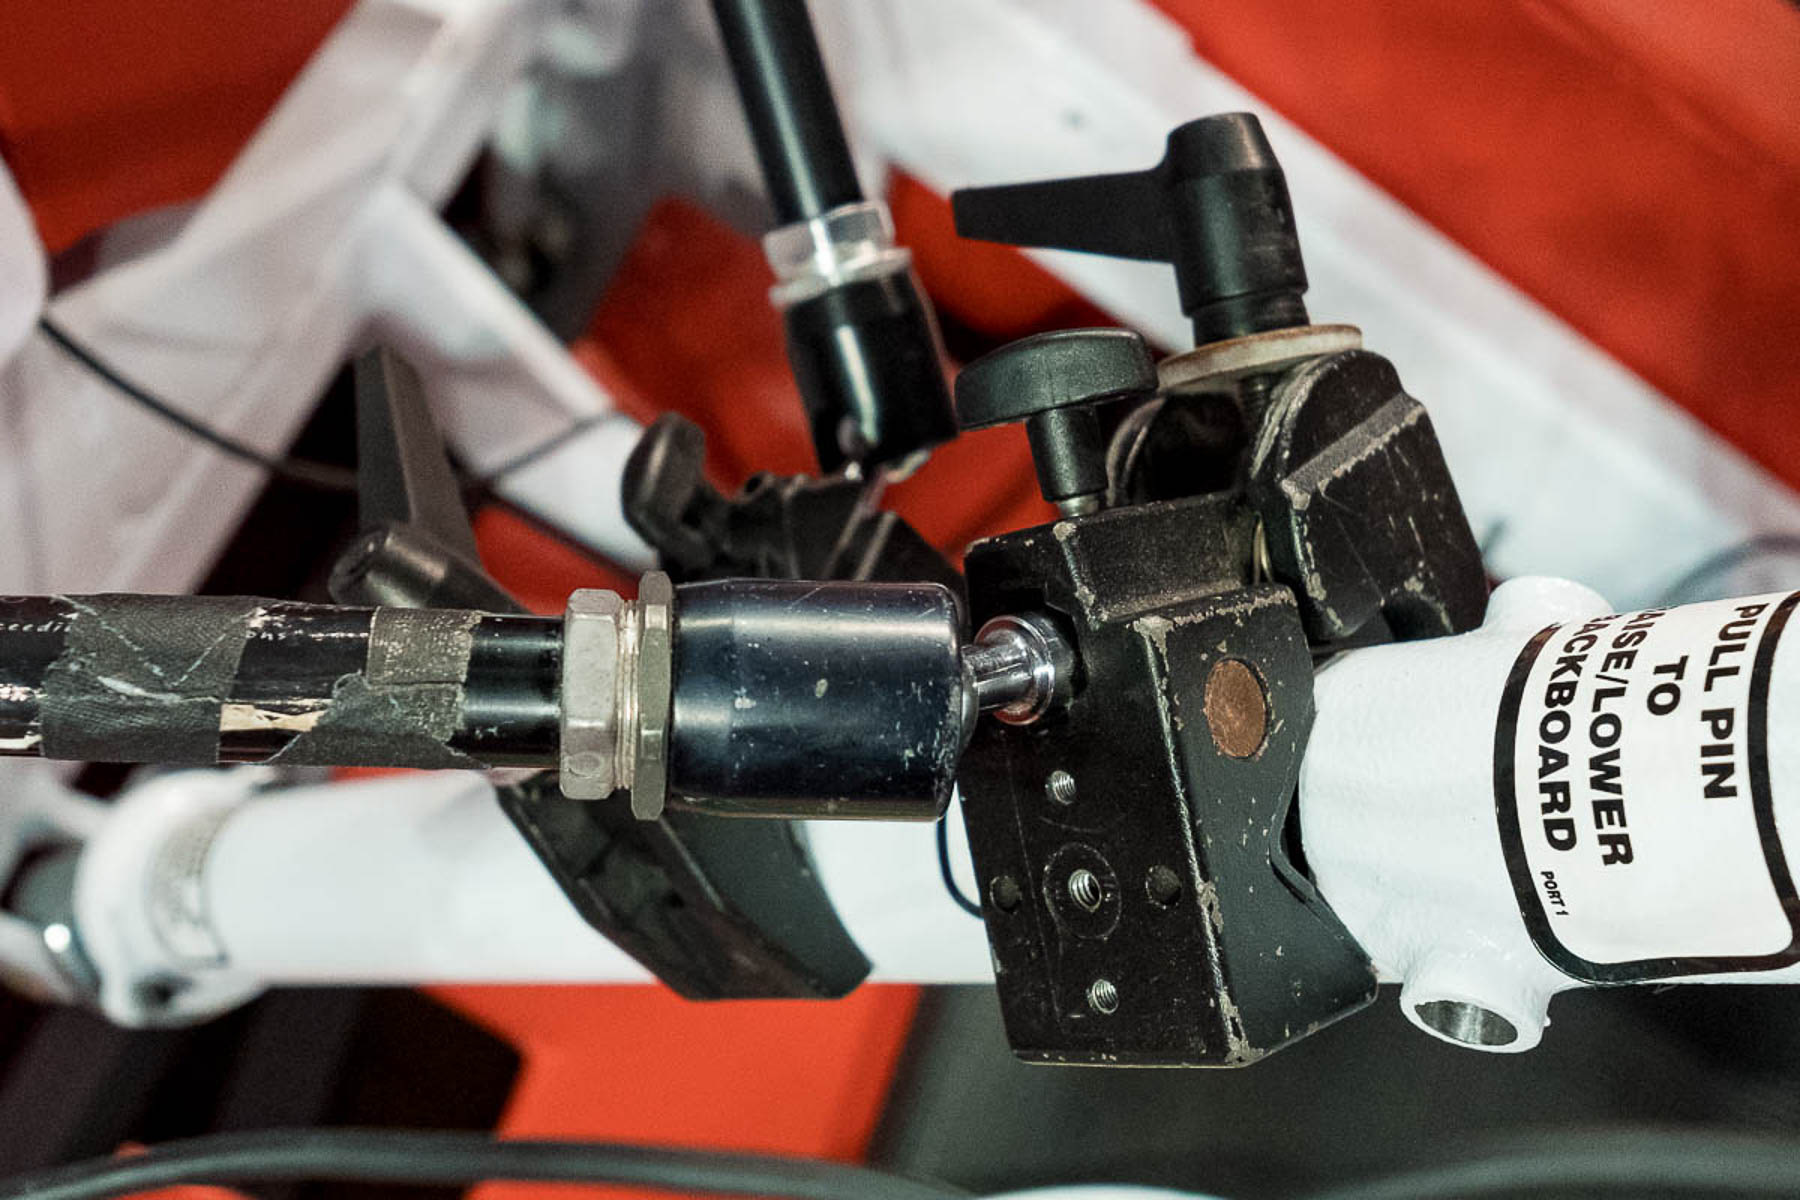
The remote gear is pretty simple. To safeguard against injury or interrupting play I use the best mounting gear on the market— Manfrotto super clamps, variable friction arms, tilt top heads and camera plates and make sure everything is backed up with a safety cable. When it comes to radio remotes I’ve been a career-long user of Pocket Wizards. I currently use 3-4 Pocket Wizard X’s depending on the number of remotes I plan to employ. Pocket Wizard makes the cable that plugs right into the mic jack on the side of the camera (don’t forget to go into your camera setting to switch the import from mic to remote.) The last piece of the puzzle is a momentary switch trigger. You can find these on the internet or build your own like I do. Some shooters prefer to mount their Pocket Wizard directly on hot shoe to fire the remote. Basket stanchions vary, but you can usually find a secure place to clamp to. The pictures below show the quick, easy setup I use most often. When I set a camera on the floor near me, I use a Gorillapod, with several of the links removed to shorten it. I’ve found this to be the best solution to the floor remote I have ever owned.
Settings
Finally we get to camera settings. Most of the settings will be pretty universal from sport to sport, but in certain situation I might tweak the Zone Focus Mode for a specific application.
The AF is set to C (continuous).
The drive mode is set the CH (consecutive high). The camera performs best in this mode with moving subject. Don’t ask me why, it just does.
Boost Mode is the secret sauce that makes the X-T2 really sing. Every aspect of the camera performs better with it on. Best of all, it ups the EVF’s refresh rate to 100FPS, which is near real time.
I prefer the Zone focus modes for sports. Fuji has these modes dialed in. The X-T2 has 5 preprogrammed Custom Zone Modes. I have mine tweaked in the #6 Custom settings. My Speed Tracking Sensitivity set to 1. My Tracking Sensitivity set to 2. You can also adjust the size of the Zone Focus Mode box to suit your preference, but mine is set to the 9×9 grid.
The Release/Focus priority in both my S and C modes set to release. Things just happen to fast for Focus priority Mode.
Fuji users have come to understand that the Pre AF mode does little more than chew through batteries. You can activate the AF system and begin tracking your subject with a half shutter press.
Exposure will vary from place to place. I do my best to not drop below 1/800th and shoot wide open to get my ISO as low as I can. That being said, I’m not afraid to shoot at 6400 ISO if I have to. A lower ISO is worthless if your images all have motion blur in them.
In order to make the X-T2 focus on par with Canon and Nikon cameras, I had to unlearn some well-established muscle memory surrounding back-button focus. Because the Zone Focus modes require use of the front-button, I was forced to switch. I remain hopeful that the next set of cameras finally address this issue properly. I use the center AF point to acquire my target. Once the camera is locked on, the camera will track the subject as it moves across the other AF points in the zone box. As I said, I have the Zone Focus customized to my own preference that allows for the right mix of compromises I like. For certain aspects of basketball shooting, I can see how Custom Setting #2 might be useful.
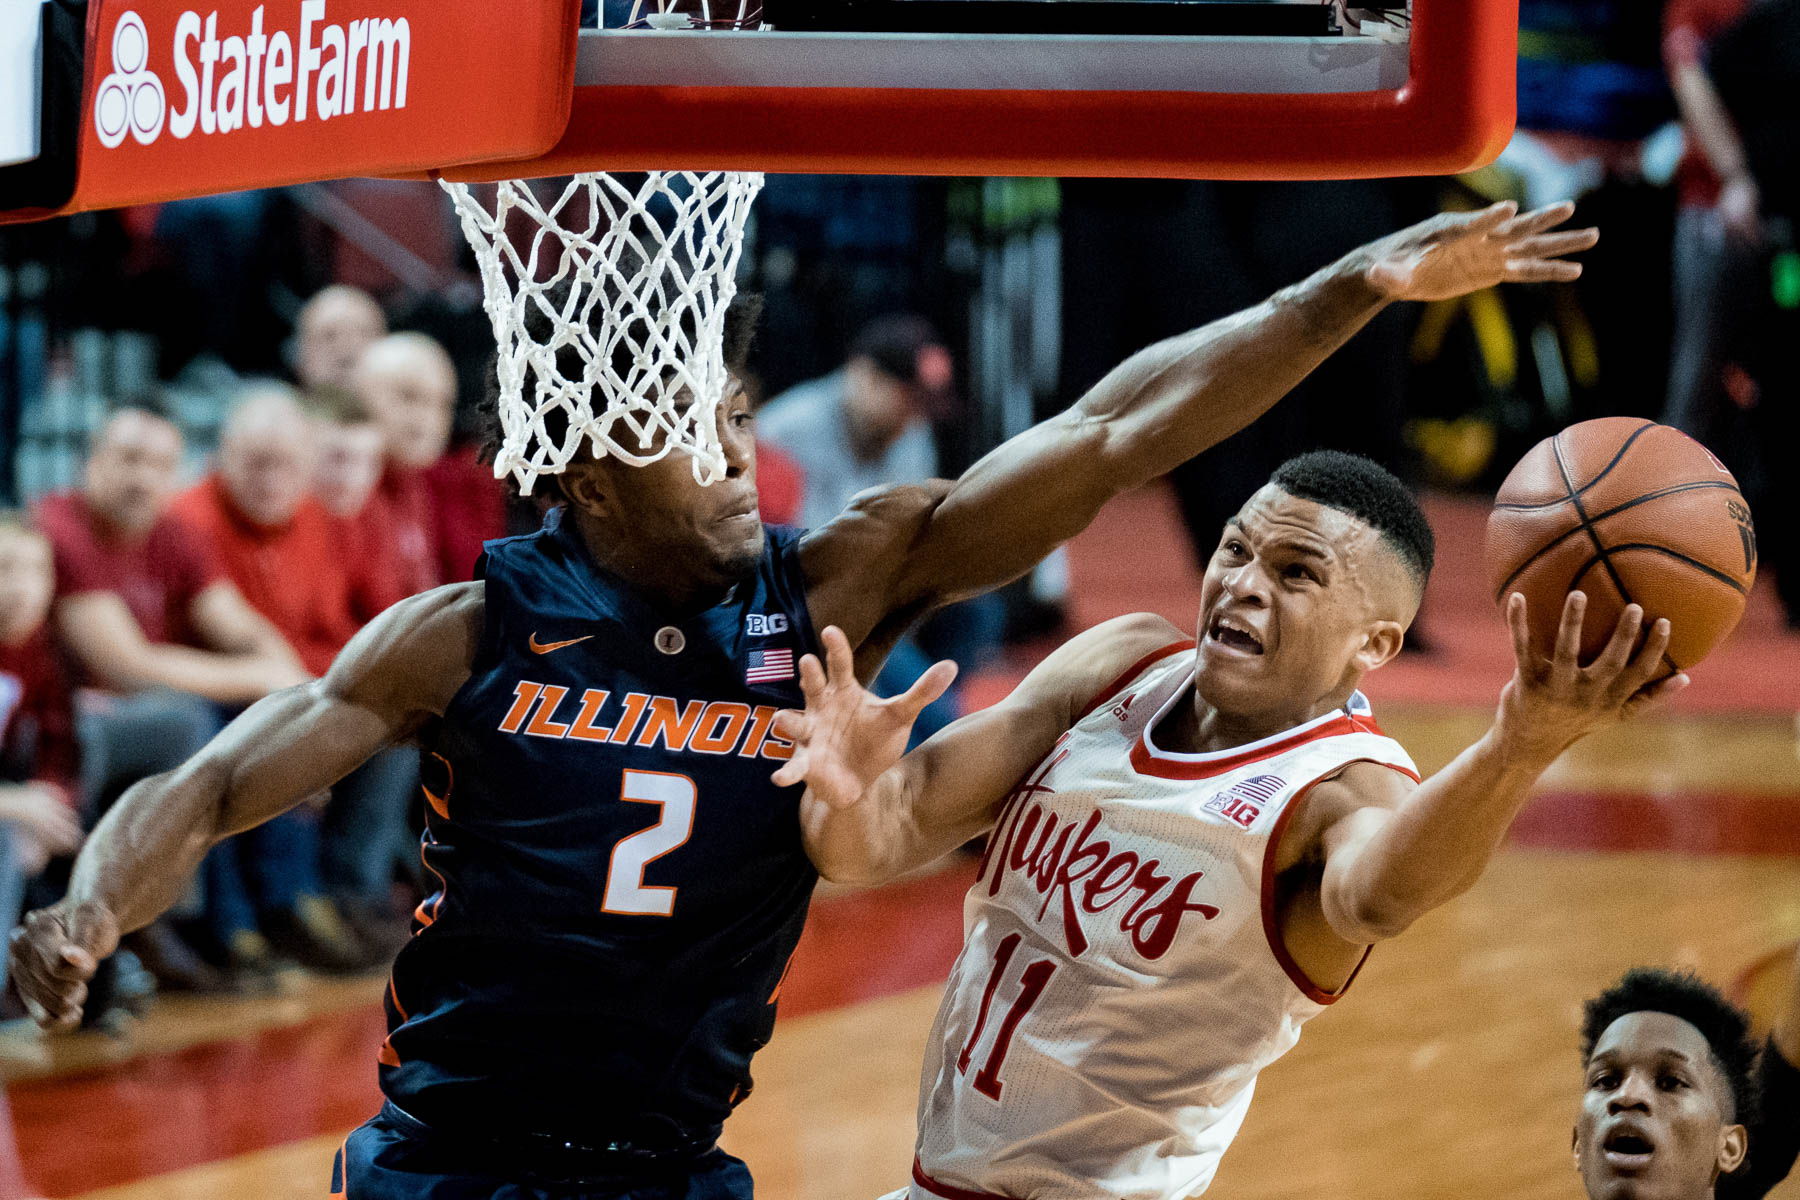
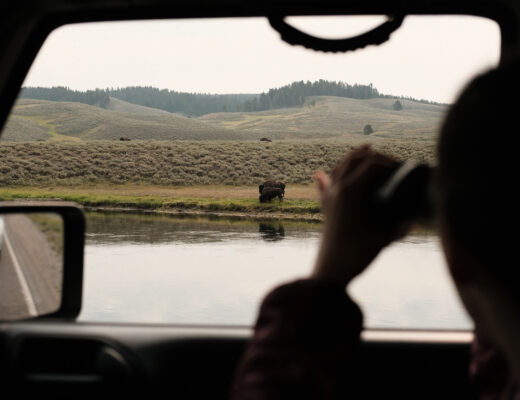
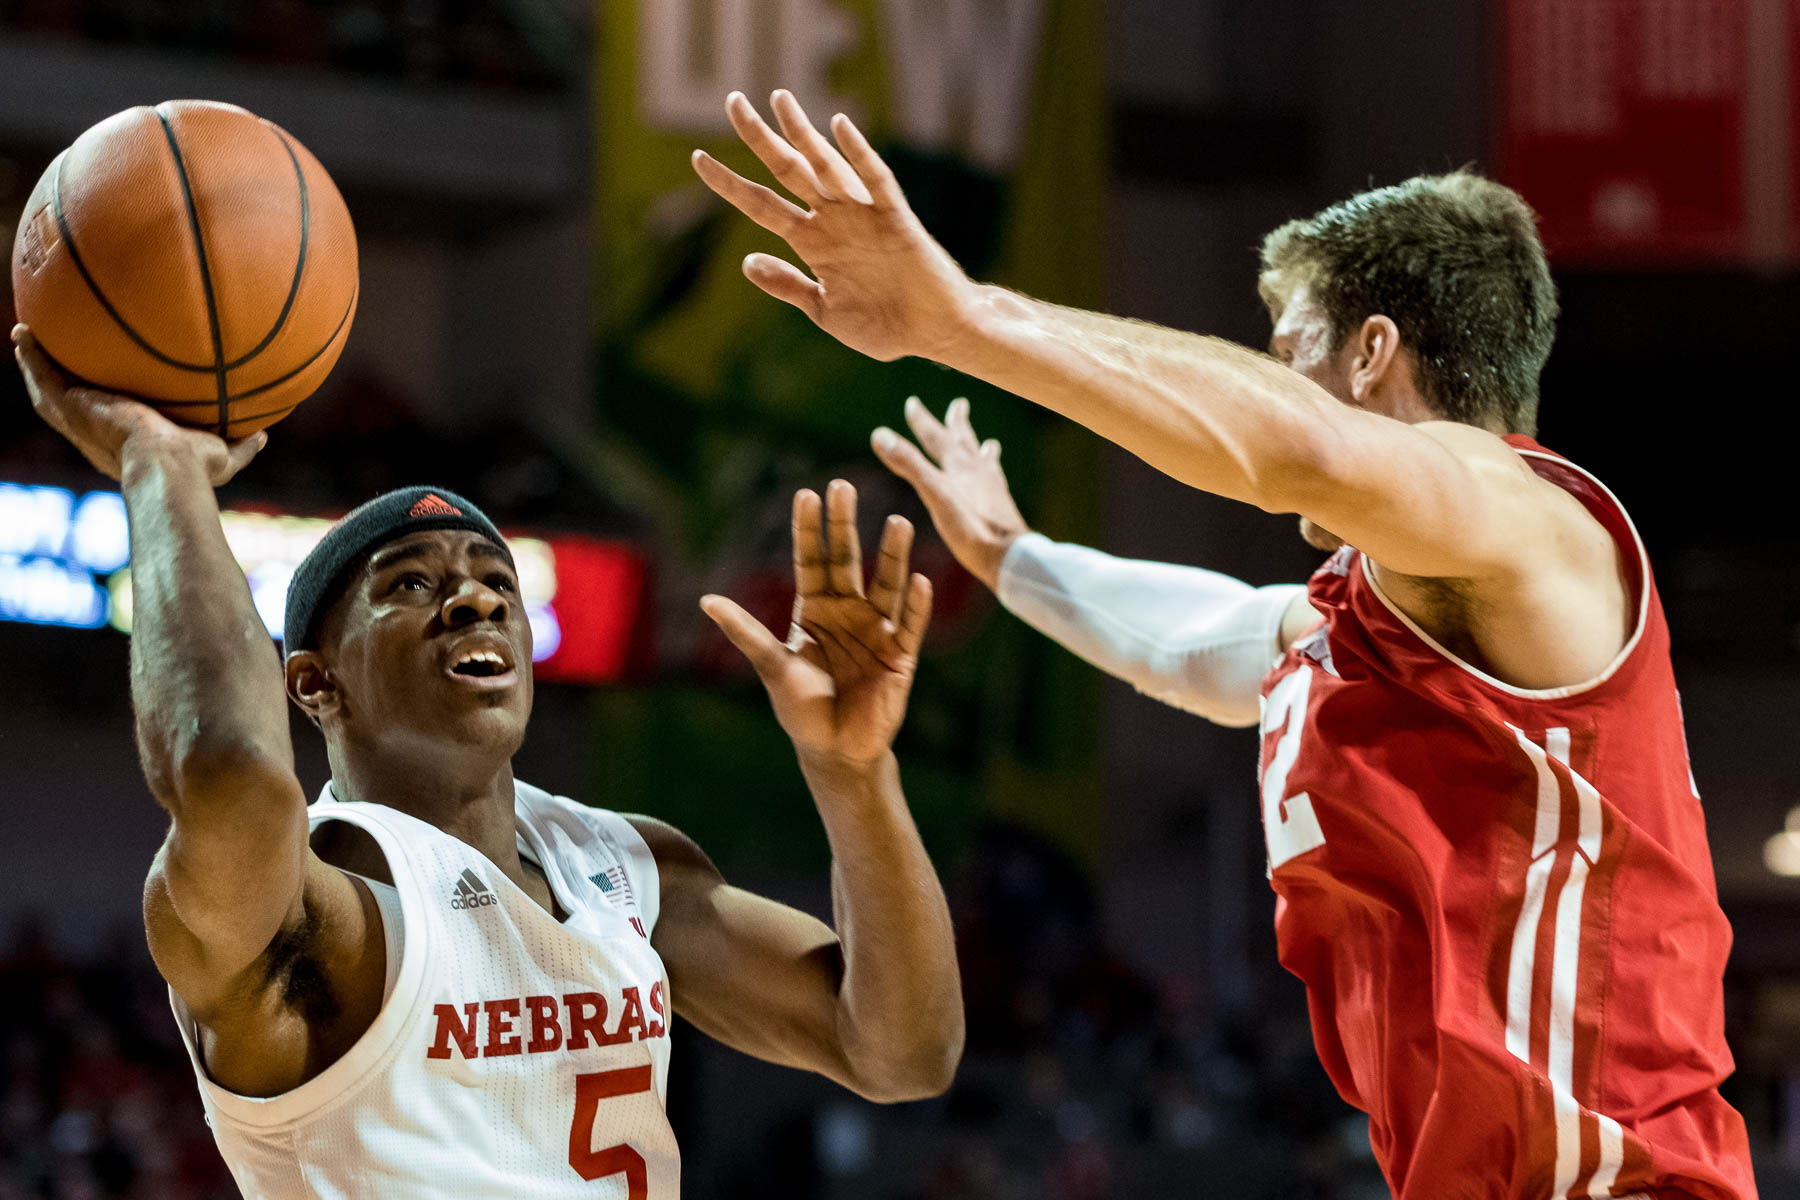
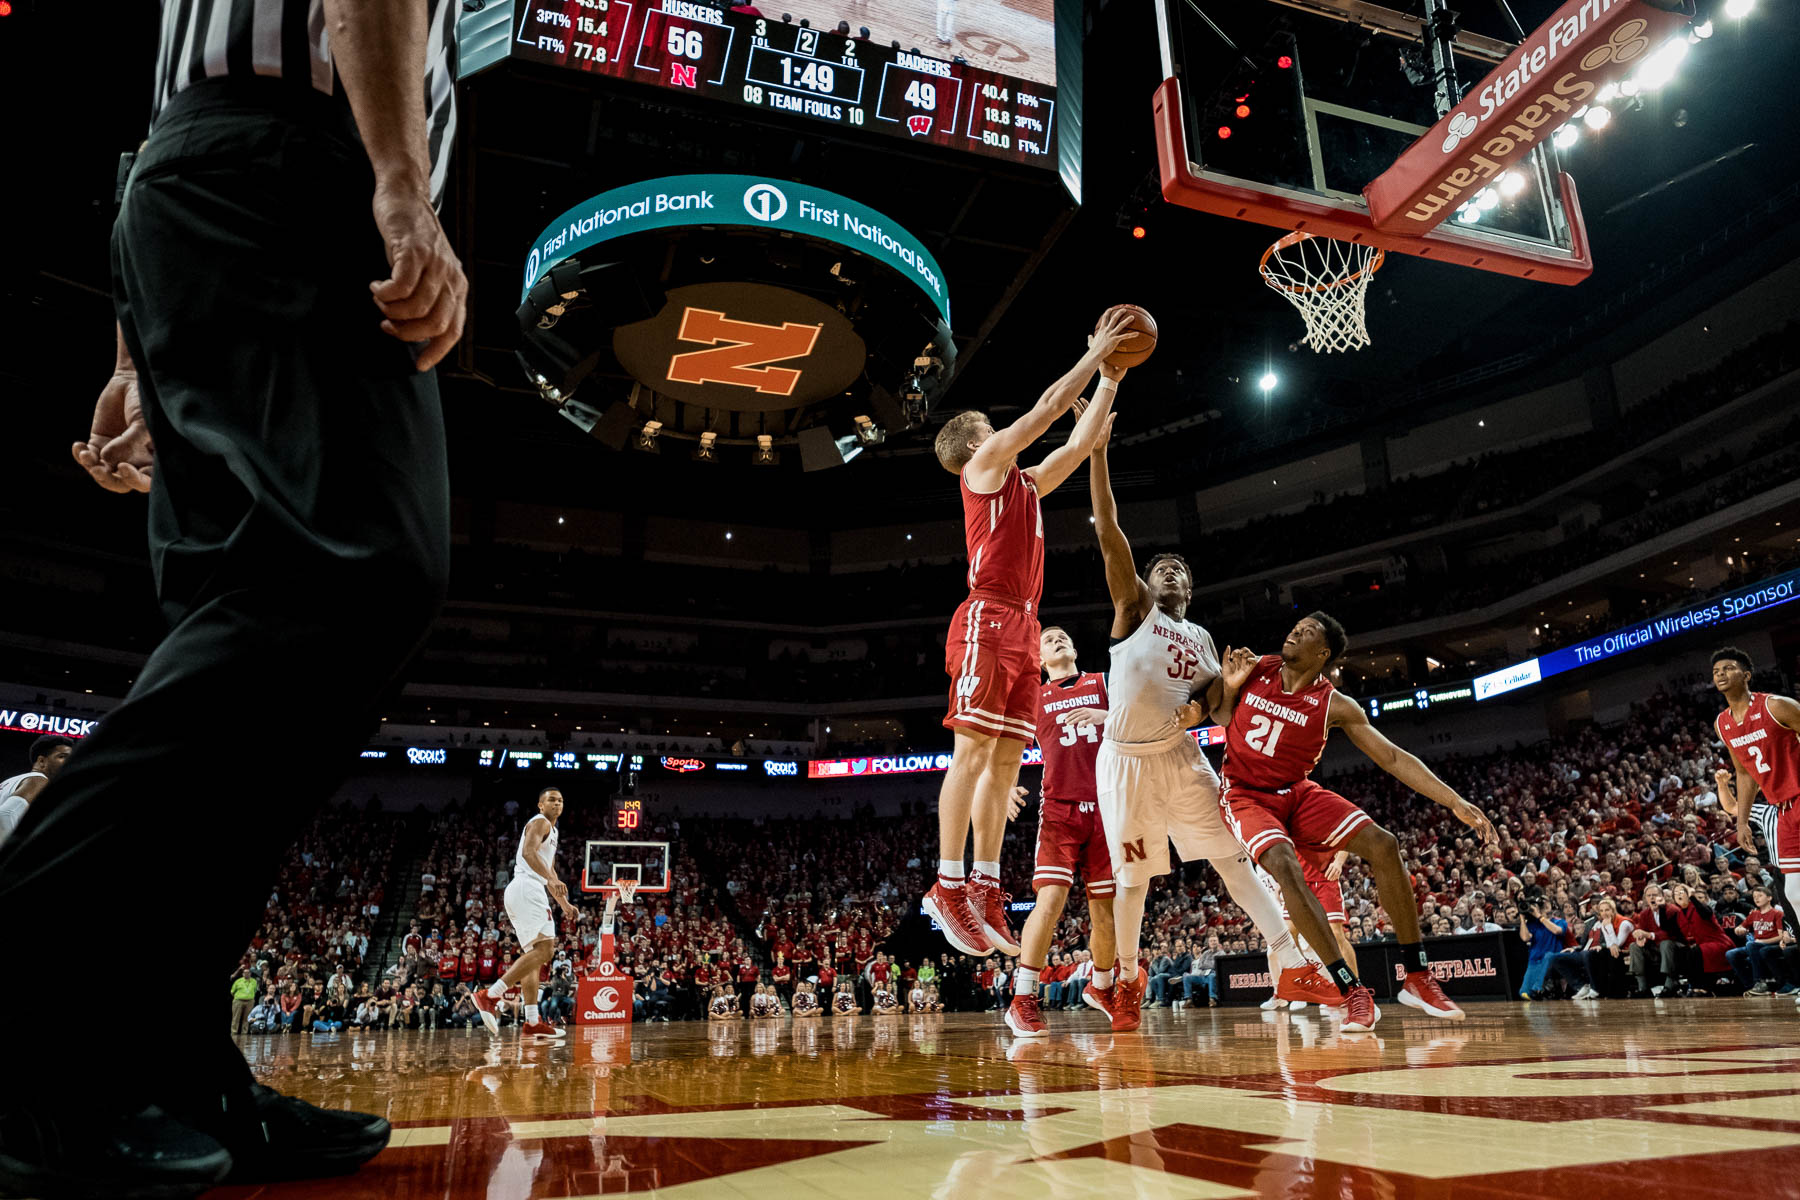
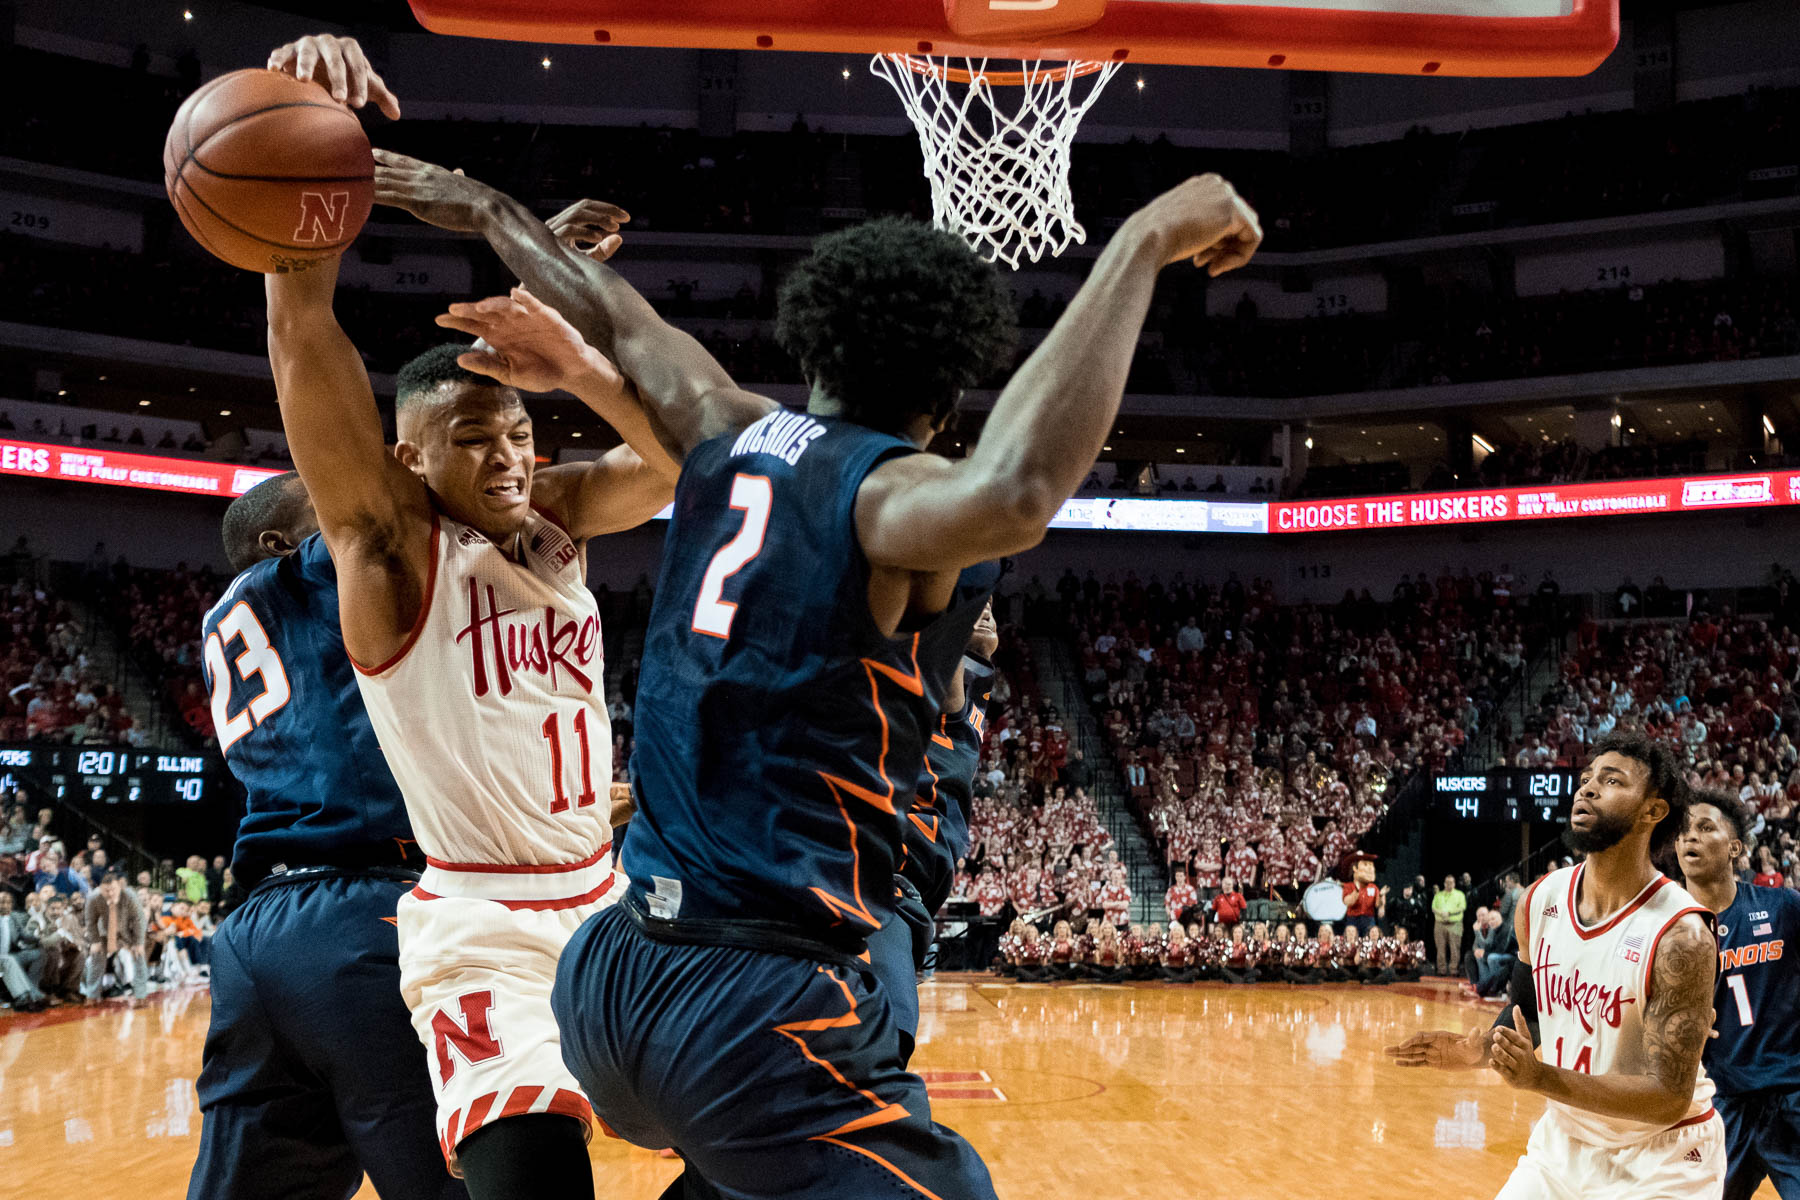
Lincoln, NE – JAN 15: Evan Taylor #11 of the Nebraska Cornhuskers during their game against the Illinois Illini at Pinnacle Bank Arena in Lincoln Nebraska January 15, 2017. Photo by Eric Francis
This was just a quick overview of the cameras, lenses and setting I use for shooting basketball. These setting I’ve settled on to suit the way I think the Fuji’s perform best for sports. Your mileage may vary and you may tweak things to your liking. I’m excited for the future. Between Sony’s newest hotrod and the next round of Fujifilm cameras, I believe we will soon see the demise of the DSLR platform. The sports and action niche was one of the last bastions of the DSLR camera. Those days will soon be written into history.