Today, we’ll look at how we can set up an efficient photo booth using a Fujifilm camera. When attempting to set up a photo booth, we’re looking for a reliable way to get images from our camera to a computer and then export them in a usable format for visitors to the set. It’s quite a simple process, so let’s look at how it’s done.
Requirements
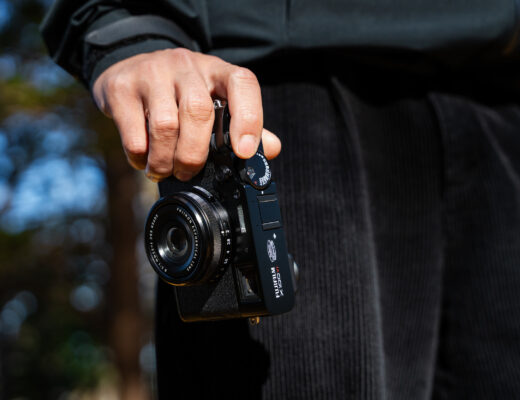
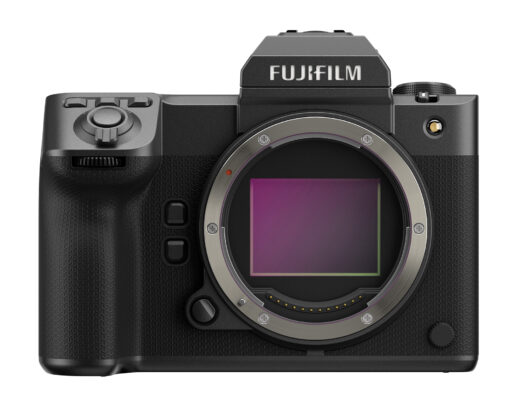
Many Fujifilm X cameras, such as the X-T series and the GFX series, support tethering. Fujifilm has also added tether support to some other cameras via firmware, so check their site for support and update your firmware. You’ll also need a computer and a quality long USB data cable (I use Tether Tools cables as they are exceptionally durable and reliable). Once you’ve got that gear, you’ll want to set up your camera.
Settings
Head into the tool menu, choose CONNECTION SETTING, then PC CONNECTION MODE, and make sure this is set to USB AUTO. This mode will allow you to save files to both your memory card and the tethered device. This is a great way to have an automatic backup as you shoot. Within your camera itself, this setting is all that is required to get yourself up and running.

USB or wireless
As you may be aware, some Fujifilm X cameras can be tethered wirelessly. Although this may seem like a great idea as you’ll have fewer cables for people to trip over, I do not recommend it at all.
In a situation where speed and reliability is paramount, wireless isn’t the best solution. In a city like Seoul, I can be in the presence of hundreds of wireless connections at a time. With the weakness of the WiFi built into the Fujifilm cameras, this can mean unreliable connections and extremely slow speeds (especially if I’m sharing the router with other people in the venue). Both of these are simply unacceptable at a photo booth. Even when the camera remains connected, transfer speeds are significantly slower than an attached USB cable.
One other benefit of working with a USB connection is that the camera will slowly charge over the USB cable while in use (some cameras may not – check your manual). This means that you can shoot for hours without ever needing to change a battery. So, there is no compelling reason to use wireless as a solution for photo booth tethering.
RAW or JPEG?
For the sake of speed, it may seem like JPEG is the best option for tethered work at photo booth. However, transfer speeds over USB are good enough that RAW files will only take a second or two to transfer. If you’re using a reasonably modern computer, you should have no problems de-mosaicing those raw files quickly and processing them automatically using your chosen software. So, why would we choose one over the other?
The benefits of both file types are quite simple. JPEG files are great if you don’t want to do any further processing on the images before they get into the hands of your subjects and just want to get the job done as quickly as possible. On the other hand, RAW files give you the flexibility to post-process if needed. Typically, I work with RAW files at photo booths for this reason.
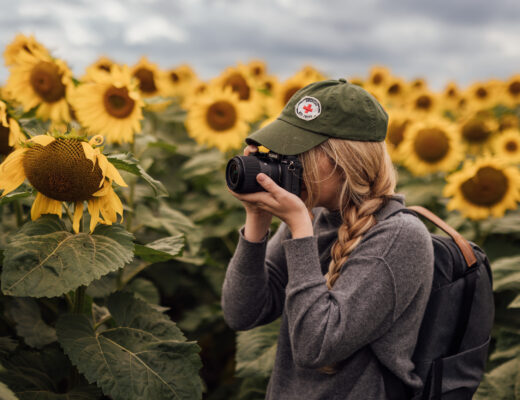
In the images you see here, I was working with party-goers on Halloween here in Seoul. RAW is the perfect choice for me here, as my guests were all dressed in different costumes that may need small adjustments after the photograph is made. There were also varying group sizes and I had limited space. That would mean that my exposure from one side of a group to the other was not always ideal. Having the flexibility of the RAW file to fix that quickly was a great boon. I was also adding a colour grade after the fact, so having all the data for my software (in this case, Capture One) to work with made raw the right choice for this job.

Software options
Fujifilm X Acquire allows us to tether but is not a fully-featured software application, so doesn’t do a great job for photo booth work. That leaves us with third-party software. Two applications come to mind that offer full RAW processing, watermarking, and support for Fujifilm cameras: Adobe Lightroom and Capture One. Choosing one or the other is a much a matter of personal preference as they both essentially offer the same features. Let’s take a quick look at setting up both.

Both Capture One and Lightroom offer you the ability to rename the files the camera sends to the software. This is a personal preference but I do not like to do this. The reason is, I like to have the file names on the memory card match the ones on my computer. That way, when I’m done with the shoot, I can drag and drop the files from the memory card over the top of the files already copied via the USB connection to ensure that all files were transferred correctly. This has saved me a couple of times and I recommend you consider it.
One option offered directly in the Capture One interface is the ability to store captured files on either the computer alone or to the memory card as well. I recommend, for the reason above, that you save to both. When using Adobe Lightroom, this option must be configured in the Fujifilm plugin, not in Lightroom itself.

Exporting
For photo booth work, a great way to export files from Capture One is by using a process recipe. These allow you to set the output dimensions, file format and watermarking all in one place. Once set, all you need to do is select the files you wish to output and click process. If you have your process recipe selected, your watermark will also be previewed on every image that comes in.
In Lightroom, the same process is done in the export dialog. Setting up a watermark has to be done separately in the edit watermarks dialog before it can be applied in the export dialog. Once you have this set up, you cannot have it preview the watermark over each image. This is only applied at export. Just like Capture One, you can also specify output file format and dimensions in the export dialog to make the process more efficient. I recommend saving anything you plan to do at your photo booth as a preset in Lightroom (this includes image adjustments, export settings, and metadata changes) in case anything goes wrong during the shoot. Then you can simply restart the software and continue in a matter of moments.
Working with an assistant
At most of the photo booths I run, I like to work with an assistant. There are a few reasons for this. Firstly, it gives you the freedom to focus on just the photography. Secondly, when the booth gets busy, trying to perform any of the non-automated tasks other than taking the images can be impossible. Finally, it allows you to check for issues very quickly. If your assistant sees an exposure issue (perhaps your flash didn’t fire or your aperture ring was knocked – a common issue with some Fujifilm X lenses), they can let you know and you can instantly fix it.
In conclusion
Above are some of the Fujifilm-specific concerns when running a photo booth. As software such as DSLRBooth doesn’t yet support Fujifilm cameras, we are limited to RAW developing suites like Capture One and Lightroom for tethered photo booths. Setting things up as above should give you a smooth and problem-free photo booth from a technical standpoint. This will allow you to focus on being creative and interacting with your subjects.