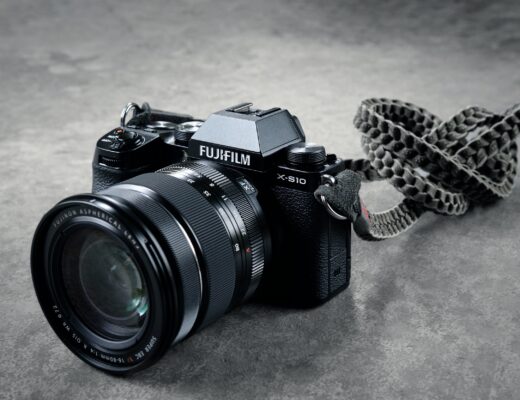
I first became aware of Alien Skin several years ago when I was looking for a tool that would enable me to find a more filmlike look to my personal images. Since the original version, Alien Skin Exposure has evolved dramatically and the latest version, Exposure X3, offers so much more than just a film preset selection tool. Fundamentally, Alien Skin Exposure is a full-featured RAW editing toolkit with exceptional image processing options.
Film Presets
Many people will initially be attracted to Alien Skin Exposure because of this ability to create beautiful renditions of film stocks from the past (and present).
I’m a huge fan of black and white, and one of the things I love most about Alien Skin Exposure is the very quick way I can process an individual image with a look I want, and then migrate that exact look across a series of images.
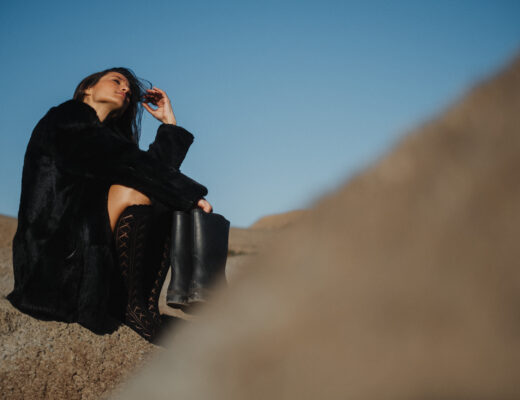
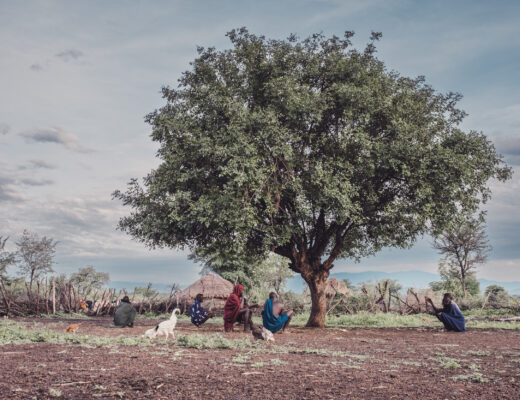
My personal favourite black and white preset in Alien Skin Exposure is Kodalith. This may be an unfamiliar stock to many people, but that’s the beauty of Alien Skin Exposure – there are literally hundreds of choices and permutations when it comes to finding the look you want.
According to the National Portrait Gallery, Kodalith is:
“A type of photographic printing paper coated with an orthochromatic emulsion which gives a high contrast print with very dense blacks when processed in Kodalith developer. It is a material normally used for graphics artwork which, however, can be used to give a range of unusual effects if development is controlled.”
I think the Kodalith simulation in Alien Skin Exposure is beautiful and whilst it’s not going to be to everybody’s tastes, I love the dense blacks and shadows and I think it gives a great representation of the image quality derived from the Fujifilm RAF Files.
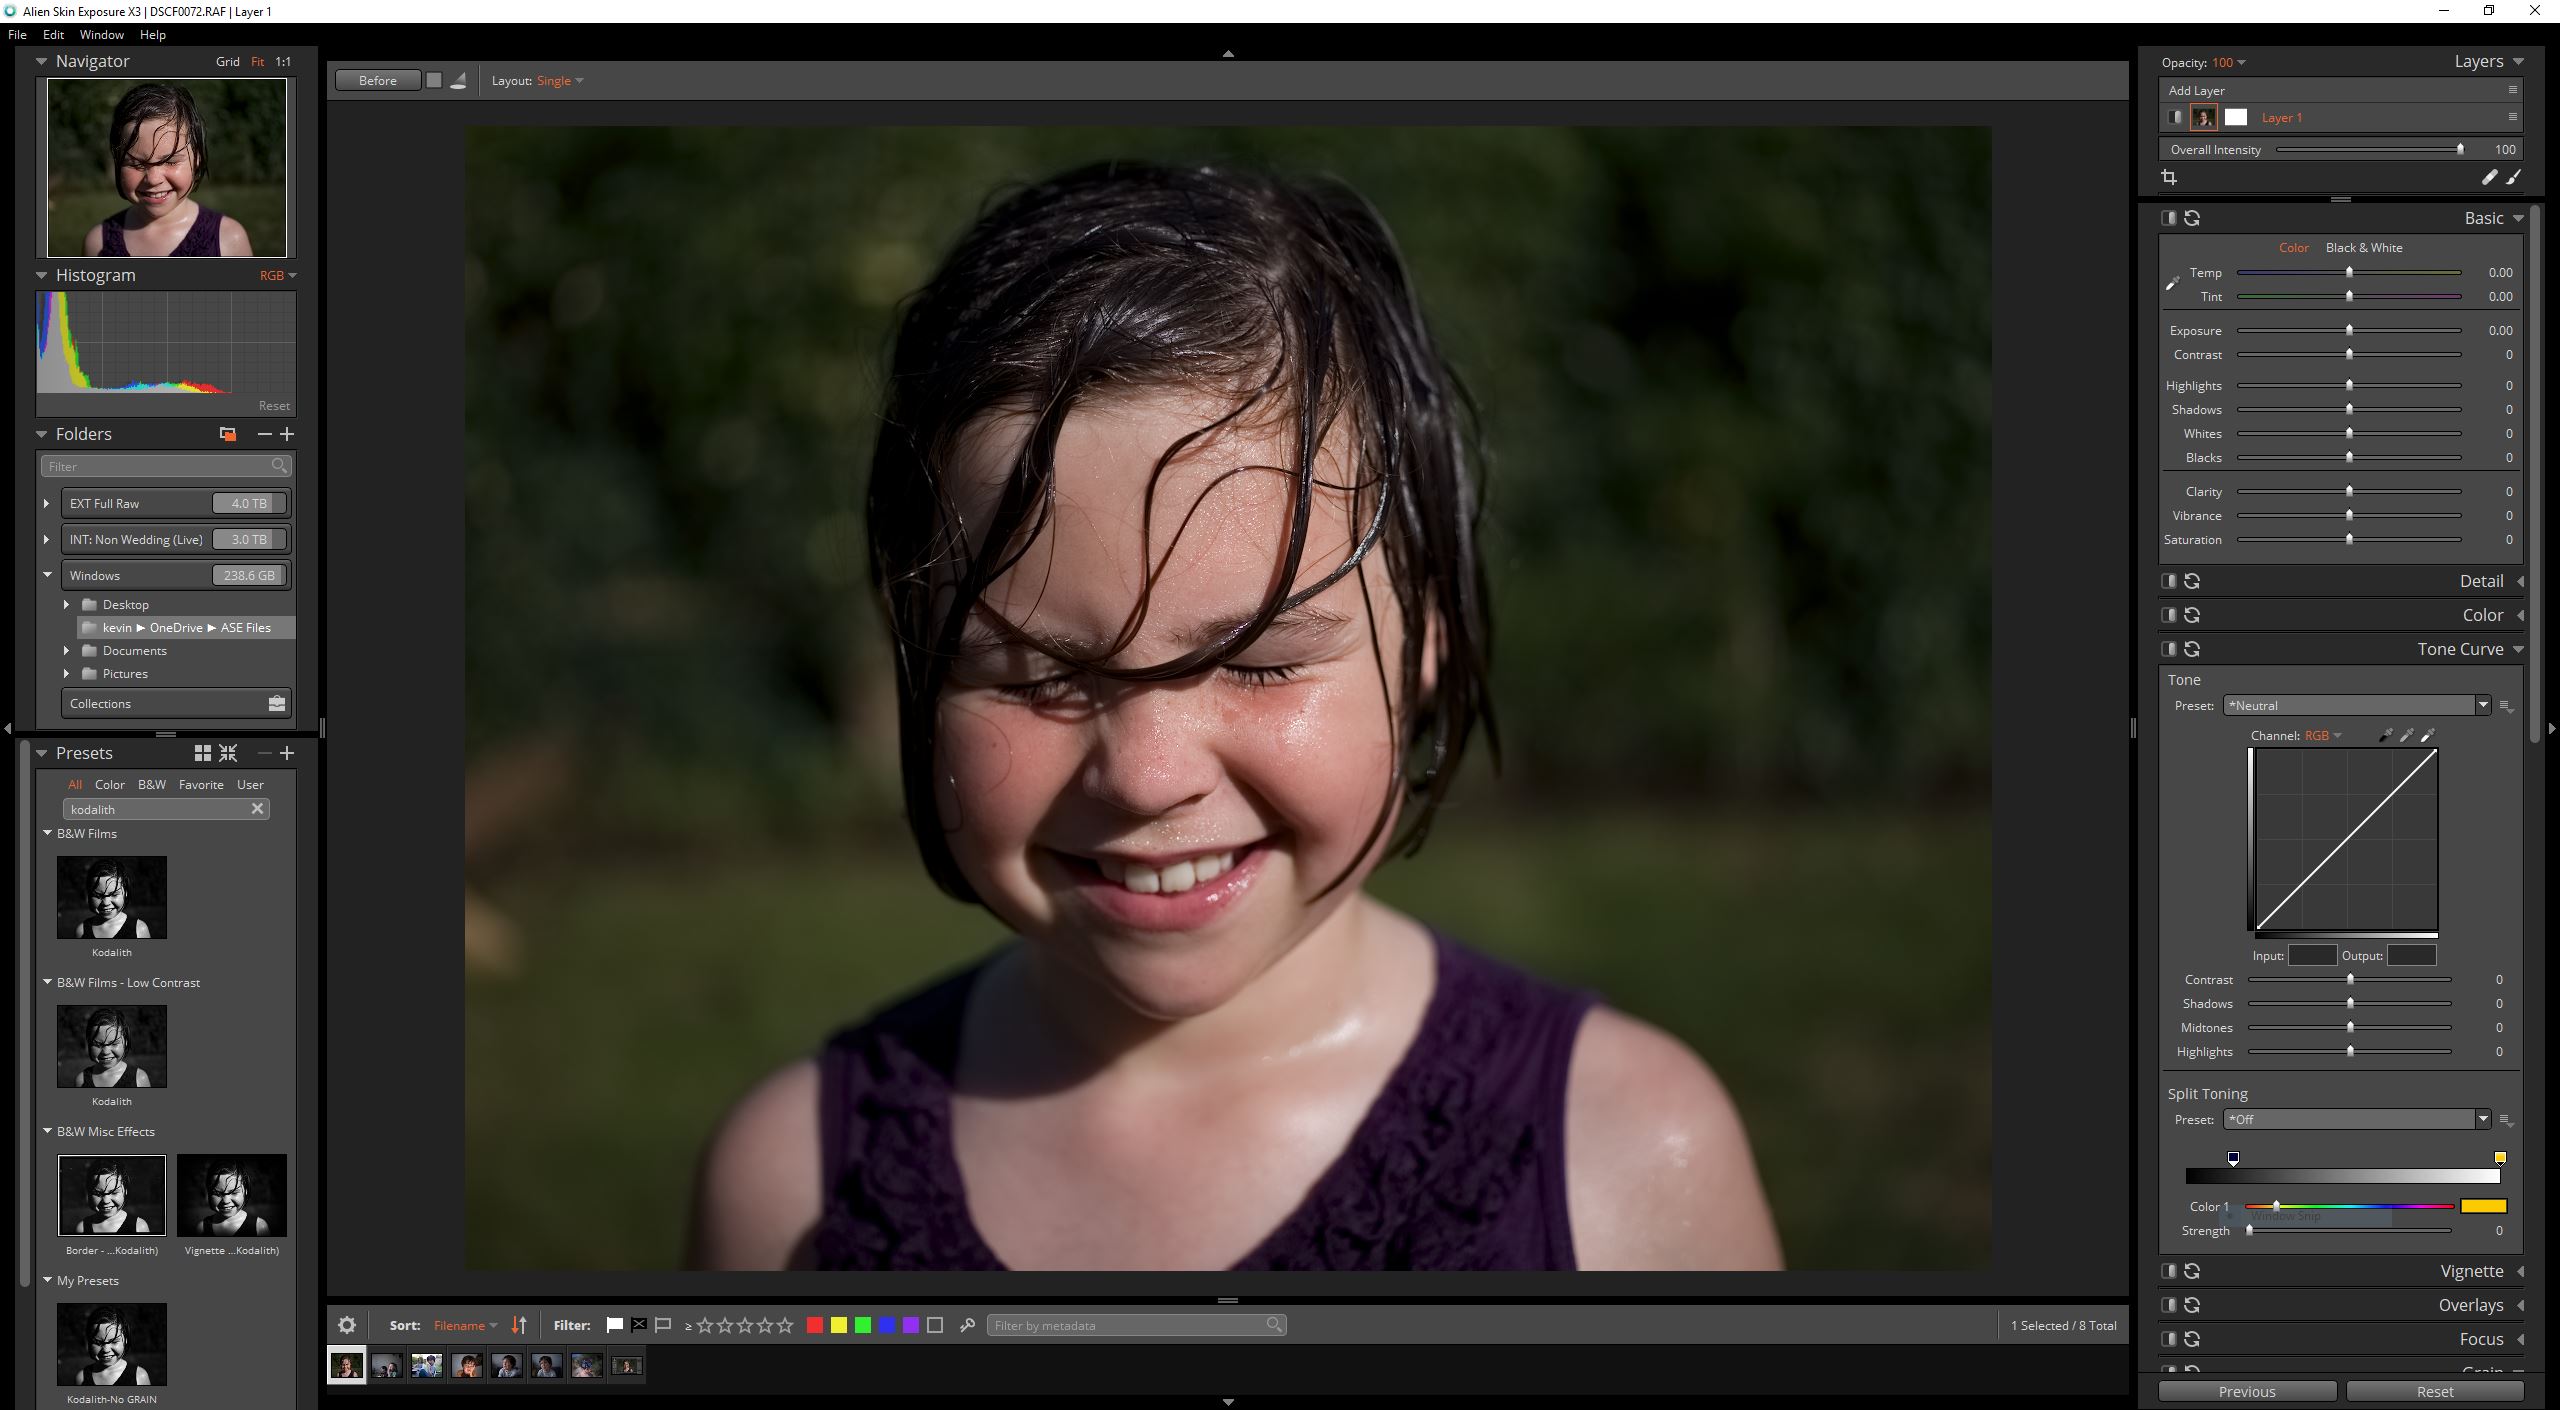
This is the interface of Alien Skin Exposure X3 when I open up an original Fujifilm RAF file (note that this is from a GFX file, which shows that Alien Skin keep their raw conversion software up-to-date with the latest camera models).

With just one click, and no other adjustments, I can create a beautiful black and white based on the Kodalith preset.
It’s incredibly simple to use the default film presets included with Alien Skin Exposure and, of course, you can tweak and save your own flavours of the presets very easily.
For example, one of my favourite colour presets is Fuji Provia 400F and this is remarkably close to the original film stock that used to run through my film 35mm camera:
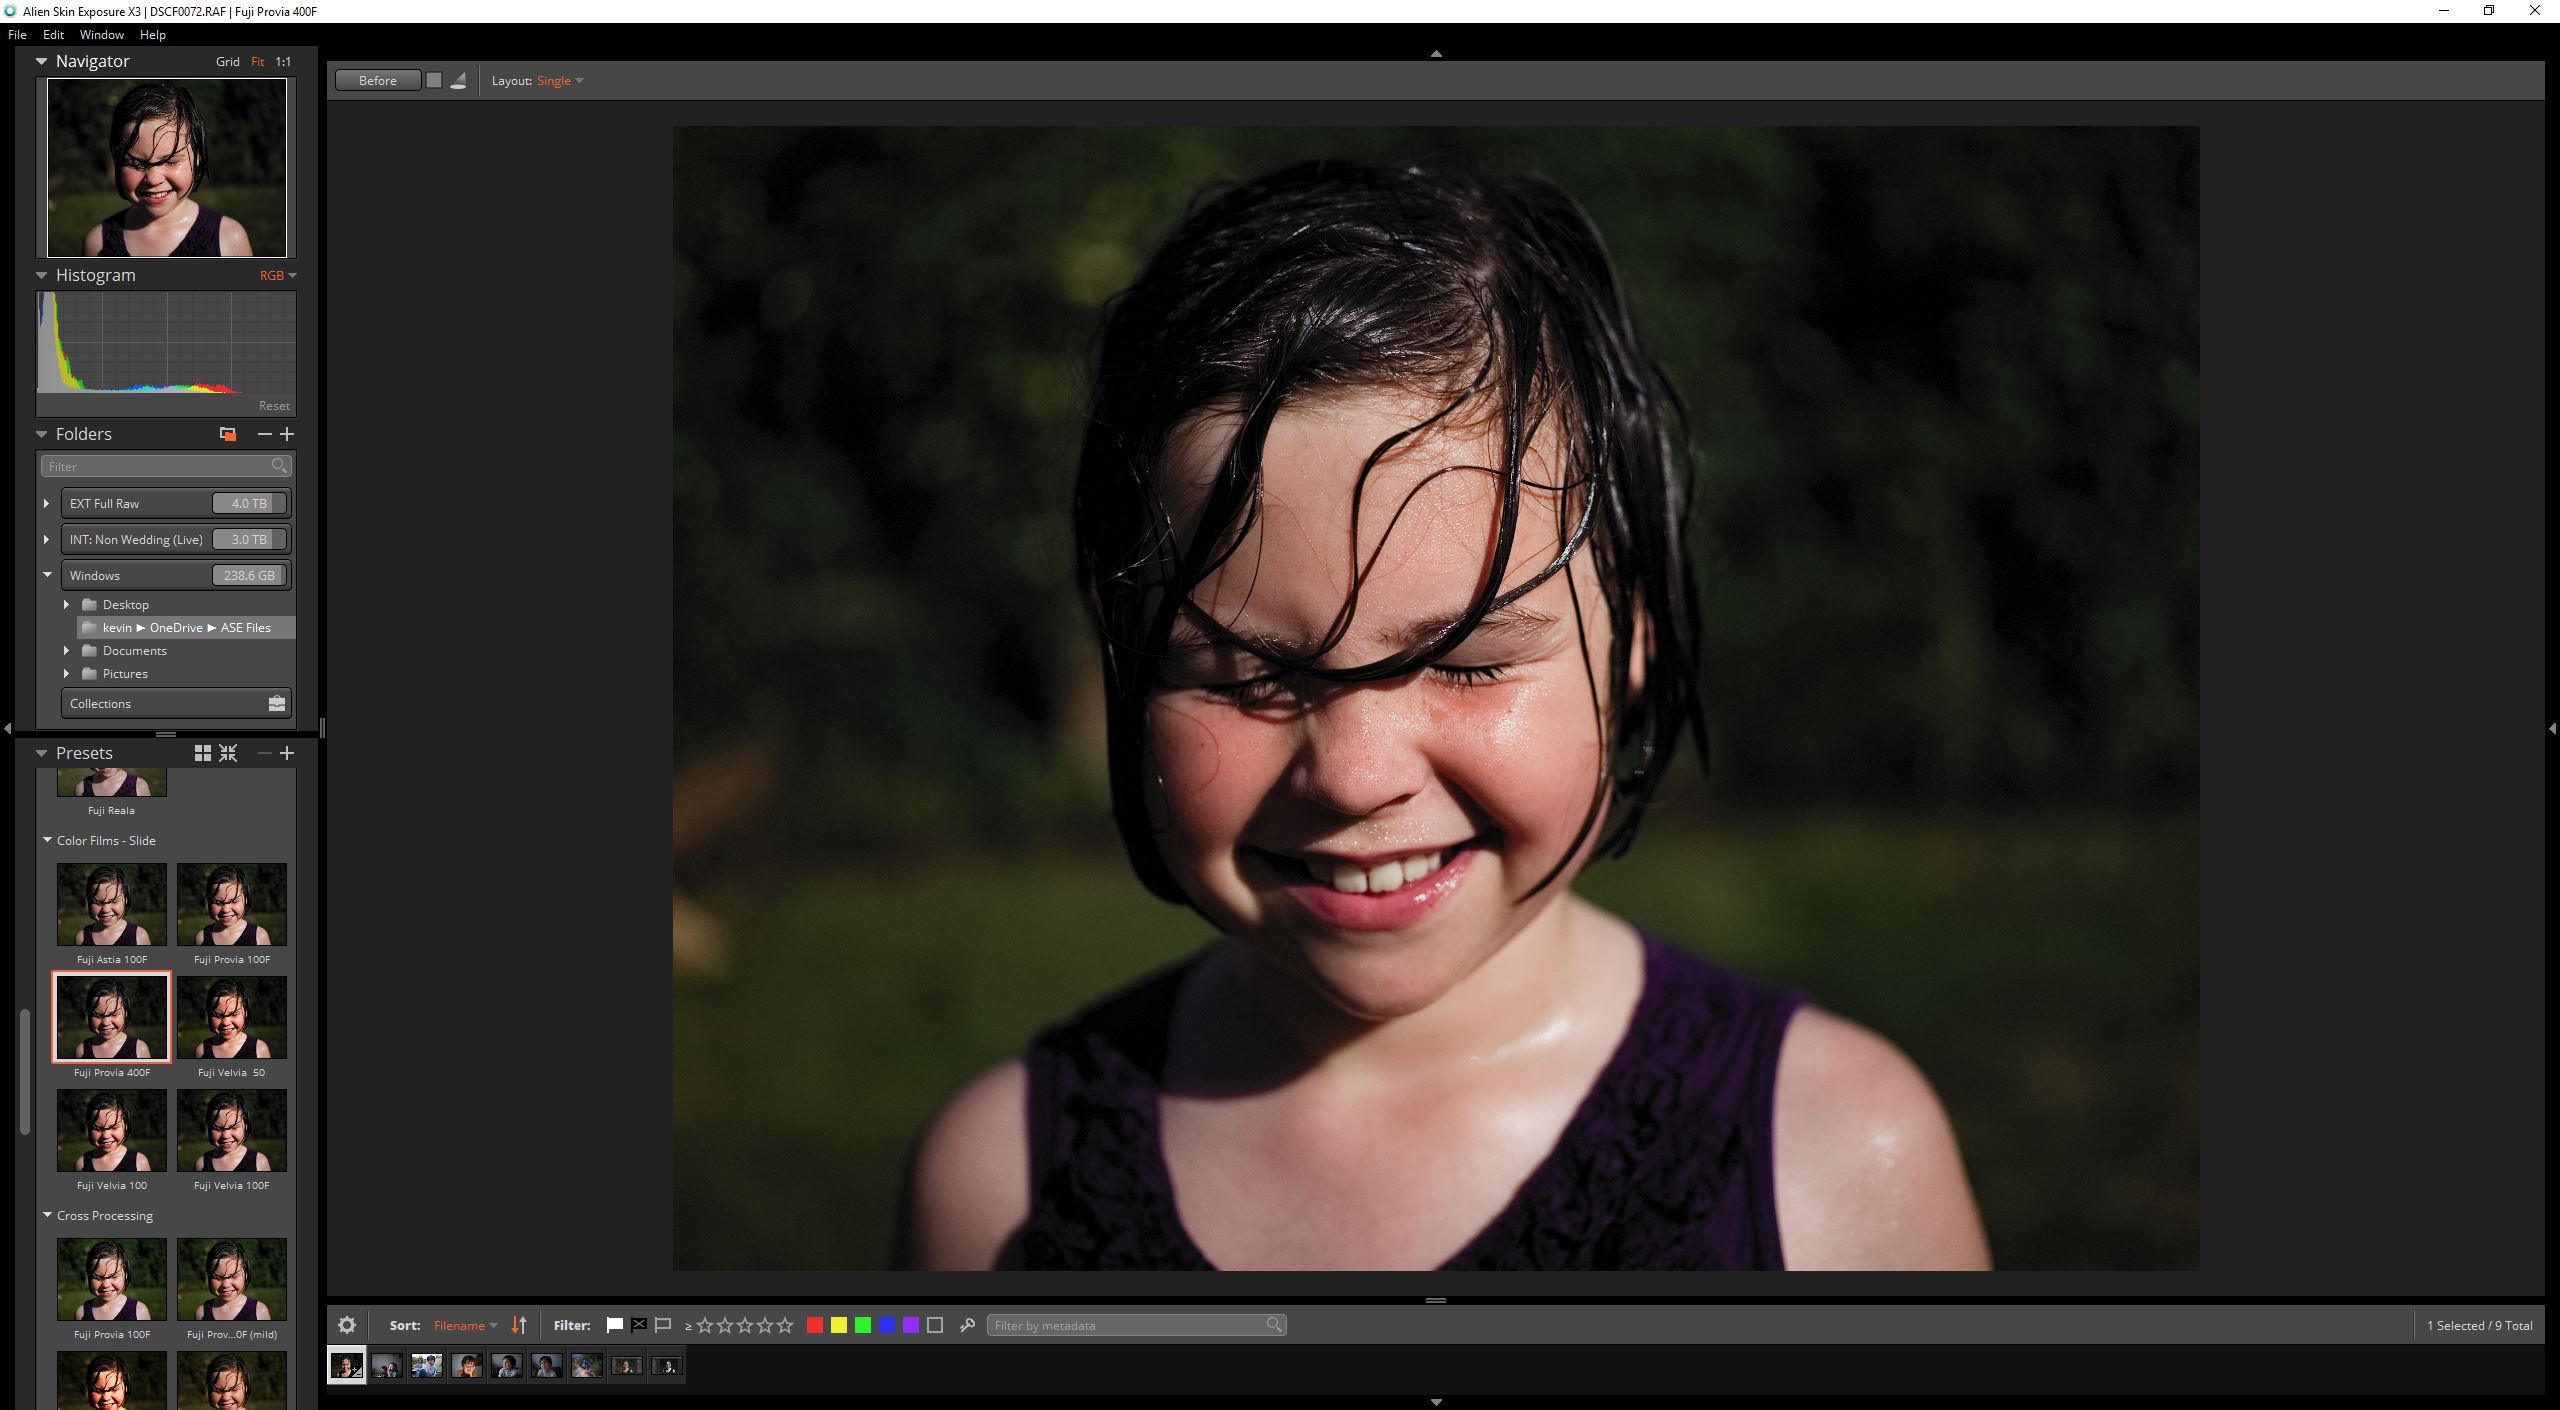
The exact same image, with a one-click application of the Fuji Provia 400F preset.
I have done no additional editing to this image, and very simply selected a film preset that I wanted. It’s incredibly versatile and powerful.
If, like me, you are sometimes undecided on what presets will look good, then Alien Skin Exposure has a neat little feature called “Audition.” This is part of the multi-view options available to you, but I love using it to compare different presets before deciding which one to apply to my image:
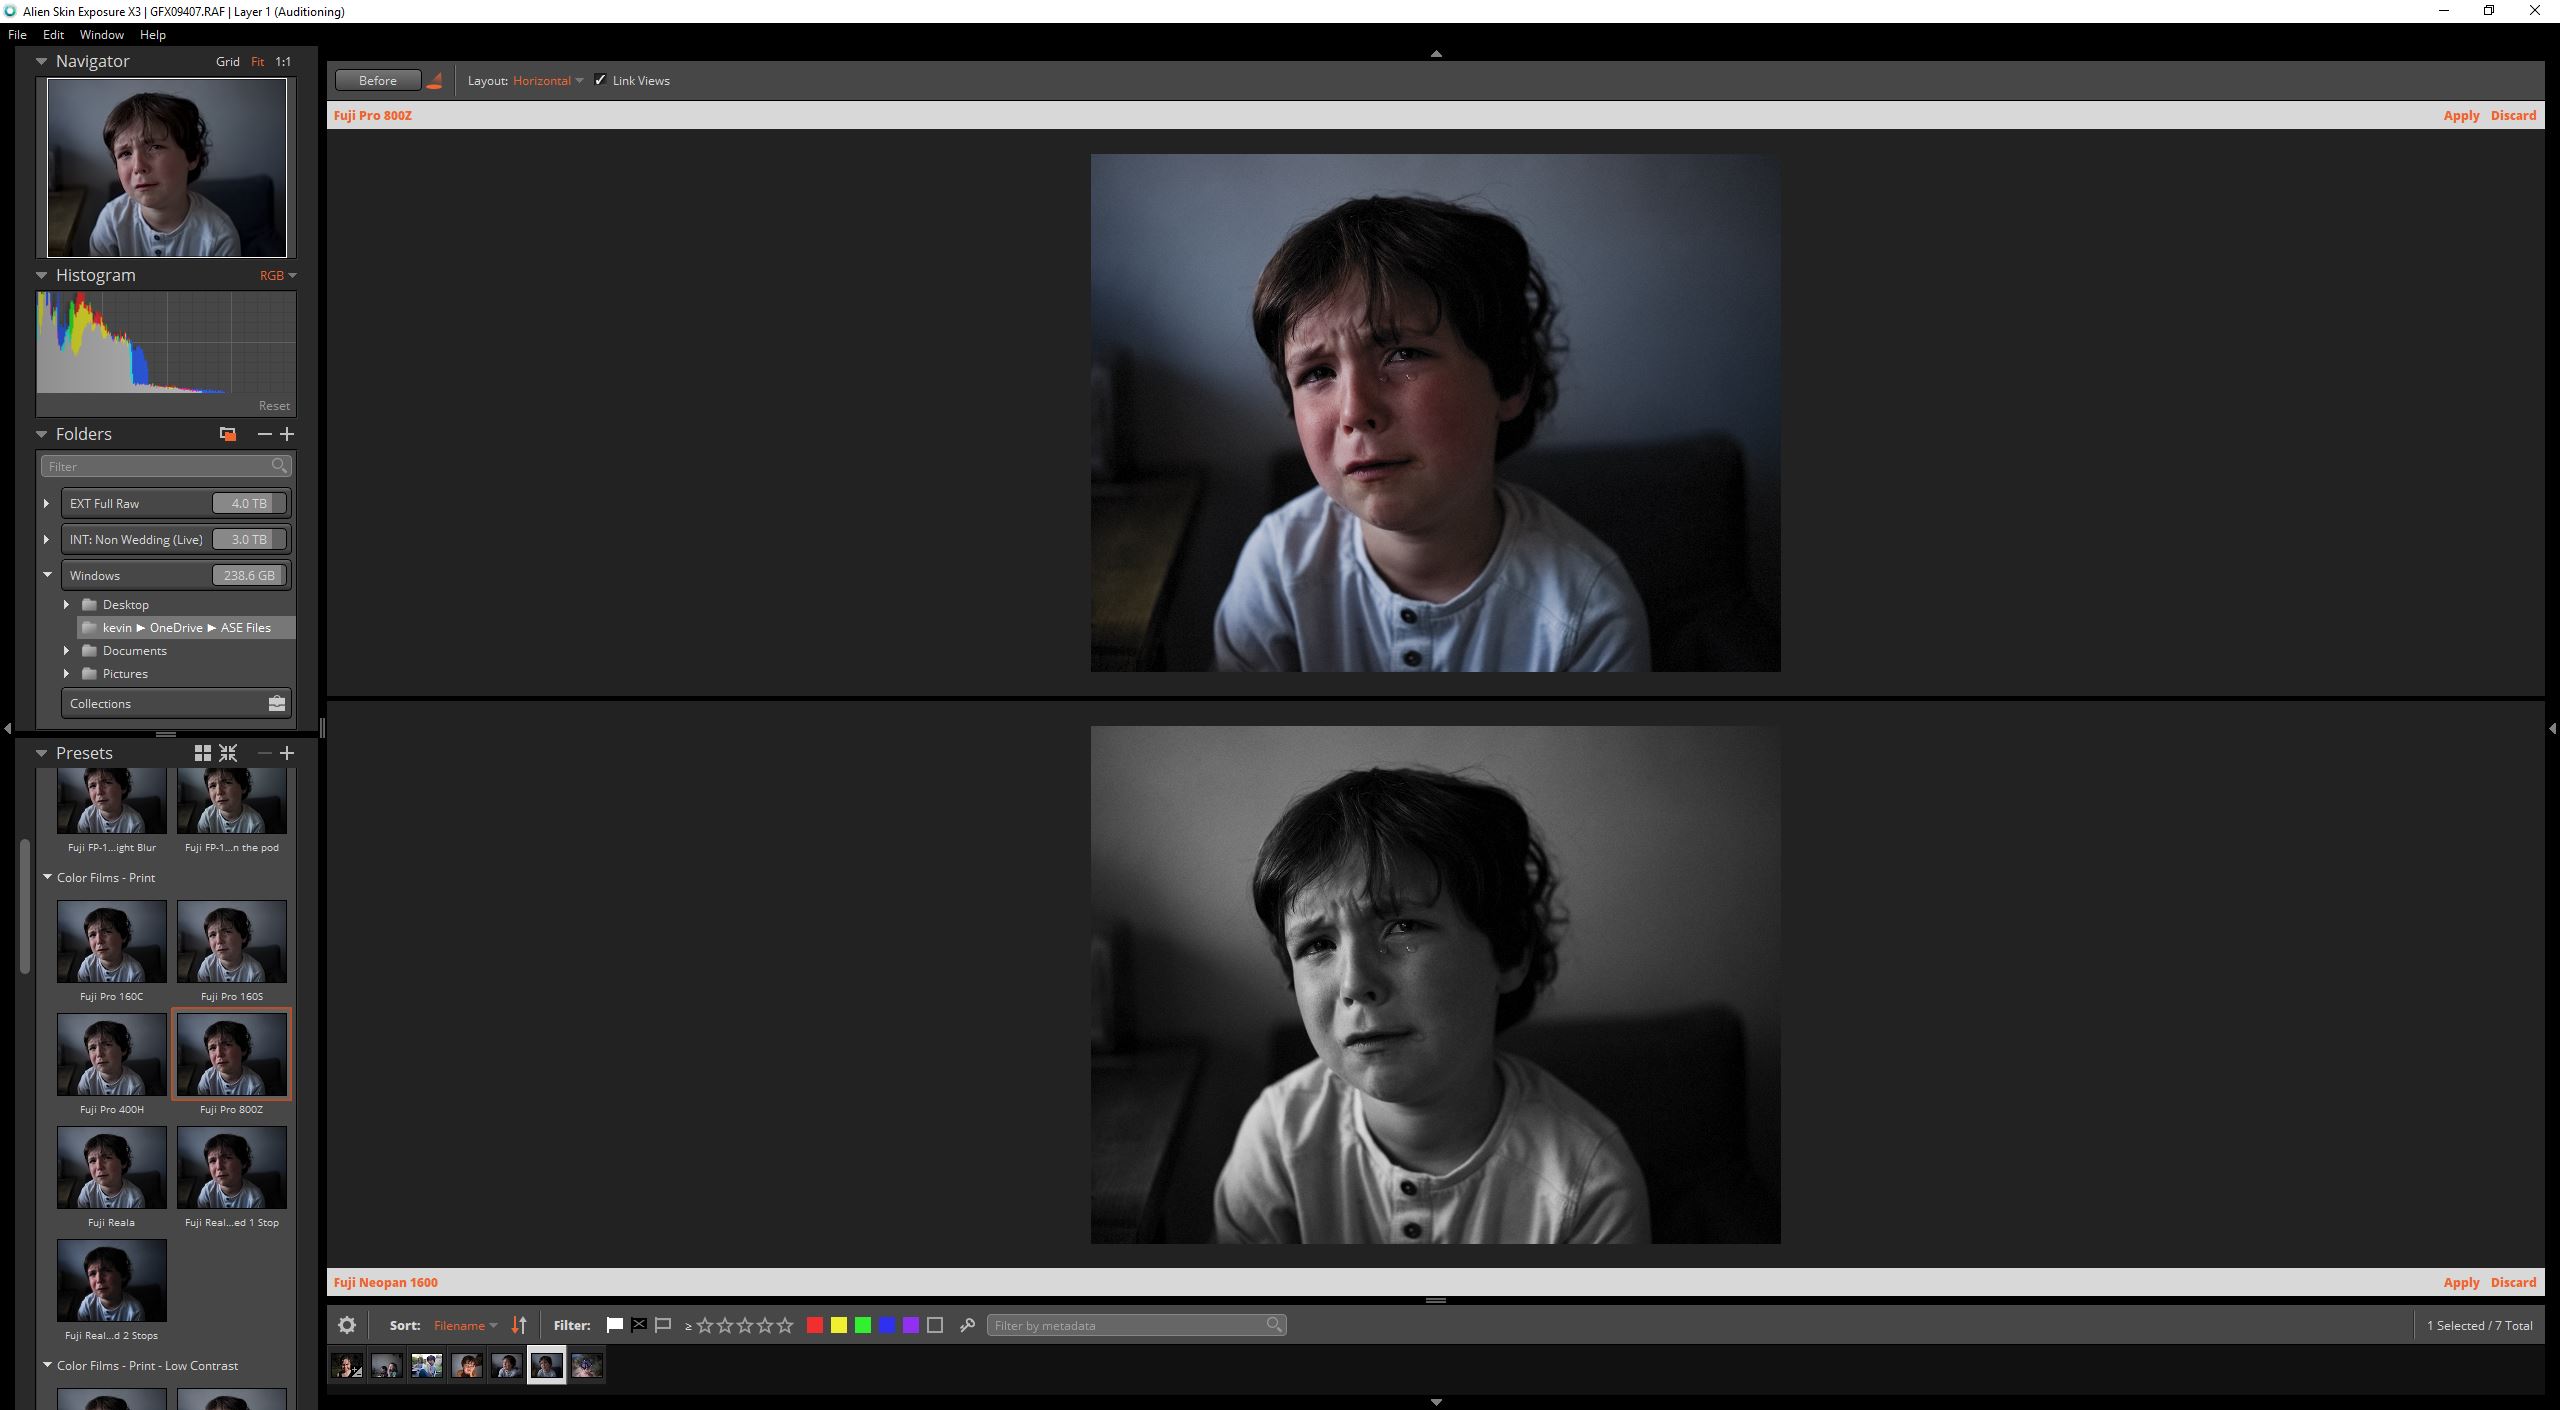
“Audition” option in Exposure X3.
RAW Processing
As you can see, I’m loading full Fujifilm RAW files into the standalone application. You can also use Alien Skin Exposure as a plugin to Lightroom or Photoshop if you prefer to work that way.
However, in order to not clutter up my computer with additional TIFF or PSD files, I love the fact that I can now use Alien Skin Exposure as a standalone RAW conversion tool.
And it’s a very good one too.
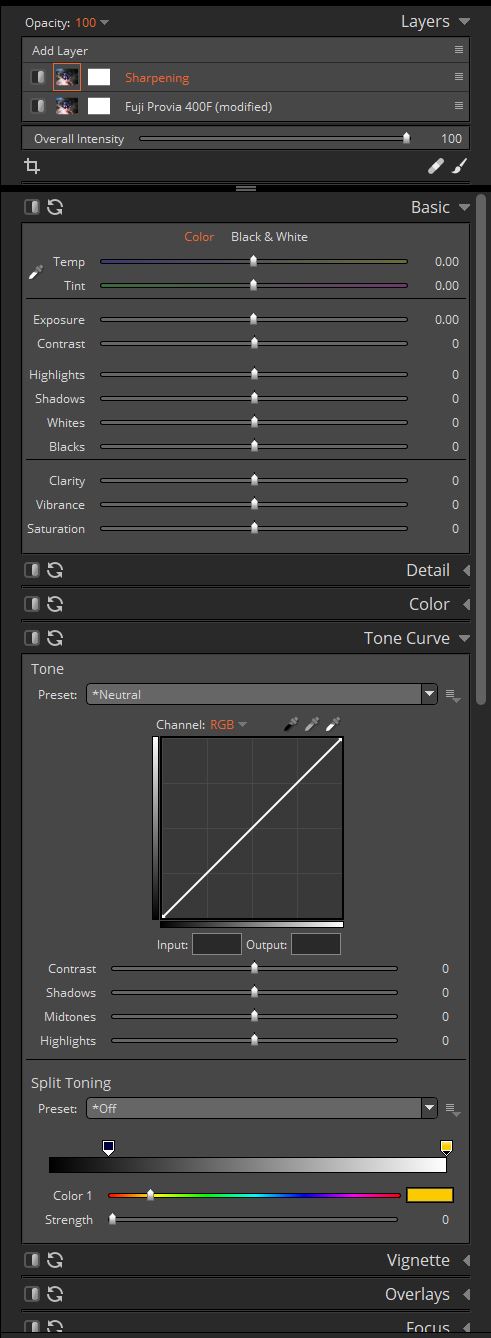
In the interface is a full and very powerful set of RAW conversion tools. Almost everything that you would use in Lightroom or Camera RAW can be found in Alien Skin Exposure including their world-renowned sharpening and grain control tools. In addition, there is a full history panel, so you can really address any editing issue safe in the knowledge that this is totally non-destructive editing.
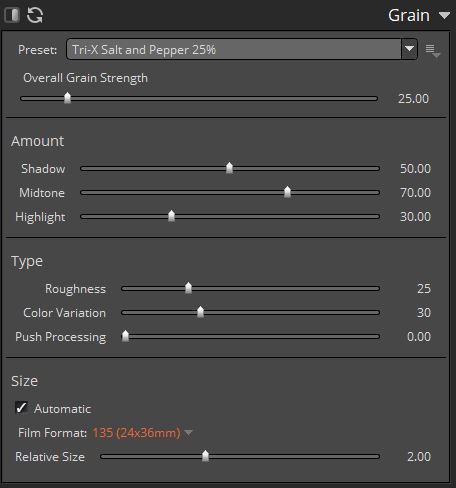
Grain Control
This is one of the features I use a lot as I love my images to look as film like as possible. Alien Skin Exposure comes with a set of Grain presets which will get you started straight away (by the way, you can save individual tool presets throughout the application). You can switch them on and off very simply:
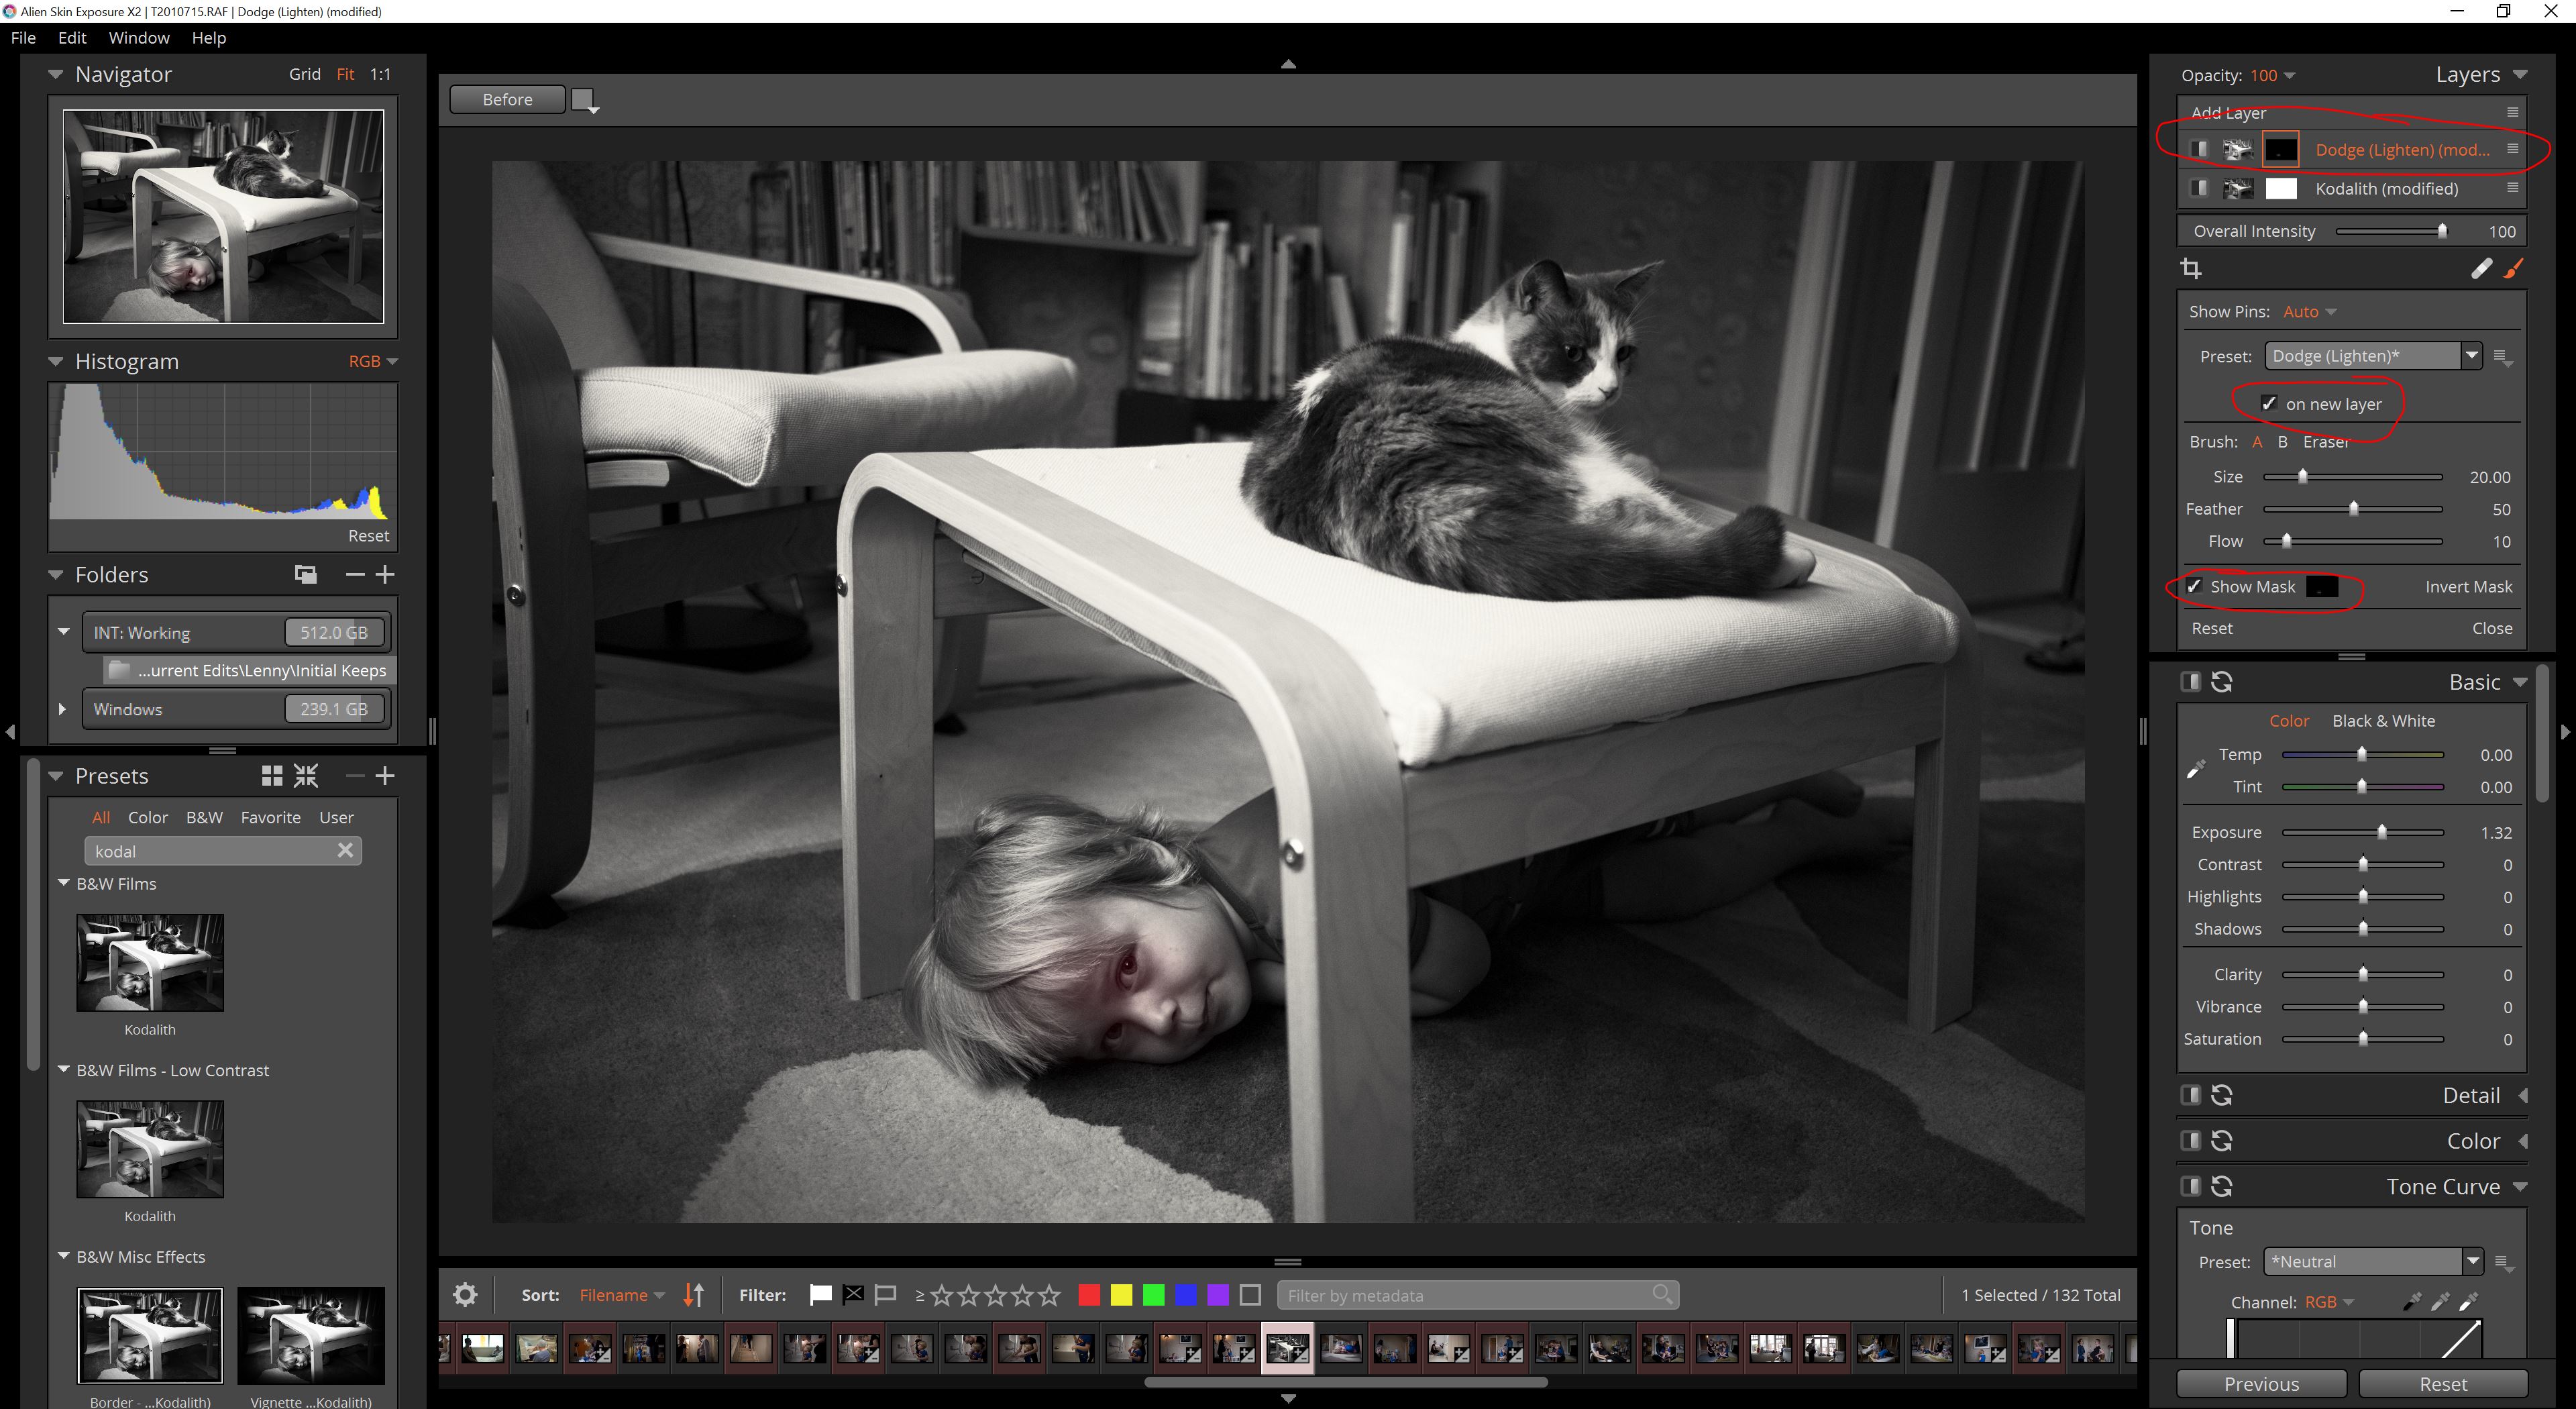
Masks & Layers
Another excellent feature of Exposure is the ability to use local adjustments within layers. In the image I’m editing, I’ve decided to brighten the face up slightly. I’ve achieved that by using the brush tool and adding dodging to a separate layer. This means I can build the image non-destructively, and unlike Lightroom, it’s very easy to keep track of all the levels of adjustment in the image.
Workflow with Alien Skin Exposure
Because Alien Skin Exposure doesn’t use catalogues, each image is simply a reference to the file on the computer.
This is a bonus as you can very easily load all the images into the filmstrip that you wish to use.
You can right-click on an individual image and choose to “open in” Exposure, or use the Folders panel in the Alien Skin Exposure application to load an entire folder and create a Bookmark or Collection.
Alien Skin Exposure X3 stands up to other applications such as Lightroom on its own merits. The days of needing Lightroom for exposure adjustments before “finishing” the image in Exposure are over and you can very easily edit entire collections of images in Exposure without even considering other tools first.
Summary
Many of us have been attracted to the Fujfilm system because of the in-camera film simulations. These are amazing of course, and may be perfectly suitable for many people. However, those who really want to explore further film presets, and have a complete and reliable RAW processing toolkit on hand, without the need to for a subscription-based service, would do very well to look at Alien Skin Exposure X3.
If you haven’t used Exposure before, I encourage you to download the free 30-day trial.
Disclaimer: This article has been sponsored by Alien Skin Software, makers of Exposure X3, non-destructive RAW photo editor and organizer. Alien Skin Software is a FujiLove Partner and we would like to thank them very much for their support.